

JL Audio Stealthbox SB-P-CYNNE/10W6v2/BK Installation Manual
INSTALLATION GUIDE
for the
SB-P-CYNNE/10W6v2/BK
SB-P-CYNNE/10W6v2/BK
2003 - 2006
2003 - 2006
Porsche Cayenne
Porsche Cayenne
Thank you for choosing a JL Audio Stealthbox® for your automotive sound system. With proper
installation, your new vehicle-specific enclosed subwoofer system will deliver years of listening pleasure.
We strongly recommend that you have your new Stealthbox® installed by your authorized JL Audio
dealer. The installation professionals employed by your dealer have the necessary tools and experience
to disassemble and reassemble your vehicle properly. Also, keep in mind that your warranty coverage
extends to 1 year if your system is installed or approved by your authorized JL Audio dealer. If you
prefer to perform your own installation, please read this installation guide completely
before beginning the process.
If you choose to per form the installation yourself, it is absolutely vit al that
the Stealthbox
®
be properly m ounted to the vehicle according to these
instructions. Failure to mount the enclosure properly presents two pro blems:
1) The sub-bass performance will suf fer due to the movement of the enclosure
caused by the force exerted by the woof er(s).
2) A loose enclosure presents a seriou s safety hazard in the event of a collis ion
or sudden deceleration.
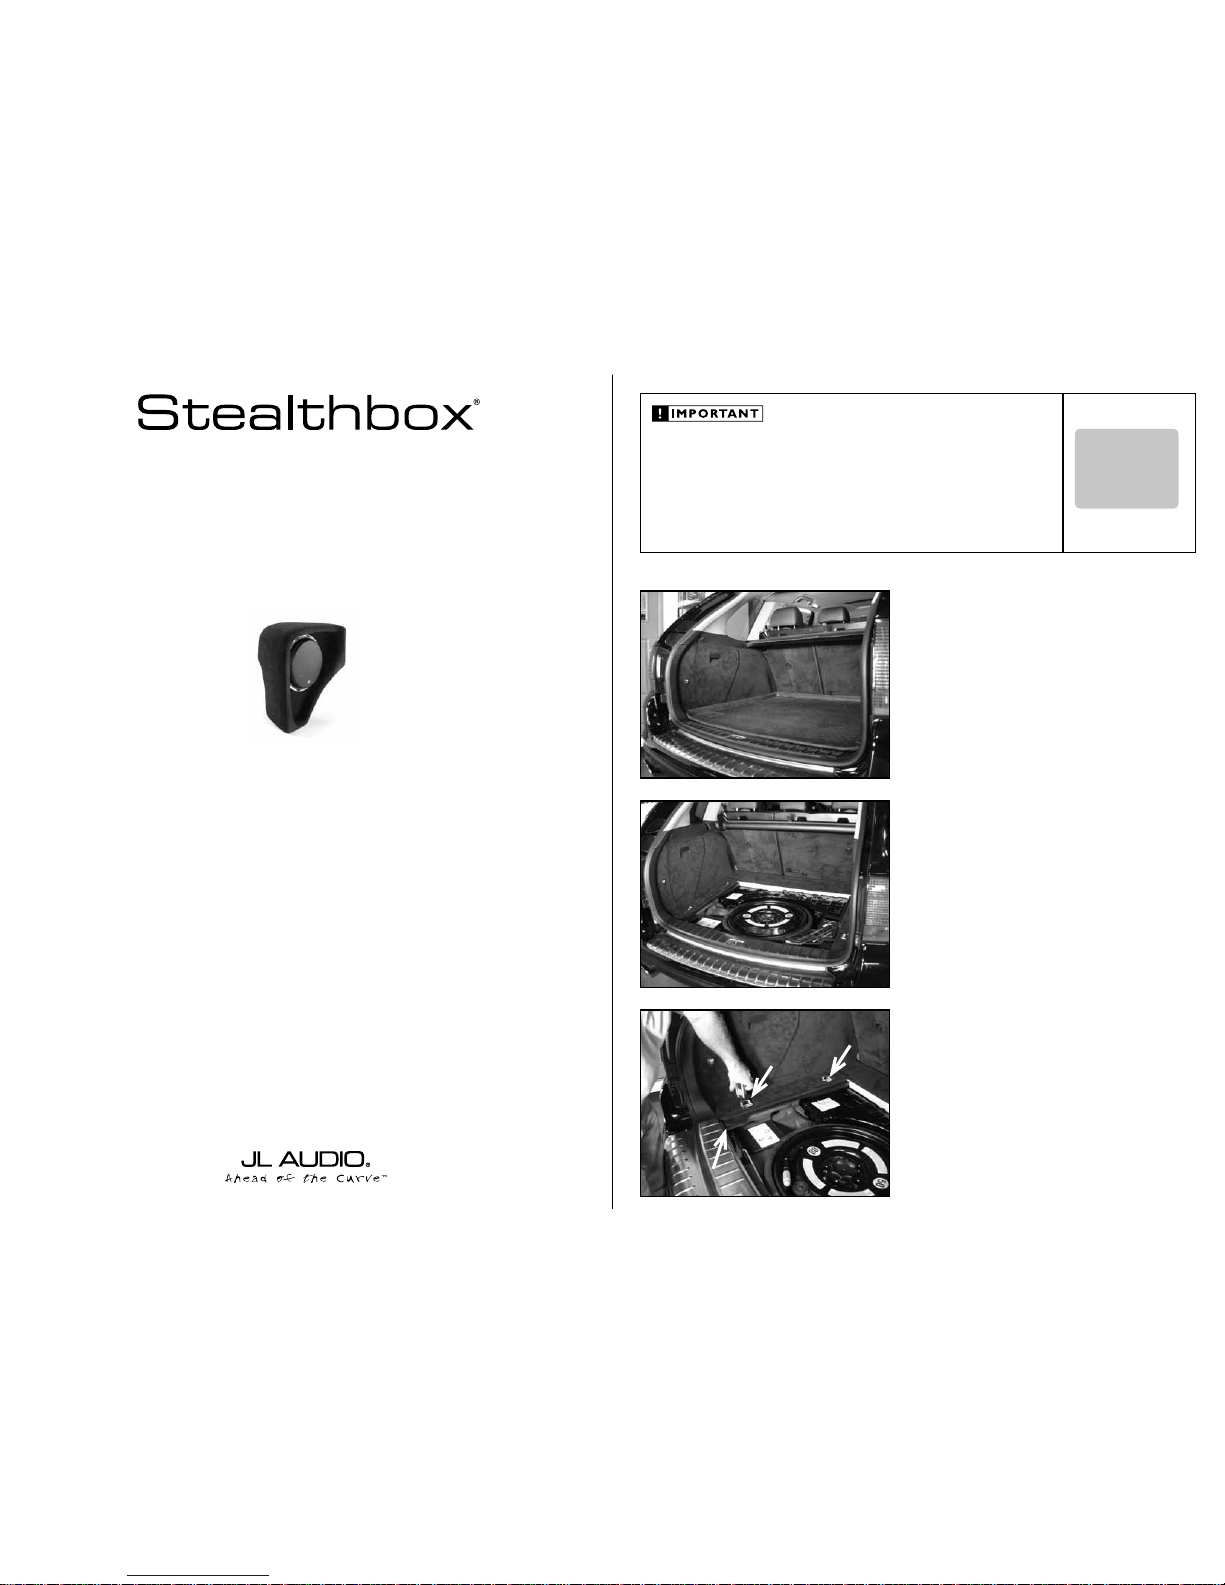
STEP 1
Remove any contents from the cargo area.
Continued on Next Page
STEP 2
Remove the flooring.
STEP 3
With a T-30 wrench or socket, remove the pair of hold down
cleats(A).
With an 10mm socket, remove the bolt(B) that se cures the
side panel to the vehicle.
SB-P-CYNNE/10W6v2/BK_INSTR_ SKU#011231
SB-P-CYNNE/10W6v2/BK_INSTR _SKU#011231
INSTALLATION
DIFFICULTY:
3
5
OUT
OF
ESTIMATED TIME:
23 HOURS
A
A
B
Continued on Next Page
SB-P-CYNNE/10W6v2/BK_INSTR_ SKU#011231
SB-P-CYNNE/10W6v2/BK_INSTR _SKU#011231
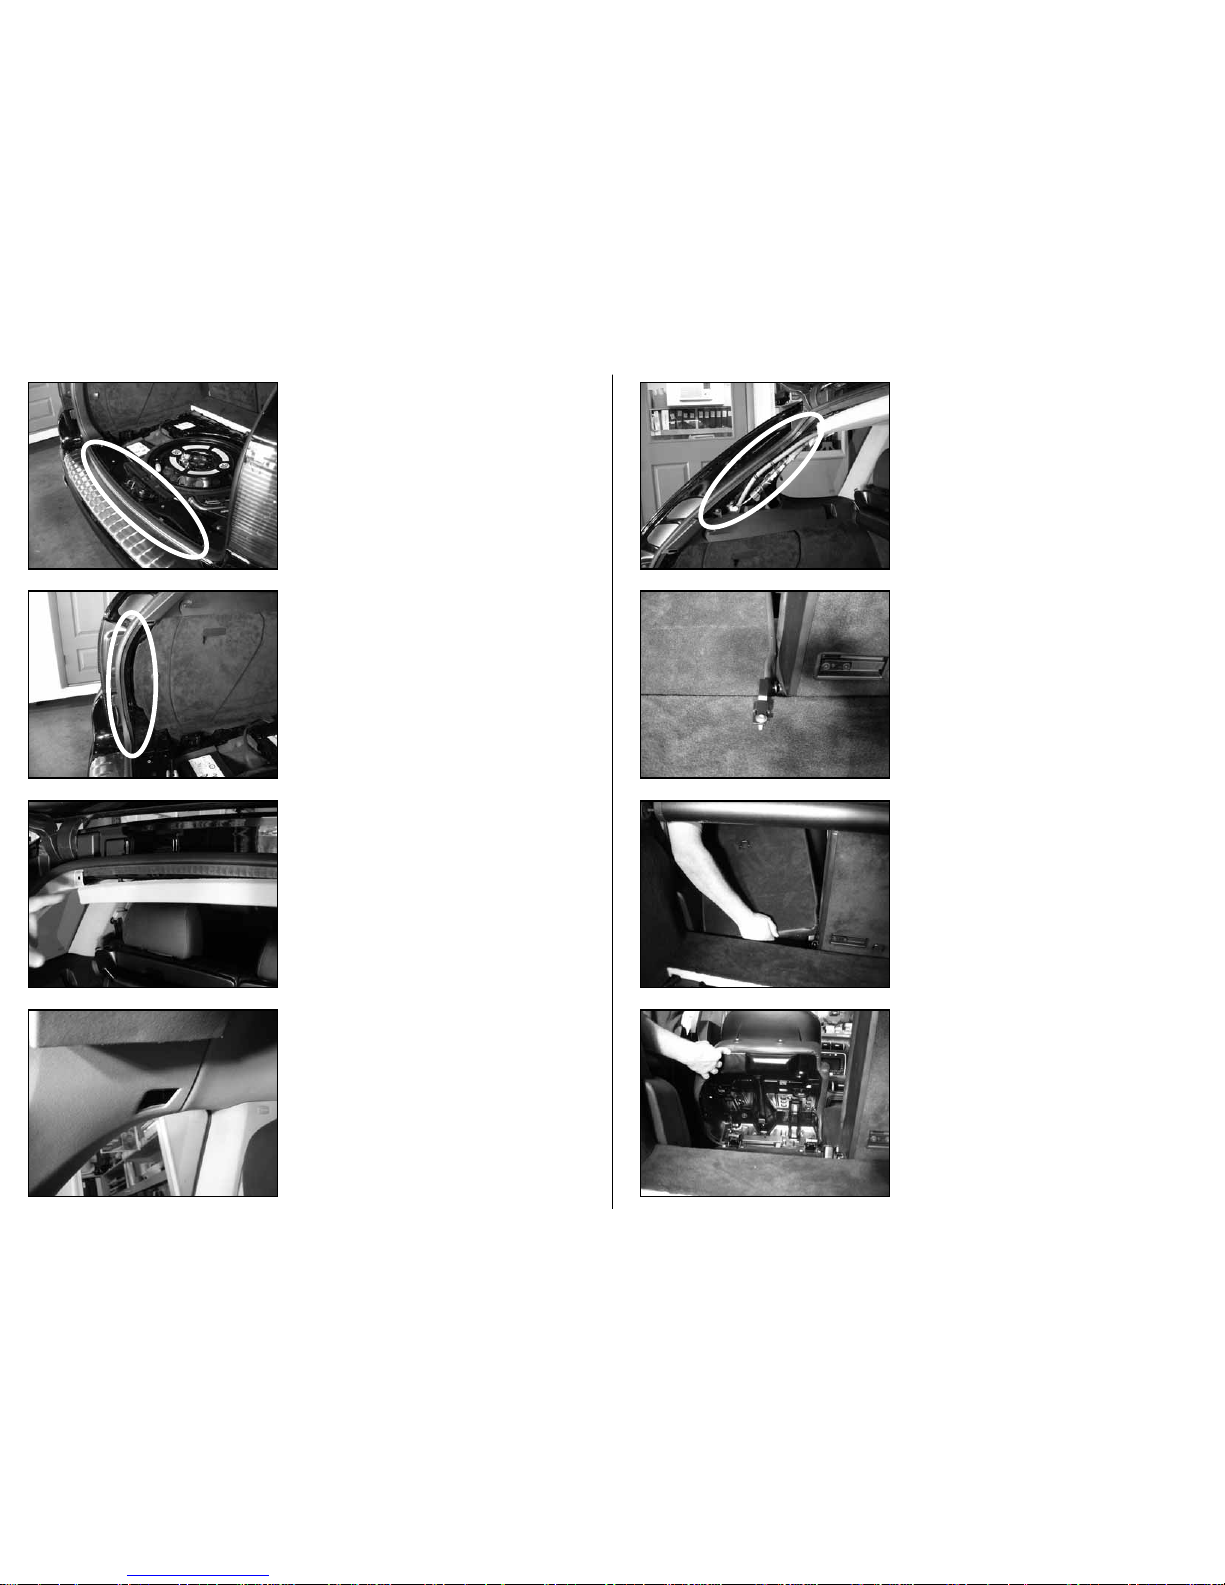
STEP 7
Remove the plastic cover from the upp er d-pillar trim.
Remove the phillip head screw that has been exposed .
STEP 6
Remove the top sill plate.
STEP 5
Remove the lower d-pillar trim.
STEP 4
Remove the bottom sill plate.
Page 2 • JL Audio, Inc 2007
STEP 9
With a T-30 socket, remove the b olt and m etal bracket that
is locat ed bet ween the two rea r s eats .
STEP 11
Flip th e driver’s side rear b ottom cushion towards the front
of the vehicle.
STEP 10
Grab a hold of the back of the driver’s side rear seat as in
the picture.
Lif t the rig ht side of t h e seat up and out of the hinge
bracket.
Pull the left side of the seat towards the middle of the
vehicle, sliding the se at off of a hi n ge pin.
Once the s e at is off b o th hinge po ints , remove t h e seat
from the vehicle .
STEP 8
Remove the upper d-pillar tr i m.
Continued on Next Page
SB-P-CYNNE/10W6v2/BK_INSTR_ SKU#011231
SB-P-CYNNE/10W6v2/BK_INSTR _SKU#011231
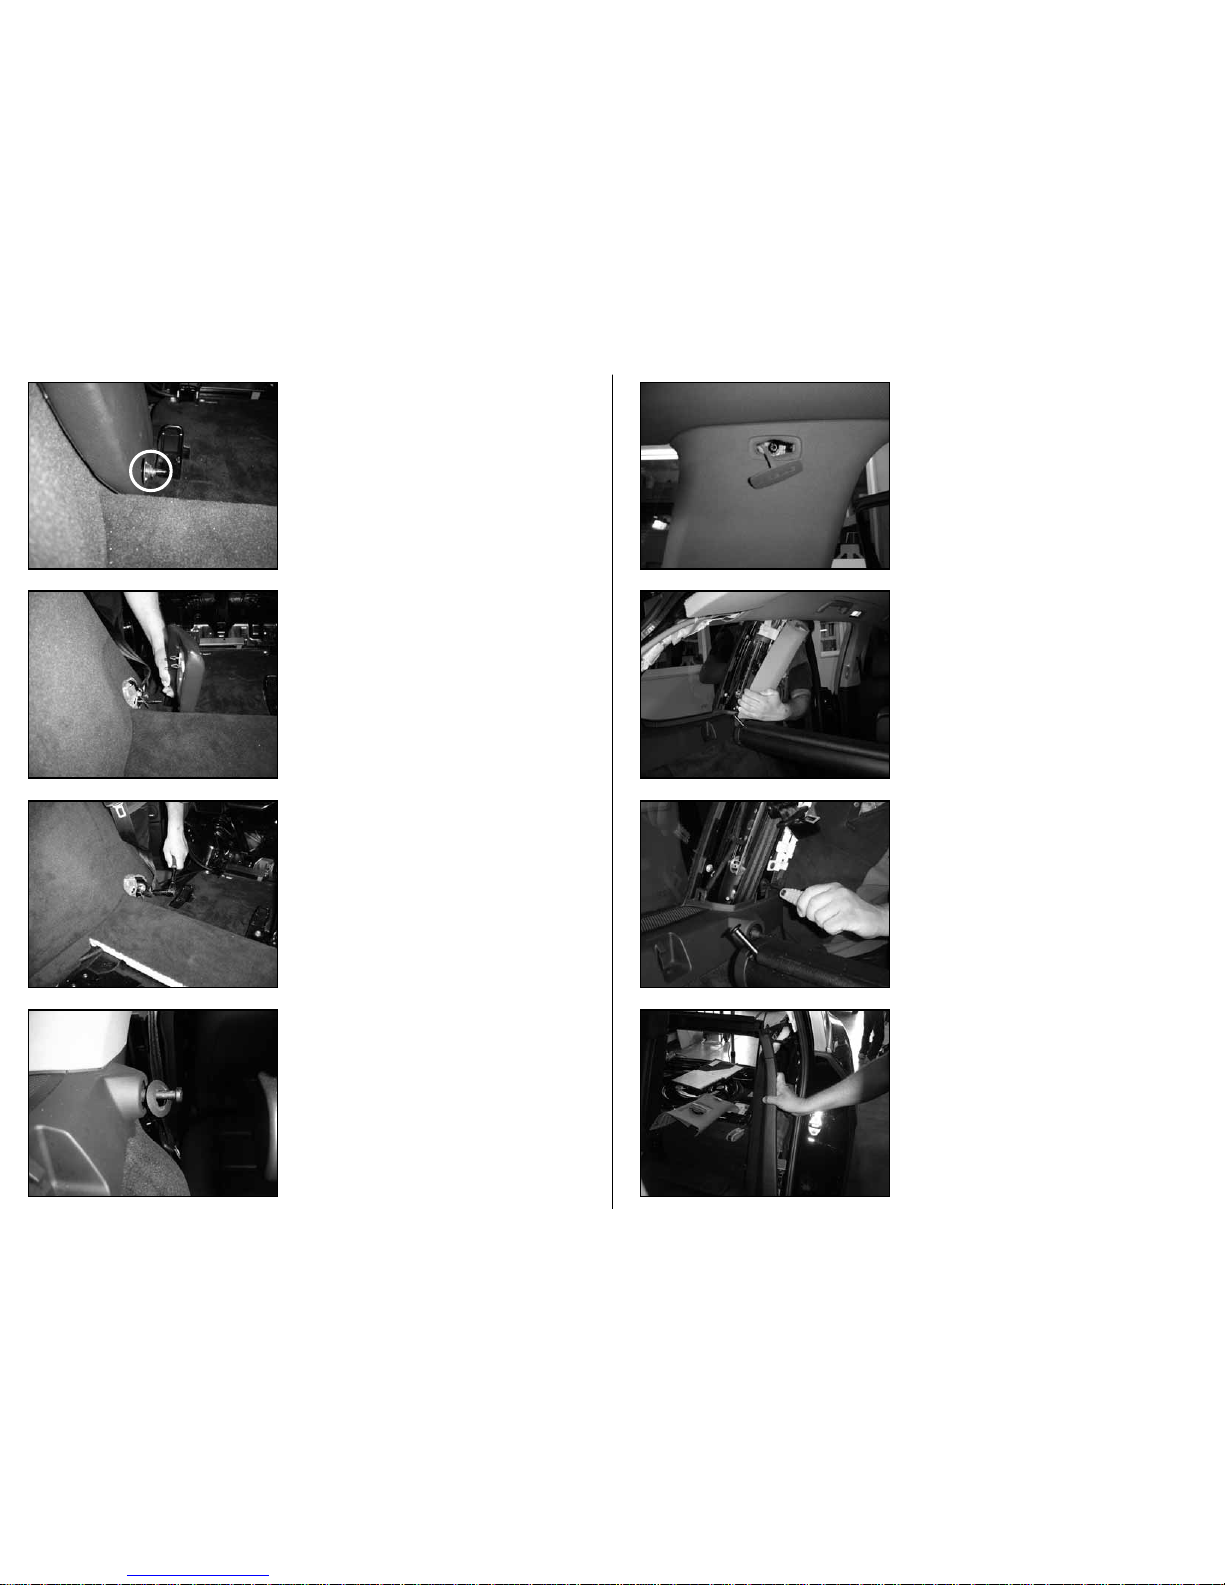
STEP 15
Remove the plastic ring from the rear seat’s upper latch pin.
STEP 14
With a 17mm socket and ratchet, remove the seat belt
retracting unit.
STEP 13
Remove the trim panel.
STEP 12
Remove the plastic collar that is around the hinge pin.
Page 3 • JL Audio, Inc 2007
STEP 17
An air b ag is loca t ed behind the c-pillar tri m. Use caution
while removing this panel. All wiring/connections should be
protected.
As in the i llust rati o n, reac h around t o the rear of the c-pill ar
trim and carefully remove the c-pillar trim from the c-pillar,
by pullin g t owards you.
STEP 19
From the driver’s side rear door opening. Pull the front of the
cargo side trim panel from the vehicle’s body. Do not fully
remove this side trim panel at this time.
STEP 18
With a T-25 socket remove the bolt that secures the front
of the sid e trim panel to th e c-pi llar.
STEP 16
Pull the SRS plastic badge fr om the upper c-pilla r trim .
With a T-25 sock et, remove the b olt tha t h as been
exposed.
 Loading...