

JL Audio SB-T-4RNR-10W1v2-GA, SB-T-4RNR-10W0, SB-T-4RNR-10W, SB-T-4RNR-10W1v2-TN User Manual
Page 1
SB-T-4RNR/10WØ Stealthbox™
Fits 1996 - 1999 Toyota 4Runner
Installation Guide:
This Stealthbox is a product which requires professional installation skills and tools. Please read this
installation guide thoroughly before beginning the project. It will guide you step by step through the
installation. Several of the steps in this process may require two people to accomplish.
It is absolutely vital that the enclosure be properly mounted to the vehicle according to these instructions. Failure to mount the enclosure properly presents two problems: 1) The sub-bass performance
will suffer due to the movement of the enclosure caused by the force exerted by the woofer and 2) A
loose enclosure presents a serious safety hazard in the event of a collision or sudden deceleration.
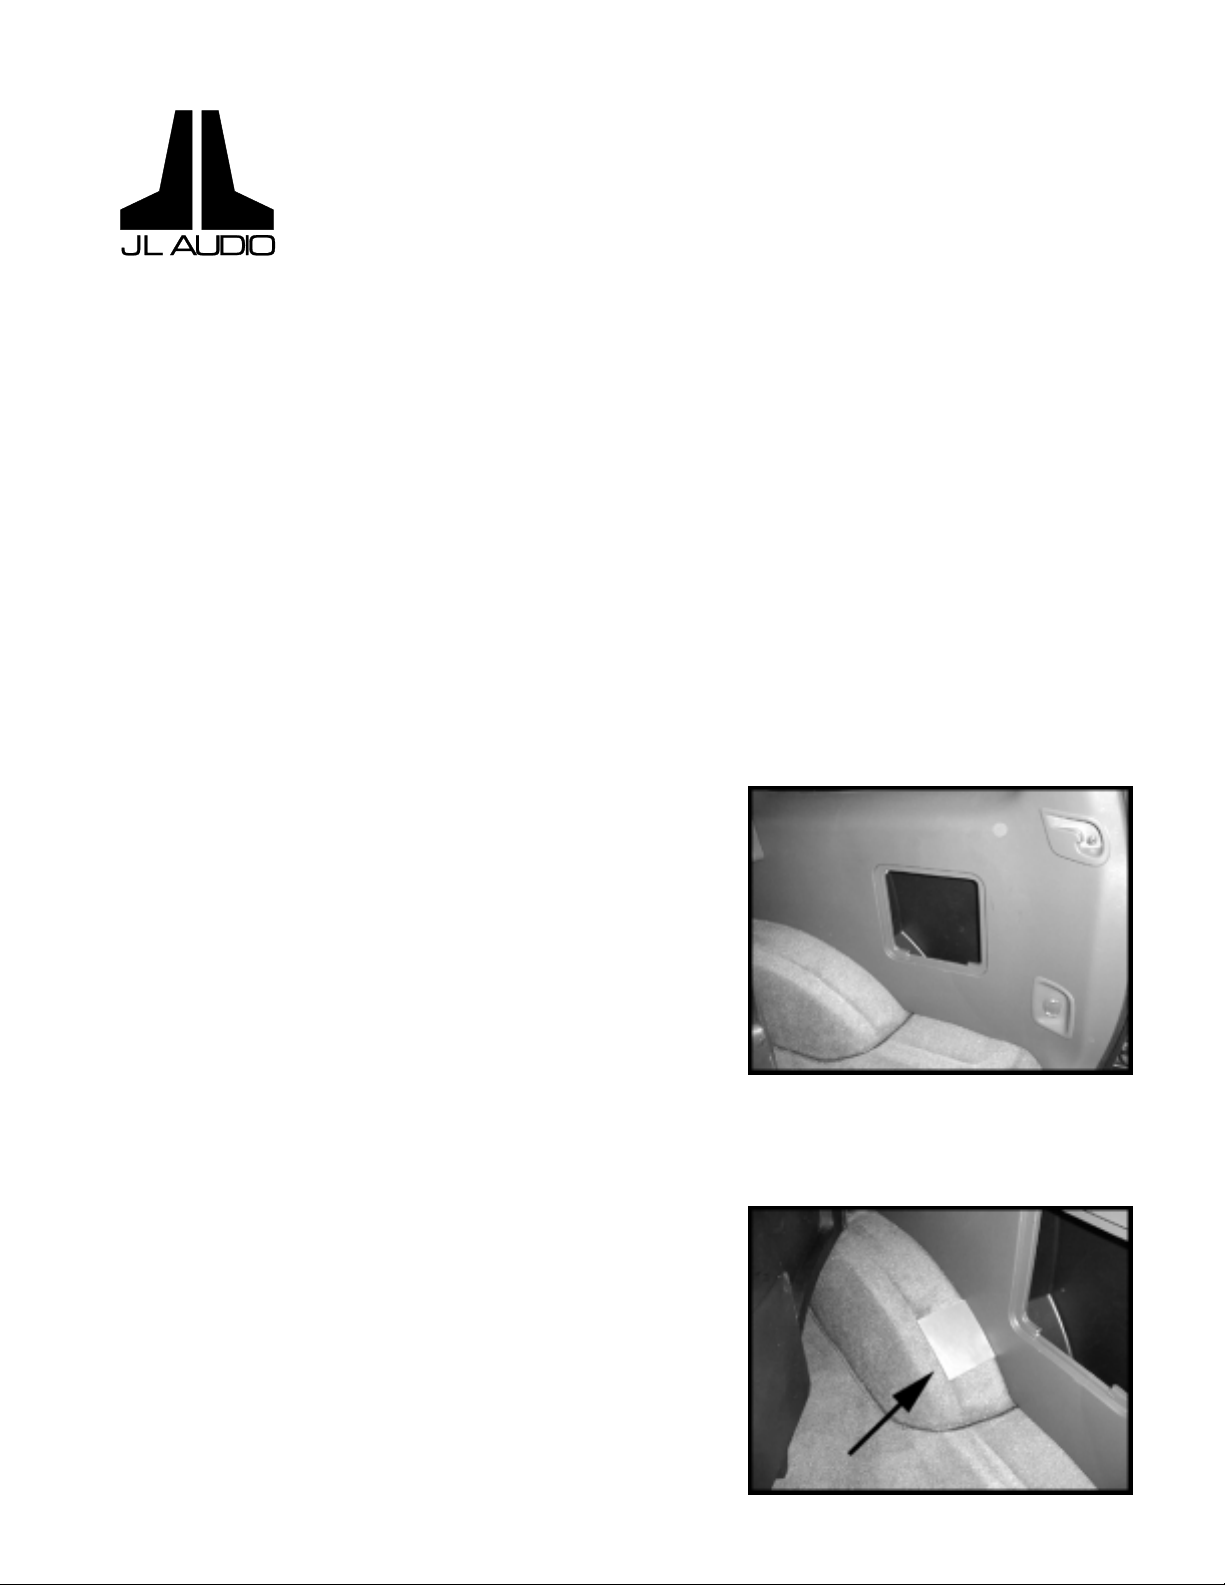
STEP 1: Remove the door from the storage pocket on the
passenger side of the cargo area.
STEP 2: Place the supplied 4" x 4" wax square, sticky side
down, on the wheelwell in the vicinty of the threaded insert in
the Stealthbox as shown at right.
SB-T-4RNR/10WØ, JL AUDIO, Inc 1999 • Page 1
Sheet SKU#011137 Revision 8/8/00
Page 2
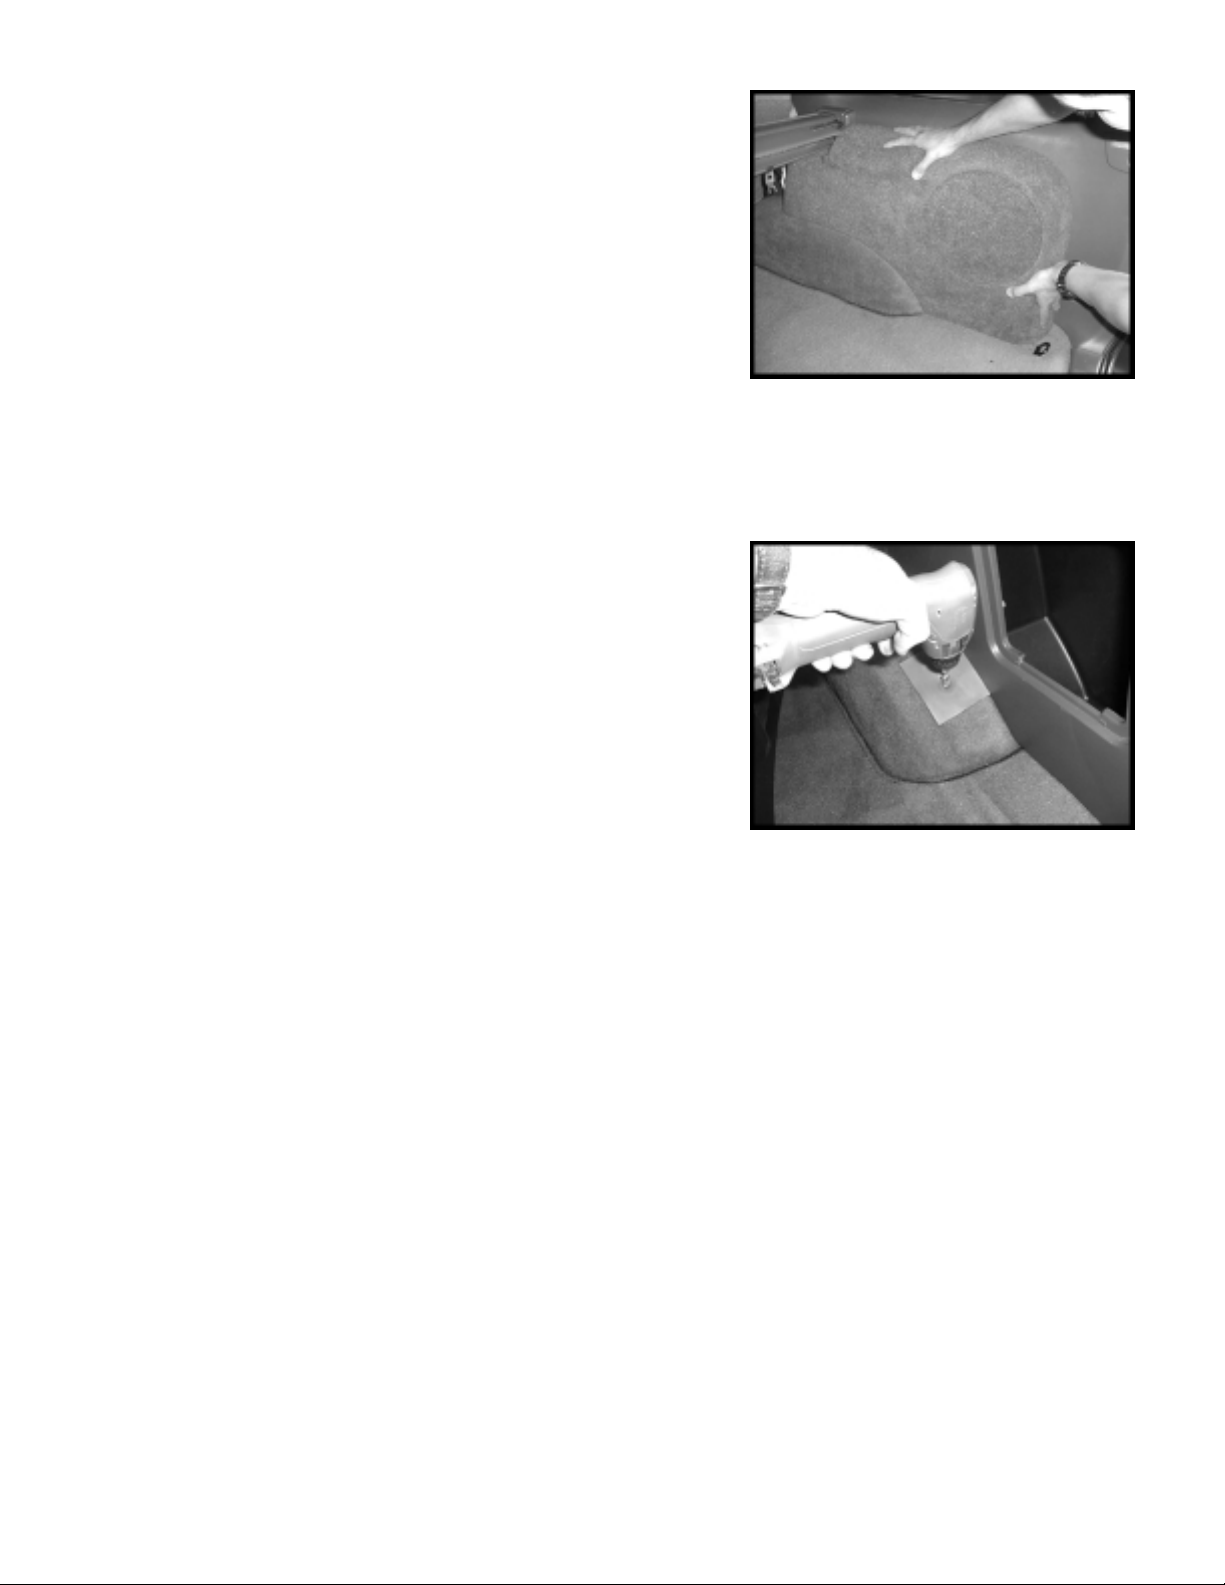
STEP 3: Thread the supplied 3/8" x 1 1/4" bolt into the
Stealthbox. Tighten fully.
STEP 4: Place the Stealthbox into its mounting position. When
placing the Stealthbox, lift the inside edge (speaker baffle side) to
prevent dragging the bolt across the wax square. Press down
firmly to leave a clear impression in the wax.
STEP 5: Remove the Stealthbox. There should be an indention in the wax square.
Caution: Before drilling check under the vehicle for
any brake lines, fuel lines or other potential hazards.
STEP 6: Using a 1/2" drill bit, drill a hole in the vehicle using the
indentation in the wax square as a guide.
STEP 7: Remove the wax square.
STEP 8: Remove the bolt from the Stealthbox.
STEP 9: Run speaker wire to the the Stealthbox mounting location. Trim to proper length and attach to the
Stealthbox.
STEP 10: Test the operation of the enclosure.
SB-T-4RNR/10WØ, JL AUDIO, Inc 1999 • Page 2
Sheet SKU#011137 Revision 8/8/00
Page 3

Enclosure Wall (fiberglass)
Threaded Insert
Molded into
Enclosure
STEP 11: While one person adjusts the position
of the Stealthbox from inside the vehicle, a second
person should bolt the Stealthbox into place using
the supplied hardware. Before tightening the bolt
apply a bead of silicone sealant between the two
flat fender washers and the vehicle's floor pan.
Then tighten the bolts fully. See diagram at right:
Flat Washer
Split Lock Washer
3/8" Bolt
Bead of Silicone Sealant
IMPORTANT!!!
Once the bolts are tightened, spray undercoating onto the bolt heads to prevent rust, leaks and
loosening of the bolts over time. Failure to do so may result in severe corrosion and may present a
serious safety hazard.
Car's Sheet Metal
This completes the installation.
Specifications:
Enclosure Type: Acoustic Suspension (Sealed)
Driver Type: JL AUDIO 10WØ-4 Subwoofer
Cont. Power Handling: 125 Watts
Nominal Impedance: 4Ω
Supplied Hardware:
(1) 4" X 4" wax square
(1) 3/8" X 1 1/4" Bolt
(2) 3/8" X 1 1/4" Fender Washers
(1) Split Lock Washer
P.O. Box 839004, Miramar, Florida 33083-9004 Voice: (954) 981-9497 Fax: (954) 987-7855
SB-T-4RNR/10WØ, JL AUDIO, Inc 1999 • Page 3
Sheet SKU#011137 Revision 8/8/00
Page 4

 Loading...