

Page 1

Need
Help?
Visit us at:
eclipsemp3.com/
mp3support/
MP3 + VIDEO PLAYER
USER MANUAL
SUPRA FIT
Page 2

CONTENTS
FOREWORD 2
SAFETY & USAGE 4
FEATURES 5
APPEARANCE 6
BASIC OPERATION 7
CONNECTING TO PC 9
MAIN MENU 12
MUSIC 13
VIDEO 15
PICTURES 17
eBOOK 20
PHOTO CAMERA 22
VIDEO CAMERA 24
PC CAMERA 25
CALENDAR 25
CALCULATOR 25
RECORDER 26
APPLICATION 27
SETTINGS 28
VIDEO CONVERSION 31
CONTACT US 33
FCC INFORMATION 33
LIMITED MANUFACTURER’S WARRANTY 34
Page 3

Congratulations on purchasing
your Eclipse by JLab Product! To
get the most out of your purchase,
please take the time to carefully read
through this manual.
FOREWORD
If any problems occur during while using your Eclipse by JLab
product, please feel free to contact JLab Audio technical
support at 1-866-358-6640, or send an email to
[email protected]. Thank you for your support
and cooperation!
JLab Audio bears no responsibility for any damage or loss of
personal data due to misuse of software and/or hardware,
damage to the player caused by human factors, replacement
of battery, or other unforeseen circumstances. To prevent loss
of your data, please backup your data regularly.
Information in the manual is subject to change without notice
and is subject to copyright protection. Copying or otherwise
reproducing this material without prior written consent is
prohibited.
Due to rmware changes, some of the pictures and functions
described in this manual may not be the same as are included
with your player.
2
Page 4

NOTES
1. The playback times listed refer to the maximum playback
times possible, using the best power savings. The actual
playback time may differ as adjustments to screen brightness,
power savings modes, volume, etc. are made.
2. There are many brands of microSD cards on the market
using different quality and speed standards. Therefore, we are
unable to guarantee that our product will be compatible with
all types or brands of microSD cards, but it will be compatible
with those microSD cards with mainstream specications on
the market, and we will constantly strive to provide the largest
selection of cards possible.
3. As parameters such as formats, bitrate, codecs, framerates,
and resolutions differ, the player will not be compatible with all
les of the listed types. If you are experiencing issues playing
your les on this player, we recommend using a supported
conversion tool to reconvert your le to the specications of
the device.
3
Page 5

SAFETY & USAGE
• Do not use the player in exceptionally cold or hot, dusty,
damp or dry environments.
• Do not drop, strike, or throw your player. Physical damage
to your player will void ALL warranties.
• Please charge your battery when:
> Battery power icon shows an empty icon;
> The system automatically shuts down and the power is
soon off when you switch on the unit once again;
> There is no response if you operate on any key
• Please always follow the correct disconnect procedures for
your operating system. Do not disconnect power abruptly
when the player is being formatted or in the process of
uploading or downloading les. Otherwise it may lead to le
corruption, rmware failure, and even hardware damage.
• We are not liable for any loss of data stored on this device.
• Please do not dismantle this player. Any disassembly not
done by an authorized technician will void ALL warranties.
• Do not listen to your device at high volume for extended
periods of time. Doing so can cause permanent hearing
loss. Protect yourself by using the lowest volume setting
that you can hear comfortably and take frequent breaks by
removing your earphones or headphones.
• This product and manual are subject to change without
notice.
4
Page 6

FEATURES
• Touch screen operating system for ease of use
• 240x320, 26K color high speed TFT screen
• Built-in 1.3MP digital camera
• Music player: compatible with MP3 and WAV formats
• Picture browser: compatible with JPEG, BMP, GIF, PNG
and TIF formats
• Video player: compatible with AVI, 3GP and FLV formats
• High Speed USB 2.0 interface
5
Page 7

APPEARANCE
6
Page 8

BASIC OPERATION
Power On/Off
To power the player on/off, press and hold the Power button
until the device powers on or off.
Volume Adjustment
In Music or FM Radio mode, touch the dot above and if
using your nger, keep touching to the right of the dot to
increase volume. Touch to the left of the dot to decrease
volume (Or, with the stylus, drag the volume icon). In Video
mode touch the to enter, and then do the same steps as
Music or FM Radio, above.
Charging
When battery power is low, the player will prompt you, power
off, and enter Standby mode automatically. Do not try to turn
on the unit. You must charge again before using. Charger
current specication recommended: 400-500mA. To charge
the player, simply connect it to a powered USB port, or
external AC adapter.
Note: If you choose to use a third party adapter, please ensure
that it is 5V and between 350 and 1000mA, or 1amp.
7
Page 9

Inserting & Removing the microSD Card
Inserting
Ensure that the player is powered off, and disconnected from
the computer. Hold the microSD card face up (side with words
aligned in the opposite direction of the display screen), and
slide the card into the socket on the player, slightly past ush.
When you hear the card click into place, you can access it.
Removing
Ensure that the player is powered off, and push the SD card
just past ush. When you hear the click, release pressure, and
the card will slide out.
Caution: Please ensure that the power is off when you
connect or disconnect your SD card, or damage may
occur to the player or your card.
8
Page 10

CONNECTING TO PC
Loading Files: Copy & Paste
Note: This alternate method is used to load videos, pictures,
and eBook les as well as audio les.
1. Connect the MP3 player to a working USB port.
2. When the unit is connected to your computer, it will create a
gray and green icon in the system tray (lower right hand corner
of your desktop) called Safely Remove Hardware.
3. Go to the My Computer section of your computer. In there
you will nd a section called Devices with Removable Storage.
4. Locate the drive created by the unit, generally just called
Removable Disk with a letter in parentheses. Drive letters vary
depending on your system conguration.
9
Page 11

5. Open the drive by either double
left clicking on the drive itself,
or by right clicking to open the
option menu then left clicking
on the desired drive.
6. Locate the music stored on your
computer. Generally this is stored
in the My Music folder of your
computer.
Note: If you are unable to locate the
music on your computer, click on
start, search, les and folders,
then search for “ *.MP3* ”.
10
Page 12

7. Once you have located the song les, you can right click
on the song itself, and select Copy. Open the removable disk
drive, right click on in the empty space, and select Paste.
This will transfer the song on to your player.
8. Repeat step 7 for as many songs as you want to copy on to
the unit.
Note: MAC computers
When connected to your MAC computer, the device will act as
a removable drive. Simply drag your les to the device.
11
Page 13
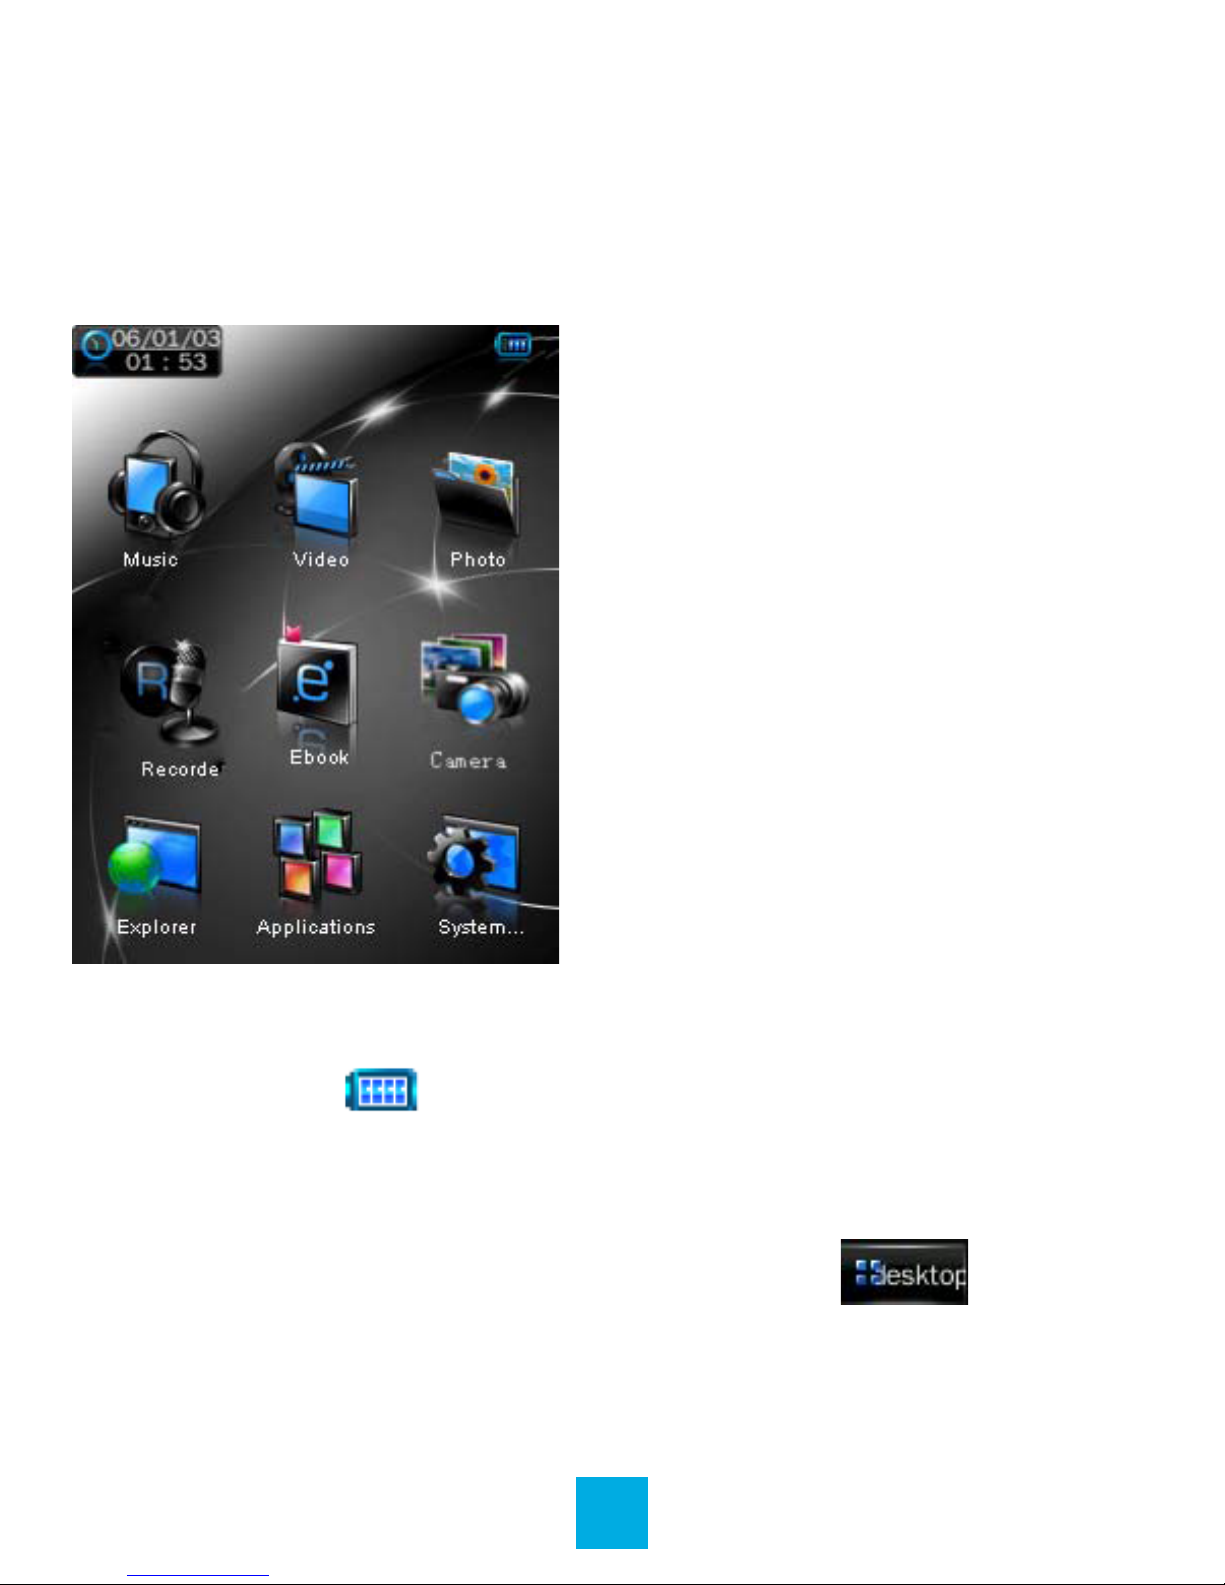
MAIN MENU
This player provides a touch screen Operating System for
direct operation. The main menu interface is shown in the
picture below:
1. The battery is shown on the upper right corner of the main
menu interface .
2. Under the main menu interface, choose and touch an icon
on the screen, and the player will enter the selected mode.
3. After the player enters a mode, touch the icon on
the bottom right corner to return to the main menu.
12
Page 14
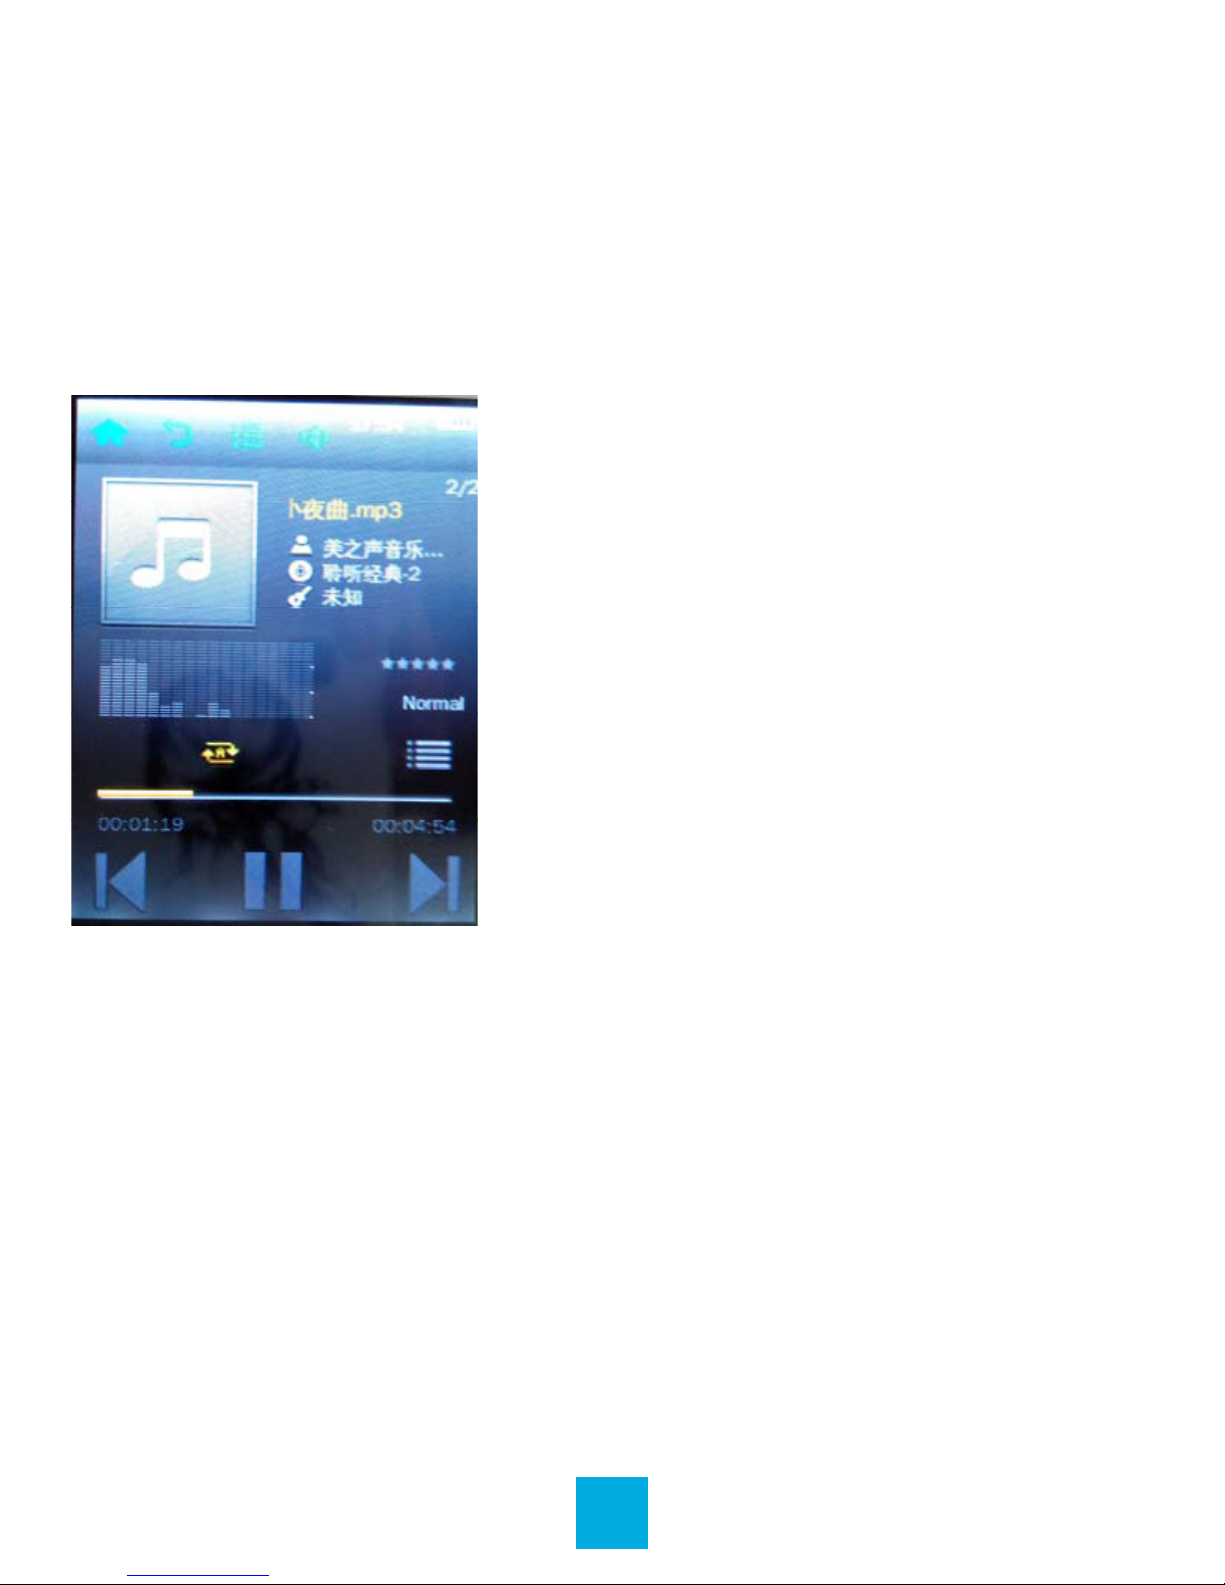
MUSIC
Plug the earphones into headphone jack. In the main interface,
touch the Music icon to enter Music mode. Compatible with
MP3 and WAV formats.
Main Interface
Music Setting Interface
Touch one of the 4 buttons at the bottom of the interface to
enable an appropriate function.
Lyrics Display
The player is compatible with lyrics les of LRC format and
enables playing songs with synchronous lyrics. The name of
the lyrics le should be the same as that of the song le. The
lyrics of the song will be displayed on the playing interface.
13
Page 15
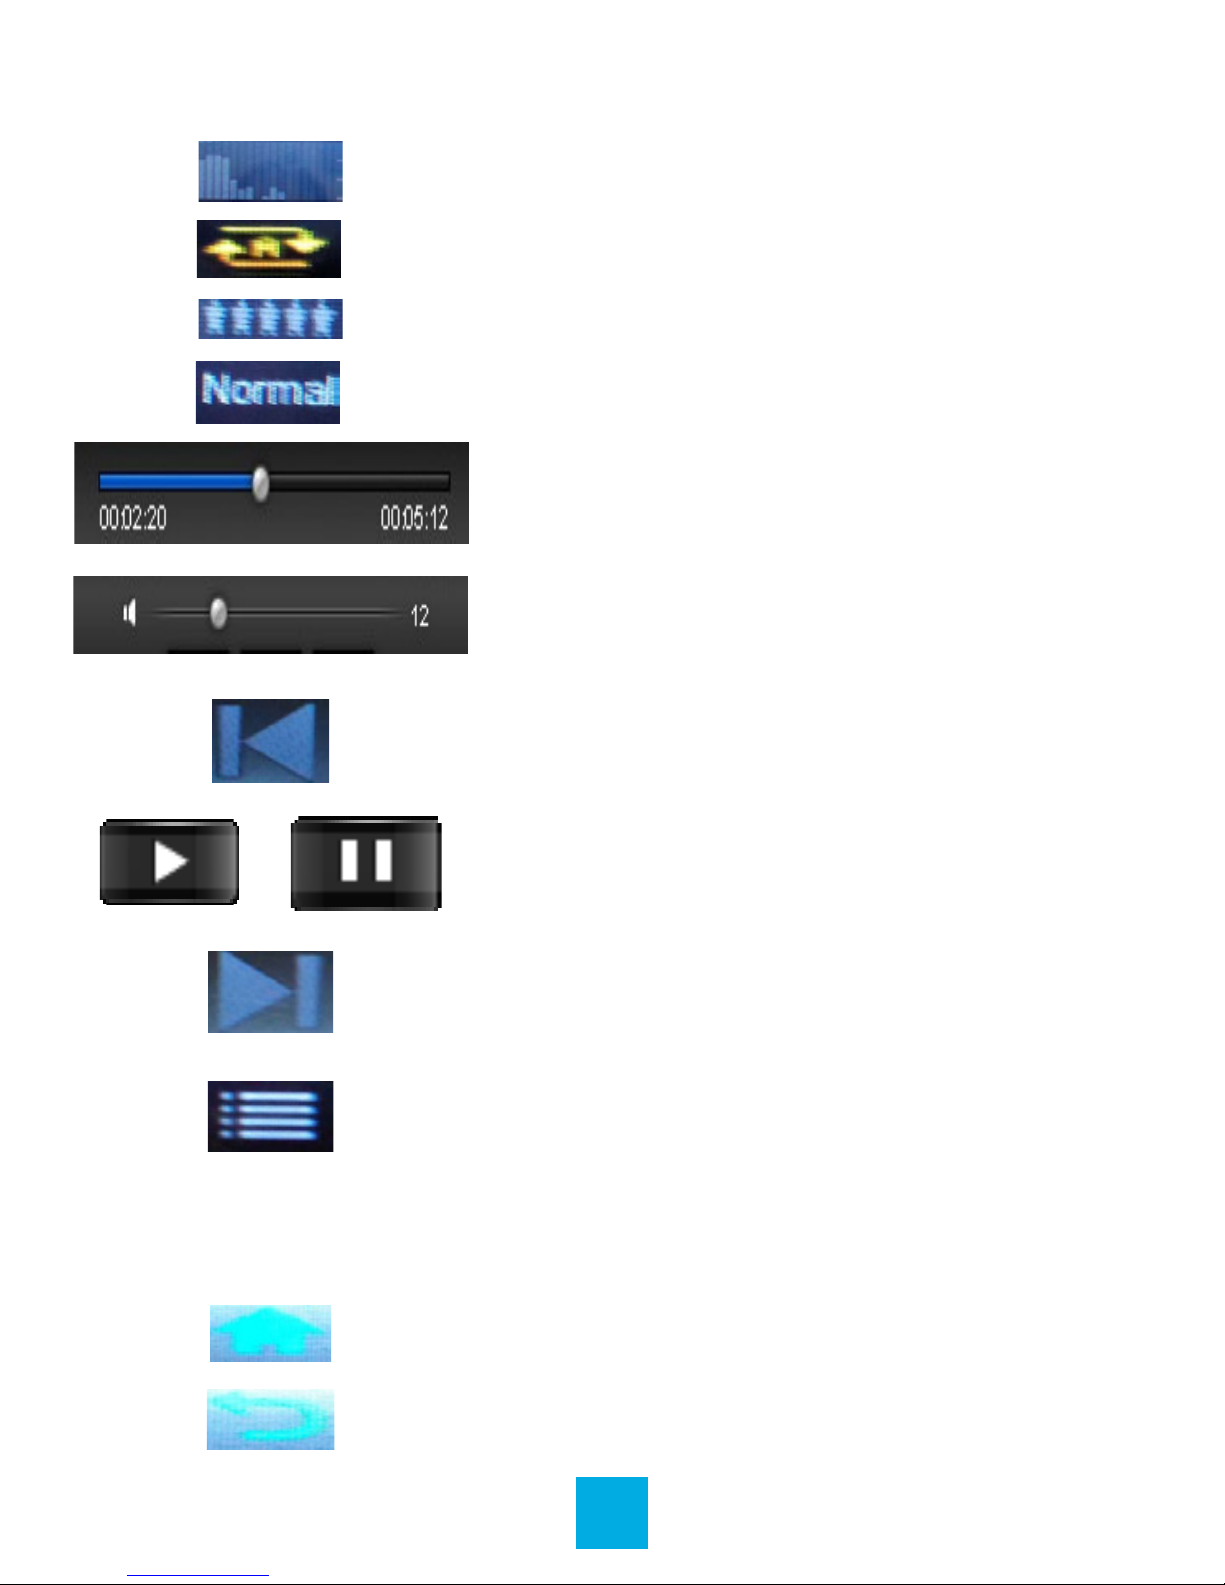
Icon Description
Display mode.
Playing mode.
Playing rating mode.
Playing EQ style.
Song playing progress bar: Drag
the bar to adjust playing progress.
Volume bar: Drag the bar to adjust
volume.
Previous: Skip to previous song or
long touch for fast rewind.
Play: Touch the play icon, and it will
change to the pause icon.
Next: Skip to the next song or long
touch for fast forward.
Settings: Select EQ, Play Mode,
Display Mode, Add to My Playlist, Set
Rating, Add Tag, Delete, Advanced,
and Information.
Return to the main menu.
Return to the previous interface.
14
Page 16
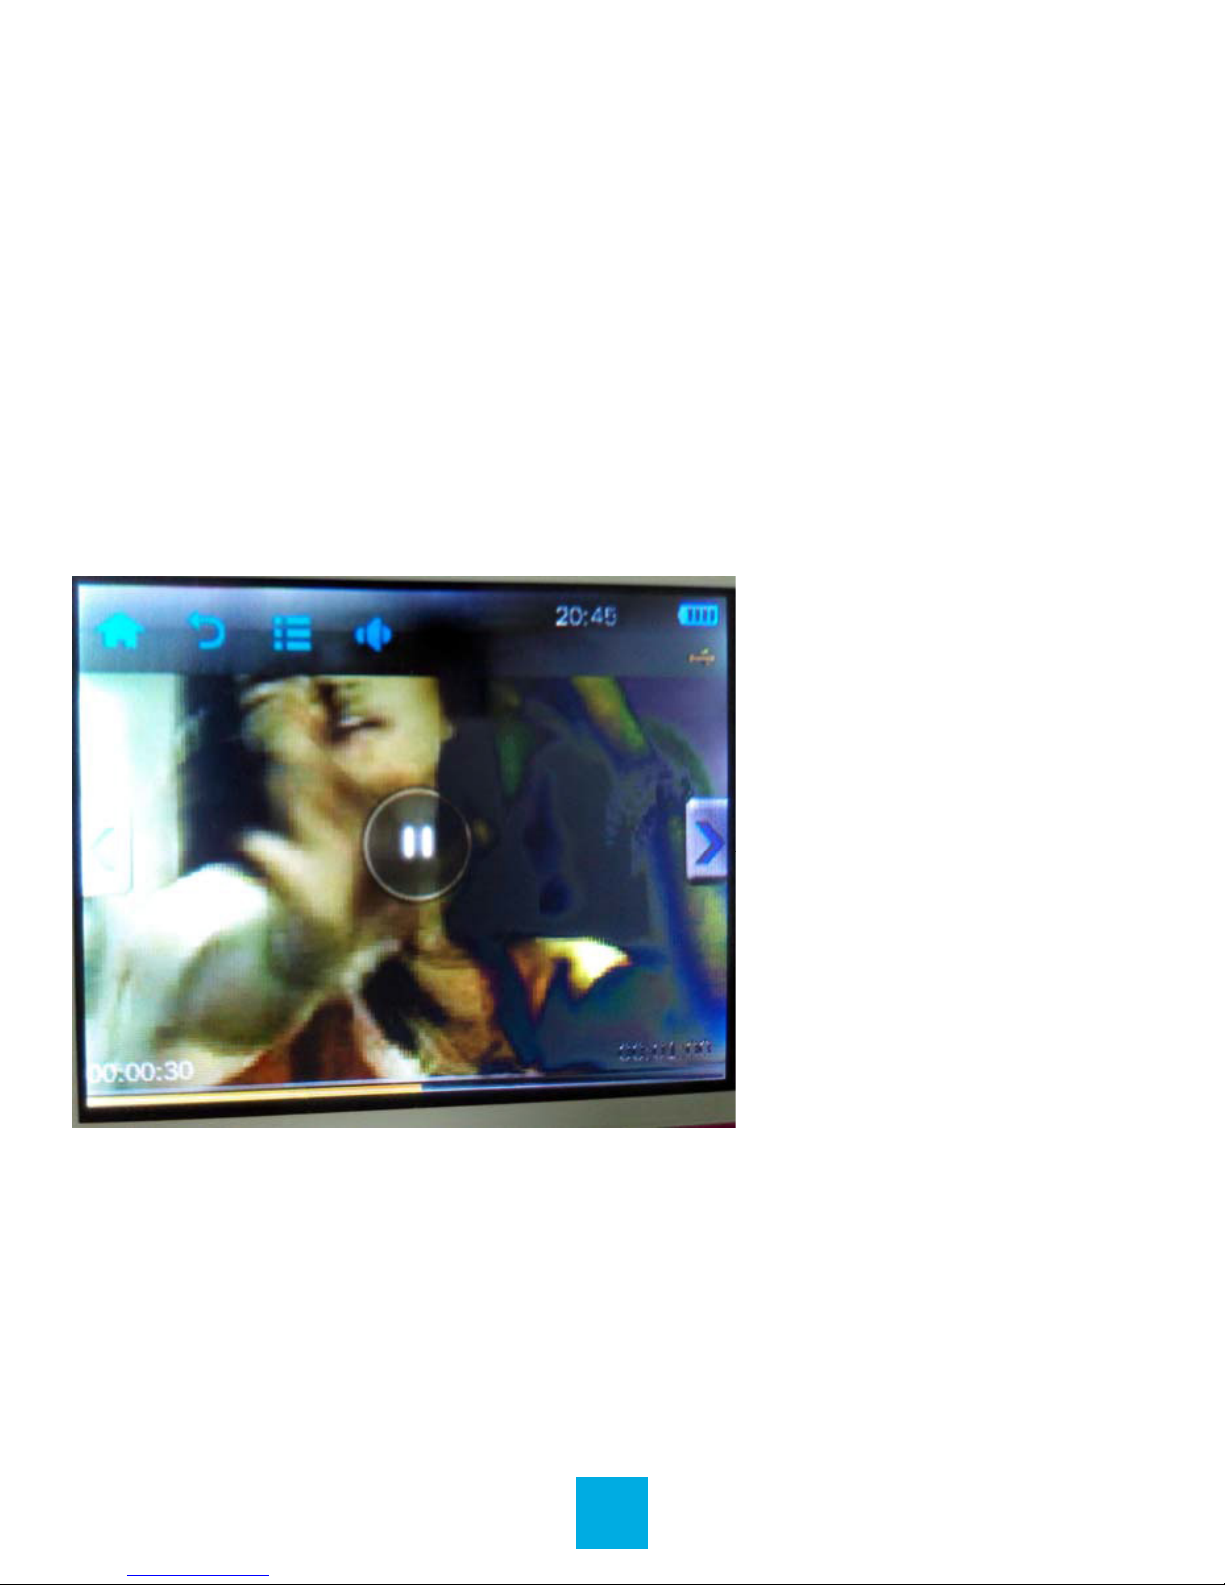
VIDEO
Video mode will allow you to watch your movie and video les
loaded on the player. Compatible with AVI (XVID), WMV (non
encrypted), and FLV formats.
Note: If you are having a hard time viewing your video les,
please convert them using the AVI conversion tool included
with the player. See page 33.
Main Interface
Delete Video
If you want to delete the video, touch the Delete option. A box
will open. Click on the word Yes and the video will be removed
from your device.
15
Page 17
Icon Description
Play: Touch and it will change to pause button,
and touch again to continue playing.
Volume: Touch it and the Volume bar will pop
out at the bottom. Drag the bar to adjust
volume.
Previous: Touch and it will change to the previous video.
Next: Touch and it will change to the next
video.
Return to the previous interface.
Return to the main menu.
16
Page 18
PICTURES
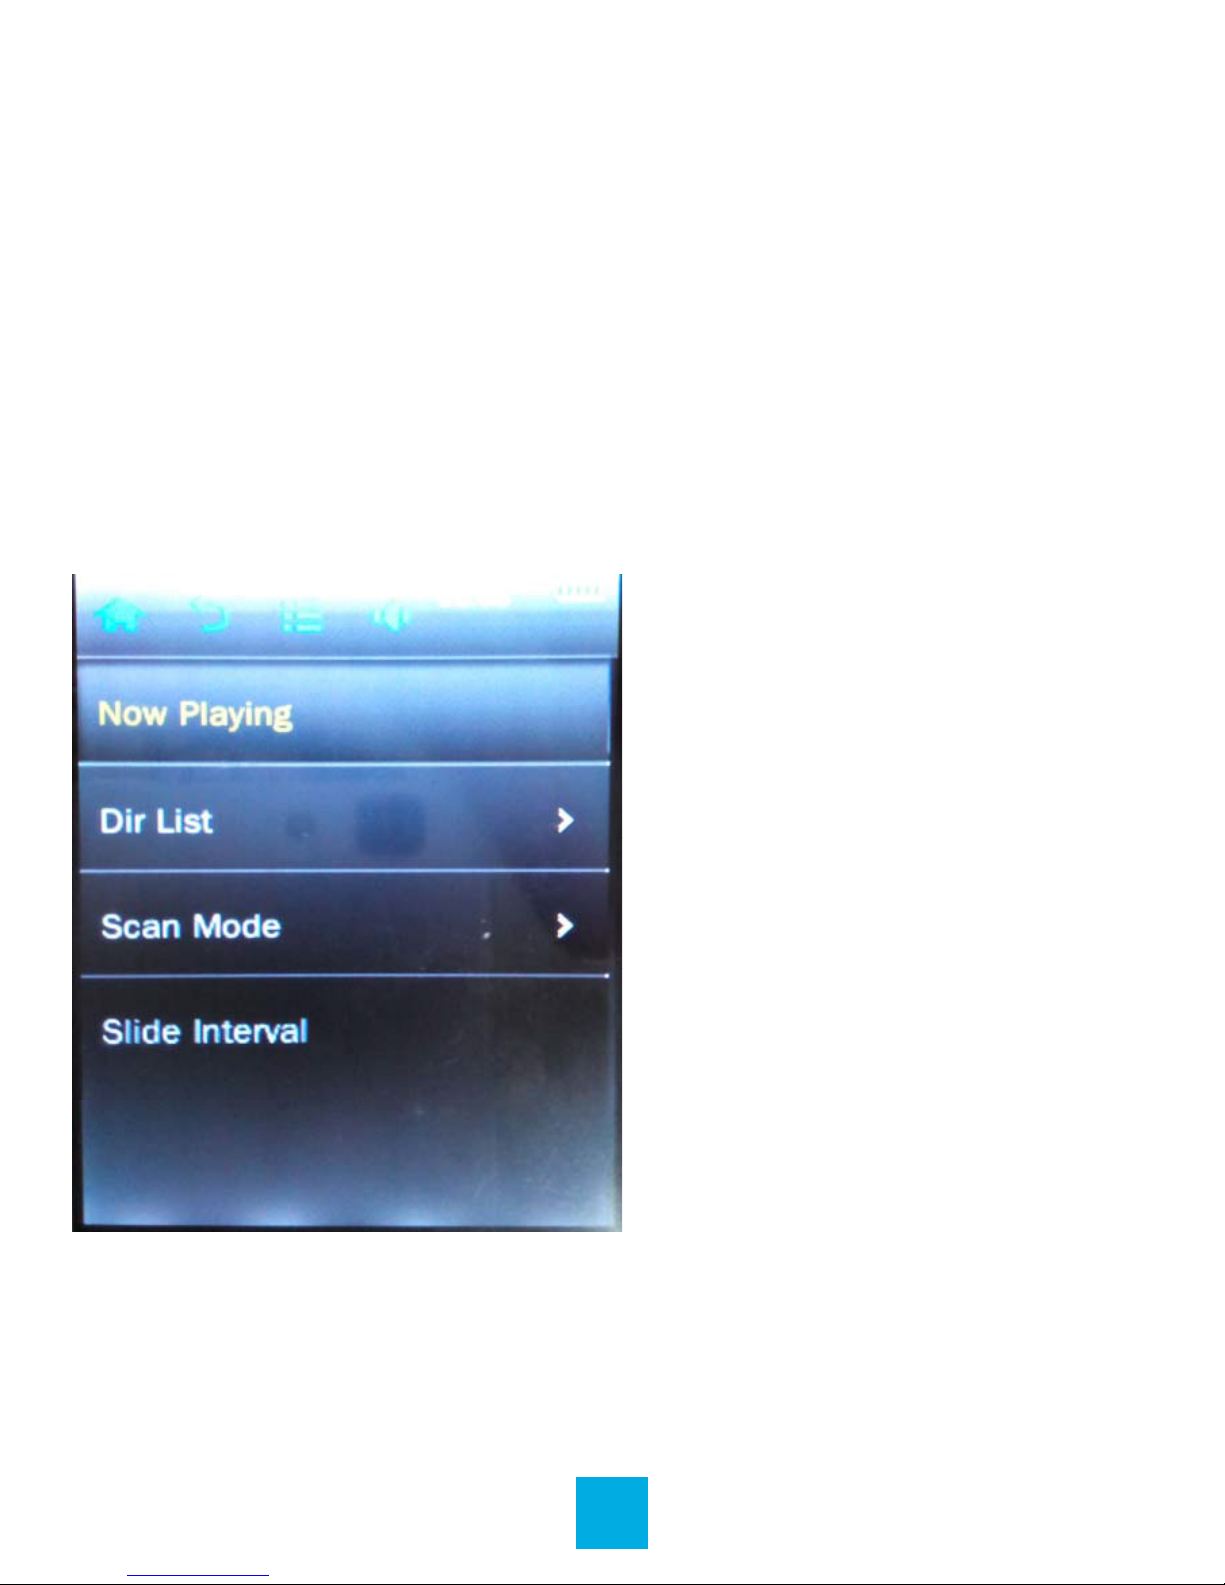
Photo mode will allow you to view your image les, whether
they are photos, computer generated images, album art, etc.
Compatible with JPEG, BMP, GIF, PNG, and TIFF.
Note: We recommend converting your les to 320x240 or
240x320 dimensions before loading them to the player for
optimum quality.
Main Interface
17
Page 19
Browse Pictures
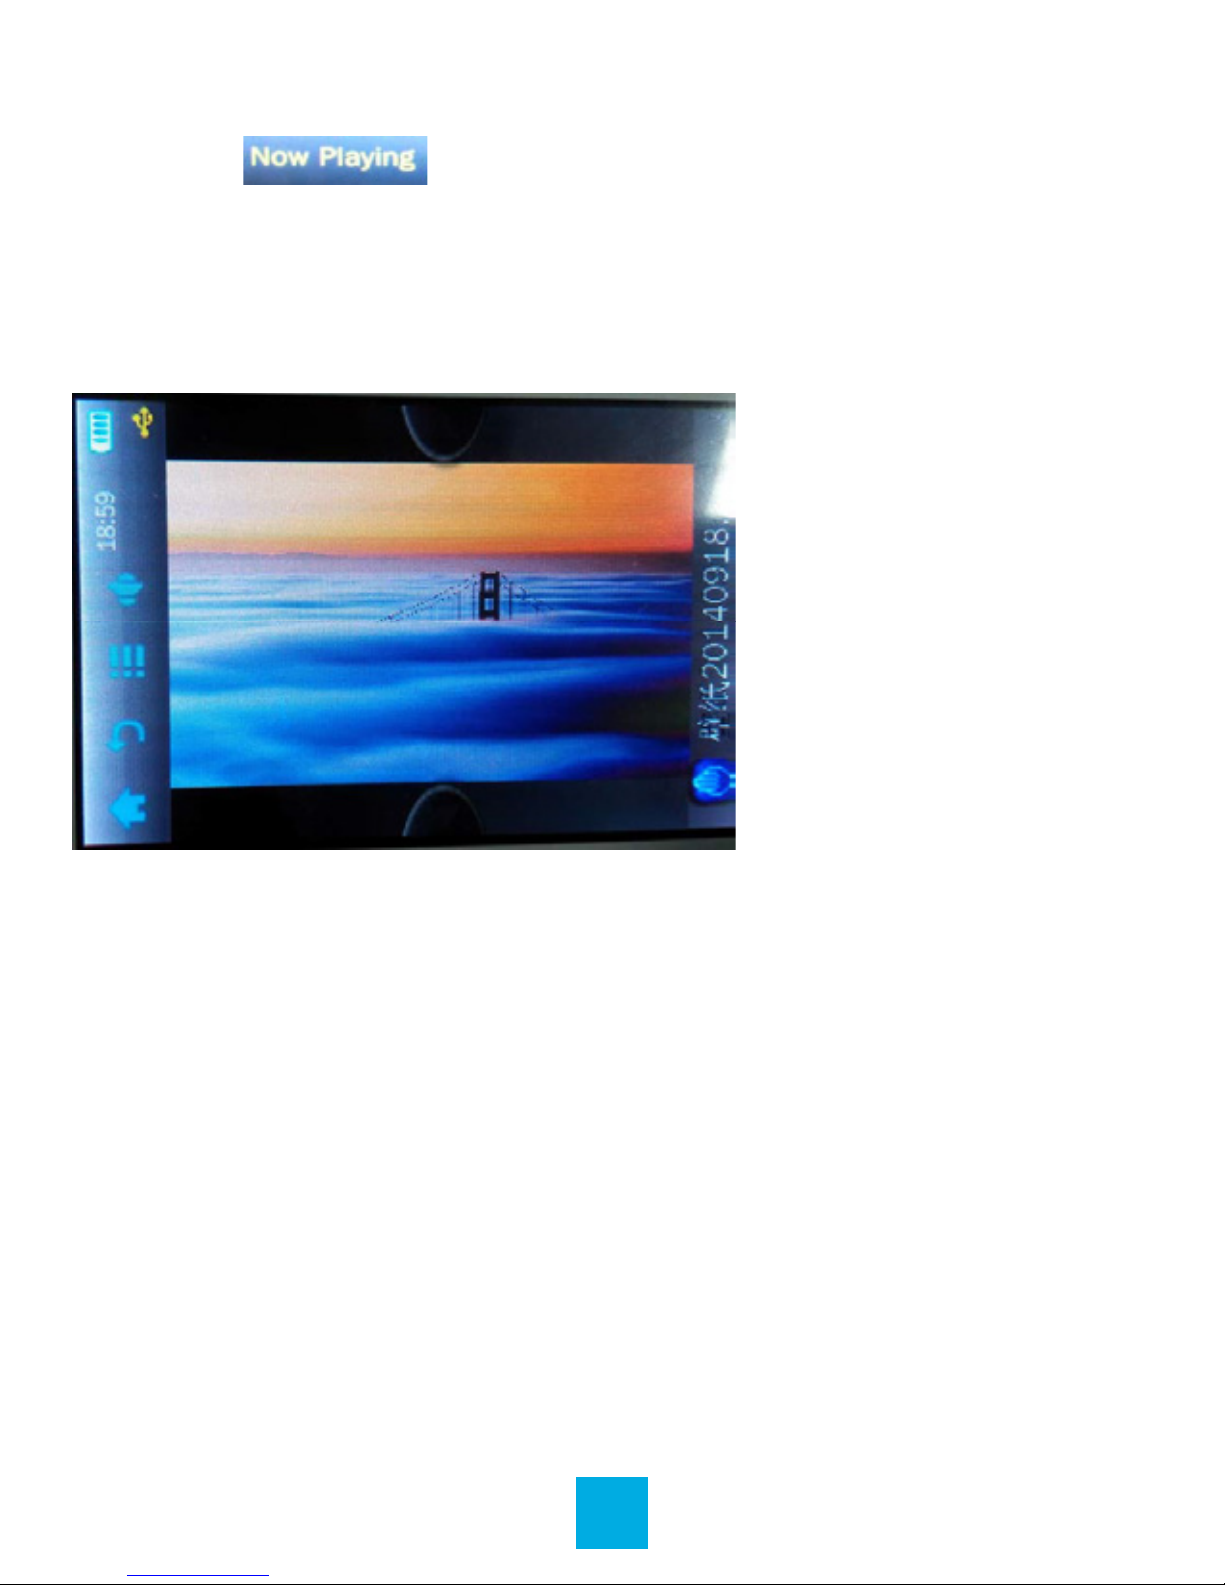
1. Touch .
2. Touch the thumbnail twice to browse pictures. Touch the
picture, and the icons will appear automatically at the bottom
of the screen.
Delete Picture
If you want to delete the photo, touch the Delete option. A box
will open. Click on the word Yes and the photo will be removed
from your device.
18
Page 20

Icon Description
Settings: Set Up Rotate, Zoom, Slide Interval,
Set as Desktop, and Delete.
Previous: Previous picture.
Next: Next picture.
Return to the previous interface.
Return to the main menu.
19
Page 21
eBOOK
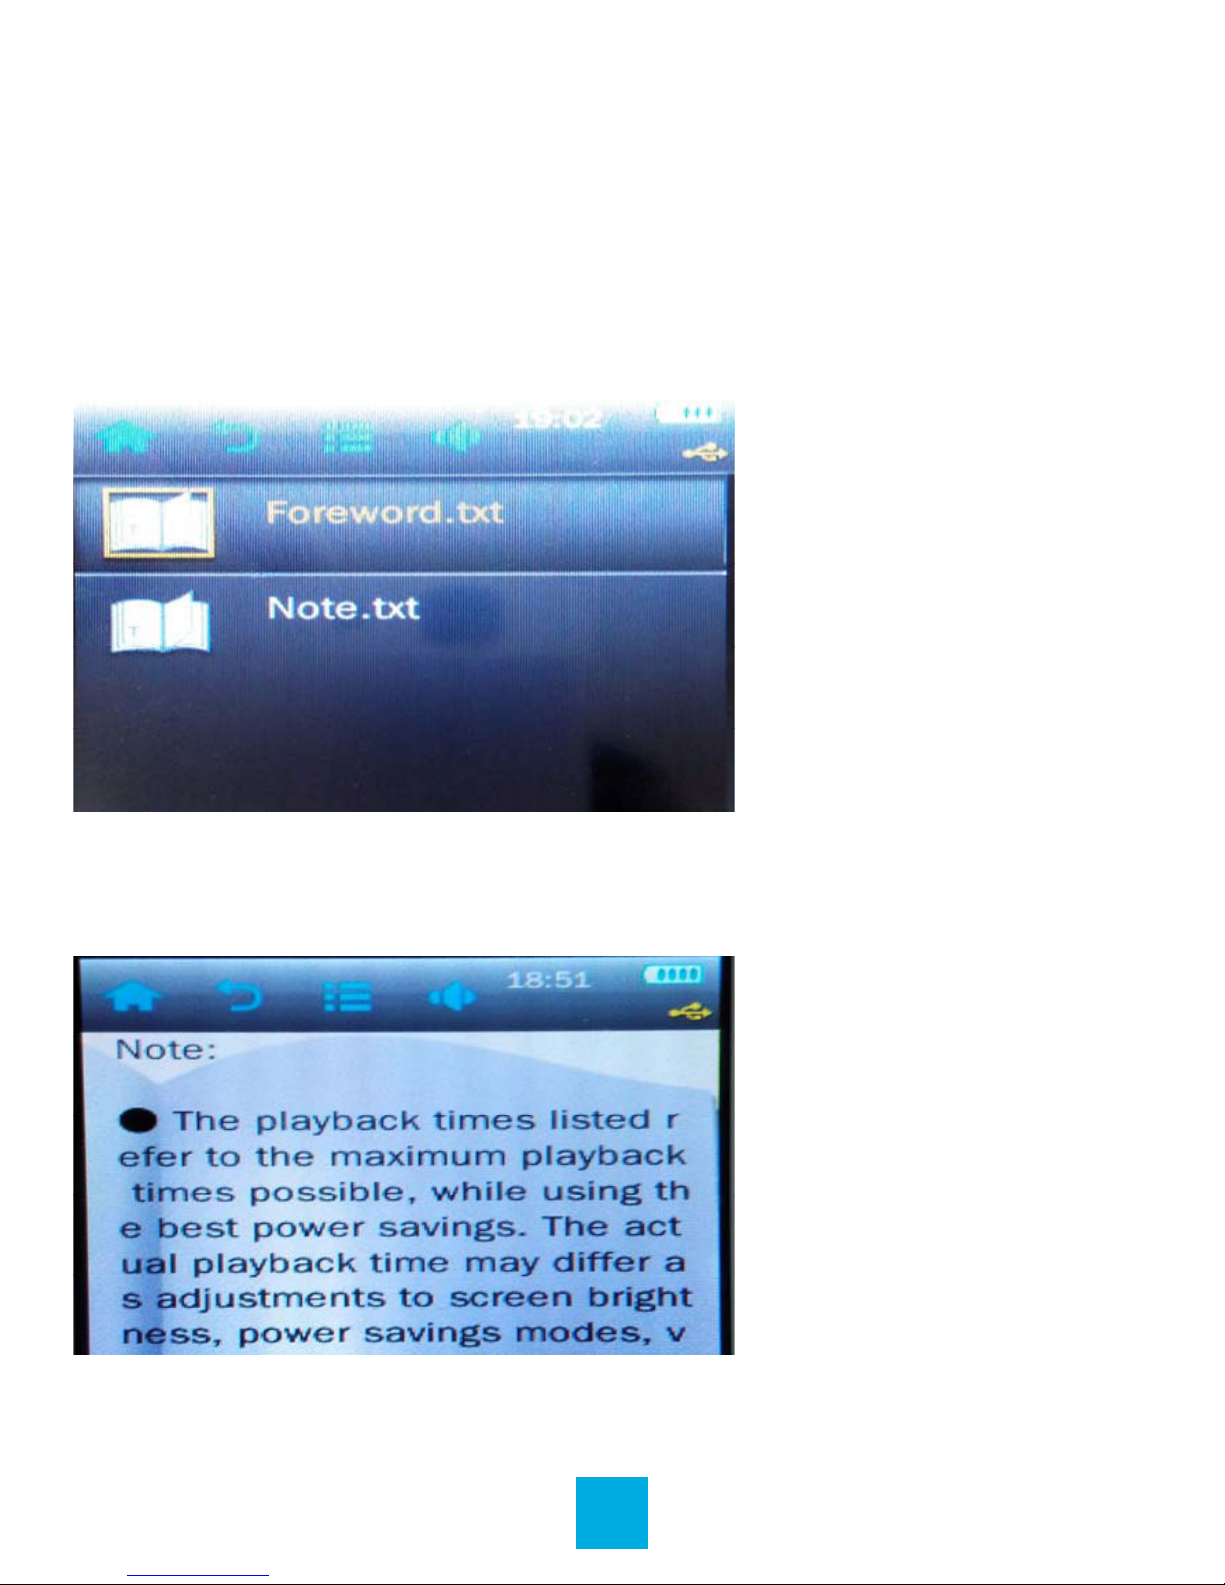
This player will display only eBook and text les which are in
TXT format. You can create these les using your Windows
Notepad or WordPad programs.
Main Interface
View Text File
Select a TXT le to enter eBook browser interface.
20
Page 22
Delete Text File
If you want to delete the TXT le, touch the Delete option.
A box will open. Click on the word Yes and the le will be
removed from your device.
Icon Description
Settings: Skip to, Auto Reading Speed,
Add Tag, Font Size, Font Color, and Delete File.
Return to the previous interface.
Return to the main menu.
21
Page 23
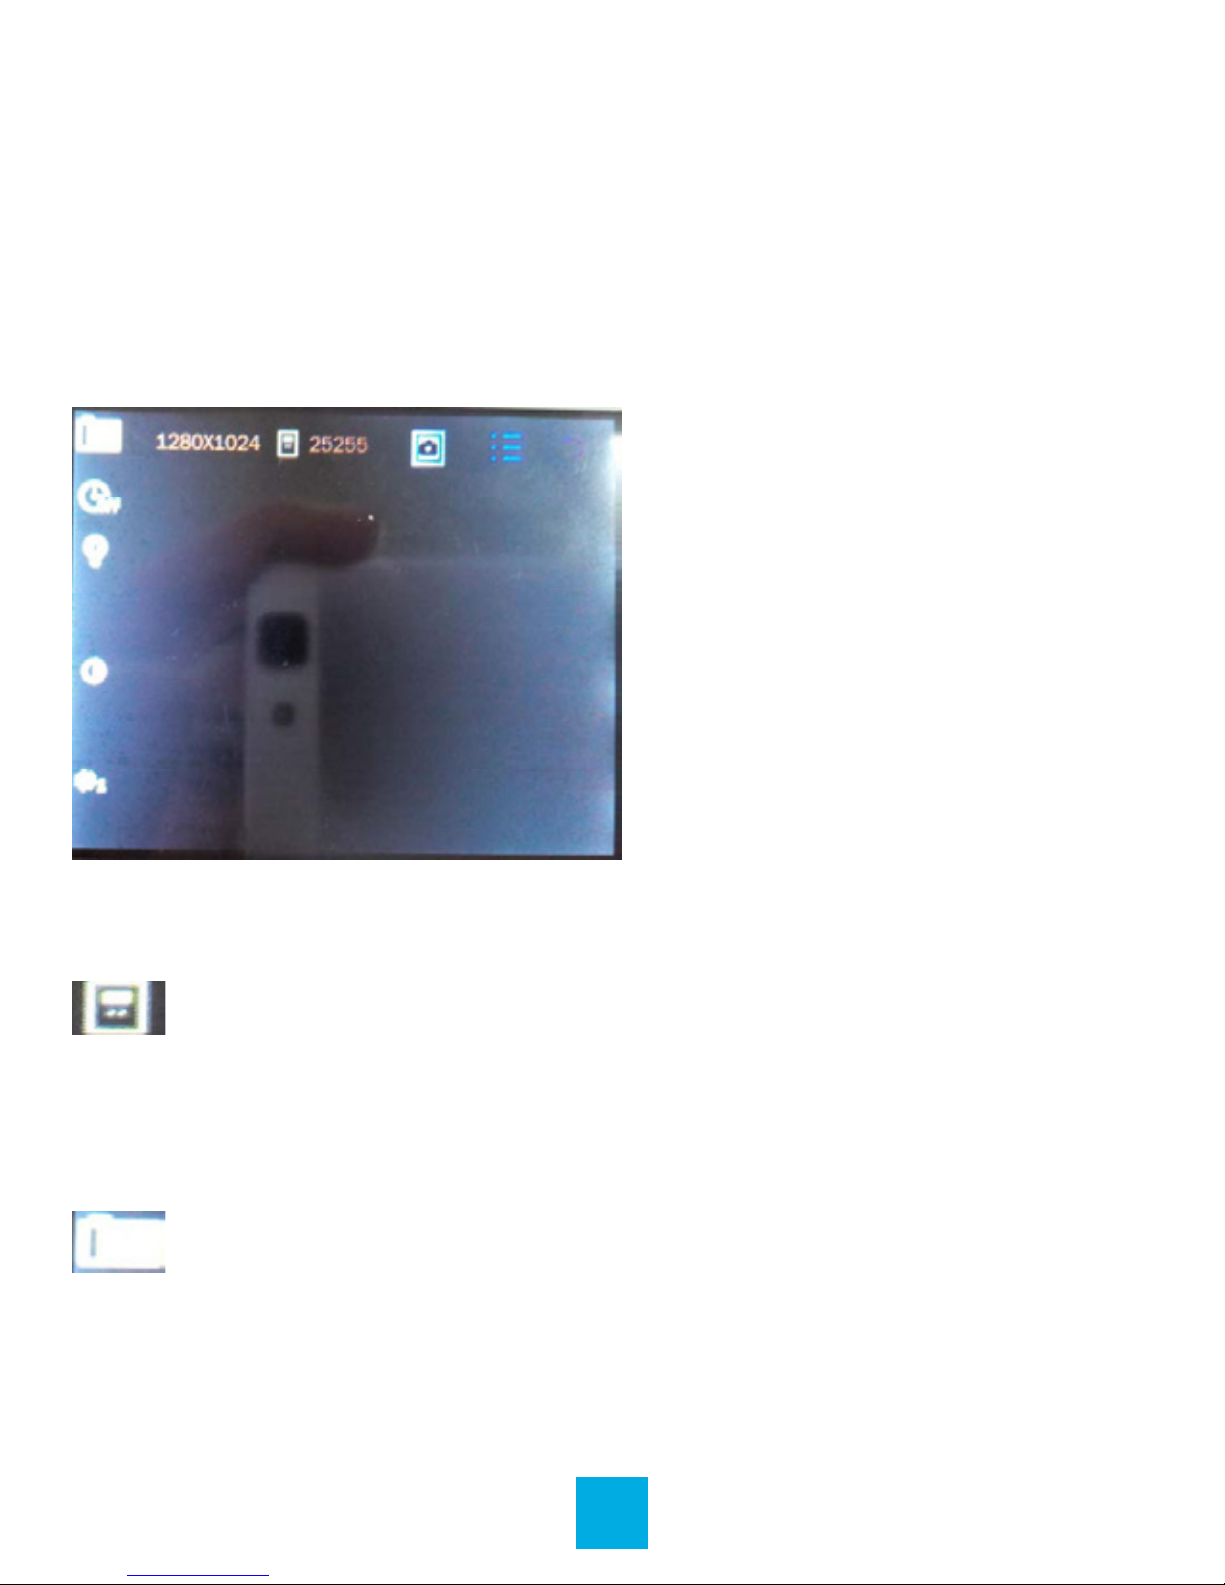
PHOTO CAMERA
The player comes with a 1.3MP digital camera built in which
will allow you to snap pictures, record video and even act as a
webcam!
Camera Interface
Icon Description
Space: Shows the remaining number of
pictures you can take in your current settings,
until the memory is full.
Swap: Swap between Camera and Video
recorder mode.
22
Page 24

Resolution: Allows you to adjust the resolution
of pictures you take. Options are 1280x960,
1024x768, 640x480, 320x240. Default is
1280x960.
Snap: Briey touch the Camera icon to take
pictures.
Return to the previous interface.
23
Page 25
VIDEO CAMERA
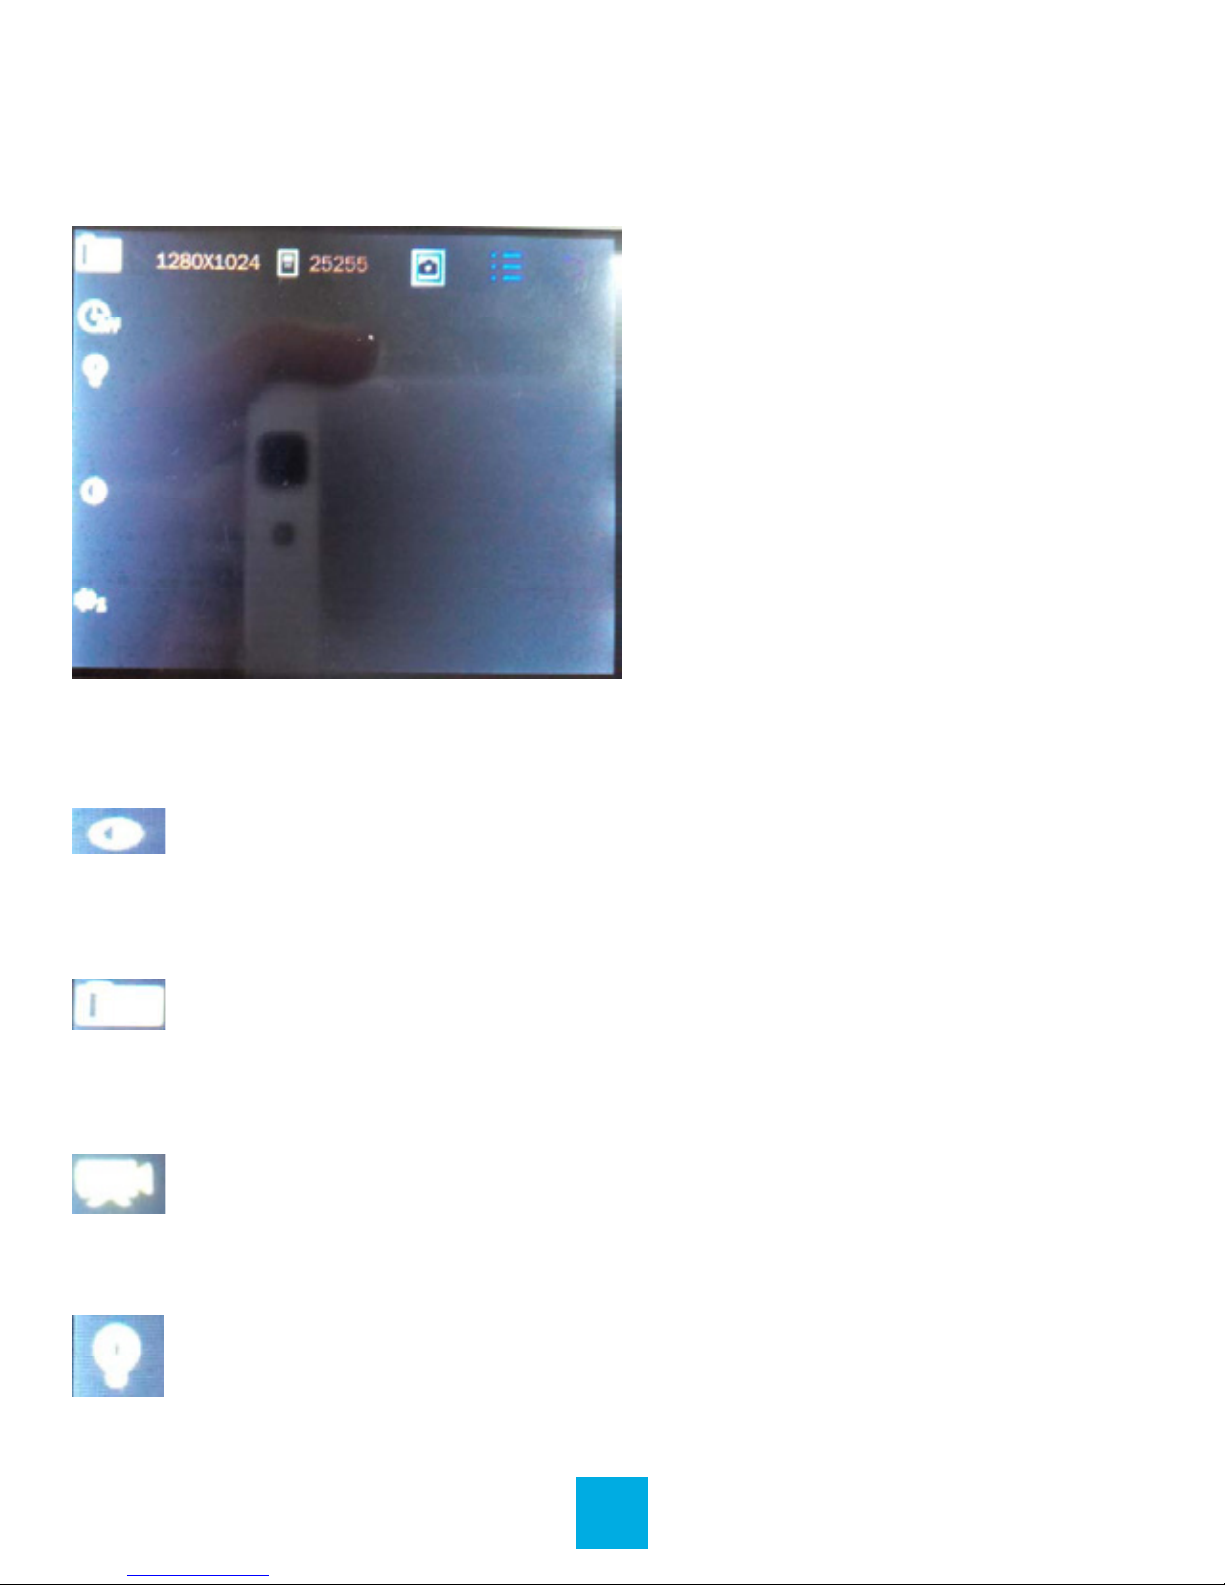
Video Interface
Icon Description
Lighting: Allows you to adjust for lighting.
Choose from Auto, Daylight, Cloudy or Inside.
Swap: Swap between Video Recorder and
Camera mode.
Video Mode: Takes you to Video mode, and
allows you to browse videos you have taken.
Resolution: Allows you to change the size of
video les you record. Options are 224x176,
176x144, 320x240. Default is 320x240.
24
Page 26

Record: Touch the Video Record icon to start
recording.
Return to the previous interface.
PC CAMERA
When the player is powered on, select PC camera, and
connects the device to your computer’s USB port. Your
computer will run a setup and install the device as a PC
camera, which will allow you to use the device as a webcam.
CALENDAR
This simply displays a calendar on the screen of the player.
Tapping the or icons will adjust which month or year you
are looking at. You can tap a date on the calendar to turn the
date blue.
CALCULATOR
This calculator will act exactly as a standard calculator. Simply
tap the icons.
25
Page 27
RECORDER
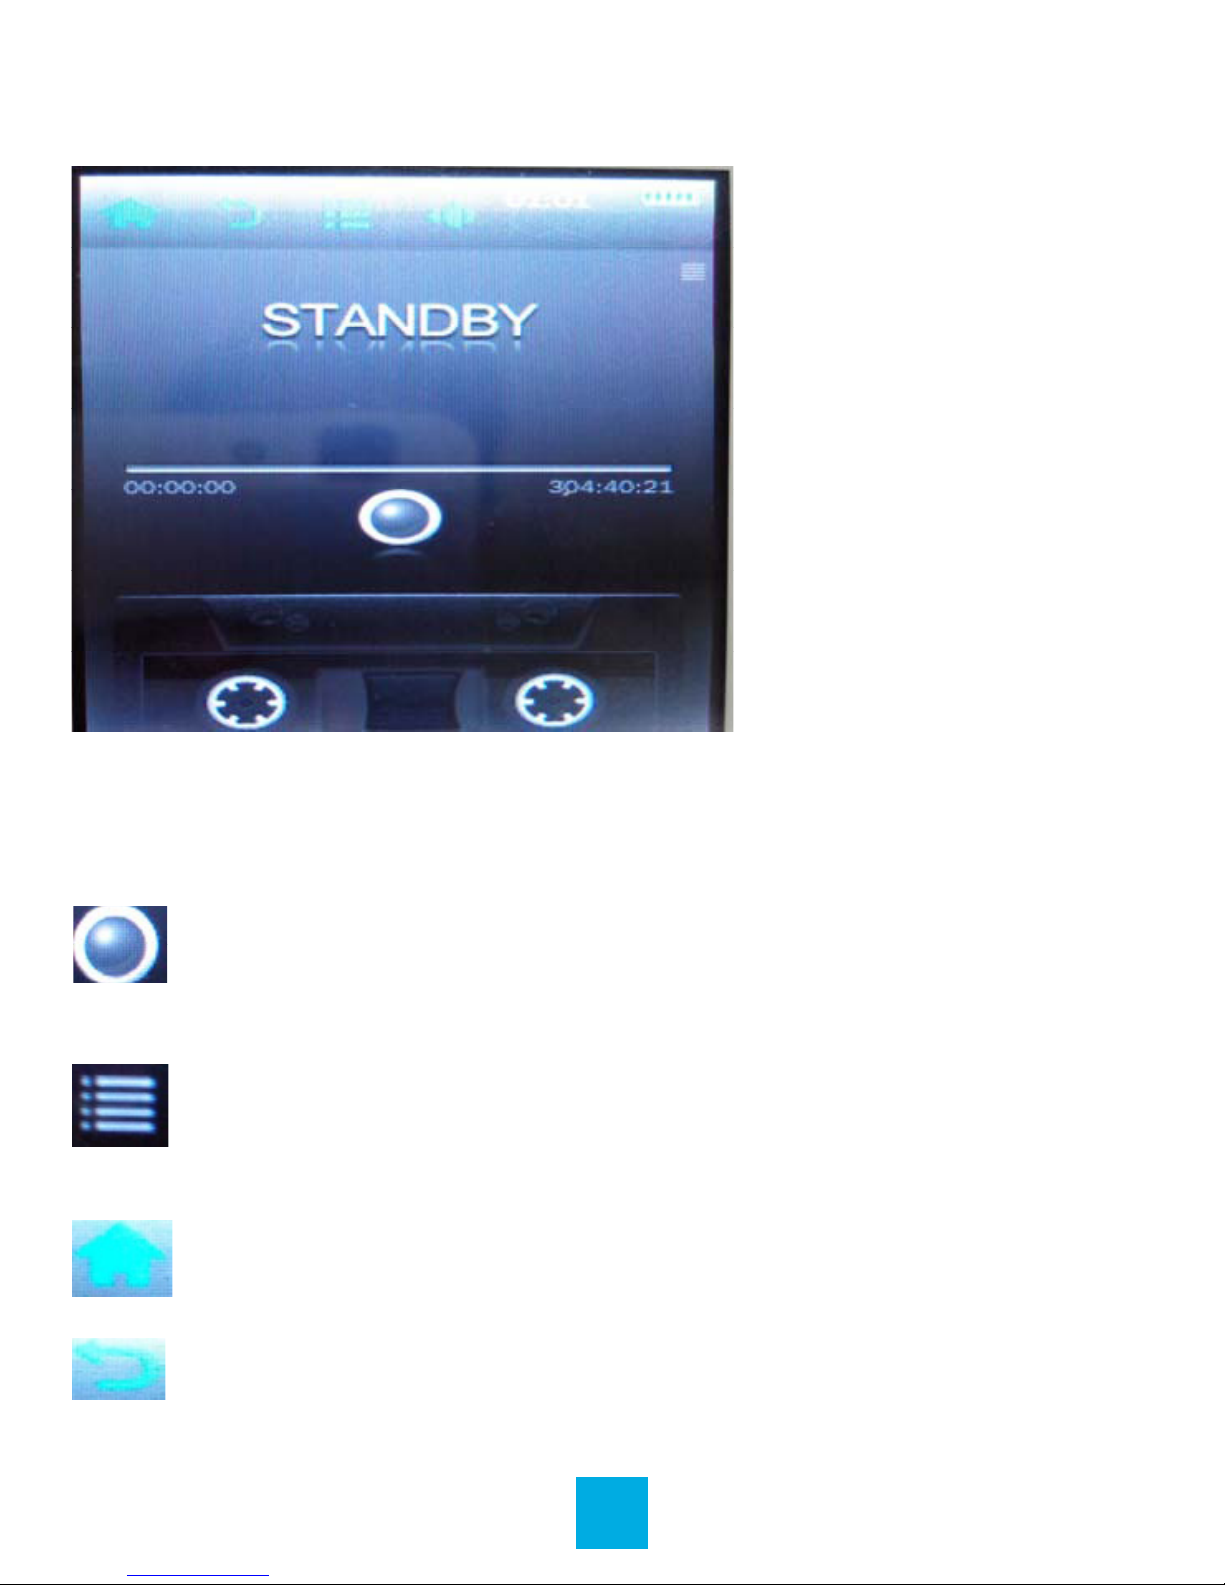
Icon Description
Stop: Touch it and it will change to play icon to
enter Recording mode.
Settings: Record Format, Record Quality,
Record Gain, Record Mode, and Save Path.
Return to the previous interface.
Return to the main menu.
26
Page 28

APPLICATION
The Applications item on the main menu allows you to access
one of several extra applications on the player.
Please note that applications may be added or removed as
rmware changes on the player, so not all items shown in
this section may be available for use, or some applications not
described in this manual may be available on your player. For
instruction on using any application loaded to the player which
is not described in the manual, please contact our technicians
at 1-866-358-6640.
Notebook
Touch Notebook icon to enter the notebook mode, then you
can write down the note. When you have nished, touch the
OK icon to save the le. Then on the notebook content, you
can scan your note.
27
Page 29

SETTINGS
Player Information
Touch the Player icon for relevant product information.
Set Time
This will allow you to adjust the date and time, which is
displayed on most screens of the player. Setting the 24 hour
time to on or off will change the way time is displayed, for
example, 3PM will display as 15:00 if set to on, and 3:00 if set
to off. Tap the or icons next to each item (year/month/
day/etc.) to adjust the value of that item.
Language
Select to choose different languages available for the player.
Display
Allows you to adjust screen brightness and backlight time.
Back Light Time
Allows you to adjust the length of time that the backlight will
stay lit when the player is idle. Tap the or icons to adjust
this item.
Brightness
Allows you to adjust the screen brightness. Tap the numbered
icons to adjust your screen brightness, from 1-5. 5 is the
brightest setting, and will use the most power.
28
Page 30
Note: Brightness setting 1 will make your screen exceedingly
hard to view, and may make readjusting your settings
neccessary! Please exercise extreme caution when adjusting
your brightness.
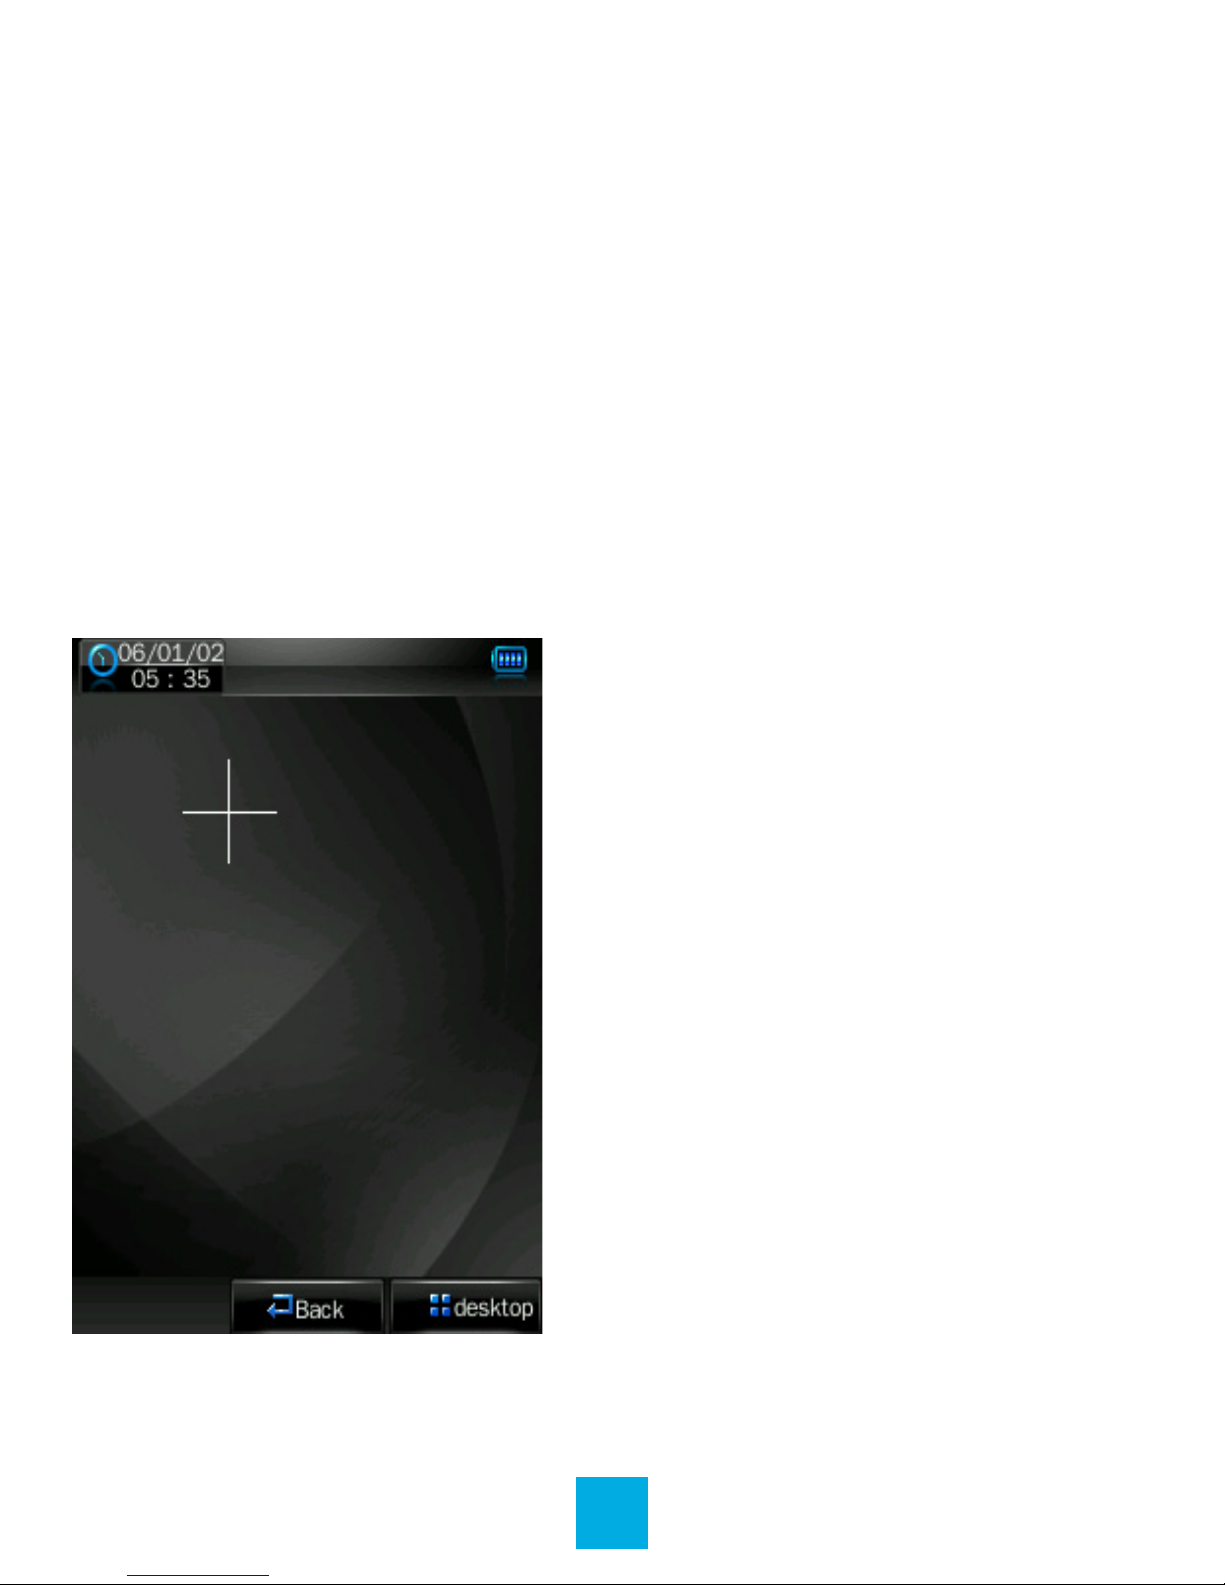
Calibrate
This setting will allow you to calibrate the screen of your player
to increase the accuracy of the touch screen. The screen
comes pre-calibrated, but you can calibrate it to your specic
touch using this feature. Just tap the cross hair in the middle to
calibrate the device.
29
Page 31

Power Off
This option allows you to set a timer to automatically power
the player off. This setting is great if you plan on dozing off to
some music, but don’t want to drain the battery of your device.
Tap the or icons to adjust this item.
Default Settings
This option will allow you to restore the player to factory
defaults.
Upgrade
This option will allow you to update the rmware on the player.
Firmware updates will be released at www.jlabaudio.com.
Please check there regularly for updates.
Other Settings
Touch the Other Settings in the system setting interface
to enter other setting mode to format main disk or format card.
30
Page 32
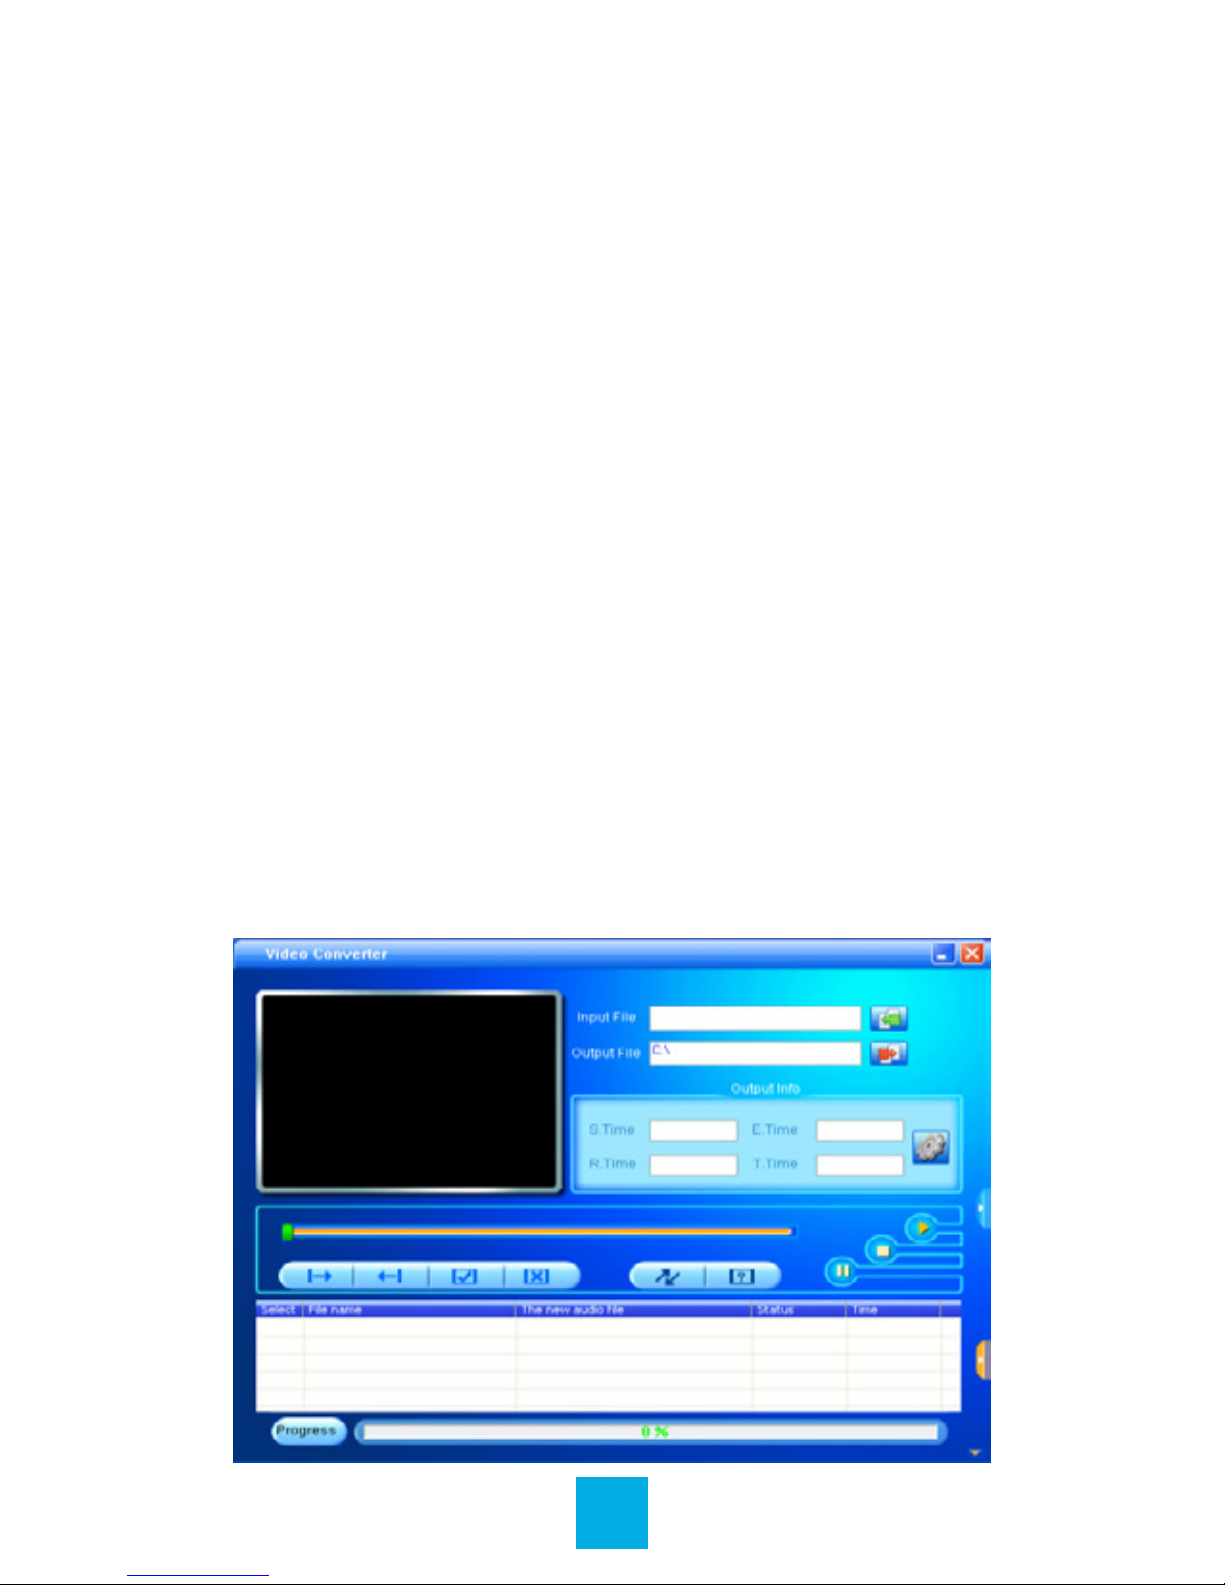
VIDEO CONVERSION
If your video les will not play on your Eclipse by JLab player,
you can convert them using the conversion tool which is
included with the device. To do so, you will need to rst install
the software.
When you connect the player to your computer, it will act as a
removable disk drive. Open the drive, as described in the Copy
and Paste section of the manual. Inside, there is a folder called
Tools & Manual. Open this folder, and then the Tools folder.
Inside is a Setup.exe application. Run this le and follow the
onscreen instructions. Please note that depending on your OS
version and security settings you may need to right click on the
le and select Run as Administrator.
Once installed, you will have an item called Media Player
Utilities in your programs list. Select this item and then Video
Converter, or AVI Converter.
31
Page 33
Once the conversion tool is open, the rst step in actually
converting and loading the le is to select the le you wish to
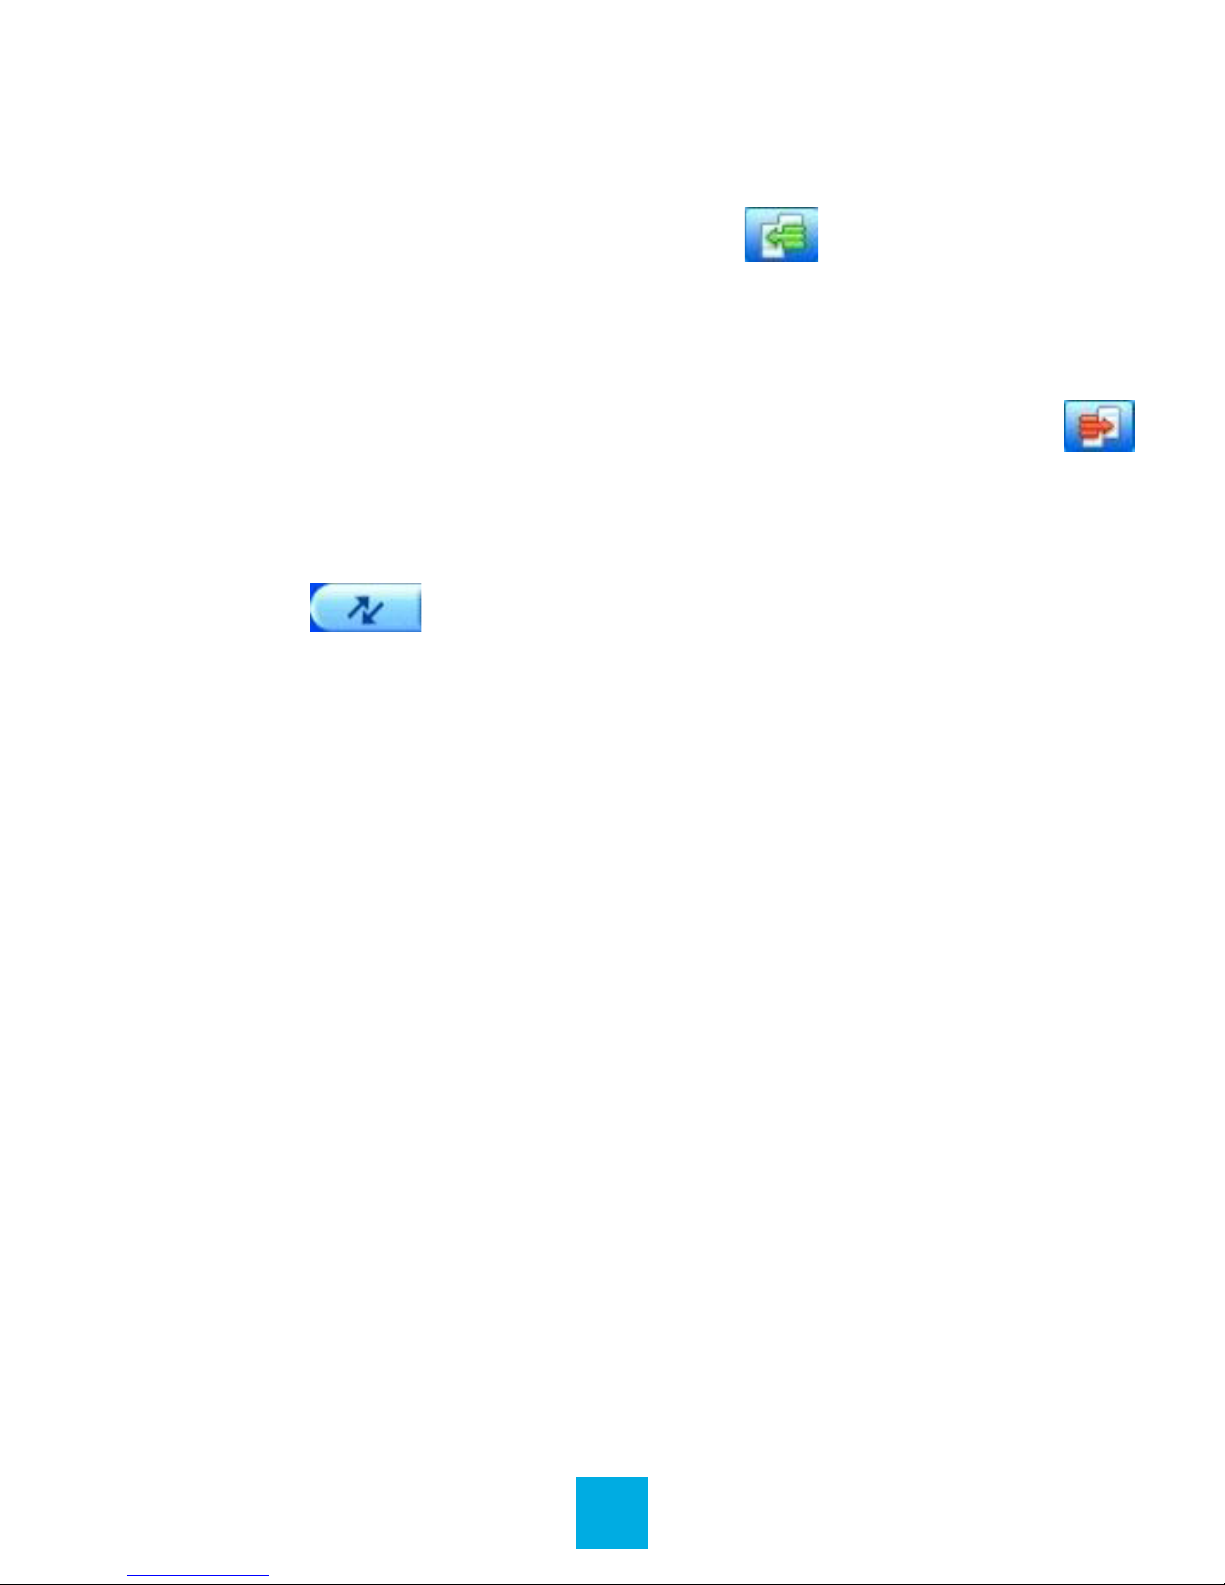
convert. Locate the Input File line towards the top of the
window, and select the Add le button and use the le
selection window to select the le you want to convert and
load. The second step is to select the location you want the
converted le saved to. Locate the Output File line immediately
below the Input File line and select the Video Path button
and use the browse for folder window to select the save
location. As this conversion tool is already calibrated to convert
your les for optimal quality, you simply need to select the
Begin button and the player will convert the le for you.
Please note that if the player is connected to your computer
when you open this tool, you will see an additional window to
the right of the main window. This is the media player window.
Please note that the window will display the drive letter
assigned to your player. If you have multiple players
connected, it will have an option for each drive. Below the
drive letter is a pie chart showing the amount of storage space
available and the amount used. There is also a check box
giving you the option to automatically copy the video le to
your drive. Selecting this will save you a step in loading your
video les, as the converter will save a copy of the converted
le to your computer, and then automatically load it on to the
player as well!
Once the le has nished converting and loading on to your
player, follow the Safely Remove Hardware instructions
outlined above, and enjoy your video.
32
Page 34

If you receive an error when attempting to convert a video
le, then you likely lack the proper video codecs on your
computer. There are several large codec packs which will
contain the majority of the common video codecs, such as
the K-Lite Mega codec pack, and the Storm codec pack.
We recommend downloading them from a trusted source
and installing them and attempting to convert the les then.
CONTACT US
If at any point, you have questions about your player or
experience an issue with your player, please feel free to
contact our technicians at [email protected]
or by phone at 1-866-358-6640.
Caution
Modications not approved by the party responsible for
compliance could void the user’s authority to operate the
equipment.
FCC INFORMATION
This equipment has been tested and found to comply
with the limits for Class B Digital device, pursuant to part
15 of the FCC rules. These limits are designed to provide
reasonable protection against harmful interference in a
residential installation. This equipment generate, uses and
can radiate radio frequency energy and, if not installed and
33
Page 35

used in accordance with the instructions, may cause harmful
interference to radio or telephone reception, which can be
determined by turning the equipment off and on, the user in
encouraged to try to correct the interference by one or more of
the following measures:
• Reorient or relocate the receiving antenna.
• Increase the separation between the equipment and the
receiver.
• Connect the equipment to an outlet on a circuit different from
that to which the receiver is connected.
• Consult the dealer or an experienced radio/TV technician for
help.
LIMITED MANUFACTURER’S
WARRANTY
1. Eclipse by JLab products carry a one year from date of
purchase warranty. This warranty is nontransferable.
2. JLab Audio warrants to the original registered end-user
purchaser that Eclipse by JLab products will be free from
defects in materials and workmanship for one year from the
date of new purchase. During the warranty period, and upon
proof of purchase the product will be repaired or replaced
(with the same or a similar model, which may be a refurbished
model) at JLab Audio option, without charge for either parts or
labor. This warranty shall not apply if the product is modied,
tampered with, misused, physically damaged, or subjected
34
Page 36

to abnormal working conditions (including, but not limited
to, electrical, re, and water damage). THIS WARRANTY
DOES NOT GUARANTEE YOU UNINTERRUPTED SERVICE.
REPAIR OR REPLACEMENT AS PROVIDED UNDER THIS
LIMITED WARRANTY IS THE EXCLUSIVE REMEDY OF THE
PURCHASER.
To obtain service under this warranty, you must contact
our Technical department at 1-866-358-6640 to obtain
an RMA number. JLab Audio will only replace or repair
product that is sent to us with an authorized RMA
number.
Return Merchandise Authorization (RMA)
1. Customers will be charged additional for testing and
repackaging when returned “bad” items are found to have no
problems or defects.
2. Items found to be out-of-warranty or not belonging to JLab
Audio will not be replaced. Instead, they will be returned back
to the customer freight-collect.
3. RMAs will be shipped back to customer via UPS ground
delivery. Express shipping will be at additional costs to the
customer.
4. All RMAs must be accompanied with a copy of original
receipt or invoice with name, return address and phone
number of customer.
35
Page 37

Exchanges
1. Items will not be cross-shipped for any reason.
2. The original receipt or invoice must accompany all
exchanges.
3. All exchanges must be shipped freight pre-paid by the
customer and include a pre-paid shipping label for shipment
back to the customer. Furthermore, the customer is expected
to insure all items being shipped back. JLab Audio is not
responsible for any losses or damages for such equipment.
Discrepancy & Shipping Damage
1. For wrong items, missing items, shipping damage, or other
discrepancy; customer should report to RMA department on
the day in which the items were received. Any claims after one
business day of receipt will not be honored.
2. For any shipping damage, customer must le a claim with
their carrier immediately. All items are shipped insured, thus
must be reported for coverage.
3. Customer is responsible for paying any freight charge
caused by refused shipment or unclaimed goods.
4. JLab Audio will make every reasonable effort to deliver on
time however; JLab Audio will not be liable for late or lost
shipments.
36
Page 38

Consequential Damages & Limitations
1. JLab Audio shall not be liable for any failure to perform or
delay in performing any of its obligations when such failure or
delay is due to circumstances beyond its reasonable control,
including, without limitation, any act of God, war, strike,
riot, re, ood, earthquake, lock-out, late or non-delivery by
suppliers, shortage or unavailability of materials, components
or transportation facilities, or any act, refusal to act, regulation,
order or intervention of any governmental authority.
2. Under no circumstances shall JLab Audio be liable for any
special, indirect, incidental or consequential damages of any
kind or nature whatsoever, including, without limitation; lost
goodwill, lost resale prots, loss of data or software, work
stoppage or impairment of other goods, and whether arising
out of breach of any express or implied warranty, breach of
contract, tort (including negligence), strict product liability or
otherwise, even if advised of the possibility of such damage or
if such damage could have been reasonably foreseen.
37
 Loading...