

Page 1
INSTALLATION
INSTRUCTIONS
517-278-1226 • [email protected] • www.jksmfg.com
491 W. Gareld Avenue, Coldwater, MI 49036
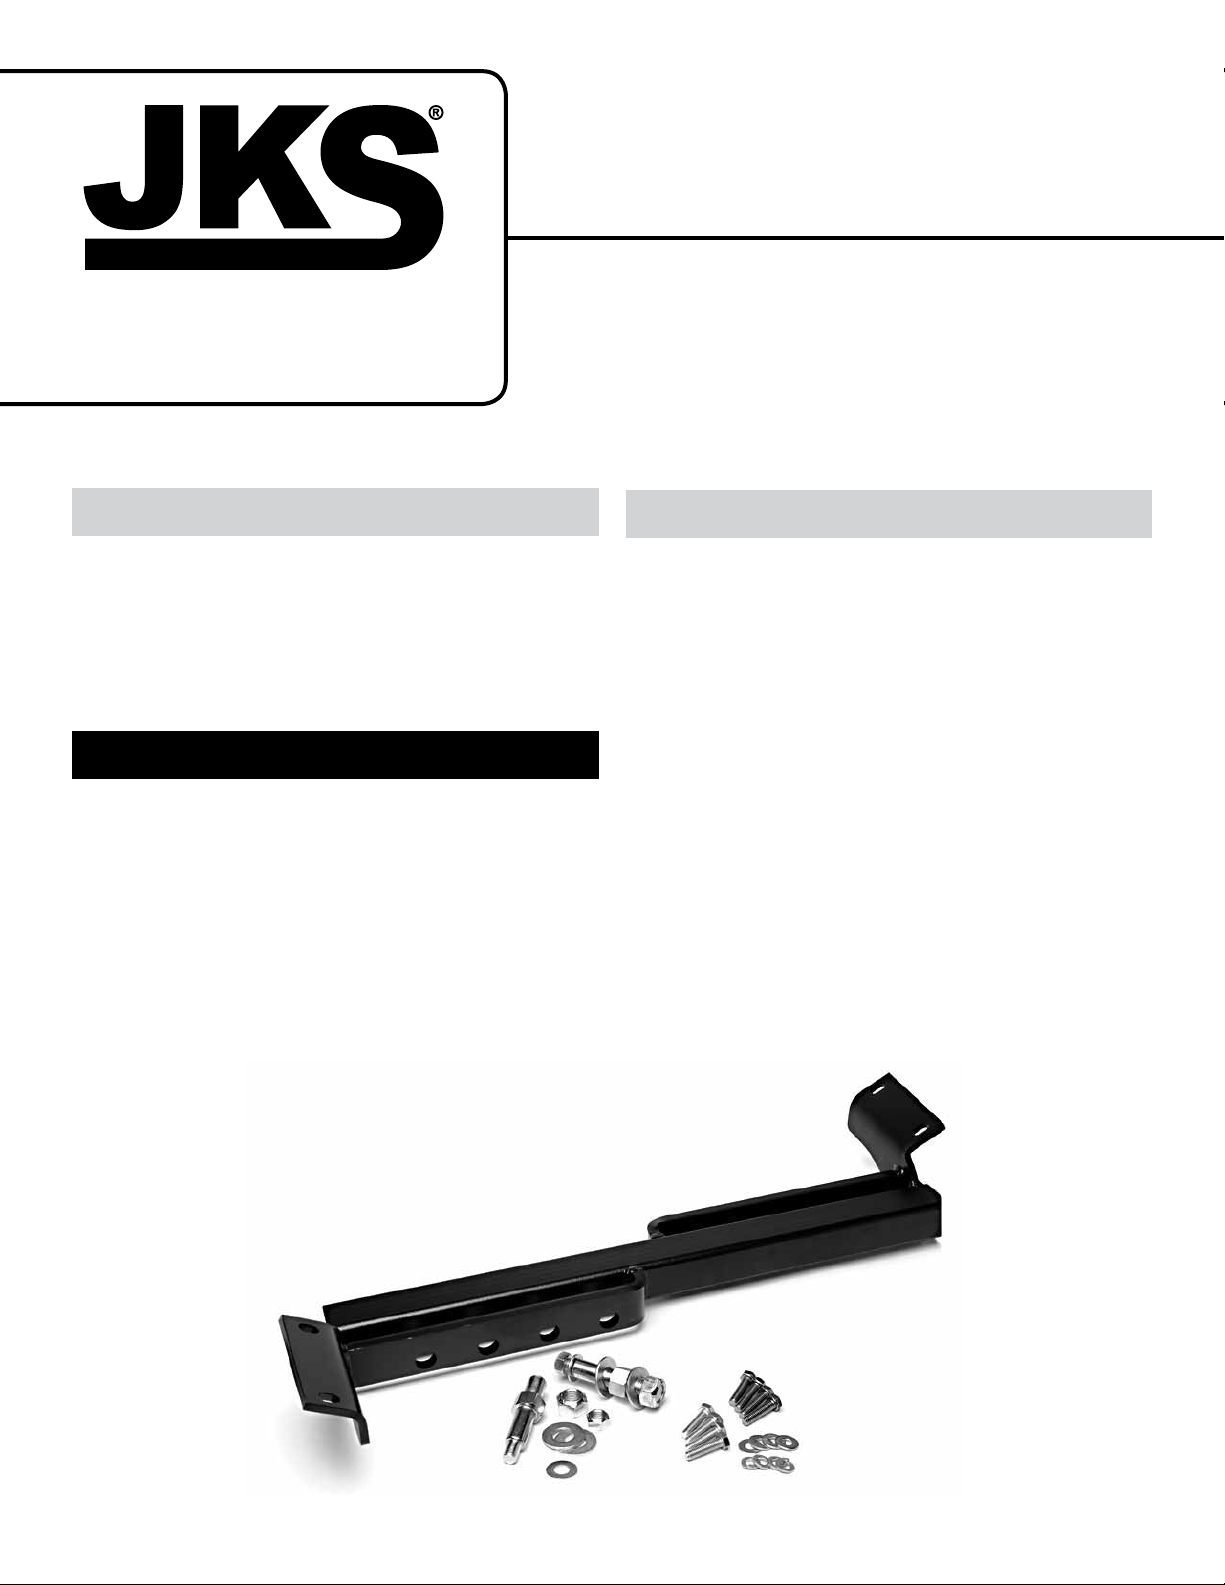
Product: Adjustable Cross-Over Shock Mount
Part Number: JKSOGS999
Applications: Cherokee XJ, 1984-01
Welcome
CONGRATULATIONS on purchasing a new Adjustable
Cross-Over Shock Mount from JKS Manufacturing. We are
committed to providing you with the best products available
and your satisfaction is our rst priority.
PLEASE READ these instructions carefully, as they contain important installation information.
Important
EXHAUST MODIFICATIONS ARE REQUIRED in order
to install this product.
NEW SHOCK ABSORBERS ARE REQUIRED unless
optional Rear Axle Shock Mounts PN OGS922 are
installed at the same time.
Tools Required
Metric/Standard Socket Wrench Set
Torque Wrench
Hammer & Punch *
Die Grinder with Sanding/Grinding Wheel
(or similar tool for cleaning chassis and axle) *
Anti-Seize Lubricant
Cutting Wheel or Cutting Torch
(for removing OE rear shock mounts from axle) *
Welding Equipment *
Satin Black Spray Paint *
Wheel Bearing Grease
Factory Service Manual (recommended)
* Asterisk denotes tools that are not required for some applica-
tions. Thoroughly read instructions rst to determine which tools
will be required for your application.
JKSOGS999JKS Adjustable Cross-Over Shock Mount Installation
Page 1
Page 2
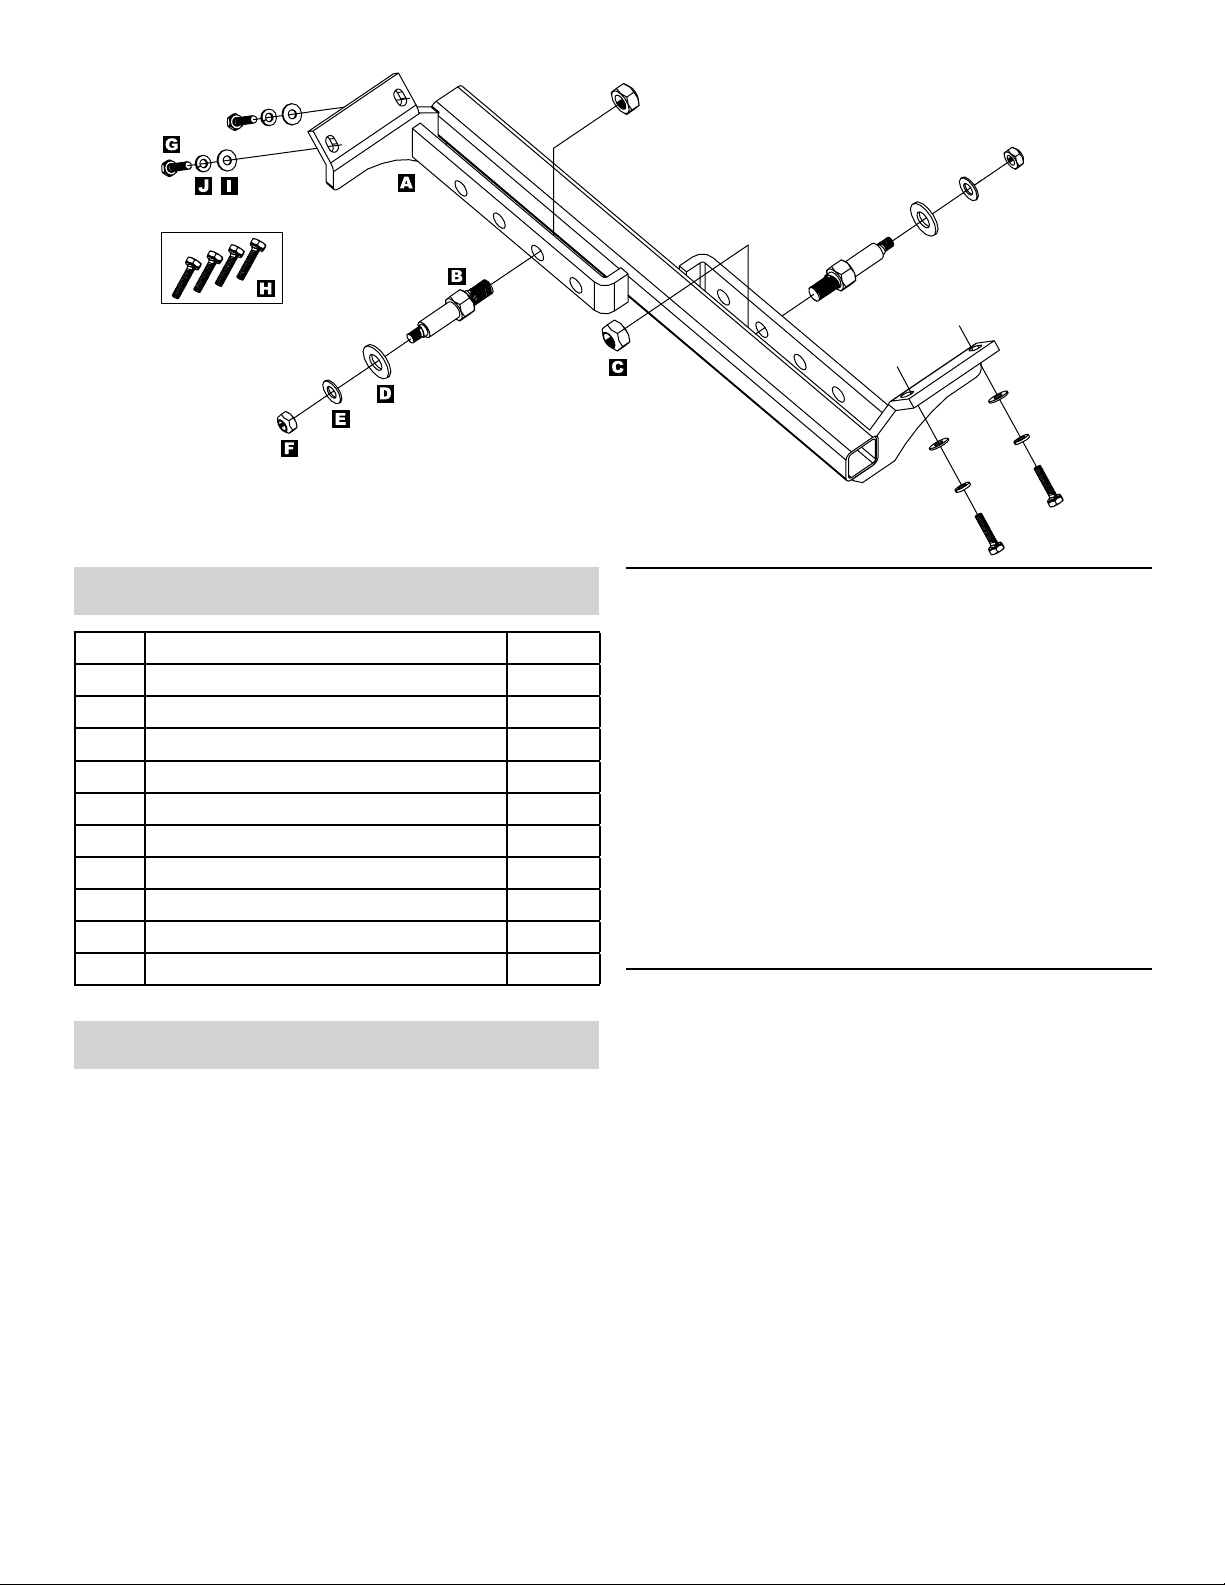
Parts
Description QTY
A
Cross-Over Shock Mount 1
B
Hex Shock Mounting Studs 2
C
5/8” Locking Nuts 2
D
5/8” Flat Washers 2
E
7/16” Flat Washers 2
F
7/16” Locking Nuts 2
G
5/16” x 1-1/4” Bolts 4
H
M8 x 30mm Bolts 4
I
5/16” Flat Washers 4
J
5/16” Split Washers 4
Installation
1. REMOVE SHOCK ABSORBERS
Completely remove the rear shock absorbers per the
factory service manual instructions for your vehicle.
If shock absorbers will be re-installed, remove the
bar pin from the upper shock bushings. HI NT: A
hammer and punch may be useful for removing
bar pin.
Inspect upper shock absorber mounting surface
for any dirt or debris. If necessary, thoroughly
clean mounting surface until completely free of
debris. HI NT: A sanding or grinding wheel is use-
ful for removing any stubborn material.
2 Page
IMPORTANT: It will be necessary to remove and
modify the vehicle’s exhaust system in order to install
the Cross-Over Shock Mount.
IMPORTANT: Trial t metric and standard bolts in
mounting holes rst to avoid cross-threading during
installation.
JKSOGS999
2. REMOVE VEHICLE EXHAUST
Inspect vehicle exhaust and locate the point at which
the tail pipe can be disconnected from the rest of the
exhaust system. HI NT: The factory exhaust can be
disconnected between the catalytic converter and
mufer by removing the U-bolt clamp. Aftermarket
exhaust systems may provide a more convenient
disconnect point further down the tail pipe.
Disconnect the tail pipe from the exhaust system per
the factory service manual instructions for your vehicle.
3. INSTALL CROSS-OVER SHOCK MOUNT
TO VEHICLE
Determine whether rear upper shock mounting
holes in chassis require metric or standard bolts.
HI NT: Cross-Over Shock Mount will be installed
using either metric M8 x 30mm (H) or standard
5/16” x 1-1/4” (G) mounting bolts, depending on
the application. Both types of bolts are supplied,
but only one will thread easily into the original
mounting holes.
Place a 5/16” Split Washer (J) and 5/16” Flat
Washer (I) on the appropriate metric (H) or standard (G) mounting bolts. Apply anti-seize lubricant
to bolt threads.
Position Cross-Over Shock Mount against the
chassis. Align holes in mounting ange with original upper shock mounting holes.
JKS Adjustable Cross-Over Shock Mount Installation
Page 3
Insert the appropriate bolt assembly through
each hole in mounting ange and loosely thread
into mounting hole to hold the Cross-Over Shock
Mount in place.
With all four mounting bolts loosely installed, make
sure Cross-Over Shock Mount rests completely
at against chassis and tighten each bolt to 25-35
ft-lbs using a torque wrench.
4. INSTALL REAR AXLE SHOCK MOUNTS
(OPTIONAL)
Refer to the following instructions only if you will be installing optional Rear Axle Shock Mounts PN OGS922 (SOLD
SEPARATELY) in combination with the Cross-Over Shock
Mount. H I N T: The benet of installing Rear Axle Shock
Mounts at this time is the ability to re-install your existing
shock absorbers. If not installing Rear Axle Shock Mounts,
it will be necessary to install new shock absorbers of the
appropriate length as determined by vehicle’s lift height
and shock mounting conguration.
Remove the factory rear shock mounts from the
axle housing. H INT: A grinding wheel or cutting
torch may be useful for removing factory shock
mounts, although extreme care must be used to
ensure axle housing is not damaged in process.
Grind or sand away any remaining material, paint
or debris from axle housing to prepare surface for
Rear Axle Shock Mounts. Surface must be completely free of any contaminants.
Secure stud to weld-on bracket using a 5/8” Locking
Nut. Tighten nut to 65 ft-lbs using a torque wrench.
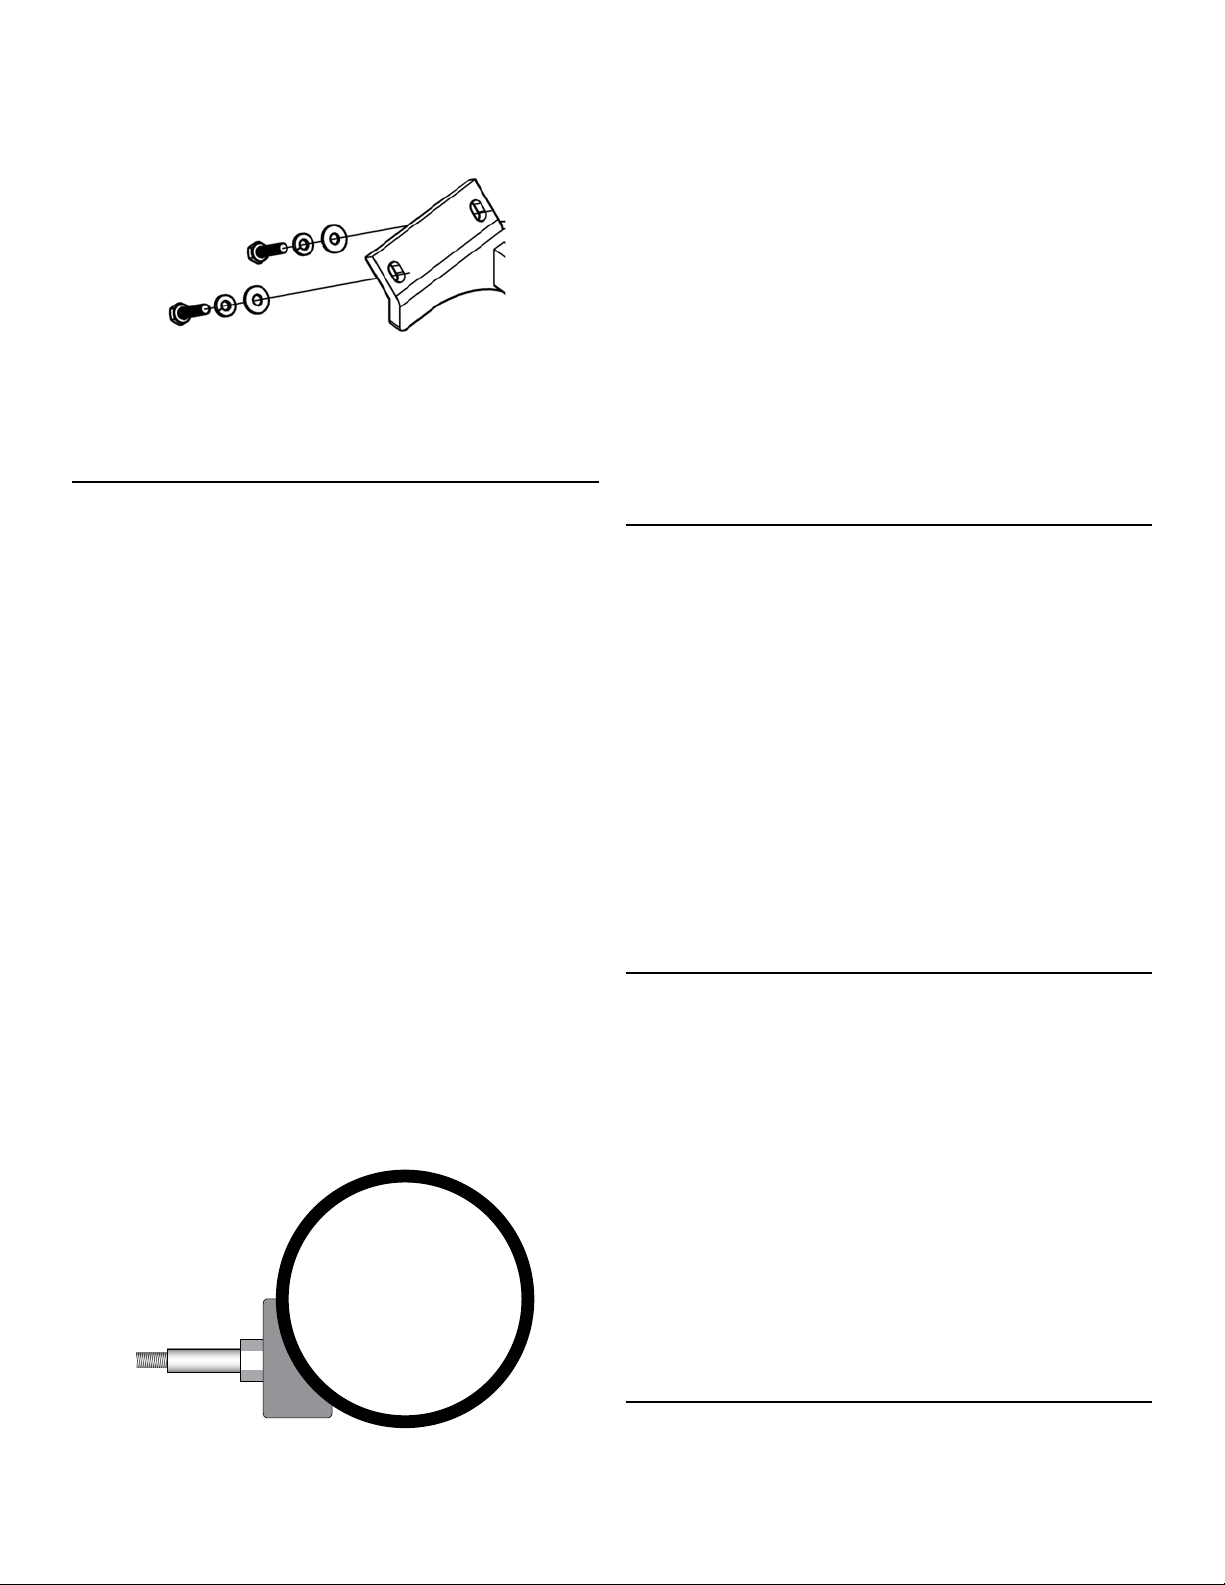
Position Rear Axle Shock Mounts on the axle hous-
ing between each pair of leaf spring U-bolts. New
shock mounts should be oriented as indicated below.
HI NT: Hex Stud must be parallel with level ground.
Carefully weld the Rear Axle Shock Mount to the
axle housing, making sure the Hex Stud remains
parallel with ground.
IMPORTANT: Avoid overheating axle housing by allowing the surface to cool off regularly.
Once all welding is complete, spray paint weld-on
shock mount and any bare metal on axle to prevent corrosion. All exposed metal must be completely covered.
Apply a thin coating of wheel bearing grease to
smooth surface of Hex Shock Stud.
Use the remaining 5/8” and 7/16” Flat Washers
to “sandwich” the shock absorber bushing, and
secure the shock to the Hex Stud with the 7/16”
Locking Nut. Tighten nut until shock bushing begins to bulge, but do not overtighten.
5. INSTALL SHOCK ABSORBERS
Secure stud to Cross-Over Shock Mount using a
5/8” Locking Nut (C). Tighten the nut to 65 ft-lbs
using a torque wrench.
Apply a thin coating of wheel bearing grease to
smooth surface of Hex Shock Stud (B).
Slide a 5/8” Flat Washer (D) onto stud, followed by
the upper end of shock absorber.
Secure upper end of shock absorber to Hex Shock
Stud (B) with the remaining 7/16” Flat Washer (E)
and 7/16” Locking Nut (F). Tighten nut until shock
bushing begins to bulge, but do not overtighten.
Secure lower end of shock absorber to factory
shock mount on axle, or optional Rear Axle Shock
Mounts PN OGS922 if installed.
6. MODIFY VEHICLE EXHAUST
Due to the position of the Cross-Over Shock Mount, the existing
tail pipe section can not be re-installed without modications.
IMPORTANT: Modications to exhaust system should
be performed by a professional.
To modify the exhaust system, have a new tail pipe
formed to route between the Cross-Over Shock
Mount and vehicle chassis. H IN T: A heat shield
can be installed around tail pipe to minimize transfer of exhaust heat to surrounding surfaces.
Cut existing tail pipe behind the catalytic converter
and connect to the new tail pipe using an appropriate exhaust joint.
Replace any exhaust gaskets and install the modi-
ed tail pipe on vehicle. Check for leaks.
©2013 JKS Manufacturing, Inc & Aftermarketing, LLC
Revision Date 11/1/2013
JKSOGS999JKS Adjustable Cross-Over Shock Mount Installation
Page 3
 Loading...