

Page 1

M7045FLK
User Manual
Preface
Thank you for buying the product. We wish you
enjoy using it.
Please read and retain all the operating
instructions before operating the unit, we do not
assume any liability arising out of improper
operation or incidental damages.
For better services, the content of this operation
manual may be changed.
If the actual setup and usage of the unit are
different from this operation manual, please view
the website of our company to inquire about the
latest product information.
Page 2

Do not allow water or foreign objects to enter
the unit.
I. Note:
1. Avoid the unit being dropped. Avoid the display
been shake seriously, or the display will be
damaged or unusual.
2. Do not use metal object to touch the device to
prevent it from short circuit.
3. Please backup your data in case your
important data is lost, especially before you
upgrade the firmware. The company will not
take charge in any loss that caused by lost of
data.
4. Do not disassemble. Do not wipe the surface
of the unit by alcohol, thinner or benzene.
5. Do not disconnect the unit while it is formatting
or uploading/downloading, or the procedures
may lead to errors
6. We do not take responsibility to the flash
damage caused by product broken, repair or
other reasons. Please operate strictly as per
the user guide.
7. Avoid water or foreign objects enter the unit.
8. Do not use the unit in places that are
extremely hot, cold, dusty, or humid.
9. Avoid the unit being dropped. Avoid the display
been shake seriously, or the display will be
damaged or unusual.
10. Specifications are subject to change and
improvement without notice
11. Use our specified charger 5V 1.5A to charge
your tablet.
1
Page 3

II. Operation Instruction
1. Basic Operation
1.1. SIM card installed
Power off and open the bottom case, insert the
SIM card into the SIM card slot in the direction
indicated by and Installation Bottom.
1.2. Power on/Power off
Power on:
Press and hold the power switch for 5 seconds;
the unit displays the start-up logo and enters the
working mode.
Power off:
Press and hold the power switch for 3 seconds to
turn the unit off.
Sleep:
While the device is at working status, press the
power switch, it enters the sleeping mode, and the
screen will be off then. Press the power switch
again, it shift to the normal mode. You may use
this function when you don’t’ use the device
temporary to save power.
1.3. Charging
When the device prompts low battery, please
charge it by provided charger.
Note:
To improve the longevity of the battery, you
may charge for another 30 minutes after it
prompts the battery is full.
1.4. Main menu
Click the
menu is appeared. It including the system setting,
icon in the main interface, the main
2
Page 4
music playback, video playback, web browser and
other applications you installed in the main menu.
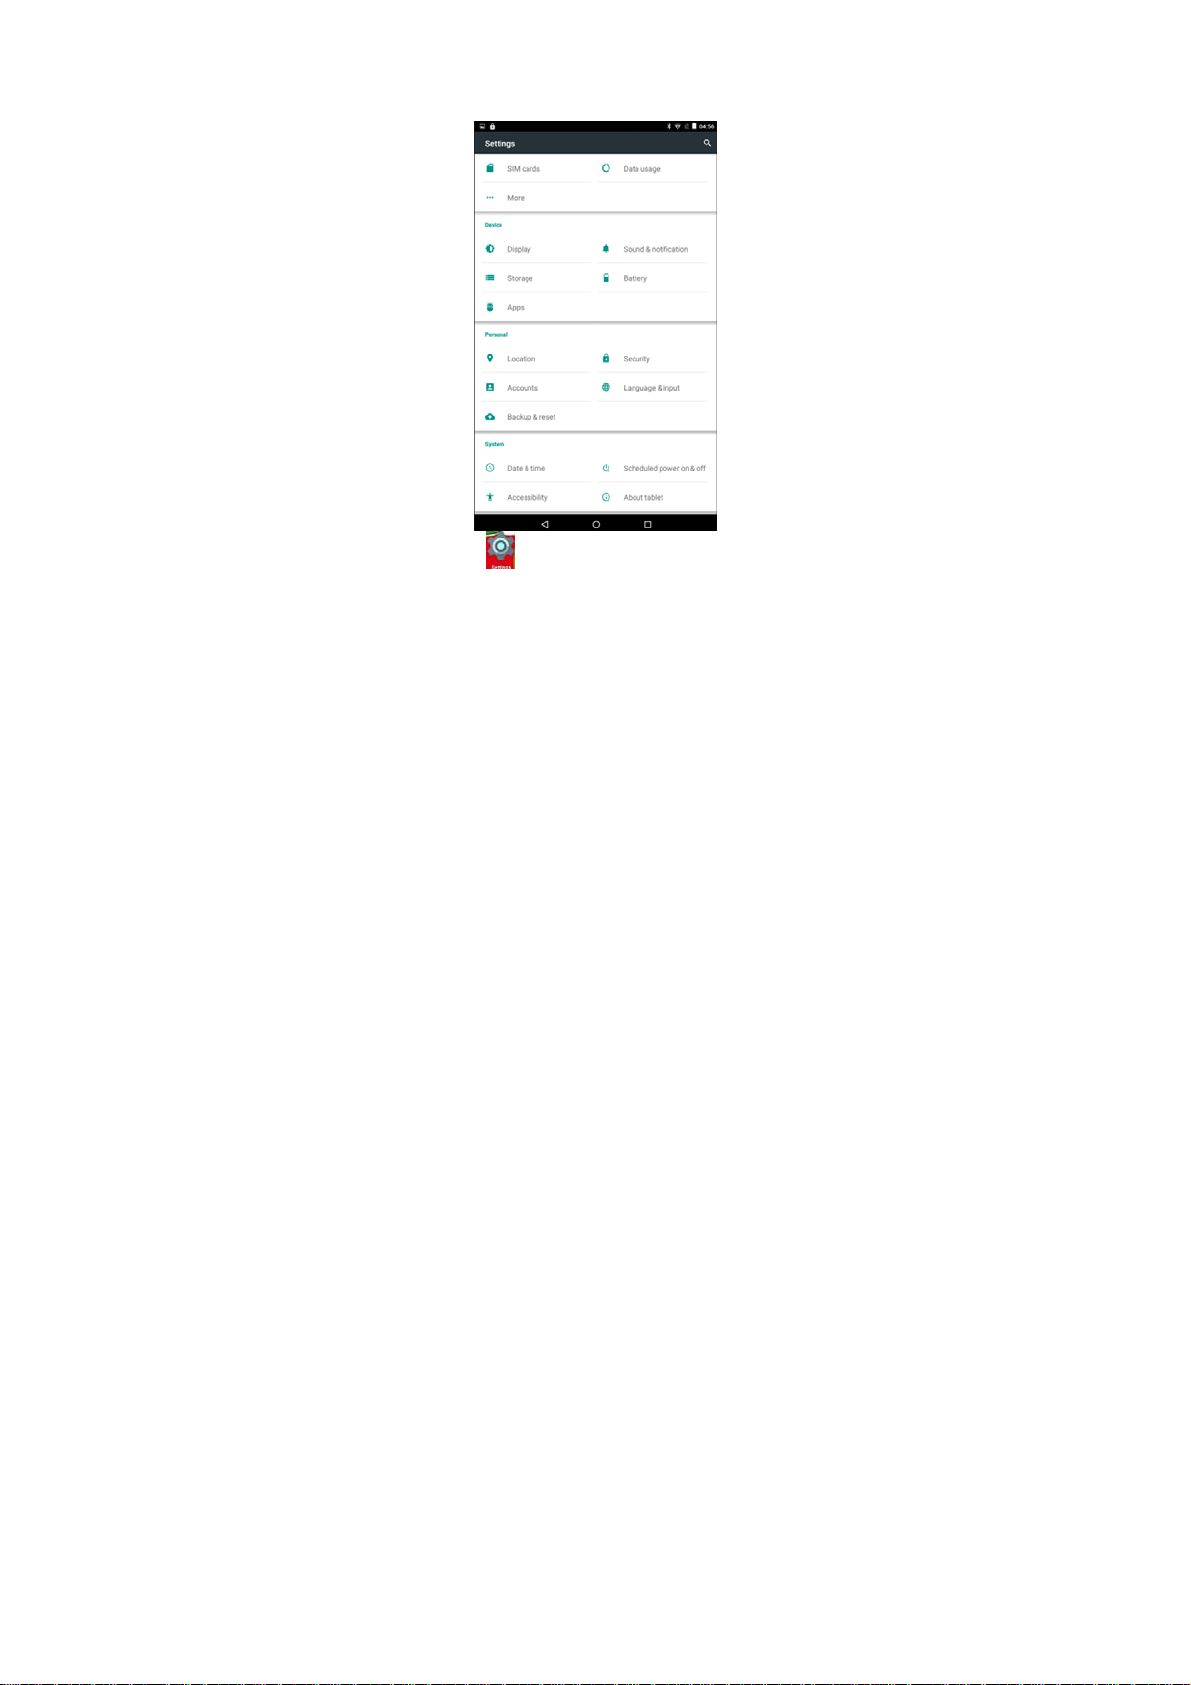
2. Settings
Click “
setting interface. Click the corresponding setting
items to operate.
” in the main interface to enter the
3
Page 5

2.1.Date and Time Setting
Click “Date & Time” in the setting interface to set
the date and time. You may set the date, time
zone, time, time format and date format etc. in the
menu.
2.2. Brightness
Select “Display” in the setting interface. Click
“Brightness level” to enter, and slide the bar to
adjust the brightness.
4
Page 6

3. Wi-Fi connection
Click “Settings” in the main interface and click
“Wireless & network” to enter the wireless and
network setting interface. Click Wi-Fi to turn on the
WIFI. Click Wi-Fi setting to set and manage
wireless access.
Click “Network Notification”, it lists the open
network it searched. Click the name of the network;
it pops up the setting window. You may connect it
to WIFI according to the prompts. You need to
input the user name and password if networks are
encrypted.
4. Bluetooth
Turn on the Bluetooth,Click Bluetooth setting to
set and manage Bluetooth Devices access. Click
“SEARCH FOR DEVICES”, it lists the open
devices. Click the name of the devices and it pops
up the setting window. Choosing the device,
pairing it, then you can transfer pictures, movies,
music etc with it.
5
Page 7

5. Install, Uninstall and Run applications
5.1 Install
There are many ways to install applications under
Android, such as via USB, by third party program.
We introduce installation by Apps Installer here.
Click the “File Manager” in the main interface.
Select the APK file you want and enter the
application installation interface. Click “Install” to
install the application automatically. After
installation, it prompts “Open” and “Finish”. Click
“Open” to open the application. Click “Finish” to
exit.
5.2 Uninstall
You may use the corresponding third party
software management tool or the installed
application management software of the device to
install applications.
Select “Setting/Apps” to select the installed
applications and check the attribute of it or
uninstall it.
6. Connect to internet
6.1. After connecting with WIFI, open the
browser and input the web address, you can
browse the web then.
6
Page 8

6.2. Click the
to view the browse history. Click the web page you
want to open it.
To save the web page into bookmark, you may
icon to enter the bookmark
click
7. Audio and video playback
7.1. Audio playback
Click the “Music” in the main menu to enter the
audio playback interface. It lists the audio files in
the device, and you may click the file name to play
it. in the audio playing interface, click the icons to
play/pause/ FF/ REW….
7.2. Video Playback
Click the “Gallery” in the main menu to enter the
video playback interface. It lists the video files in
the device, and you may click the file name to play
it. in the video playing interface, touch the screen
to pop-up the operation icons and click the icons
to play/pause/ increase volume/ decrease volume/
skip to next file/skip to previous file….
to enter and click “add” to save it.
7
Page 9

8. Picture viewing
Click “Gallery” in the main menu to enter the
picture folder list. Selecting and clicking the folder
you want to enter, it displays then clicks the
thumbnail of the picture to view it.
Touch the screen to pop-up the operation icons
while viewing the picture, you may zoom in/zoom
out/ skip to next picture/skip to previous picture/
rotate/ delete the picture…
8
Page 10

III. Troubleshooting
1. What if the device is abnormal during
operation?
Answer: 1). Reboot the device to see if it works
OK.
2). Charge the device by the charger to
activate the battery. Make sure it has power before
you operate it.
3). It is suggested to upgrade the OS of
the device by professional.
2. Why the standby time is so short
sometimes?
Answer: the use time of the battery is all depend
on the temperature and use instance. If the
temperature is too high or too low, the use time of
the battery might be effected. It is suggest using
the device in normal temperature.
The using time is also affected by increased
volume and frequently operation.
Note: The pictures list in the manual are for reference
only!
The design and the specification of the unit are subject
to change without notice.
9
Page 11

This Digital Photo Frame meets the government’s
requirements for exposure to radio waves.
This phone is designed and manufactured not to
exceed the emission limits for exposure to radio
frequency (RF) energy set by the Federal
Communications Commission of the U.S.
Government. The exposure standard for Digital
Photo Frame employs a unit of measurement
known as the Specific Absorption Rate, or SAR.
The SAR limit set by the FCC is 1.6W/kg. *Tests
for SAR are conducted using standard operating
positions accepted by the FCC with the phone
transmitting at its highest certified power level in
all tested frequency bands. Although the SAR is
determined at the highest certified power level, the
actual SAR level of the phone while operating can
be well below the maximum value. This is because
the phone is designed to operate at multiple power
10
Page 12

levels so as to use only the poser required to
reach the network. In general, the closer you are
to a wireless base station antenna,
the lower the power output.
The highest SAR (1g) values for the Digital Photo
Frame as reported to the FCC when tested for use
at the head and on the body are:
Body: 1.473W/kg
(Measurements differ among phone models,
depending upon available accessories and FCC
requirements.)
While there may be differences between the SAR
levels of various phones and at various positions,
they all meet the government requirement.
The FCC has granted an Equipment Authorization
for this model phone with all reported SAR levels
evaluated as in compliance with the FCC RF
exposure guidelines. SAR information on this
11
Page 13

model phone is on file with the FCC and can be
found under the Display Grant section of
www.fcc.gov/oet/ea/fccid after searching on
RBD-M7045FLK
For body worn operation, this Digital Photo Frame
has been tested and meets the FCC RF exposure
guidelines for use with an accessory that contains
no metal and the positions the handset a minimum
of 1.0 cm from the body. Use of other accessories
may not ensure compliance with FCC RF
exposure guidelines.
Any Changes or modifications not expressly approved by the
party responsible for compliance could void the user's authority
to operate the equipment.
12
 Loading...