

Jinbei HD601 Operating Instructions Manual
Knox Photographic Society
Jinbei HD601 Monolight System
Operating Instructions
Written by Noel Butcher
(with annoying but ultimately useful additions, suggestions, hints and thoughts by Richard Kelly).
Updated February 4 2019
Page 1 of 26

Welcome.
Please read these instructions carefully
before using these lights. KPS has spent a
considerable sum of money purchasing this
equipment for the benefit of all KPS
members.
Please treat all KPS equipment with the
utmost care and respect.
We realise that sometimes things go wrong.
If you find something isn’t working as it
should please let us know ASAP so that it
can be rectified before another KPS
member uses the equipment.
This manual goes into excruciating detail but in reality operation is fairy simple,
particularly if the previous user has left the lights on the KPS default settings which will
be explained further in this document.
In essence, after setting up the lights on their stands etc, choose the correct remote,
turn it and the monolights on, adjust the light output and you are ready to go.
Page 2 of 26

If you are not familiar with the operation of our Jinbei lights, please
READ THIS MANUAL CAREFULLY before attempting to use the lights.
Just need a refresher in how to use them? Here’s a summary
• Set up the stands
• Set up the softbox(s)
• Attach the monolight)s) to the softbox(s) being careful to NOT DAMAGE THE
FLASHTUBES!
• Use the weighted bags to stabilise the stands.
• Check that the monolights are on Channel 6.
• Mode is M
• Sync is Bluetooth. Look for this symbol:
• Select which group (normally Group A) or groups you want to use.
• Set the monolights to ‘talk’ either Nikon, Canon, Sony or Fuji.
• Attach the correct remote for your camera.
• Remember the remote settings will override settings on the monolights.
• Set your camera to Daylight White Balance and Manual for best results
• Ensure that you are using an appropriate shutter speed ie your flash synch
speed or slower. All cameras should sync at 1/125th of a second if you are
unsure.
A few tips:
• Remember that the lights will take a second or two to power up again after
shooting and that higher power flashes will result in longer refresh times.
• The modelling lights will obviously use battery power but are also handy to help
your camera focus in dark situations as well as check the play of the light prior to
shooting.
• Check that ALL your lights are working as you want as it is easy to miss one not
firing if the others are working.
• If using a mirrorless camera with WYSIWYG turned on in a dark area, turn it off
(otherwise your viewfinder will appear dark).
Page 3 of 26

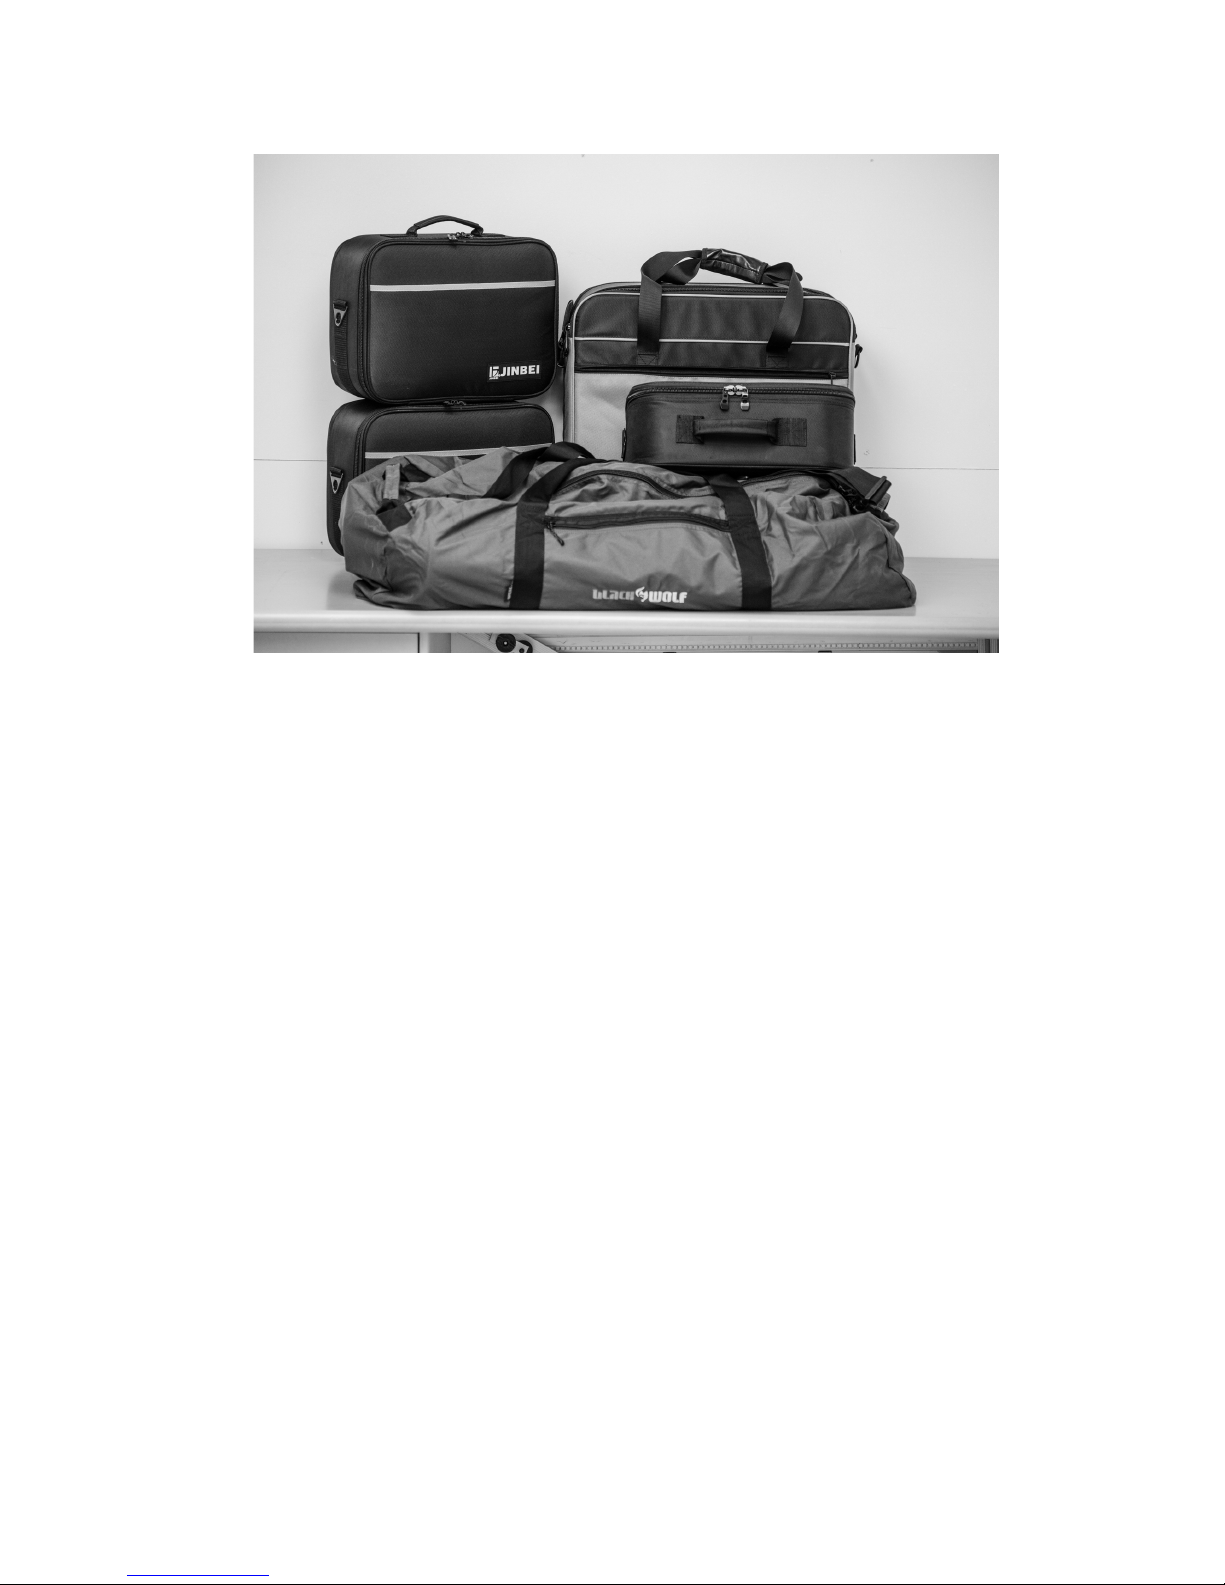
Equipment List (as at December 2017)
Jinbei HD601 Monolights (includes battery, charger and leads, case with strap) x3
Monolight Serial Numbers: HD601AH030297, HD601AH030466 and HD601AE230295
Charger Serial Numbers: EV201705008971, EV201706017408 and EV2017060176908
Jinbei TR-Q6 C Smart Bluetooth Transmitter for Canon x1
Jinbei TR-Q6 N Smart Bluetooth Transmitter for Nikon x1
Jinbei TR-Q6 S Smart Bluetooth Transmitter for Sony x1
Jinbei Quickfold Octagonal Umbrella Softbox 120cm x 2 (includes 2 diffusers each soft
box)
Grid for Jinbei Octagonal Softbox 120cm x 2
Jinbei 90cm Deep Softbox (Quickfold) (includes 2 diffusers for soft box) x1
90cm Grid for Deep Umbrella Softbox x1
Jinbei Conical Snoot with removable grid x 3
Jinbei 55 Degree Standard Reflector x1
Reholder2 - Reflector Holder Multi Clamp and Arm x1
Kupo KS041711 Stackable 240cm Air cushioned click stand x 3
Kupo Shoulder Strap for click stands x1
5 in 1 107 cm Round Photographic Reflector x1
Jinbei 3 Head Case (including removable strap) x1
Black Wolf 150L Duffel Pak x 1
Page 4 of 26
Setting Up
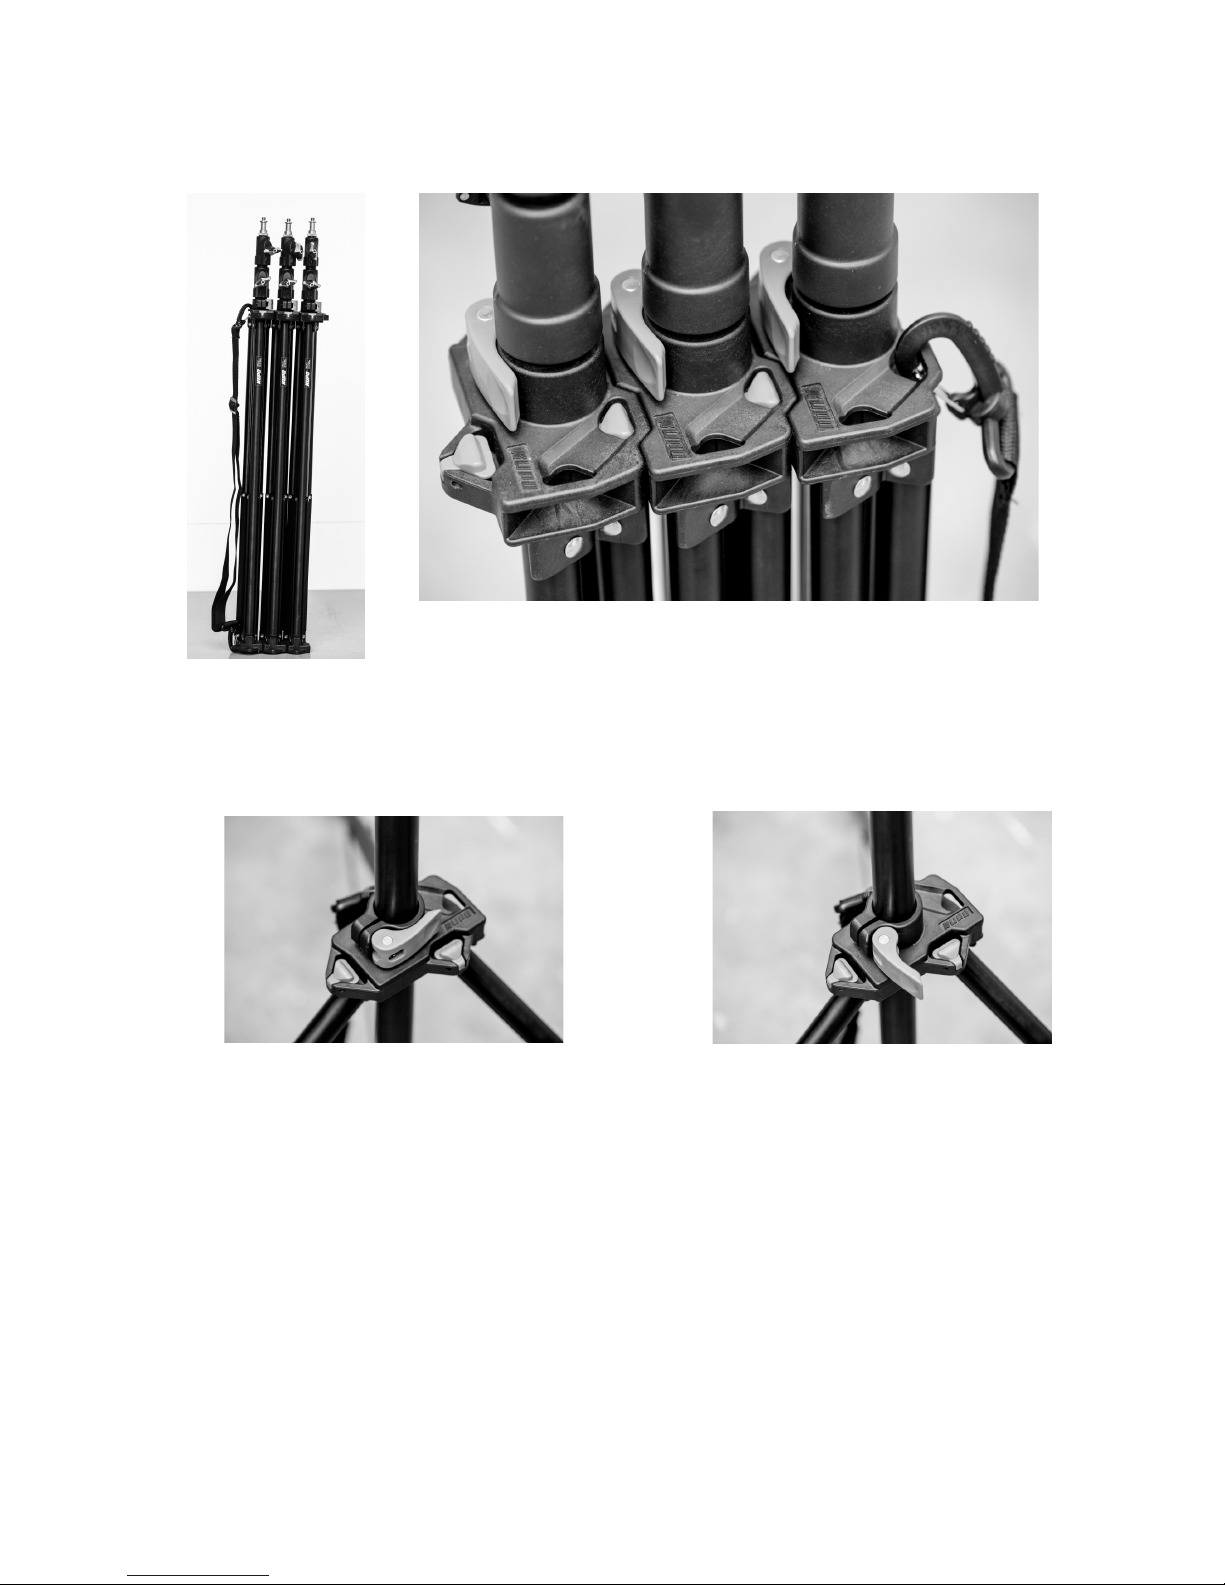
Setting up the light stands is very easy.
Unclip the top of a stand from its neighbour by pushing down on the triangular blue
button near the blue locking lever. Pull the stand away from its neighbour.
Unlock the locking lever.
Pull out the bottom of the legs as far as they will go (may require separating from the
bottom), place the stand on the floor, push down on the central column to ensure it is
fully spread and re-lock the stand. Once you have the light stand in the correct position
use one or more of the KPS weight bags to stabilise the stand.
Page 5 of 26
Locked
Unlocked
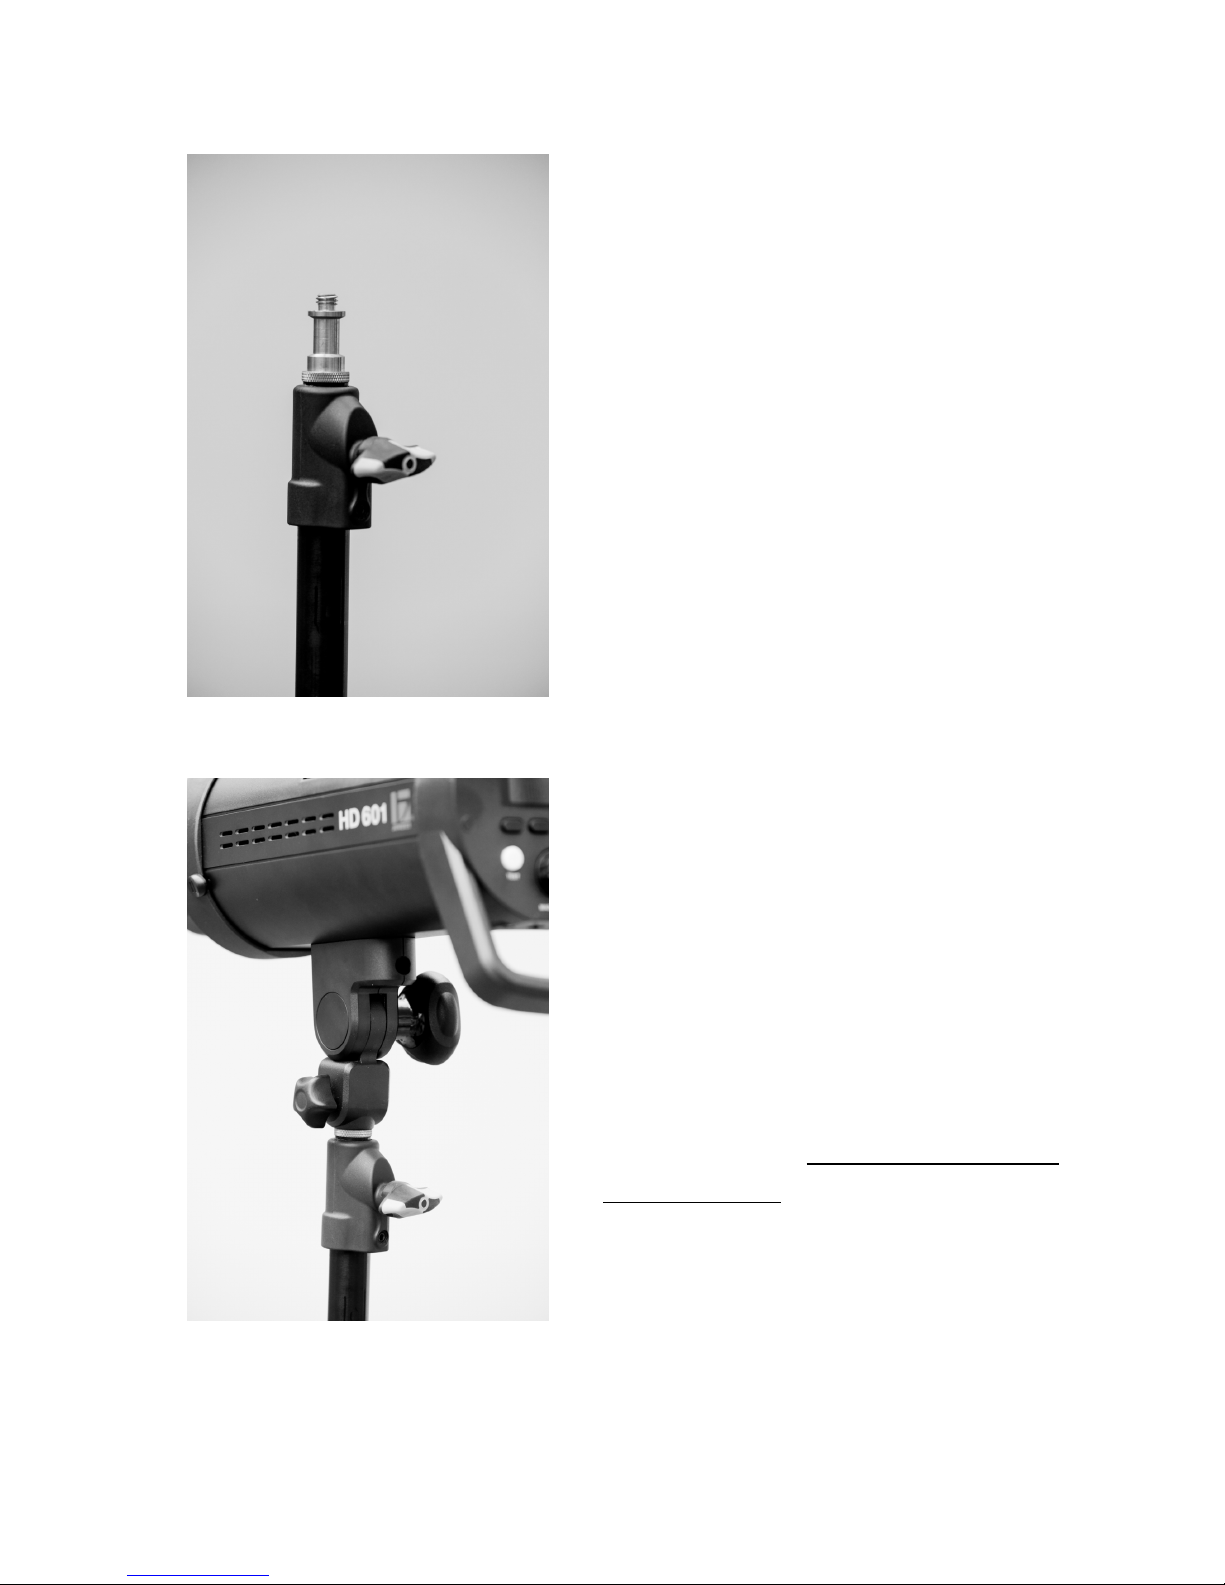
When you attach a monolight to the stand
please ensure that the brass attachment at
the top of the stand is completely hidden from
view (apart from the knurled section at the
very bottom).
You may need to ‘jiggle’ the head into position
or undo the locking screw on the monolight a
little more to achieve this.
Once you have the head placed on the stand
properly ensure that you have tightened the
small locking nut on the monolight to prevent
the light crashing to the floor and you having
to pay for the repairs.
Once attached, the monolight should hide the
bulk of the brass attachment of the stand as
per our picture at left.
If it doesn’t, you haven’t fitted it properly.
If you are planning to use a
soft box/umbrella please fit the
monolight to the soft
box/umbrella before attaching
to the stand.
Snoots are OK to fit once the
monolight is on the stand.
Page 6 of 26
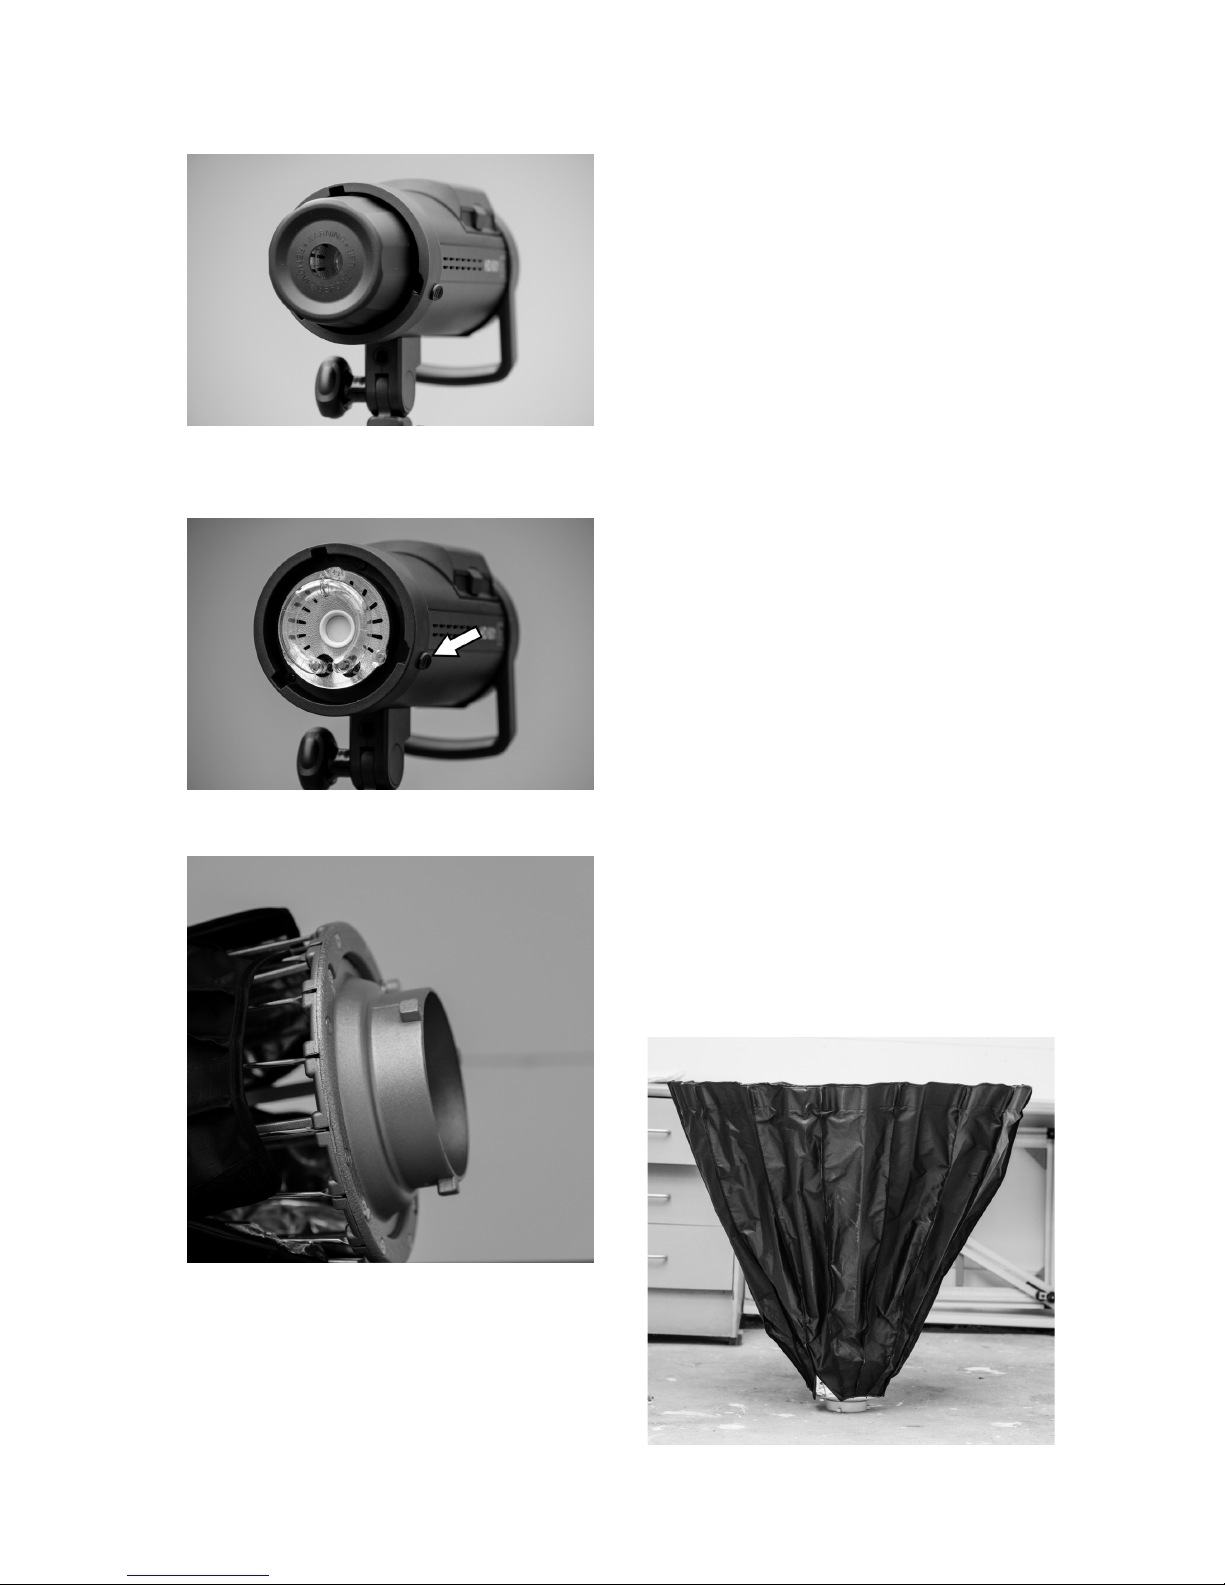
Monolights should always have the
protective cover over the flash tube
whenever the lights are not in use.
Flashtubes are delicate and expensive so
please be careful when removing and
replacing the flash tube covers.
Allow lights to cool for a few minutes
before fitting protective cover
The protective covers and softboxes,
snoots etc are attached using a bayonet
mount and a slight twist is needed to fit
them to the monolight.
It should click into position.
If it hasn’t clicked, you haven’t done it
properly.
Just as with your camera there is a
button to press to release the bayonet
mount (arrow at left).
The bayonet mount has three lugs as per
the image at left that fit into the slots on
the monolight.
Remove the soft box from its bag and
place it on a clean floor as at right.
Page 7 of 26
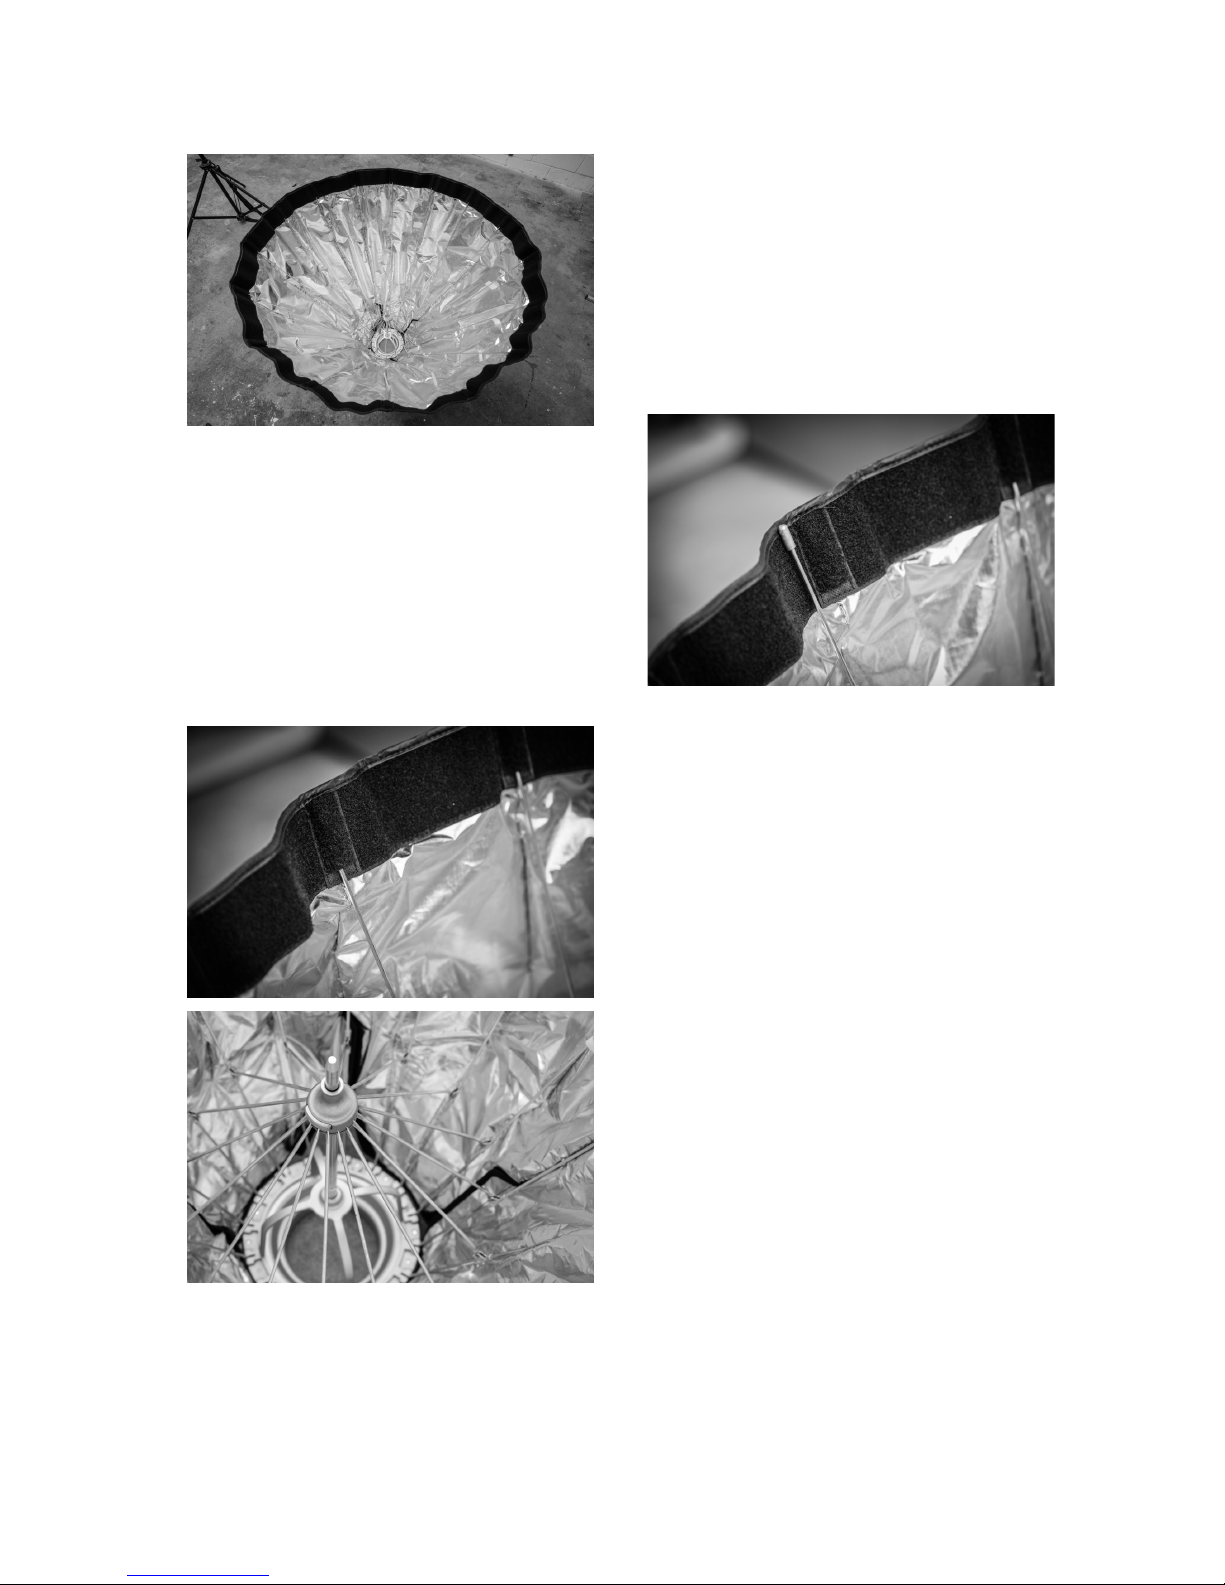
Carefully pull out the edges of the soft
box so that it looks like the image at right.
IMPORTANT!
Please check that the soft box splines are
NOT showing as per our image at right
If any splines are misaligned please
carefully place them into the velcro pouch
as per our image at left.
You cannot do this once the soft box is
assembled.
The mechanism is a standard umbrella
mechanism (albeit one on steroids).
It requires a fair bit of pressure to push
the centre hub down to engage the
locking mechanism.
Be careful as it can bite.
Page 8 of 26
 Loading...