

Owner's Manual
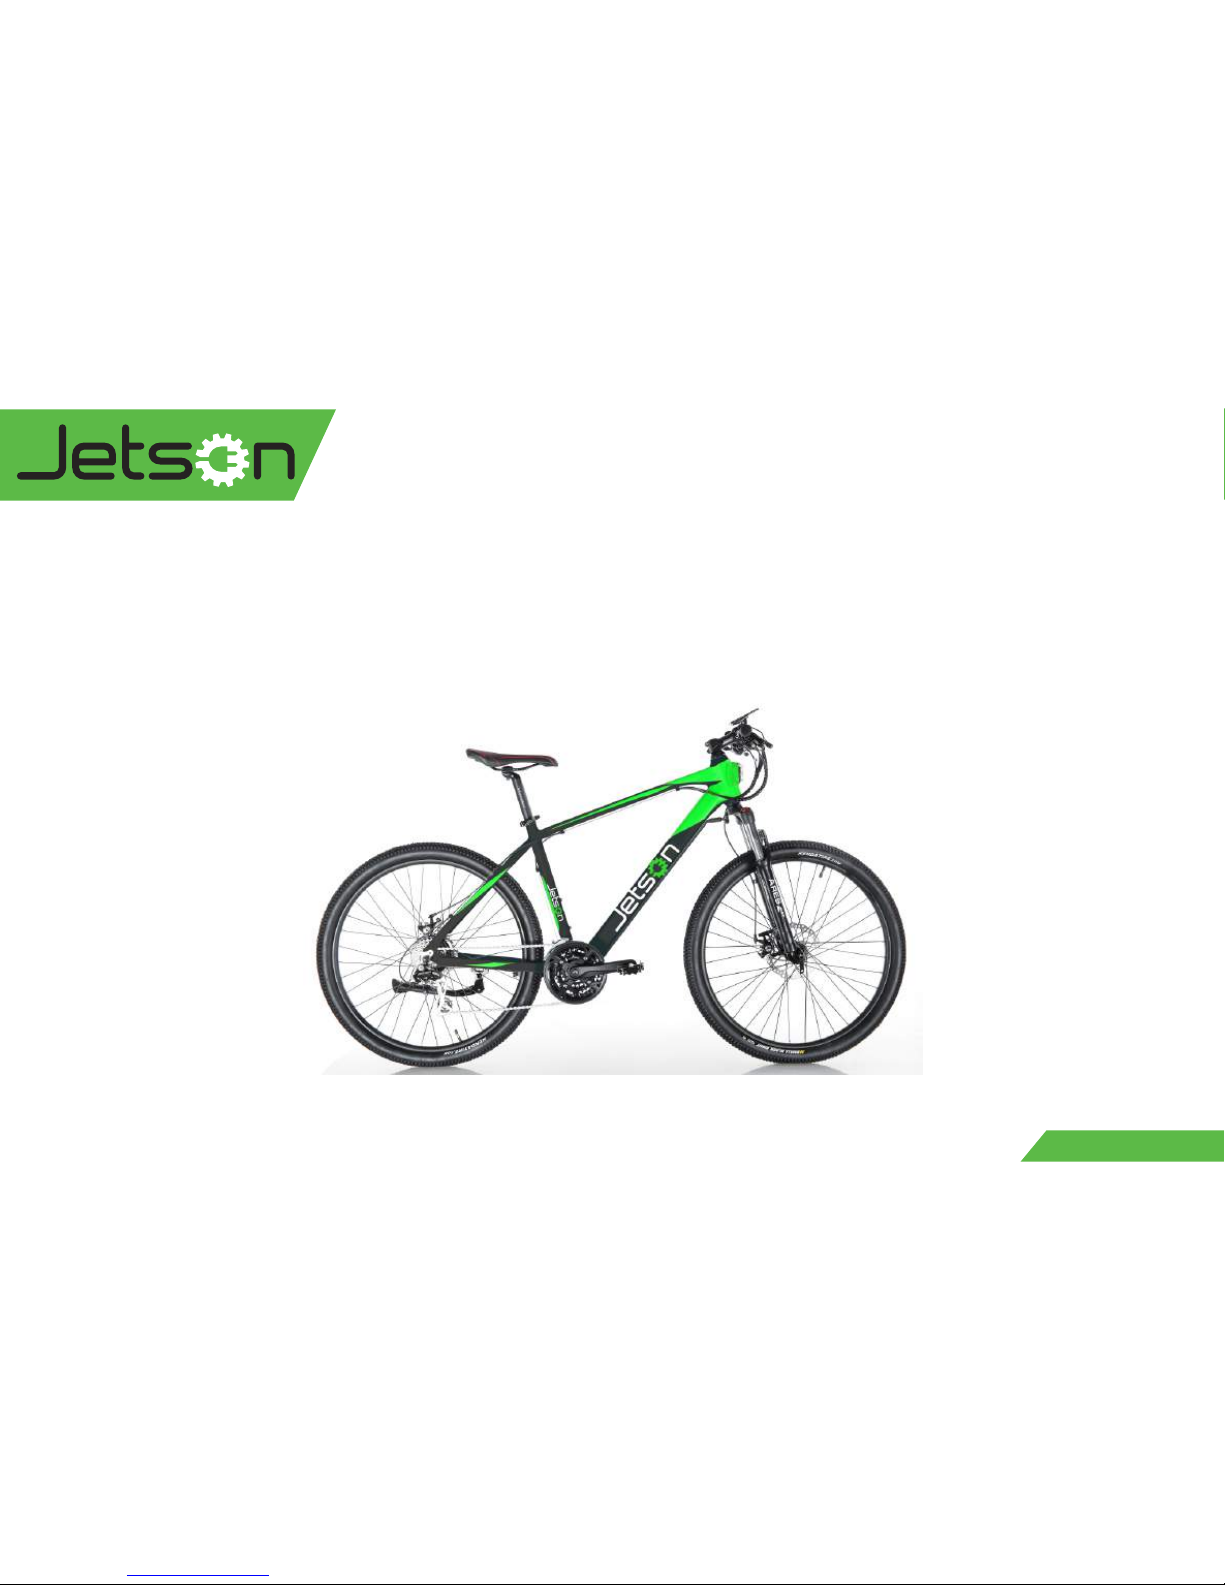
adventure

Warnings
1
1. What’s included? A) Charger. B) Pedals. C) Saddle. D) Tool Bag. E) User Manual.
2. Max load :250LBS.
3. Preparation before riding:
5. Laws and regulations:
6. Read and understand this entire manual before riding!
NOTE: Manual illustrations are for demonstration purposes only. Illustrations may not reflect exact appearance of actual
product.Specifications subject to change without notice.
3.1 Check whether screw and nuts are tight;
3.2 Check whether the battery power is full;
3.3 Check whether the tire pressure is sufficient;
3.4 Check whether the brake system works.
4. Maintenance:
4.1 Charge battery at least once very 2 months;
4.2 Lube the chain every so often to keep it smooth.
5.1 Driving an electric bicycle on the road shall abide by the local regulations on traffic safety.Driving a non-motor vehicle shall
be within the non-motor vehicle lanes; If without non-motor vehicle lanes,Please according to the countries or regions rule of
traffic laws regulations.
5.2 Drunk driving is strictly forbidden.
5.3 Driving electric bicycle must be at least 16 years of age.
5.4 Slow down when turning.
5.5 Keep your hands on the handlebars at all times while riding.
ad venture

ad venture
Assembly Procedure
Assembly Procedure
Step1: Assemble front wheel
1.1 The tire tread must be moving forward in a clockwise direction.
1.2 When assembling the front wheel, please place the front wheel in the center of front fork, tighten the quick release clamping
lever and lock the screw.
1.3 Please ensure the rotor is in the middle of disc brake.
2
ad venture
Assembly Procedure
Step2: Assemble handlebar
2.1 The central location of handle bar and stem should be aligned with the front wheel center.
2.2 The secure line of stem can't appear out.
2.3 Lock the 4 fixed screws of stem, the up and down gap should be uniform.
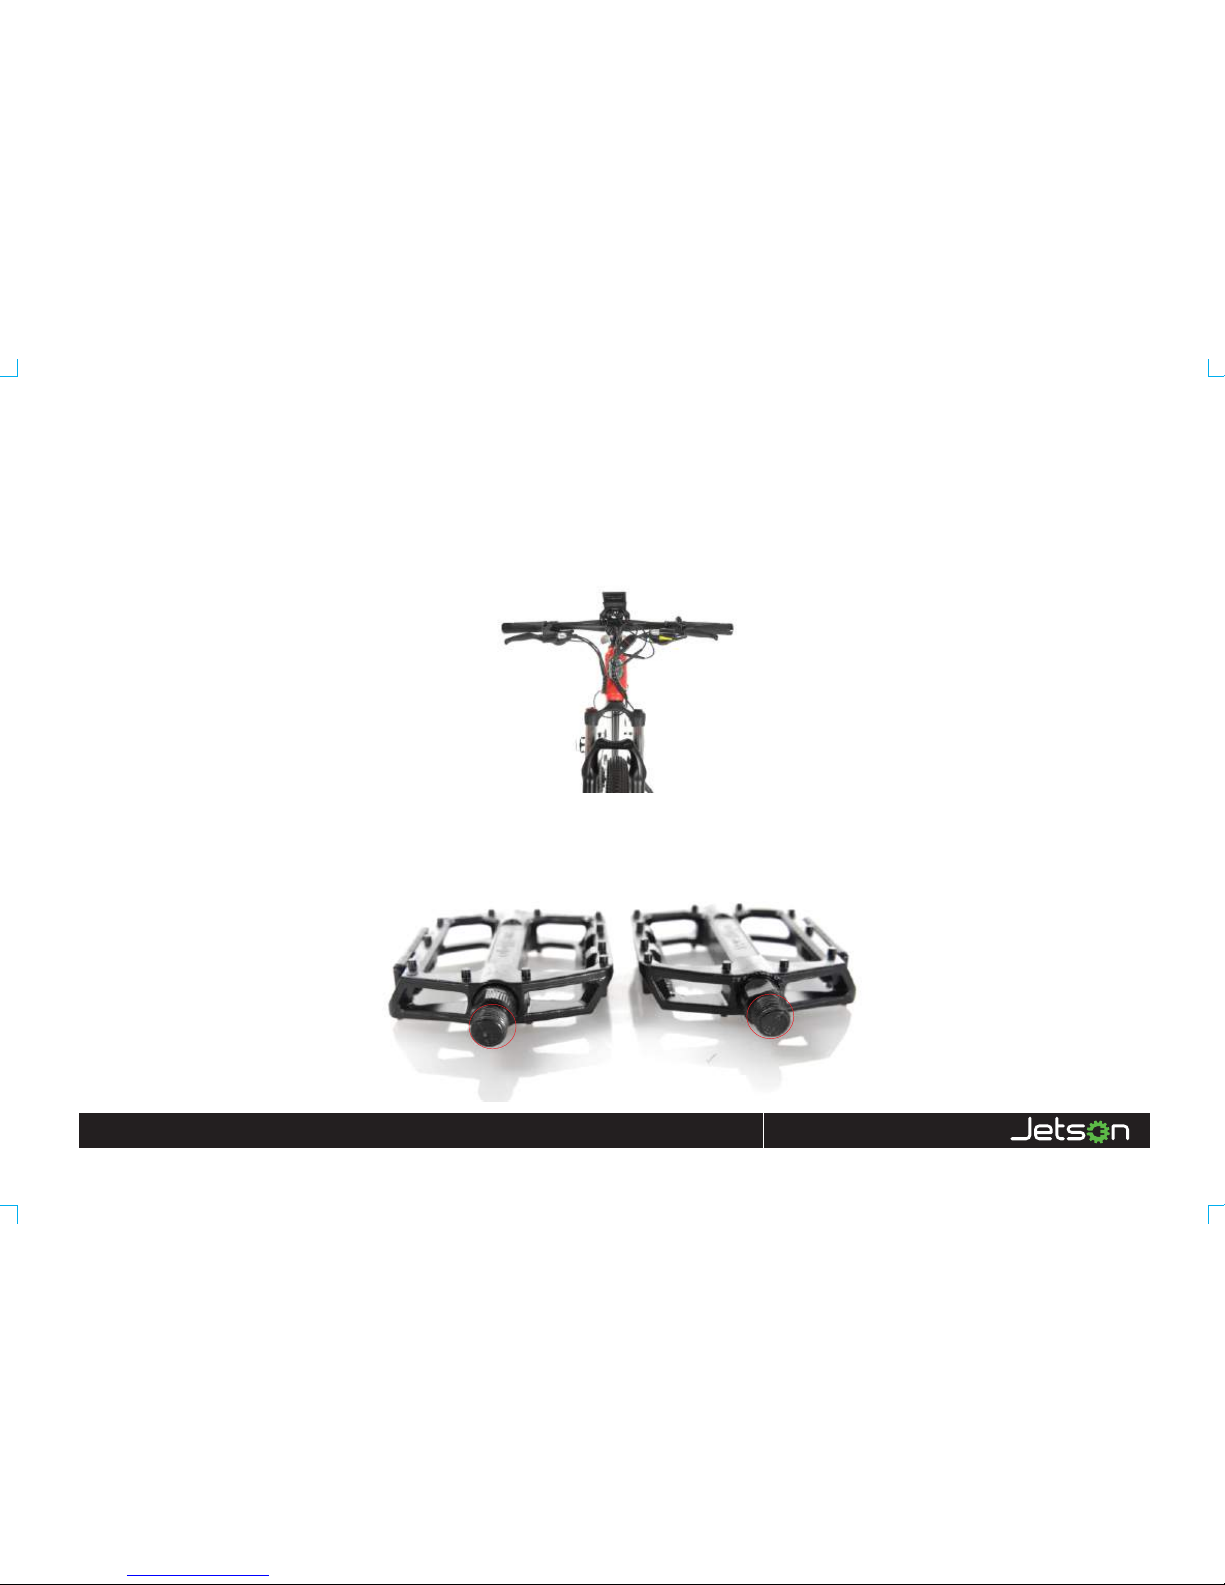
3.1 You have 2 pedals. Please take a look at the pedal and see whether it says R or L. R is for the right pedal and L is
for the left pedal.
3.2 To connect the pedals to the bike, place them in and turn the screws toward the front of the bike.
Step3: Assemble pedal
3

ad venture
Assembly Procedure
Step4: Assemble saddle (the seat)
4.1 The height of saddle should not be pulled higher than the secure tick marks on the seat post.
Tighten seat post quick release. 4.2
Your bike is now assembled. Please charge your bicycle for at least 12 hours the first time.
Once fully charged, you can ride it.
4

ad venture
Display Instructions
Adjustments and Service
Display
1.1 To turn on the display, please click the top button;
1.2 Press button to increase pedal assist level.
Press button to decrease pedal assist level.
To turn on front LED, and to turn on the LCD backlight, hold down button.1.3
1.4
1.5 For a walking assisnt of 4.5 mph, hold down
1.
5
2. Deraileur
2.1 Adjust H screw to make the center of the guide wheel aim at smallest sprocket of flywheel
.

adve nture
Function Declaration
2.2 Adjust L screw to make the center of guide wheel aim at biggest sprocket of flywheel.
6
2.3 Check the deraileur cable and deraileur if tightly combined, after a period of riding , deraileur may come loose ;jam or not
flexible, please clockwise adjust the adjustment nut of deraileur,to achieve the effect of variable speed flexible.

ad venture
Function Declaration
3. Brake System
3.1 Adjust disc brake on the inside of disc brake plate, make it close to brake pad. No friction when wheel runing is required.
7
3.2 tight the two nuts which are used to adjust the brake stoke.

ad venture
Function Declaration
3.3 Hold brake lever, Make the disc plate in the middle of the 2 disc pads,Then fixed brake cable by tighting the Compression
lock screw .
8
3.4 Adjust the brake to best position.

ad venture
Circuit Screening
1. Electric device
1.1 If display shows error, please find out the specific reason in the display manual according to the Error code.
2. Motor doesn’t work:
2.1 Check the motor waterproof connector is loose or not;
2.2 Check the motor waterproof cable and controller terminals are loose or not;
2.3 Check the sensor work normal or not;
2.4 If above parts are all normal, please change a new motor to test.
frame
fork
battery
motor
controller
display
light
brake
deraileurfront
Aluminium,Al6061
27.5"
7.8Ah-10.2Ah
36V250W
36V250W
LED/9 assistant model
36V/LED
TEKTRO IO
3 speeds and rear 7 speeds
9
2. Basic information:

www.jetsonbike.com
A Leader IN
Electric TRANSPORTATION
888-976-9904
If you like this product, please check out the other products on our website, including our:
• Electric Bicycle • Electric moped • Electric skateboard • Folding Electric Scooter
...and more!
If you have any questions, please contact Jetson Customer Support at
1-(888) 976-9904, or email customerservice@jetsonbike.com.
 Loading...