

Jeppesen Format Print Driver
The Jeppesen Format print driver places a virtual printer in your printer selections giving you the option
to print on Jeppesen paper. The driver formats the printed area for the following preferences and
paper:
Kneeboard—Prints with standard margins, designed for use with chart
clipboards.
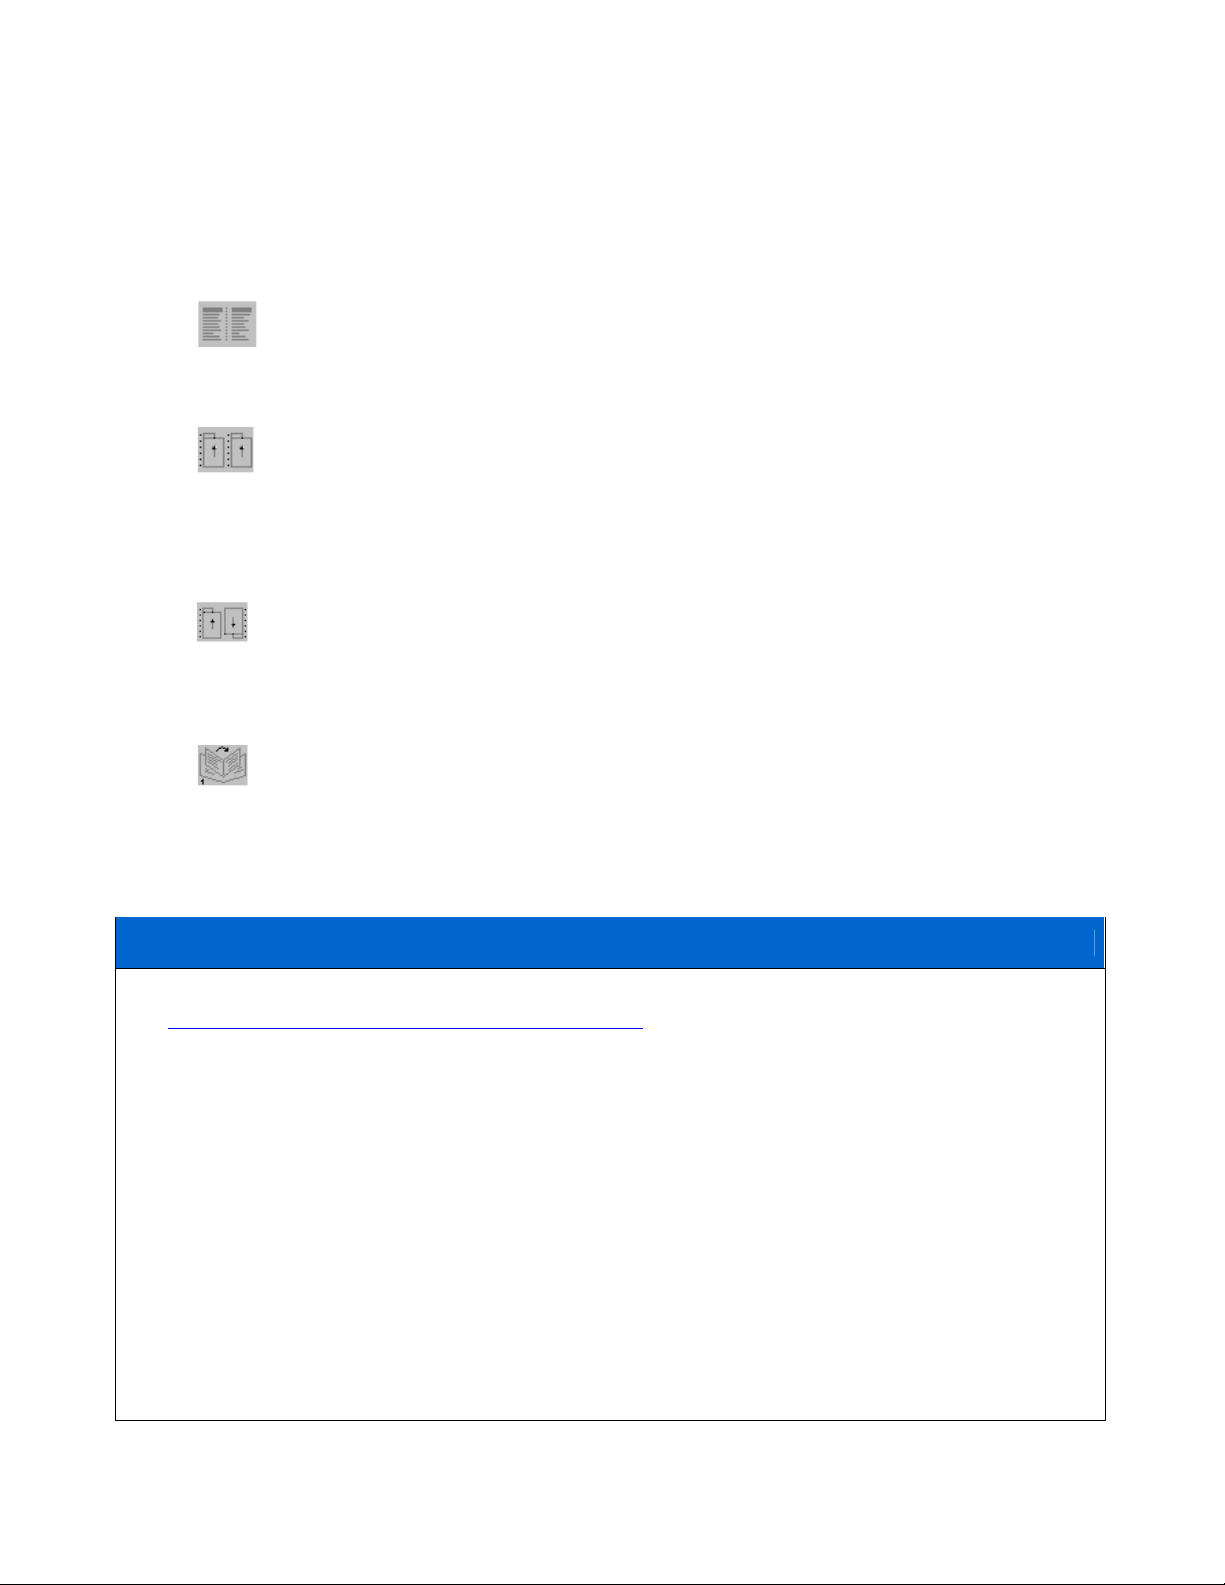
Jeppesen Paper 2-up (# AJV33003)—This paper has 7-hole punches down the center
and left edge of the paper. The Text Viewer prints two columns of text, both right-side
up on the same page, maximizing each page. Margins include room on the left of
each page (center and left edge of the page) for 7-hole punch and placement in
Jeppesen binders.
Jeppesen Paper 1-up (Product Number # AJV33002)—Has 7-hole punches down the
left and right edges for the Jeppesen paper (1-up) printing option. On this type of
paper, the Text Viewer prints the text on the right upside down, so when you
separate the pages at the perforation, the left side of each text is next to the
punched holes on the edges of the paper.
Booklet—Prints the text in a sequence that allows you to fold all the printed sheets in
the middle and place it in an 8.5-by-5 inch booklet format. The booklet format works
only if you have a printer that can print on both sides of the paper.
Installing the Jeppesen Format Print Driver
1. Download the Jeppesen Format Print Driver installer at
http://textviewer.jeppesen.com/redirect/printdrv.
2. Double-click the file JeppesenPrinterSetup.exe.
3. Click Next when the Welcome screen appears.
4. Read the license agreement and click Yes to accept the terms, and then click Next.
5. Select the path in which to install the Jeppesen Format Print Driver and click Next. Jeppesen
recommends that you use a location where other Jeppesen programs have previously been
installed. If you want to use a different drive or folder, click Browse, and then type the path or
browse to the folder that you want.
6. Click Install.

If any of the following messages appear: the Hardware installation dialog box (XP), a Windows
Security warning (Vista), or a warning that "the digital signature was not found" (W2K); click
Continue Anyway (XP), Install (Vista) or Yes (W2K).
In Microsoft Windows Vista the dialog looks something like this:
7. After the print driver is installed, click Finish.
If you are using a network printer that requires a password, you should reboot to reset the network
connection. Click OK in the message box to complete the printer driver installation.
Windows 2000 users must reboot to complete the driver installation. Continue to the end of the
installation and click Yes to the reboot message, or be sure to reboot before running the Text
Viewer.
 Loading...