

Jenn-Air TC407, VVV TC407 Use And Care Manual

JENN-AIR
Lv_l L_'_I L_'AI ®
Use and Care Guide
COMPACTOR
MODEL TC407
9871619 6/99
Table of Contents
Compactor Safety .......................................................... 3
Electrical Requirements ................................................ 4
How Your Compactor Works .......................................... 4
Parts and Features .......................................................... 5
Installing Your Compactor .............................................. 6
Unpacking your compactor .......................................... 6
Space requirements ...................................................... 6
Freestanding and
undercounter installation ................................................ 7
Adjusting the toe plate .................................................. 9
Air freshener .................................................................. 9
Changing the standard panel ........................................ 9
Using Your Compactor ................................................ 10
Starting your compactor .............................................. 10
Stopping your compactor ............................................ 10
Installing a new bag .................................................... 11
Removing a filled bag .................................................. 11
Cleaning Your Compactor ............................................ 12
Cleaning exterior surfaces .......................................... 12
Cleaning inside the drawer .......................................... 12
Cleaning inside the cabinet .......................................... 12
Cleaning the ram.......................................................... 13
Troubleshooting ............................................................ 13
Requesting Assistance and Service ............................ 14
Recycling With Your Compactor .................................. 15
Warranty ........................................................................ 16
Compactor Safety
Your safety and the safety of others is very important.
We have provided many important safety messages in this manual and on your appliance. Always read and obey all
safety messages.
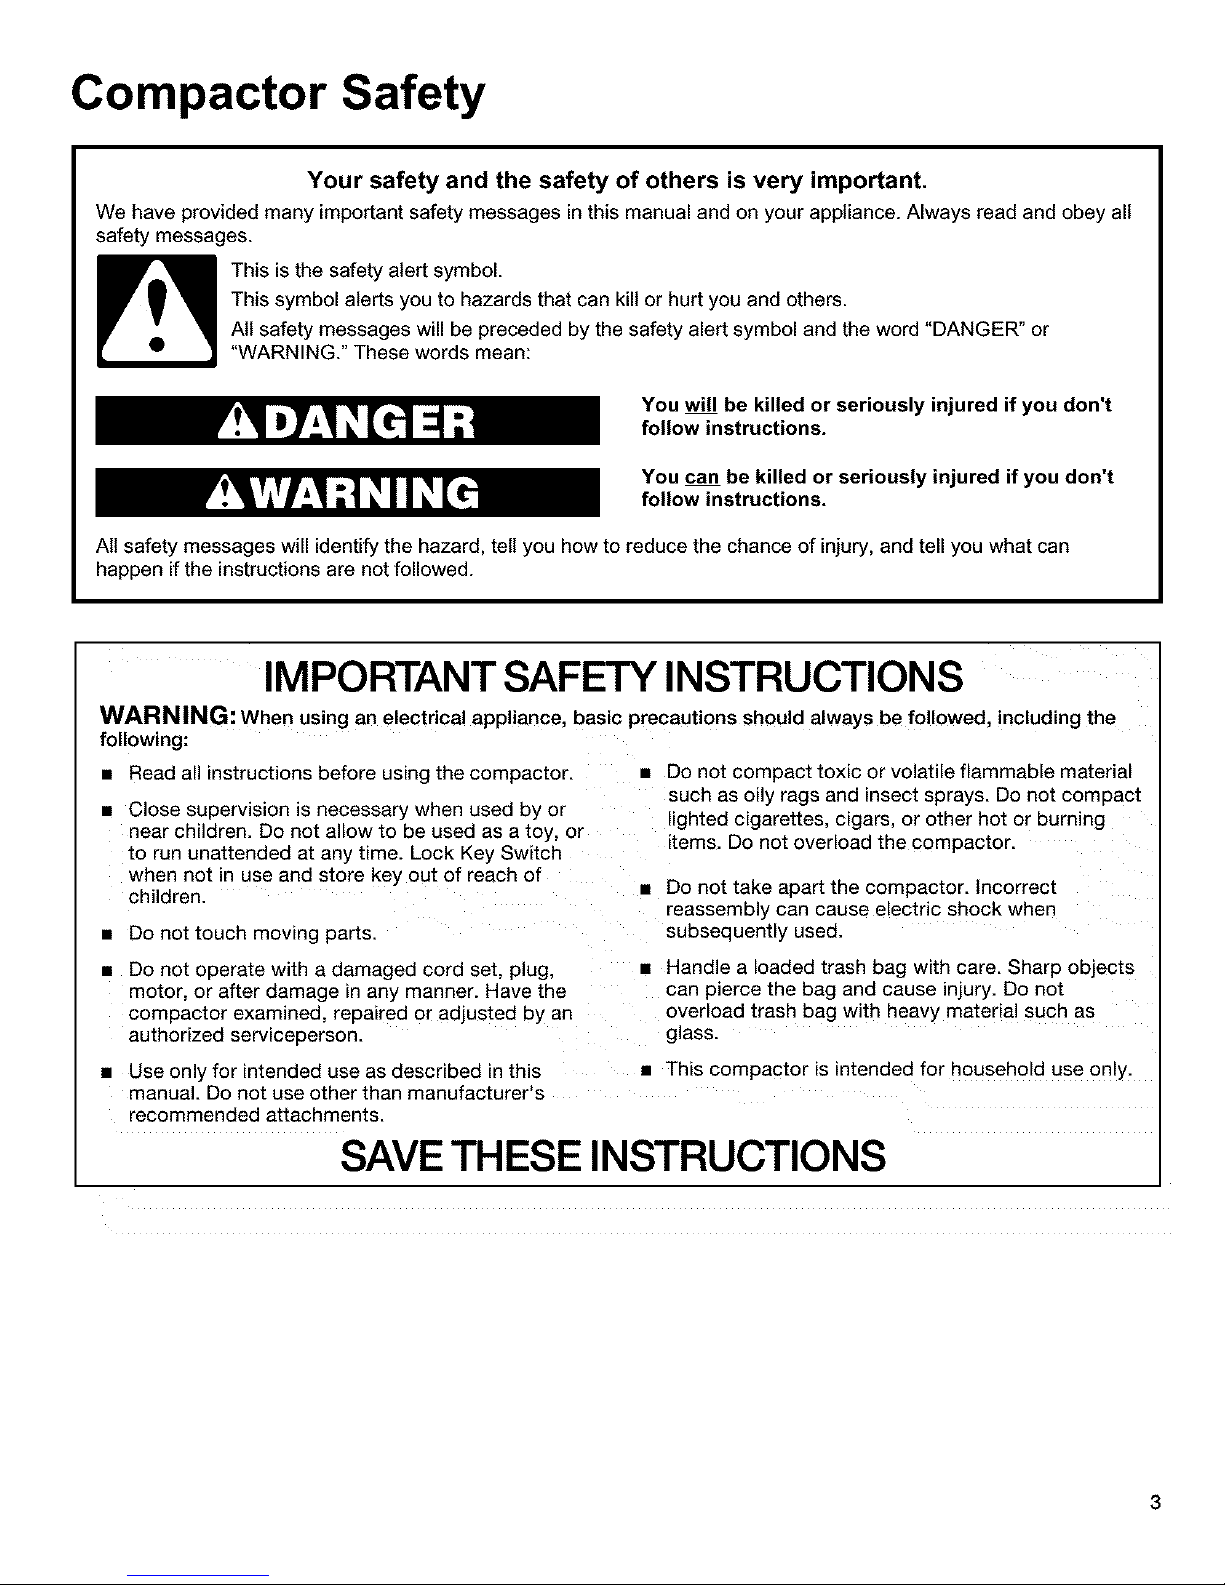
This is the safety alert symbol.
This symbol alerts you to hazards that can kill or hurt you and others.
Atl safety messages will be preceded by the safety alert symbol and the word "DANGER" or
"WARNING." These words mean:
You will be killed or seriously injured if you don't
follow instructions.
You can be killed or seriously injured if you don't
follow instructions.
Atl safety messages will identify the hazard, tell you how to reduce the chance of injury, and tell you what can
happen if the instructions are not followed.
IMPORTANT SAFETY INSTRUCTIONS
WARNING: When using an electrical appliance, basic precautions should always be followed, including the
following:
• Read all instructions before using the compactor.
• Close supervision is necessary when used by or
near children. Do not allow to be used as a toy. or
to run unattended at any time. Lock Key Switch
when not in use and store key out of reach of
children.
• Do not touch moving parts.
• Do not compact toxic or volatile flammable material
such as oily rags and insect sprays. Do not compact
lighted cigarettes, cigars, or other hot or burning
items. Do not overload the compactor.
• Do not take apart the compactor, incorrect
reassembly can cause electric shock when
subsequently used.
• Do not operate with a damaged cord set. plug,
motor, or after damage in any manner. Have the
compactor examined, repaired or adjusted by an
authorized serviceperson.
Handle a loaded trash bag with care. Sharp objects
can pierce the bag and cause injury. Do not
overload trash bag with heavy material such as
glass.
• Use only for intended use as described in this • This compactor is intended for household use only.
manual. Do not use other than manufacturer's
recommended attachments.
SAVE THESE INSTRUCTIONS
Electrical
Requirements
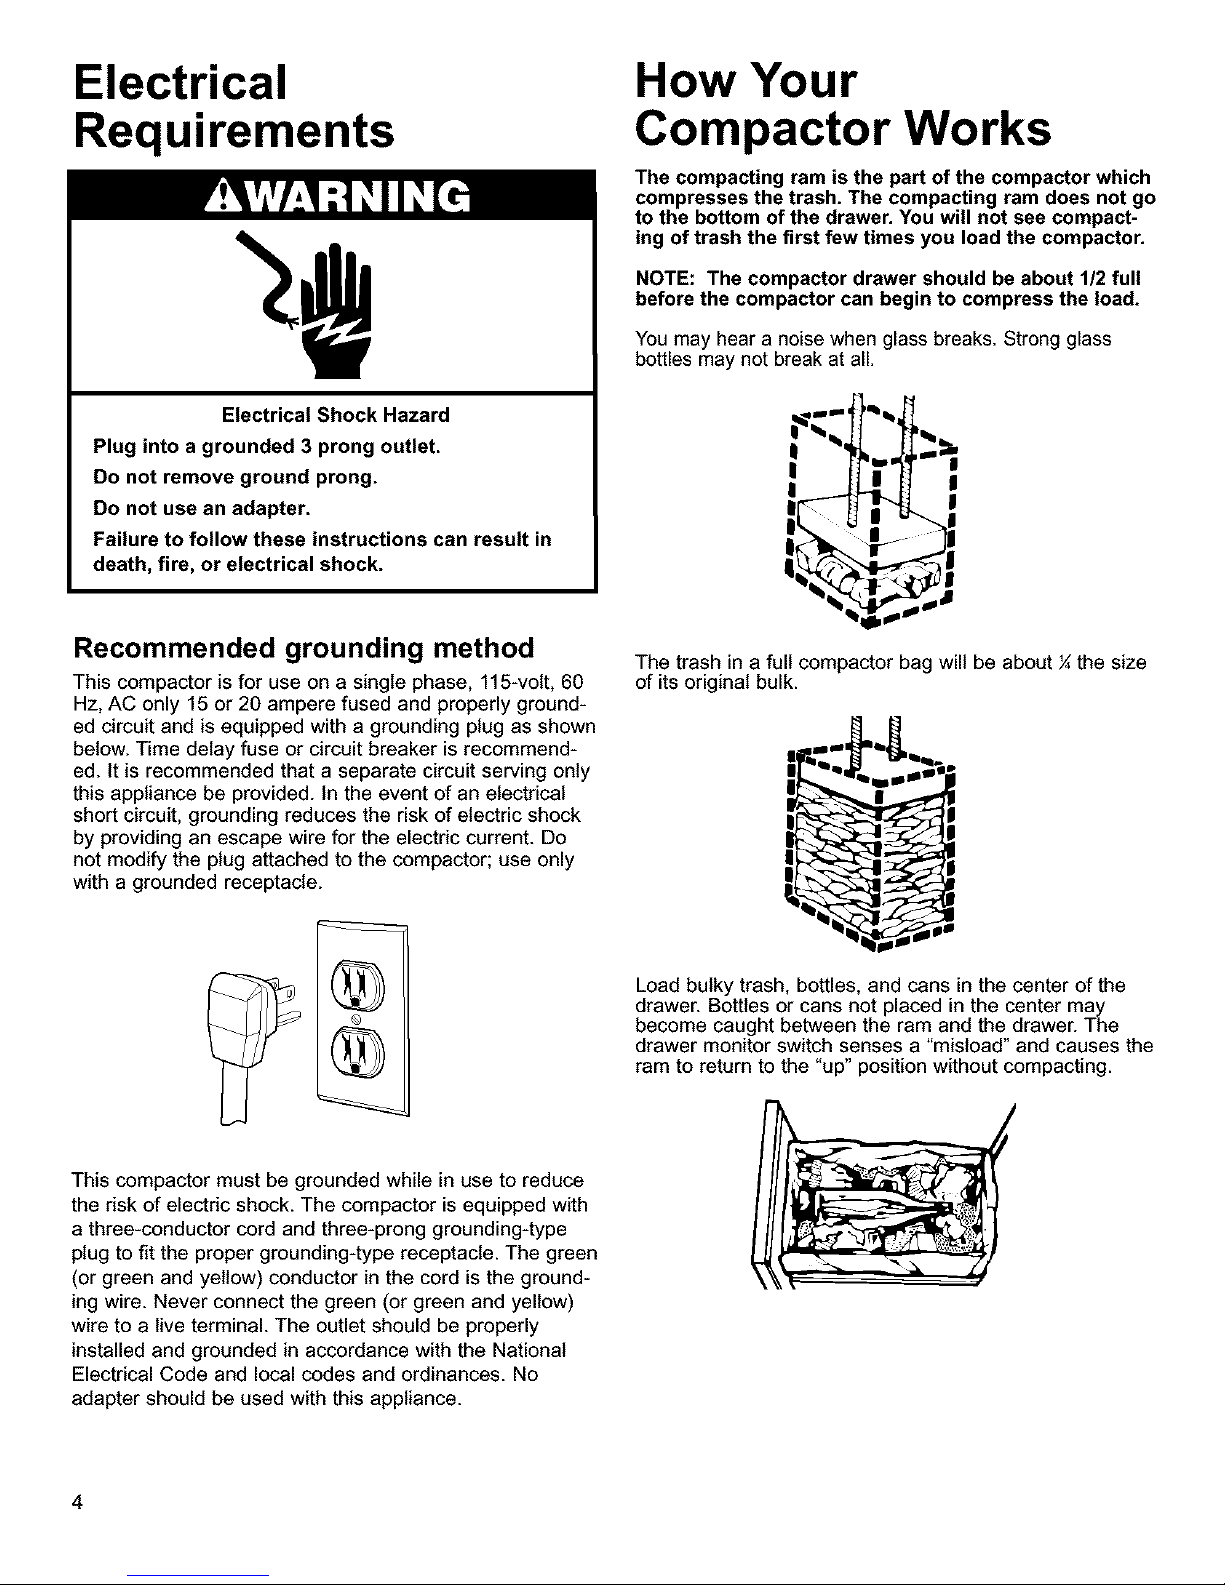
Electrical Shock Hazard
Plug into a grounded 3 prong outlet.
Do not remove ground prong.
Do not use an adapter.
Failure to follow these instructions can result in
death, fire, or electrical shock.
Recommended grounding method
This compactor is for use on a single phase, 115-volt, 60
Hz, AC only 15 or 20 ampere fused and properly ground-
ed circuit and is equipped with a grounding plug as shown
below. Time delay fuse or circuit breaker is recommend-
ed. it is recommended that a separate circuit serving only
this appliance be provided. In the event of an electrical
short circuit, grounding reduces the risk of electric shock
by providing an escape wire for the electric current. Do
not modify the plug attached to the compactor; use only
with a grounded receptacle.
Q
How Your
Compactor Works
The compacting ram is the part of the compactor which
compresses the trash. The compacting ram does not go
to the bottom of the drawer. You will not see compact-
ing of trash the first few times you load the compactor.
NOTE: The compactor drawer should be about 1/2 full
before the compactor can begin to compress the load.
You may hear a noise when glass breaks. Strong glass
bottles may not break at all.
I
| F !
The trash in a full compactor bag will be about _ the size
of its original bulk.
Load bulky trash, bottles, and cans in the center of the
drawer. Bottles or cans not placed in the center may
become caught between the ram and the drawer. The
drawer monitor switch senses a "misload" and causes the
ram to return to the "up" position without compacting.
This compactor must be grounded while in use to reduce
the risk of electric shock. The compactor is equipped with
a three-conductor cord and three-prong grounding-type
plug to fit the proper grounding-type receptacle. The green
(or green and yellow) conductor in the cord is the ground-
ing wire. Never connect the green (or green and yellow)
wire to a live terminal. The outlet should be properly
installed and grounded in accordance with the National
Electrical Code and local codes and ordinances. No
adapter should be used with this appliance.

Parts and Features
1. Control Knob
2. Air Freshener Compartment
3. Drawer Handle
4. Reversible Drawer Panels
5. Toe Bar
6. Toe Plate
7. Model and Serial Number Label
8. Removable Bag
9. Front Leveling Glides
10. Side-Lock Latch
 Loading...