

Jenn-Air JSD2388AEA, JSD2388AEB, JCD2289AEB, JCD2289ATW, JCD2289AEA User Manual
...
Refrigerator uide
Side by SiGde
_L__ENN-AIR
Introduction .................... 1
Safety Instructions ............... 2
Installation Instructions .......... 3
Features at a Glance .............. 4
Temperature Controls ............. 5
Interior Designs ............... 6-11
Ice Service ..................... 12
Ice and Water Service .......... 13-14
Water Filter Information ....... I4-16
Refrigerator Cleaning Chart ....... 17
Storage and Maintenance ........ 18
Food Storage Tips ............... 19
Food Storage Chart .............. 20
Before You Call .............. 21-22
Warranty ................ Back Page
Introduction Models: 2289, 2388, 2588, 2789, 2989
Congratulations on the put- Please keep your sales slip or cancelled check. Should any
chase of a Jenn-Air refrigera- warranty service be required, proof of original date of pur-
tor! chase is needed. For additional questions, please contact
We appreciate your purchase us:
decision and feel confident you Jenn-Air
will be happy with this appli- 403 West Fourth Street North
ance for years to come. For best P.O. Box 39
results, we suggest reading this Newton, Iowa 50208
guide carefully. You will find (515) 787-8911
instructions on the proper oper- (Mon.-Fri., 8am-5pm Central Time)
ation and maintenance of your Internet: http://www.jennair.com
refrigerator. Additionally food
storage information has been
included for you. In our continuing effort to improve the quality of our
Should you ever need our future assistance with your the appliance without revising this guide.
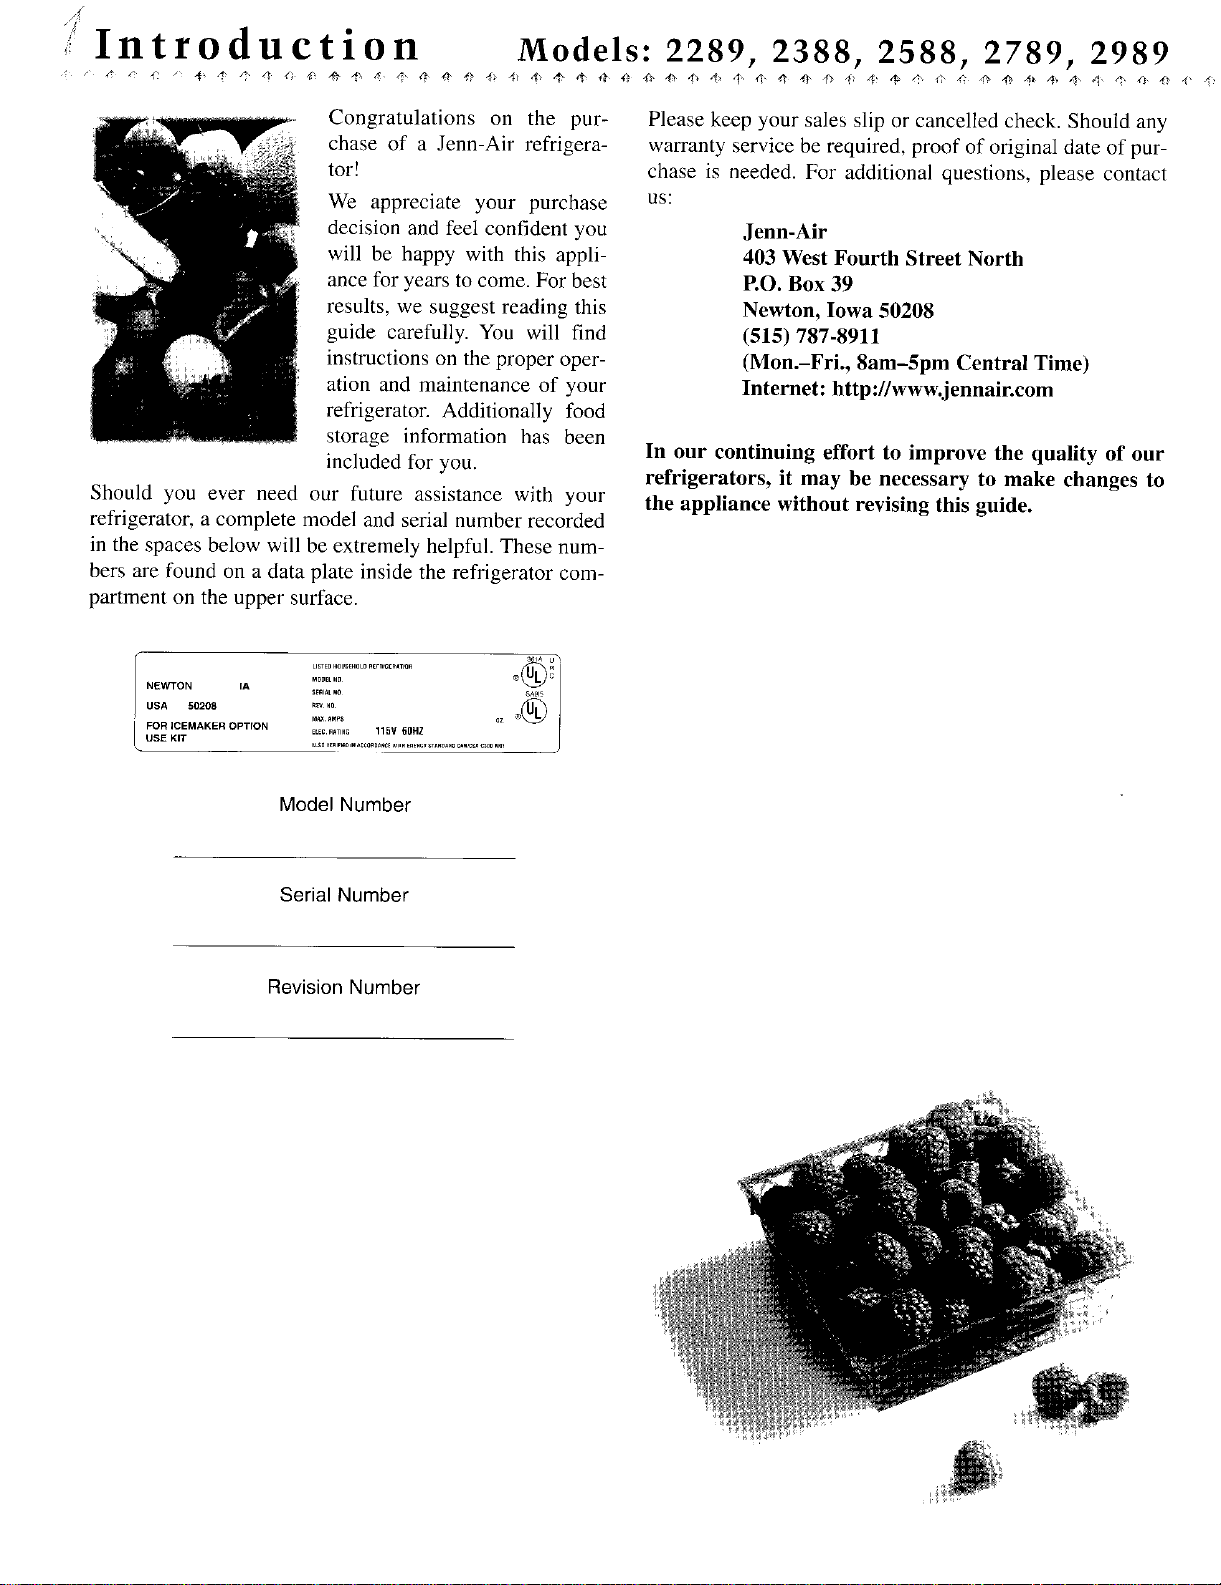
refrigerator, a complete model and serial number recorded
in the spaces below will be extremely helpful. These num-
bers are found on a data plate inside the refrigerator com-
partment on the upper surface.
refrigerators, it may be necessary to make changes to
Ni:WTON IA _0_EL_ ®
USA 50208 R_ ,0
USTE0_a_E_aL_ncr_,Qc_r0_
ModelNumber
SerialNumber
RevisionNumber
Important Safety Instructigns
WARNING _ theWhenfollowing:USingyour appliance, always follow basic precautions, including
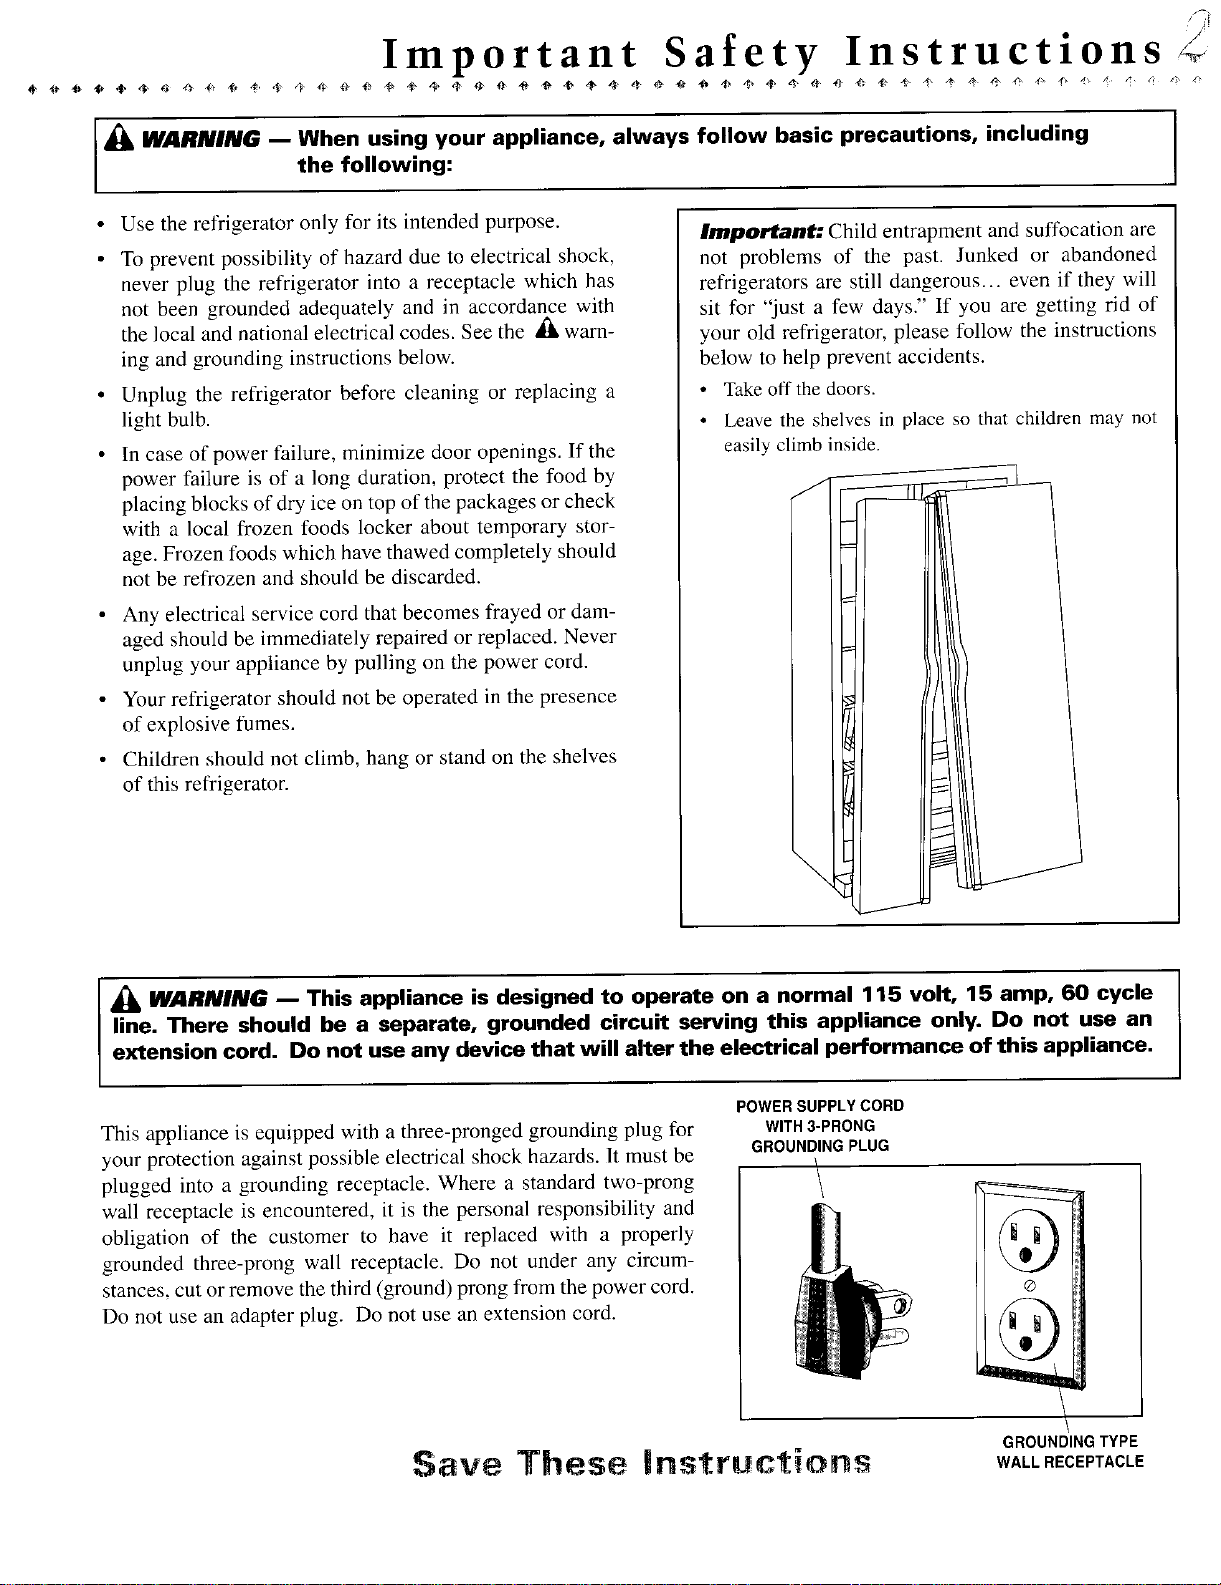
• Use the refrigerator only for its intended purpose. Important: Child entrapment and suffocation are
• To prevent possibility of hazard due to electrical shock, not problems of the past. Junked or abandoned
never plug the refrigerator into a receptacle which has refrigerators are still dangerous.., even if they will
not been grounded adequately and in accordance with sit for "just a few days." If you are getting rid of
the local and national electrical codes. See the _fkwarn- your old refrigerator, please follow the instructions
ing and grounding instructions below, below to help prevent accidents.
• Unplug the refrigerator before cleaning or replacing a • Takeoff the doors.
light bulb. • Leave the shelves in place so that children may not
• In case of power failure, minimize door openings. If the easily climbinside.
power failure is of a long duration, protect the food by
placing blocks of dry ice on top of the packages or check
with a local frozen foods locker about temporary stor-
age. Frozen foods which have thawed completely should
not be refrozen and should be discarded.
• Any electrical service cord that becomes frayed or dam-
aged should be immediately repaired or replaced. Never
unplug your appliance by pulling on the power cord.
• Your refrigerator should not be operated in the presence
of explosive fumes.
• Children should not climb, hang or stand on the shelves
of this refrigerator.
WARNING _ This appliance is designed to operate on a normal 115 volt, 15 amp, 60 cycle
line. There should be a separate, grounded circuit serving this appliance only. Do not use an
extension cord. Do not use any device that will alter the electrical performance of this appliance.
POWERSUPPLYCORD
This appliance is equipped with a three-pronged grounding plug for WITH3-PRONG
your protection against possible electrical shock hazards. It must be i
plugged into a grounding receptacle. Where a standard two-prong /
wall receptacle is encountered, it is the personal responsibility and
obligation of the customer to have it replaced with a properly
grounded three-prong wall receptacle. Do not under any circum-
stances, cut or remove the third (ground) prong from the power cord. ®
Do not use an adapter plug. Do not use an extension cord. __
GROUNDINGPLUG
GROUNDINGTYPE
Save These |nstructiens WALLRECEPTACLE

/Installation Instructions
Your new refrigerator was packed carefully for shipment. Remove and discard shelf packing clips (if used) located just
above each shelf where they hook onto the frame. To remove plastic clips wiggle the clips sideways and pull straight out.
Location of Your Leveling is Important
R e f ri g e r at o r Toenhanceappearanceandtomaintainoptimal perfor-
mance, the refrigerator must be level. Your refrigerator has
• Allow for a free flow of air through the front base grille, wheels which can be adjusted for leveling:
• Install the refrigerator where the room temperature will
not go below 55° F. With temperatures below 55°, the grasp each cover near the hinge and apply pressure. The
refrigerator will not run frequently enough to maintain attachment tabs will snap out, allowing removal of the
proper temperature in the freezer.
• Allow a minimum 1/2" clearance on the sides, top and • Adjust the wheels with a screwdriver (see fig. 2).
back for ease of installation. If the refrigerator is placed
with the door hinge side against awall, you may want to • To lock the cabinet in place, turn down both
allow additional space so the door can be opened wider, leveling/lock feet, located near the front wheels (see fig.
• Use caution when installing the unit on vinyl or hard-
wood floors so as not to mark or otherwise damage the • Replace the hinge covers.
flooring. A piece of plywood, a rug or other material • If the floor is not level and it is necessary to raise the
should be used to protect the floor while positioning the rear of the cabinet, we suggest rolling the rear wheels
unit. onto a piece of plywood or other shim material.
• Remove the lower hinge covers (see fig. 1). To do this,
covers.
3). Rear leveling/lock feet are not required.
Ii I ] I
, __ -- , ,
I i
, • i i _ I
Energy Saving Tips ,....... .,
• Locate the refrigerator away from heat producing appli- Fi_.
ances such as the range or dishwasher, heat vents and
direct sunlight.
• Level the refrigerator and do not block ventilation
around the front grille.
• Keep the freezer full to near capacity so less cold air will TURNCLOCKWISETO
escape during door openings. When the freezer is less
than two-thirds full, place milk cartons half full of water
in the freezer. TURNCOUNTER-CLOCKWISE
• Let hot dishes cool slightly before putting into the
refrigerator or freezer.
• Cover liquids.
• Wipe moisture from the outside of containers before ____._
placing them into the refrigerator, l_,_
• Avoid opening the doors too often.
RAISE CABINET CORNER
TO LOWER CABINET
Fig. 3 __

Features at a Glance
Ice Access Door Control Slide Control
Ice Bin
Freezer
Light Elevator _
Freezer Shelves
H_
Basket
Drop
Freezer
Door Tall Bottle
Baskets Retainer
ChillKeeper'_ Lights
( ) Dish
Refrigerator Water Filter Twin Fresh TM
__ per _
PuriClean TM
Dairy
With Keeper
Lift Off
Door Bins
Shelf
Tender
Fixed Door
Bins
i Out
Door Bins
Adjusti-Temp
StairStep" Base Grille Drawer
Freezer Humidity
Baskets Controlled
Lower Hinge Covers Crispers
Features may vary according to model.
Temperatur e Controls
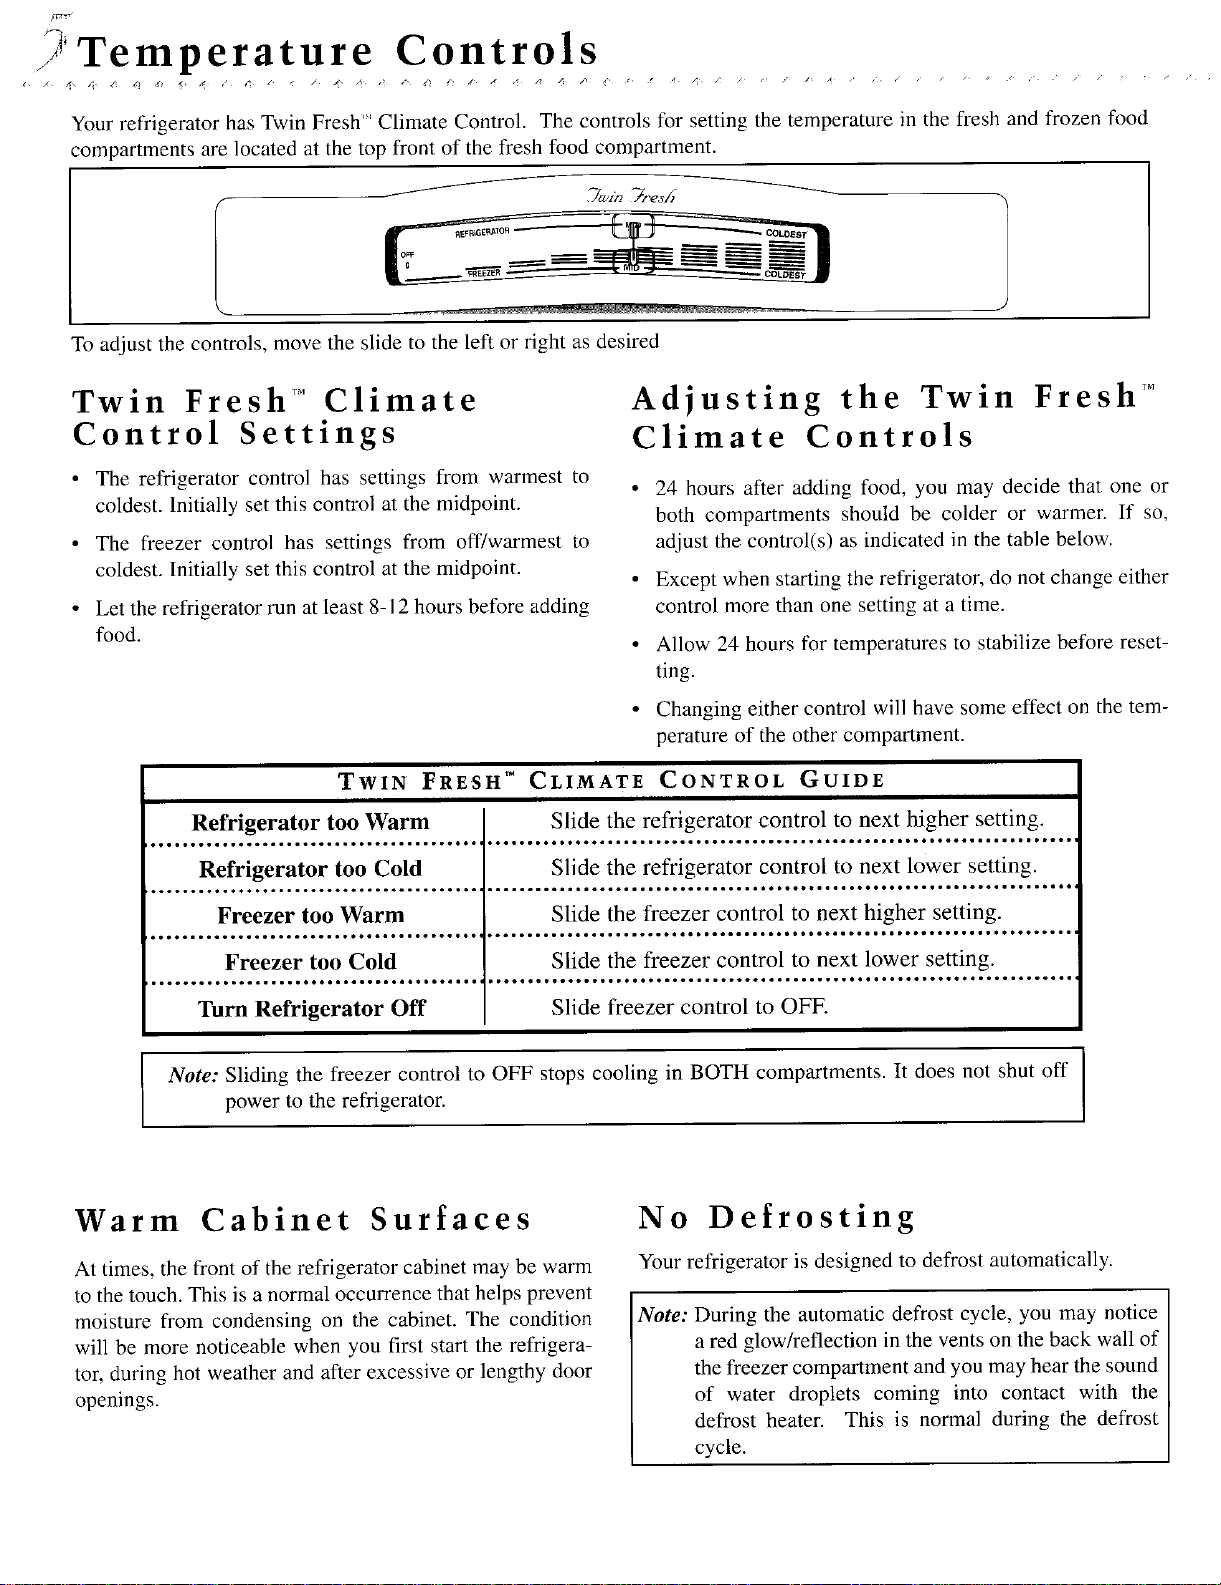
Your refrigerator has Twin Fresh" Climate Control. The controls for setting the temperature in the flesh and frozen food
compartments are located at the top front of the fresh food compartment.
To adjust the controls, move the slide to the left or right as desired
Twin Fresh TM Climate Adjusting the Twin Fresh TM
Control Settings Climate Controls
• The refrigerator control has settings from warmest to
coldest. Initially set this control at the midpoint, both compartments should be colder or warmer. If so,
• The freezer control has settings from off/warmest to adjust the control(s) as indicated in the table below.
coldest. Initially set this control at the midpoint. • Except when starting the refrigerator, do not change either
• Let the refrigerator run at least 8-12 hours before adding control more than one setting at a time.
food. • Allow 24 hours for temperatures to stabilize before reset-
TWIN FRESH TM CLIMATE CONTROL GUIDE
Refrigerator too Warm Slide the refrigerator control to next higher setting.
Refrigerator too Cold Slide the refrigerator control to next lower setting.
.........*** **..........*....4.....****_ a.......6a.......¢¢¢O*IO J_OeaaoooO Jooo#oeooooooooooeeoooooooo#eeeee°°°_°°l
Freezer too Warm Slide the freezer control to next higher setting.
Freezer too Cold Slide the freezer control to next lower setting.
Turn Refrigerator Off Slide freezer control to OFE
• 24 hours after adding food, you may decide that one or
ting.
• Changing either control will have some effect on the tem-
perature of the other compartment.
I Note: Sliding the freezer control to OFF stops cooling in BOTH compartments. It does not shut off
power to the refrigerator.
Warm Cabinet Surfaces No Defrosting
At times, the front of the refrigerator cabinet may be warm Your refrigerator is designed to defrost automatically.
to the touch. This is a normal occurrence that helps prevent
moisture from condensing on the cabinet. The condition Note: During the automatic defrost cycle, you may notice
will be more noticeable when you first start the refrigera- a red glow/reflection in the vents on the back wall of
tor, during hot weather and after excessive or lengthy door the freezer compartment and you may hear the sound
openings, of water droplets coming into contact with the
defrost heater. This is normal during the defrost
cycle.
Interior Designs
Shelves
Fresh Food Compartment and Door
Elevator TM Shelf HE$
The fresh food compartment is equipped with 3 Elevator'"
shelves. These shelves have a spill retainer edge for easy
clean up. They also have the convenient slide out feature
that allows easy access to items stored at the rear of the
shelf.
These shelves can be adjusted up or down without having
to be unloaded of their contents. To adjust an Elevator '_'
shelf, unfold the recessed crank handle so it is at a right
angle to the shelf front. Crank to the right (clockwise) to
raise the height of the shelf, and the left (counterclockwise)
to lower the height of the shelf.
To remove the Elevator '_'shelf for occasional cleaning:
• Completely unload the shelf.
• Grasp the shelf front and pull forward until it stops.
• Press the stops from below (both sides) upward and
continue pulling the shelf forward, clear of the frame.
• To reinstall, align the shelf to the frame and push it all
the way back. (There is no need to depress the stops for
reinstallation).
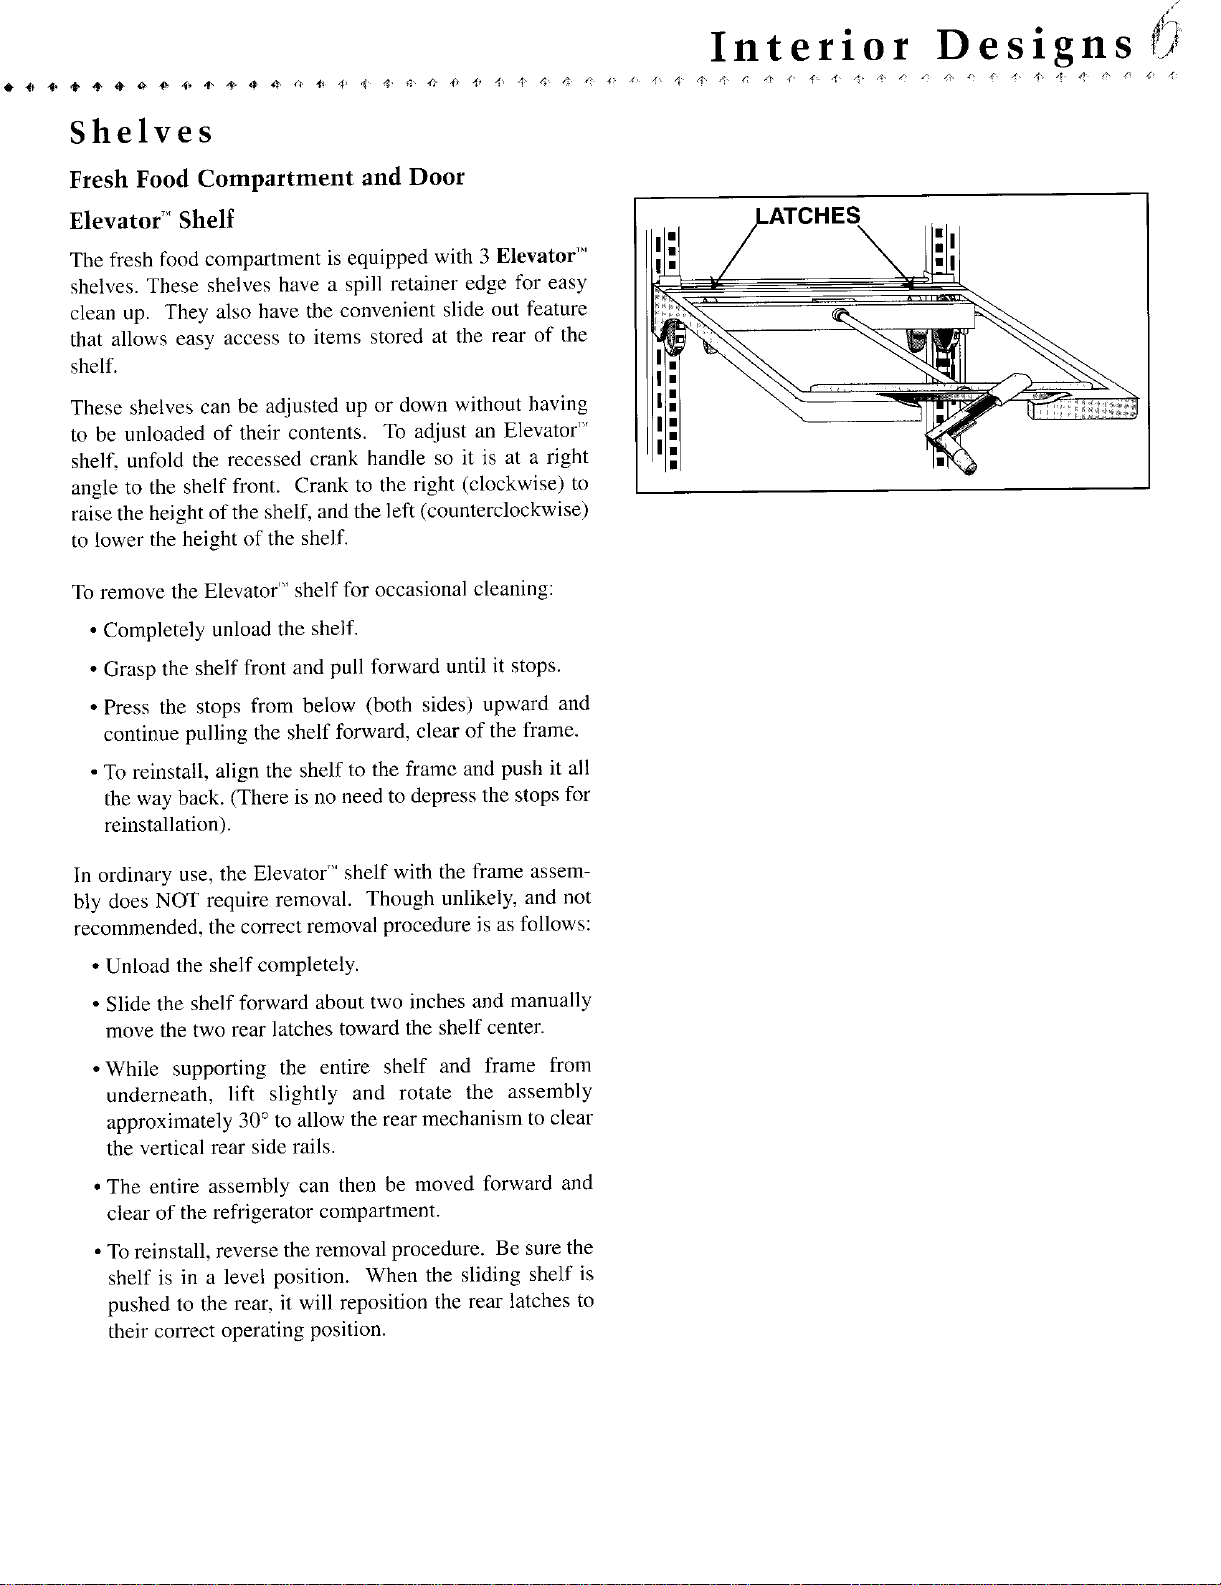
In ordinary use, the Elevator r"shelf with the frame assem-
bly does NOT require removal. Though unlikely, and not
recommended, the correct removal procedure is as follows:
• Unload the shelf completely.
• Slide the shelf forward about two inches and manually
move the two rear latches toward the shelf center.
• While supporting the entire shelf and frame from
underneath, lift slightly and rotate the assembly
approximately 30° to allow the rear mechanism to clear
the vertical rear side rails.
• The entire assembly can then be moved forward and
clear of the refrigerator compartment.
• To reinstall, reverse the removal procedure. Be sure the
shelf is in a level position. When the sliding shelf is
pushed to the rear, it will reposition the rear latches to
their correct operating position.
 Loading...