

Jenn-Air DU506, DU598B, DU588, DU588W Repair Manual
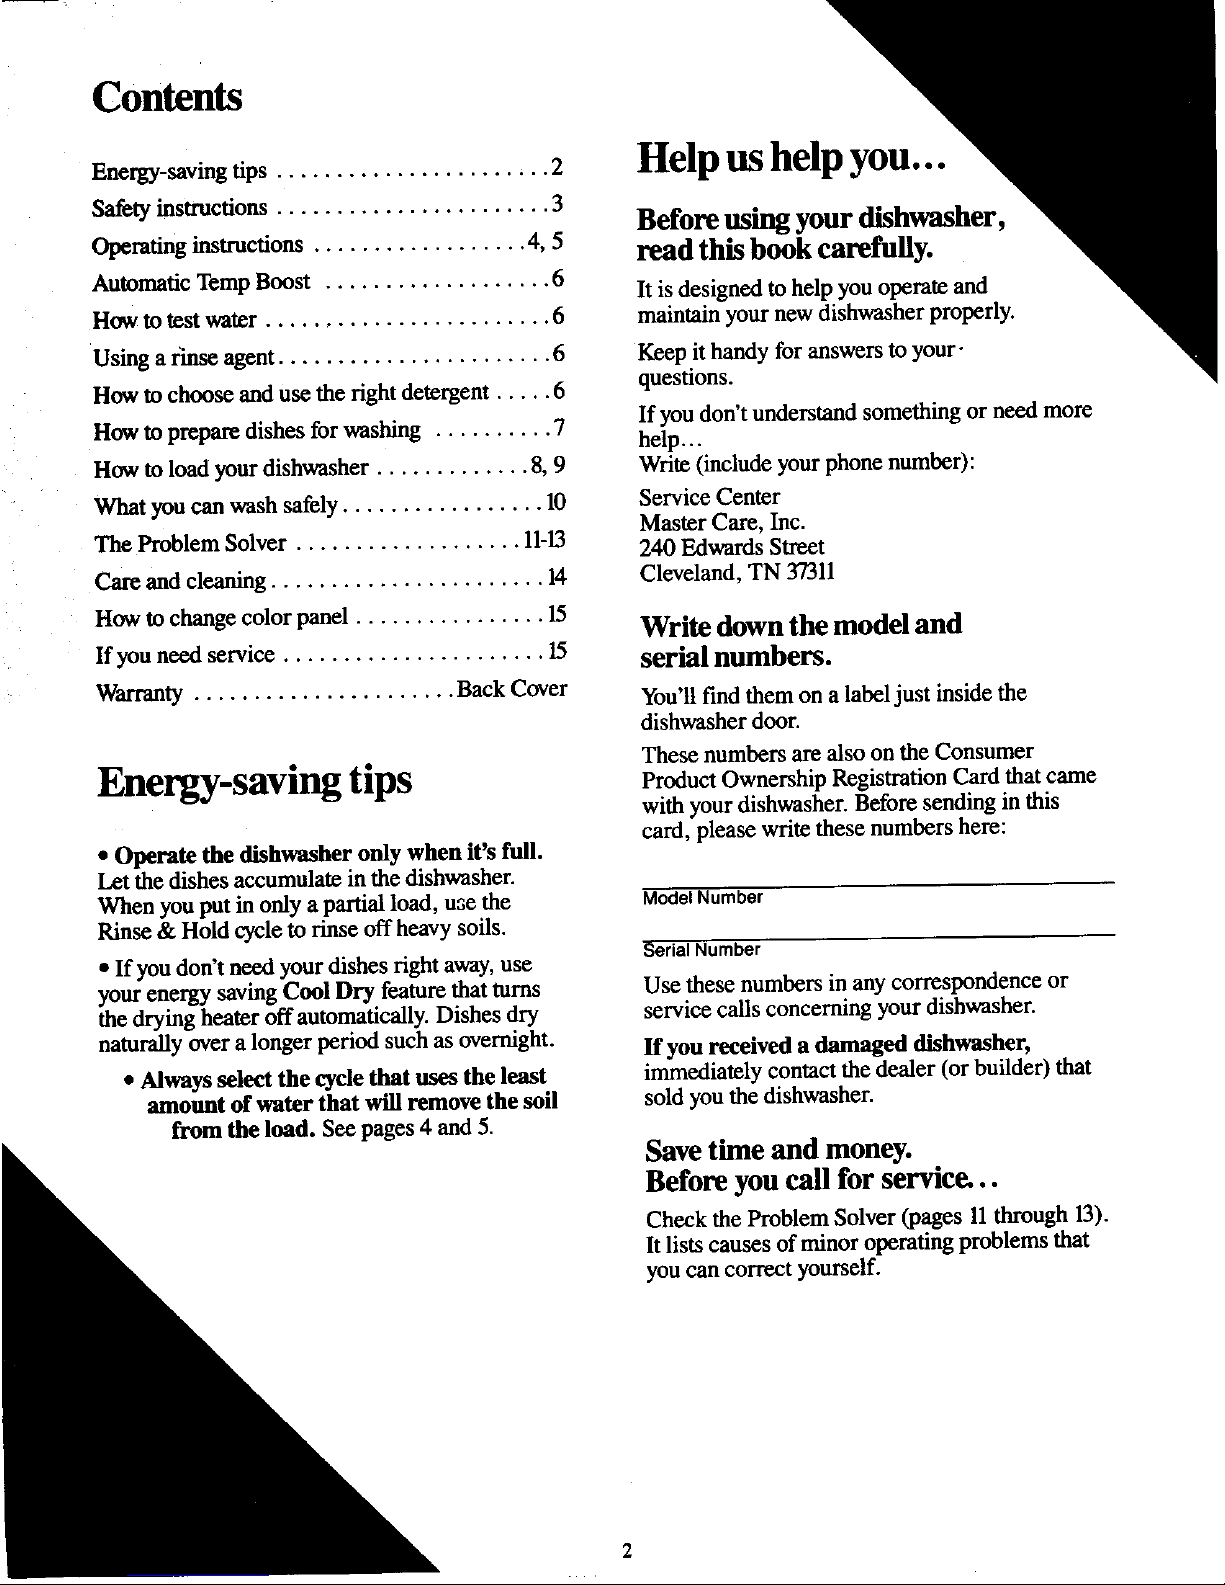
Contents
Energy-saving tips ....................... 2 Help us help you...
Safety instructions ....................... 3
Before using your dishwasher,
Operatinginstructions.................. 4,5 read this book carefully.
Automatic Temp Boost ................... 6 It is designed to help you operate and
How to test water ........................ 6 maintain your new dishwasher properly.
Using a rinse agent ....................... 6 Keep it handy for answers to your-
How to choose and use the right detergent ..... 6 questions.
How to prepare dishes for washing .. 7 If you don't understand something orneed more
........ help...
How to load your dishwasher ............. 8, 9 Write (include your phone number):
What you can wash safely ................. 10 Service Center
Master Care, Inc.
The Problem Solver ................... 11-13 240 Edwards Street
Care and cleaning ....................... 14 Cleveland, TN 37311
How to change color panel ................ 15
Write down the model and
If you need service ...................... 15 serial numbers.
Warranty ...................... Back Cover You'll find them on a label just inside the
dishwasher door.
These numbers are also on the Consumer
IF.._I O
Energy-savingUps vroOuct Ownership Registration Card thatcame
with your dishwasher. Before sending in this
card, please write these numbers here:
• Operate the dishwasher only when it's full.
Let the dishes accumulate in the dishwasher.
When you put in only a partial load, use the ModelNumber
Rinse & Hold cycle to rinse off heavy soils.
Serial Number
• If youdon'tneedyourdishesrightaway,use
your energy saving Cool Dry feature that turns Use these numbers in any correspondence or
the drying heater off automatically. Dishes dry service calls concerning your dishwasher.
naturally over alonger period such as overnight. If you received a damaged dishwasher,
• Always select the cycle that uses the least immediately contact the dealer (or builder) that
amount of water that will remove the soil sold you the dishwasher.
from the load. See pages 4 and 5.
Save time and money.
Before you call for service...
Check the Problem Solver (pages 11through 13).
Itlists causes of minor operating problems that
you can correct yourself.

IMPORTANT SAFETY INSTRUCTIONS
Read all instructions before using this appliance.
WARNING--Whenusingthis • Loadlightplasticitemsso dishwasher,removethe doorof
appliance,alwaysexercisebasic theywill notbecomedislodged thewashingcomp_huent.
safetyprecautions,includingthe anddroptothebottomof the
following: dislnvasher--theymightcome • Keepallwashingdetergents
• Use _ applianceonlyfor its intocontactwiththeheatingunit andwetlhg agentsoutof the
Intendedpurpose as described andbe damaged, reachofchildren,preferablyin
alockedcabinet.Observeall
In this book. Tominimize the possibilityof warningsoncontainerlabelsto
• This dishwashermust be Injury. avoidpersonalinjury.
properly installedand located • Whenloadingitemstobe • HYDROGEN GASis
in accordance withthe washed: producedbythe chemicalaction
InstallationInstructions before A. Locatesharpitemsso that withinyourwaterheater.Itcan
it is used. If youdidnotreceive theyare notlikelyto damage accumulateinthe waterheater
anInstallationInstructionssheet the doorseal,and and/orwaterpipesif hotwater
with yourdishwasheryoucan hasnotbeenusedforaperiodof
obtainone bycontactingthe B. Loadsharp kniveswiththe twov_eks orlonger.HYDROGEN
servicelocationnearestyou. handlesupto reducethe riskof GASIS EXPLOSIVE.Toprevent
--This appliancemustbe cut-typeinjuries, the possibilityof damageor
connectedto agrounded metal, • Do nottouchthe heating injury,if youhavenotusedhot
permanentwiring system;oran element duringor immediately water fortwo weeksor more,or
equipment-groundingconductor afteruse. moveinto a residencein which
mustbe run withthe circuit the hotwater systemmaynot
• Do notoperate your havebeenusedfor sometime,
conductorsandconnectedto the dishwasherunlessall enclosure turnon allhot waterfaucetsand
equipment-groundingterminal panels areproperlyin place, allowthem to runfor several
orleadoftheappliance.
--Connectto aproperlyrated, , Do notUunperwithcontrols, minutesbeforeusingany
electricalappliancewhichis
protectedandsizedpowersupply • Do notabuse,siton, or stand connectedto thehot water
circuittoavoidelectricaloverload, onthe dooror dishrack ofthe system.This will allowany
• Use onlypowderor fiquid dishwasher, hydrogengasto escape. Also,
detergentsor wettingagents • Closesupervisionis necessary sincethe gasis flammable,do
recommendedfor usein a if this applianceisused byor notsmokeor use an openflame
dislmrasber, nearchildren. Do notallow orappliance duringthisprocess.
• Do notwashplasticitems childrento playinside, on or
unlessmarked"dishwasher with or SAVE THESE
saf£' ortheequivalent.For discardedappliance.Dispose
plasticitemsnotso marked, ofdiscardedappliancesand INSTRUCTIONS
checkthe manufacturer's shippingorpackingmaterial
recomme_afions, properly.Beforediscardinga
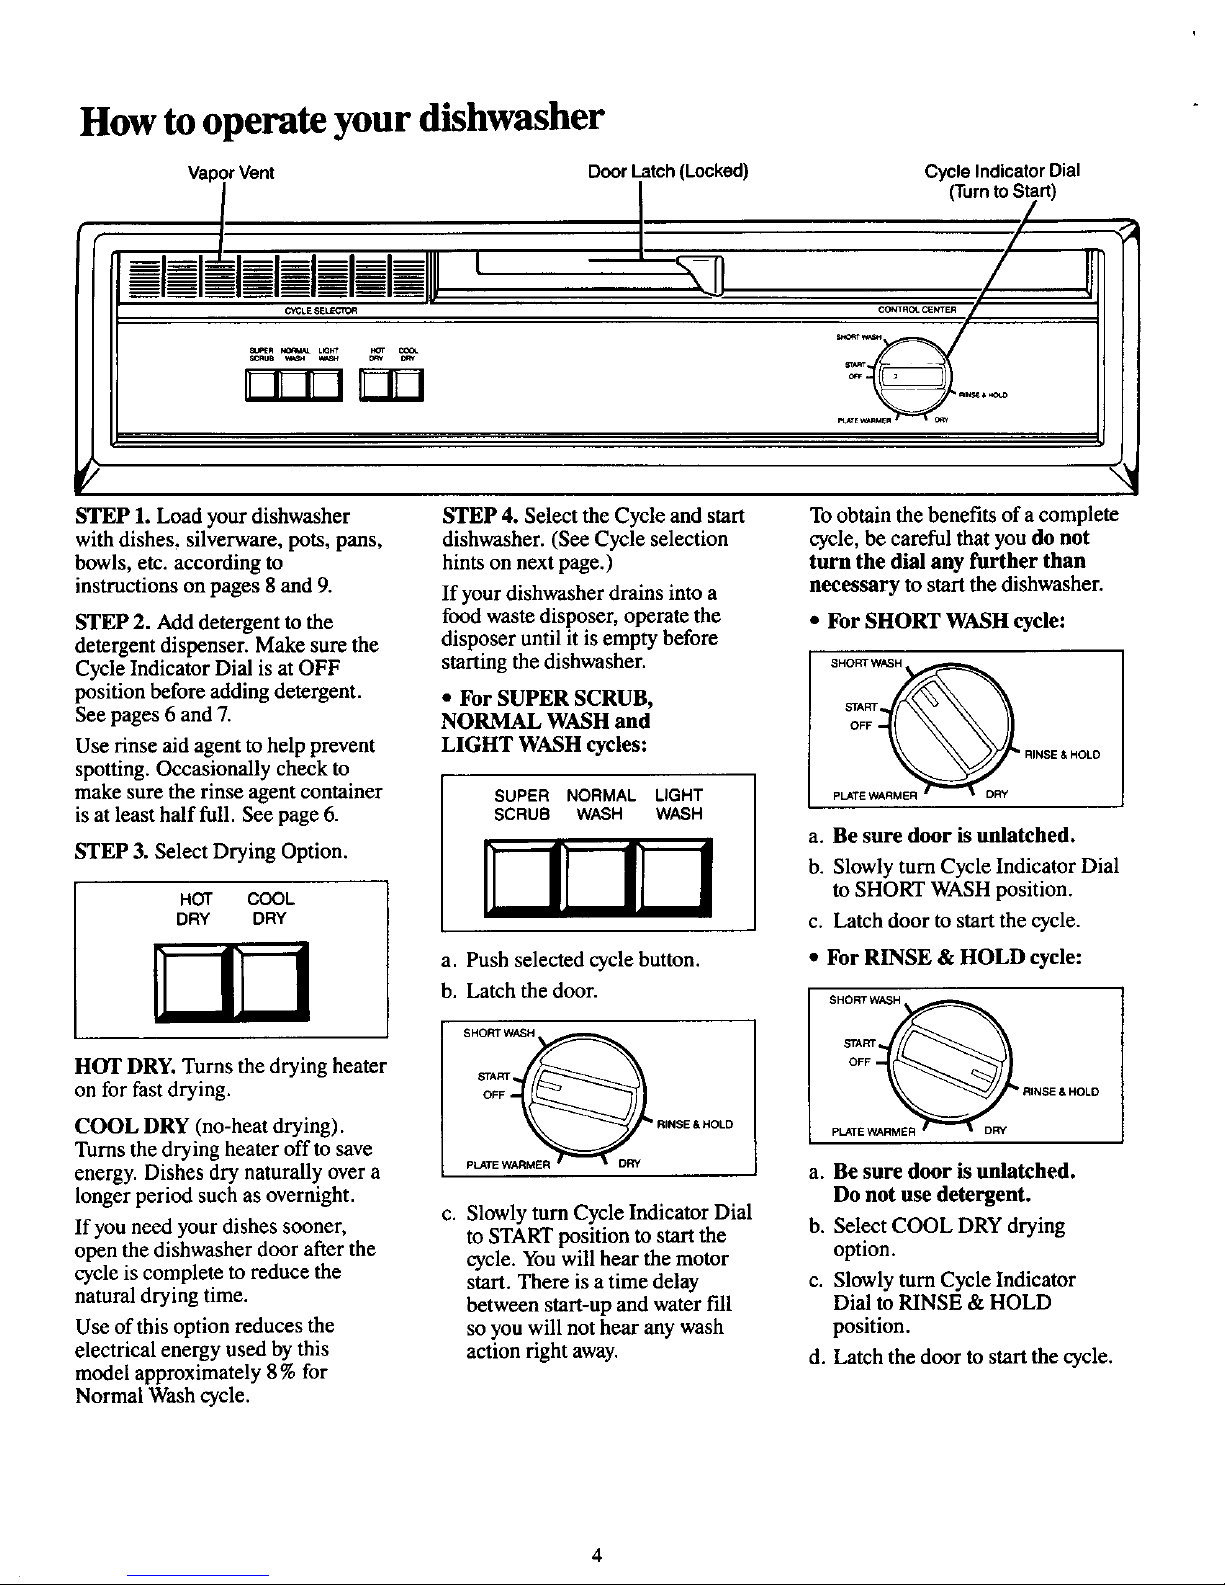
How tooperate your dishwasher
,rVent DoorLatch(Locked) CycleIndicatorDial
(TurntoStart)
, / II
CYCLESELECTOR S_ w_,_CONIROLCENTER/
r 7171rT1
P_rE
X
STEP 1. Load your dishwasher STEP 4. Select the Cycle and start To obtain the benefits of a complete
with dishes, silverware, pots, pans, dishwasher. (See Cycle selection cycle, be careful that you do not
bowls, etc. according to hints on next page.) turn the dial any further than
instructions on pages 8 and 9. If your dishwasher drains into a necessary to start the dishwasher.
STEP 2. Add detergent to the food waste disposer, operate the • For SHORT WASH cycle:
detergent dispenser. Make sure the disposer until it is empty before
SHORT WASI_
Cycle Indicator Dial is at OFF starting the dishwasher.
position before adding detergent. • For SUPER SCRUB, StARt
See pages 6 and 7. NORMAL WASH and OFF
Use rinse aid agent to help prevent LIGHT WASH cycles: R,NSEaHOLO
spotting. Occasionally check to
make sure the rinse agent container SUPERNORMALLIGHT pLATE
is atleast half full. See page 6. SCRUB WASH WASH
STEP 3. Select Drying Option. _ a. Be sure door is unlatched.
LL..£.J
b. Slowly turn Cycle Indicator Dial
HOT COOL to SHORT WASH position.
DRY DRY c. Latch door to start the cycle.
a. Push selected cycle button. • For RINSE & HOLD cycle:
b. Latch the door. SHORTWASH
HOT DRY. Turns the drying heater StARt
on for fast drying, o_ R,,__.oto
COOL DRY (no-heat drying). RI.SE•HOt.O PLATE
Turns the drying heater off to save
pLATE
energy. Dishes dry naturally over a a. Be sure door is unlatched.
longer period such as overnight. Do not use detergent.
c. Slowly turn Cycle Indicator Dial b. Select COOL DRY drying
If you need your dishes sooner, to START position to startthe
open the dishwasher door after the cycle. Youwill hear the motor option.
cycle is complete to reduce the start. There is a time delay c. Slowly turn Cycle Indicator
naturaldrying time. between start-up and water fill Dial to RINSE & HOLD
Use of this option reduces the so you will not hear any wash position.
electrical energy used by this action right away. d. Latch the door to start the cycle.
model approximately 8% for
Normal Wash cycle.
4
 Loading...