

Page 1
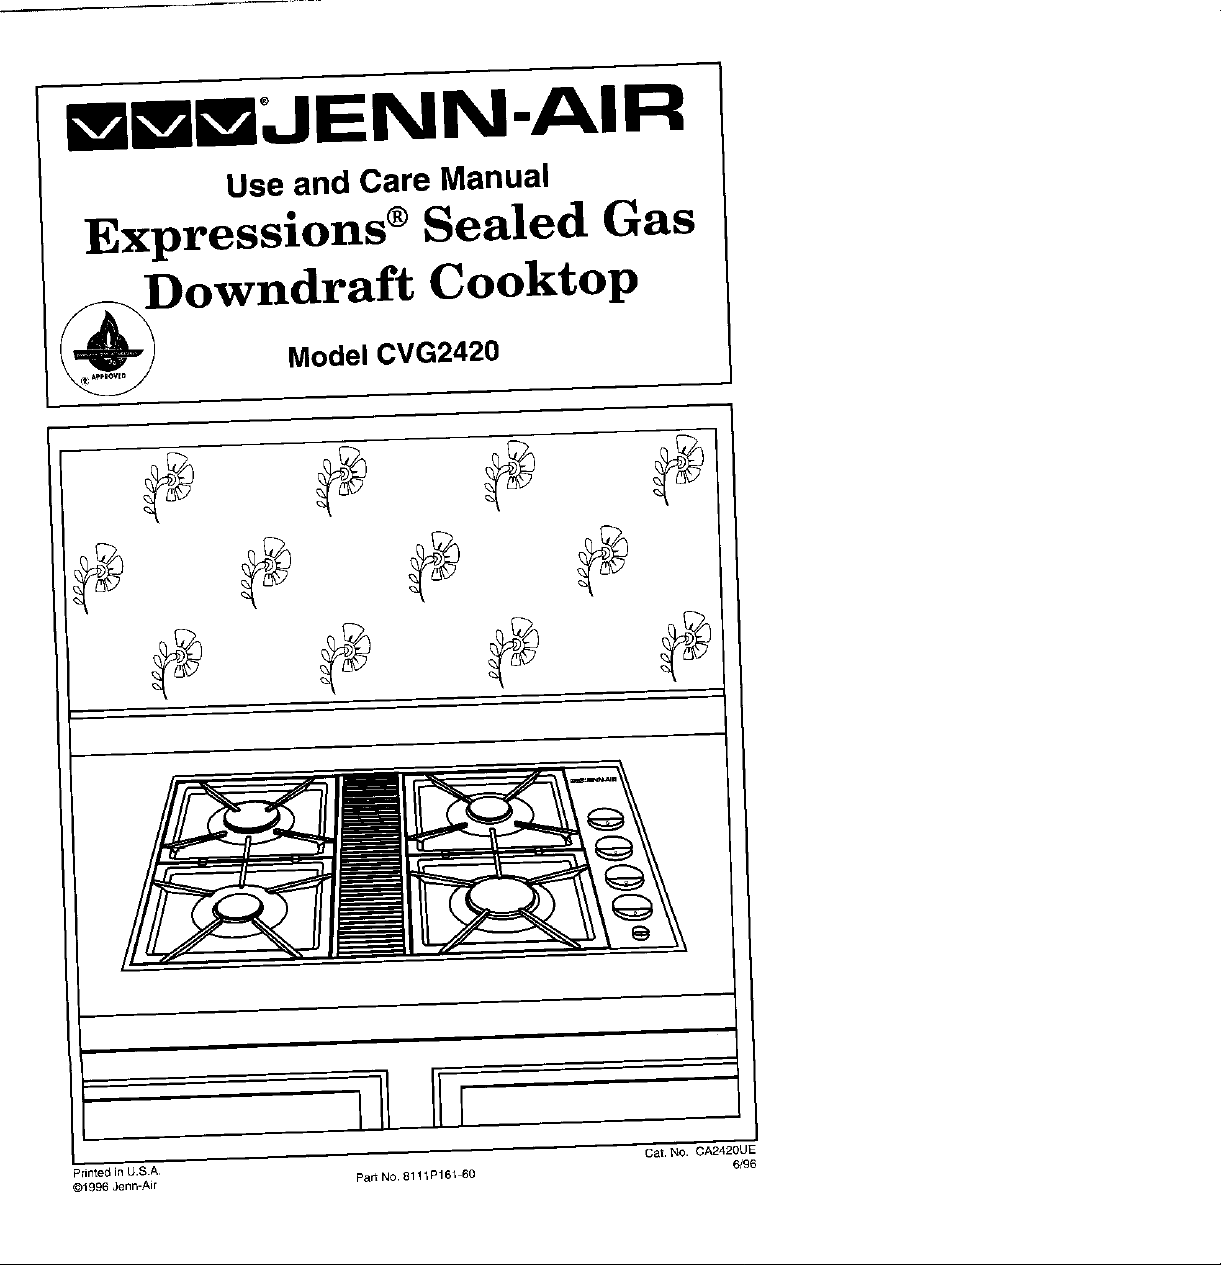
mmmJENN-AIR
Use and Care Manual
Expressions ®Sealed Gas
_Downdraft Cooktop
Model CVG2420
Printed in U.S A Cat. NO. GA2420UE
©1996 Jenn-Air Part NO. 8111 P161 60 6/96
Page 2
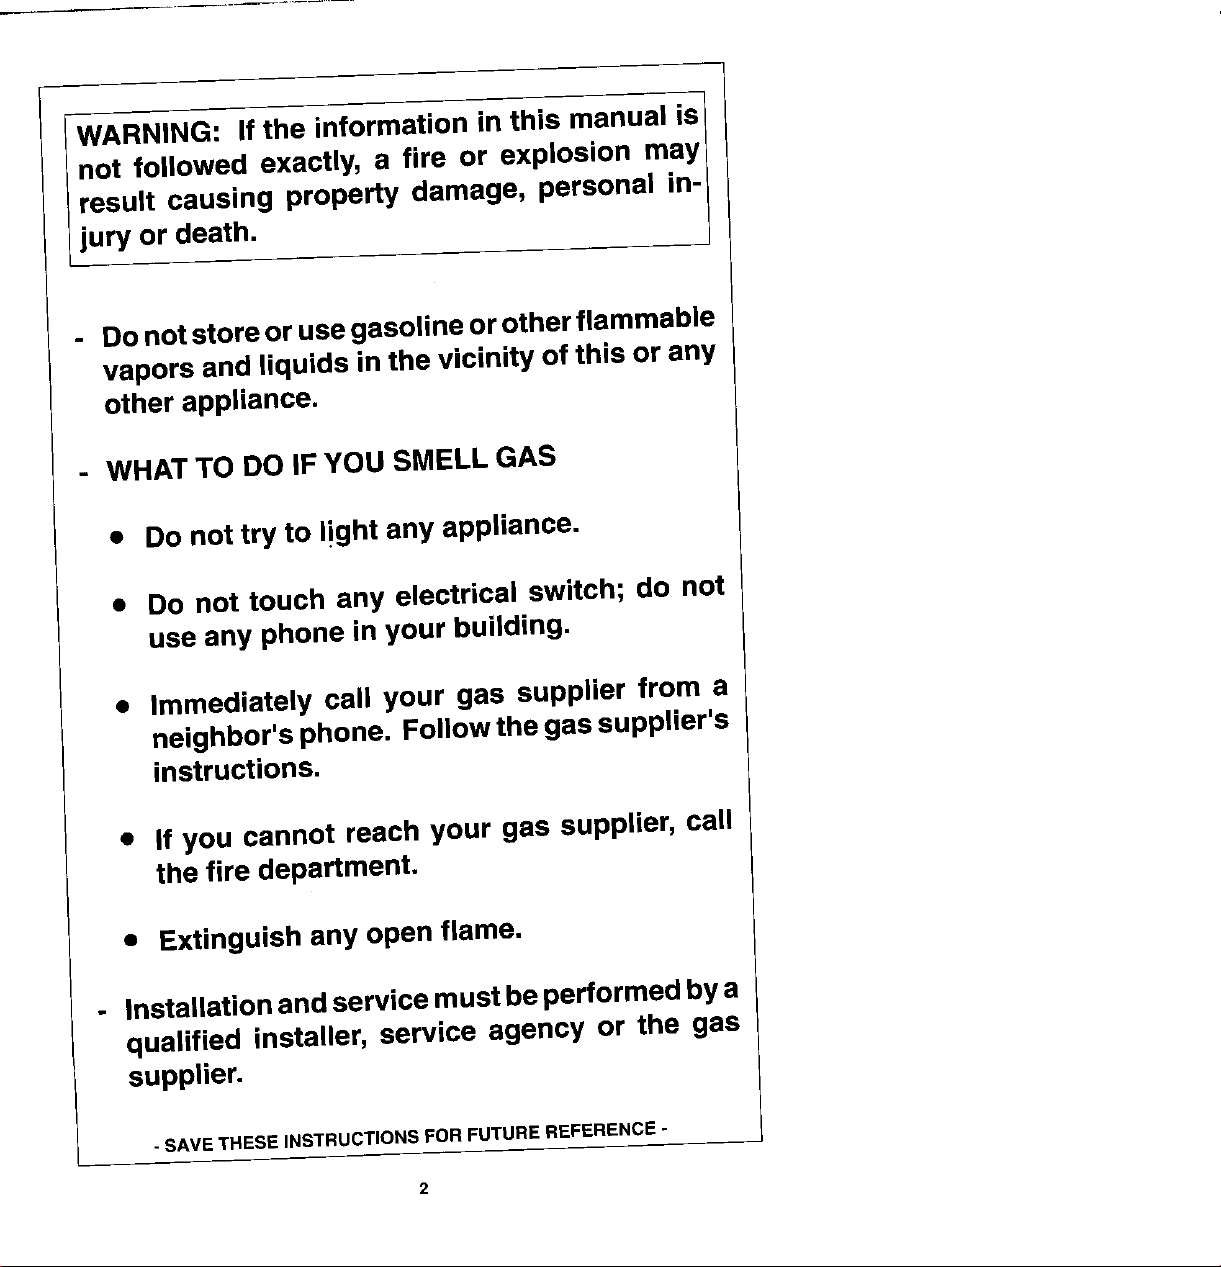
WARNING: If the information in this manual is
not followed exactly, a fire or explosion may
result causing property damage, personal in-
jury or death.
- Do not store or use gasoline or other flammable
vapors and liquids in the vicinity of this or any
other appliance.
- WHAT TO DO IF YOU SMELL GAS
• Do not try to I!ght any appliance.
• Do not touch any electrical switch; do not
use any phone in your building.
• Immediately call your gas supplier from a
neighbor's phone. Followthe gas supplier's
instructions.
• If you cannot reach your gas supplier, call
the fire department.
• Extinguish any open flame.
- Installation and service must be performed by a
qualified installer, service agency or the gas
supplier.
- SAVE THESE INSTRUCTIONS FOR FUTURE REFERENCE -
2
Page 3

Read before operating your cooktop
All appliances - regardless of the manufacturer - have the potential through
improper or careless use to create safety problems. Therefore the following
safety precautionsshould beobserved:
1. Be sure your appliance is properly installed and grounded by a qualified
technician.
2. Never useyour applianceforwarming or heatingthe room. This warning
is based on safety considerations.
3. Childrenshouldnotbeleft aloneor unattendedin area where applianceis
in use. They should never be allowed to sit or stand on any part of the
appliance.
4. Wearproperapparel. Loose-fitting or hangJnggarments shouldnever
bewornwhile usingthe appliance.
5. Do not repair or replace any part of the appliance unless specifically
recommendedinthismanual. All otherservicingshouldbe referredtoan
authorizedJenn-AirServiceContractor.
6. Do notstore combustiblematerials,gasoline or other flammable vapors
and liquid near cooktop.
7. Donot usewater ongrease fires. Smotherfire orflameor use dry chemical
orfoam-type extinguisher,
8. Use only dry potholders. Moist or damp potholders on hotsurfaces may
result in burnsfrom steam. Do not usea towel or other bulky cloth.
9. Selectcookware largeenoughto properlycontainfood andavoid boilovers
or spiLIovers. This will save on cleaning and prevent hazardous
accumulations of food, since heavy splattering or spillovers left on a
cooktop can ignite. Pan size is especially important in deep fat frying.
10. Never leave cooktop unattended at Hi heat settings. Boil over causes
smoking and greasy spilloversthat may ignite.
11. TYPE OF COOKWARE - Avoid pans that are unstableand easily tipped,
Inchoosingpans, lookforeasily-grasped handlesthat willstay cool. Pans
that aretoo heavywhen filledwith foodcan alsobeahazard. Ifpanhandles
twist andcannot betightened, discard the pan.
12. HANDLES -Alwaye turn pan handles to the side or back of the cooktop -
notout into the room where they are easily hit. COOKWARE HANDLES
SHOULD BETURNED INWARDANO NOTEXTEND OVER ADJACENT
SURFACE BURNERSto minimize burns, ignition offlammable materials,
and spillagedue to unintentional contact with the cookware.
Page 4
13. CAUTION - Do not store items of interest to children in cabinets above
cooktop-childrenclimbingonthe cooktop to reachitems could be seriously
injured.
14. Do not touch surface burner areasor any areasnear burners. During and
afteruse, these areas may be hot enoughto cause bums. Avoid contact
with these areas byclothing or other flammable materials until they have
had sufficient time to cool.
15. Do not heat unopened food containers. Build-up of pressure maycause
containerto burst and resultin injury.
16. Keep allcontrols "OFF" when unit is not in use.
17. GREASE - Grease is flammable andshould be handledcarefully. Never
leaveany cooking operation unattended. Let fat cool before attempting to
handle it. Do not allow greaseto collect around the cooktop. Wipe up
spillovers immediately.
18. If the cooktop is installed near a window, proper precautions should be
taken to prevent curtains from blowing over burners creating a FIRE
HAZARD.
19, Do notuse aluminum foiltoline burnerbasin. Restrictionofnormalair flow
may resultin unsafe operation.
20. Clean only parts listed inthis manual and use procedures recommended.
21. Always allow hot pansto cool ina safe place out of the reach of small
children.
22. A faintgas odormay indicate a gas leak. Ifa gas odoris detected,shut off
thegas supplyto the cooktop. Call your installer or local gas companyto
have the possible leak checked. Never use a match or other flame to
locate a gas leak.
23. Before servicing your appliance,disconnect power to the cooktop at the
mainfuse or circuit breaker panel and at the electdcal receptacle,
24. Keep ventducts unobstructed.
25. This appliance has beentested for safe performance using conventional
cookware. Donot use any devicesor accessoriesthat arenot specifically
recommendedinthis manuaL.Donotuse eyelidcoversforthe surface units
orstovetop grills. Theuseof devicesoraccessories that are notexpressly
recommended inthis manual cancreate serious safety hazards, result in
performance problems, and reduce the life of the components of the
appliance.
26. Flamesize shouldbeadjustedso itdoes not extendbeyond theedge ofthe
cookware. This instruction is based on safety consideration.
Page 5
IMPORTANT SAFETY NOTICE AND WARNING
The California Safe DrinkingWater and Toxic EnforcementAct of 1986
(Proposition65)requirestheGovernorofCaliforniatopublisha listofsubstances
known to the State of California to cause cancer or reproductive harm, and
requiresbusinessestowarncustomersofpotentialexposurestosuchsubstances.
Usersof this applianceare herebywarned that burningof gascan resultin low-
levelexposuretosomeofthelistedsubstances,includingbenzene,formaldehyde
and soot, due primarily to the incomplete combustion of natural gas or liquid
petroleum (LP) fuels. Properly adjusted burners will minimize incomplete
combustion. Exposure to these substances can be minimized by properly
venting the burners to the outdoors.
WARNING
Electrical Grounding Instructions
Thisapplianceisequippedwitha three-pronggroundingplugforyourprotection
againstshockhazardandshouldbepluggeddirectlyintoa properlygrounded
three-prongreceptacle.Donotcutorremovethegroundingprongfromthisplug.
Page 6

Congratulations on your choice of a Jenn-Air gas cooktop. Your new cooktop
has sealed gas burners for easy cleaning. Ifthe burner flame should go out, the
automatic reignition system will automatically spark to reignite that burner. This
feature is provided as a convenience. It is not intended to be interpreted as a
safety feature.
Your cooktop has a downdraft ventilation system designed to remove smoke
and odors.
Before you begin cooking with your new cooktop, please take a few minutes to
read and become familiar with the instructions in this book. By following the
instructions carefully, you will be able to fully enjoy and properly maintain your
cooktop and achieve excelJent results with the food you prepare.
Should you have any questions about using your Jenn-Air cooktop, write to us.
Be sure to provide the model number.
Jenn-Air Customer Assistance
c/o Maytag Customer Service
P.O, Box 2370
CLeveland, TN 37320-2370
Model Number
Serial Number
Date Purchased
JENN-AIR DEALER FROMWHOM PURCHASED
Address
City
Phone
Impotent: Retainp_ ofpu_hasedocumentsforwarran_sewiee.
6
Page 7

About Your Jenn-Air Cooktop ................................................. 6
Cleaning Other Parts of Your Cooktop ........................... 13-15
Cookware Selection .............................................................. 10
Ducting Information ................................................................ 9
How A Surface Bumer Works ............................................... 11
How to Operate in Event of Power Failure ....................... 11
Safety Precautions ............................................................. 2-5
Service Information ............................................................... 16
Surface Controls ................................................................... 12
Ventilation System .................................................................. 8
7
Page 8

The built-in ventilation system removes cooking vapors, odors and smoke from foods
prepared on your cooktop.
Regular useofthis system willinsure amore comfortable and less humid kitchenwhich
isfree of heavycookingodorsand fumesthatnormallycreate afrequentneed forcleaning
and redecorating.
I The fan control is 1coatedatthe front of the control panel To .,_
operateturn the fan control knob clockwise, The variable
speed fan can be operated in aninfinite number of settings
to match your cooking needs.
• Besides using the ventilation system to remove cooking vapors and fumes,it can
be usedto cool bakedpies,cakes or hot pans. Tocool an item,set iton the airgrille
andturn onthe fan. The airbeing pulled overthe itemwillquickly cool it. Be careful
notto cover the entire air grille.
• The fan can be usedto remove strong odors from the kitchen as when chopping
onions near the fan.
Air Grille: Theair grille liits offeasily. Wipe clean orwash in dishwasher orsink with mild
household detergents. To preventscratching thesurface do net use abrasive cleaners
or scrubbing pads.
Filter: Turn offventilation eystembefore removing.
Thefilterisapermanent typeandshouldbecleaned
when soiled. Clean in sink with warm water and
detergent orin dishwasher.
Important: DO NOT OPERATE SYSTEM WITH-
OUT FILTER. Fittershouldalways be placedat an
angle. As you face the front of the cooktop, the
bottom of the filter should rest onthe ledge on the
left side. The topofthe filtershouldrest againstthe
right side. There are also ledges on the front and
rear sidesfor the filter to rest. (Note: if filter is fiat
against the fan wall, ventilation effectiveness is
reduced.)
Ventilation Chamber: This area,which housesthe filter,should becleaned inthe event
ofspills orwhenever itbecomes coatedwith afilm ofgrease. It can becleanedwith paper
towel, dampcloth, or sponge and mild household detergentor c(eanser.
Page 9

Jenn-Air's ventilationsystemisdesignedto capture bothcookingfumes andsmoke from
any place on the cooktop surface. If the system does not, these are some ducting
installation situations to check:
• 6" diameter round or 3 1/4" x 10" rectangular ducting should be used for duet
lengths 10'-60'. Note: 5" diameter round ducting must be used for venting
straight outthe back of the eooktop and directly through the wall for 10' or
tess.
• No morethan three g0° elbowsshould be used. Distancebetweenelbows should
be at least 18".
• Recommended Jenn-Air wall cap MUST be used. Make sure damper moves
freely when ventilation system is operating.
• There should be a minimum clearance of 6" for eooktop installed near aside wall.
Ifthere is not an obvious improper installation, there may be a concealed problemsuch
as a pinched joint, obstruction in the pipe, etc. Installation is the responsibility of the
installer and questions should be addressed first by the installer. The installer should
very carefully check the ducting installation instructions.
Page 10

To achieve optimumcooking performance, use cookpots with flat bottoms, tight fitting
covers, and sized for the surface burner.
The cooktop is equipped with two small andtwo largesurface burners.
Flame size should be adjusted so itdoes not extend beyond the edge of thecookware.
This instructionis based on safetyconsiderations. Adjusting the size ofthe flame to fit
the size ofthe cookware also helps to savefuel.
Note: Do not allow large cookpots to extend beyond the edge of the surface burner
grates. Heat trapped between largecookpots andothersurfaces could possibly
cause surfaces to become hotto the touch or damage these areas.
important: Leave a minimum of 1-1/2" between side of cookpot and surrounding
surfaces, such as counterLop backsplash or side walls, to allow heat to
escape to avoid possibledamage to these areas.
• Aluminum cookware heats evenly and quickly. A slightly larger flame size can be
used. The flame can be adjustedso itcomes to the edgeof the cookware. How-
ever,the flame should NEVER beadjusted sothat itextends beyond the bottom of
the cookware.
• Stainless steel cookware with copper or aluminum cores heat evenly and fairly
quickly. The flame size should be adjusted to extend only halfway between center
and edge of the cookware bottom for best results.
• Cast iron cookware heats slowly.
• Check manufacturer's recommendations beforeusing porcelainon steel, porcelain
on cast iron, glass, glass/ceramic, earthenware, or other glazed cookpots.
If the cookware is covered, less fuel will beneeded;therefore, a lowerflame sizecanbe
used.
Note: Food will not cook any faster when more than the amount of heat neededto
maintain a gentle boil is used.
10
Page 11

When the control knob is turned ON, gas will flow into the burner. The solid state igniter
will click until the gas is ignited. (Note: All burner igniters will spark regardless of which
burner is being operated.) If the burner flame should go out, the automatic reignition
system will automatically spark to reignite that burner. This feature is provided as a
convenience. It is not intended to be interpreted as a safety feature.
A properly adjusted burner with clean ports will light within a few seconds. The cone-
shaped flame will be clear blue in color with a clearly defined inner cone. There should
be no trace ofyellow in the flame. Ifthe burner flame isyellow, lifts off the ports, or is noisy,
the air/gas mixture may be incorrect. Therefore, contact a service technician to make the
needed adjustment.
The infinite surface controls provide flexibility in heat setting selection. (See page 12)
In case of prolonged power failure, you can manually light the surlace burner by holding
alighted match nearthe burner ports and slowly turning the control knob counterclockwise
(after depressing) to the Hi setting.
Note: Do not leave cooktop unattended when cooking during a power failure. The
automatic reignition feature of your cooktop will not operate during a power
failure.
Note: During a power failure, there is no fan so smoke and condensation can gather.
11
Page 12

• Since the controls are a push to turn type, they must be pushed down before turn-
ing. To set (from the OFF position), push down on control knob and immediately
turn counterclockwise to desired setting.
• Igniter will spark, at any position, until there is a frame.
1. Left rear surface burner (10,500 BTUs)
2. Left front surface burner (6,500 13TUs)
, ....._, 3. Right rear surface burner (6,500 BTUs)
;_x.._j cause knobs to become hot to the touch.
The controls offer flexibility in heat setting selection. An infinite number of settings exist
between Hi and Lo. At the Hi setting, a detent can be felt. For all settings other than Hi,
simply adjust your flame for best results.
1. 4. Right front surface burner (12,000 BTUs)
_"_' 2. Note: The cooktop is equipped with different size surface burners.
z,_7", Match pan size to surface burner. The use of undersized pans will
_. expose a porfion of the flame.
3.
=.__ Note: Do not allow large cookpots to extend over control knobs. Heat
4. trapped between large cookpots and control knob could possibly
The size and type of cookware and the amount and type of food being cooked will
influence the setting needed for best results. Suggested settings are provided as
guidelines.
Hi: Afast heattostartcookingquickly, ,2_&_ _ _#t_ _:_
tobring liquidsto a boil, topreheat ' ' _'
o,,fordaepfaffry,ng '/6-10 (MediumHigh): For fast frying or browning of
largeamounts offood,to maintain _,
oiltemperature fordeep fatfrying.
4-5 (Med): For most frying, sauteing, and
2-3 (Medium Lo): TOcontinue cookingfoodsstartedonhigher settings. _,'_" __Lo: Maintainingservingtemperatures ,_,L /
foods, to maintain rapid boil of _ )_._
slowboil of largeamounts offood. _ ,,
offoods, simmeringfoods,melting
butter or chocolate.
12
Page 13

Be sureall controls are OFF and alleooktop parts arecool beforecleaning.
L-J
I _ SURFACE BURNER GRATE
Thesurface burnergrates are madeof porcelain oncast --
iron. Therefore, the grates can bewashed in the sink
with mild detergents and a ptasticscrubberor washed in --
thedishwasher.
Whenreplacing the grates, place the rear grate on with --
the grate guide toward the front. Then, add the front
gratebypositioninggrateguide underthe reargrateand
lowering onto the cooktop.
Althoughthe burnergrateis durable, it will gradually lose --
its shine and/or discolorregardless of thecare you take --
of it. This isdue toits exposureto the high temperature
of the gas flames.
To preserve the porcelain enamet finish as tong as possible, have a pan on the grate
beforeyouturnontheburner, andlowertheflamewhenfood reachesthedesiredcooking
temperature.
13
Page 14

j BURNERH_O
The surface burner heads are removable for _D_E_,_
cleaning. The caps are porcelain, while the port ,G_,TE. _" O_E,T
areas are aluminum. Wash the surface burner
heads in the sink with mild detergent and a plastic
scrubber.
Note: For stubborn stains, clean with Cooktop Cleaning Creme (Part No, 20000001).
When replacing the burner heads, carefully align the detent on the head with the
indentation in the burner base.
Note: Check to be sure all ports are open. To open clogged ports, insert a toothpick
directly into each port.
Note: When burner heads are removed for cleaning, be careful not to spill liquids through
the holes in the burner bases.
The aluminum surface burner bases are not removable. Clean with a damp cloth.
Note: Be careful not to spill liquids through the holes in the burner bases.
Never wipe a warm or hot porcelain enamel surface with a damp cloth. For general daily
cleaning and light soil, wash with warm soapy water, rinse, and dry. To remove grease
spatters, spray with cleaners such as Fantastik or 409. DO NOT use abrasive or caustic
cleaning agents which may permanently damage the finish. Note: For stubborn stains
clean with Cooktop Cleaning Creme (Part No. 20000001).
NOTE: The porcelain enamel used on your cooktop isacid resistant, not acid proof.
Therefore, acid foods (such as vinegar, tomato, milk, etc.) spilled on the
cooktop should be wiped up immediately with a dry cloth.
If the igniters get dirty or greasy, clean with a toothbrush and warm soapy water. Rinse
and dry thoroughly. DO NOT STRIKE or PRY the ceramic igniter.
14
Page 15

Theknobs onthecontrolpanel canbe removedwith thecontrolsinthe OFFposition. Pull
each knob straightfrom the shaft. Wash knobs inwarm soapywater ordishwasher; do
not use abrasive cleansers or materials. To replace eachknob, matchflat part of knob
opening with the flat on the shaft, returning in OFF position.
Important: Never usea metalblade to pry knoboff. Ifknob cannot be easily removed,
tuck the folds ofa cloth dishtowel under the knob skirt and pull the towel
upward with steady,even pressure.
Important: Be careful to replaoe the knobs with gentle pressure. Never hit theknob
on the shaft with your hand orany other abject.
Note: When knobsere removedfor cleaning, be careful not to spill liquidsthrough holes
in the oontroLarea.
Use mild cleansers, such as soapy water or mild liquidsprays, suchas Fantastik or 409
erWindex. Wipewithsponge, dampclothorpapertoweL. DonotscrubwithS.O.S.pads
or abrasivecleansers.
Usa mild cleansers, such as soapywater ormildliquid sprays, such as Fantastikor 409.
Wipewith sponge,dampcloth orpapertowel. Rinse,buffwith softcloth;polish withglass
cleaner if necessary.
15
Page 16

Checkthe following list to be sure a service call is reallynecessary.
If surface burner fails to light:
• check to be sure unit is properly connected to power supply.
• check for a blown circuit fuse or atripped maincircuit breaker.
• checkto be sure burner is correctly adjusted for your type of gas.
• check to be sure burner porLsare not clogged.
• check to be sureigniter isclicking. If ignLterdoesn't click, turn control knob
OFE
• check to be sure pressure regulatoris set for the correct fuel.
• check to besure inlet pressure is adequate. (5"of watercolumn for natural gas
and 10"of watercolumn for LP gas).
If the flame is uneven:
• burner portsmay beclogged.
• flame setting may needto be adjusted.
If surface burner flame lifts off the ports:
• contact an authorized Service Contractorfor Jenn-Air products.
If surface burner flame is yellow in color:
• contact an authorized ServiceContractor for Jenn-Air products.
If ventilation system is not capturing smoke efficiently:
• check on cross ventilation in room or make upair.
• outside wallcap maybe trapped shut.
• cooktop may be improperlyinstalled (see p. 9); check installation instructions.
IBmJENN-AIR
403 WEST FOURTH STREET NORT}t * N EWTON_ IA 50208
 Loading...