

1/4
ASSEMBLY INSTRUCTIONS
JB3TMTLSWE
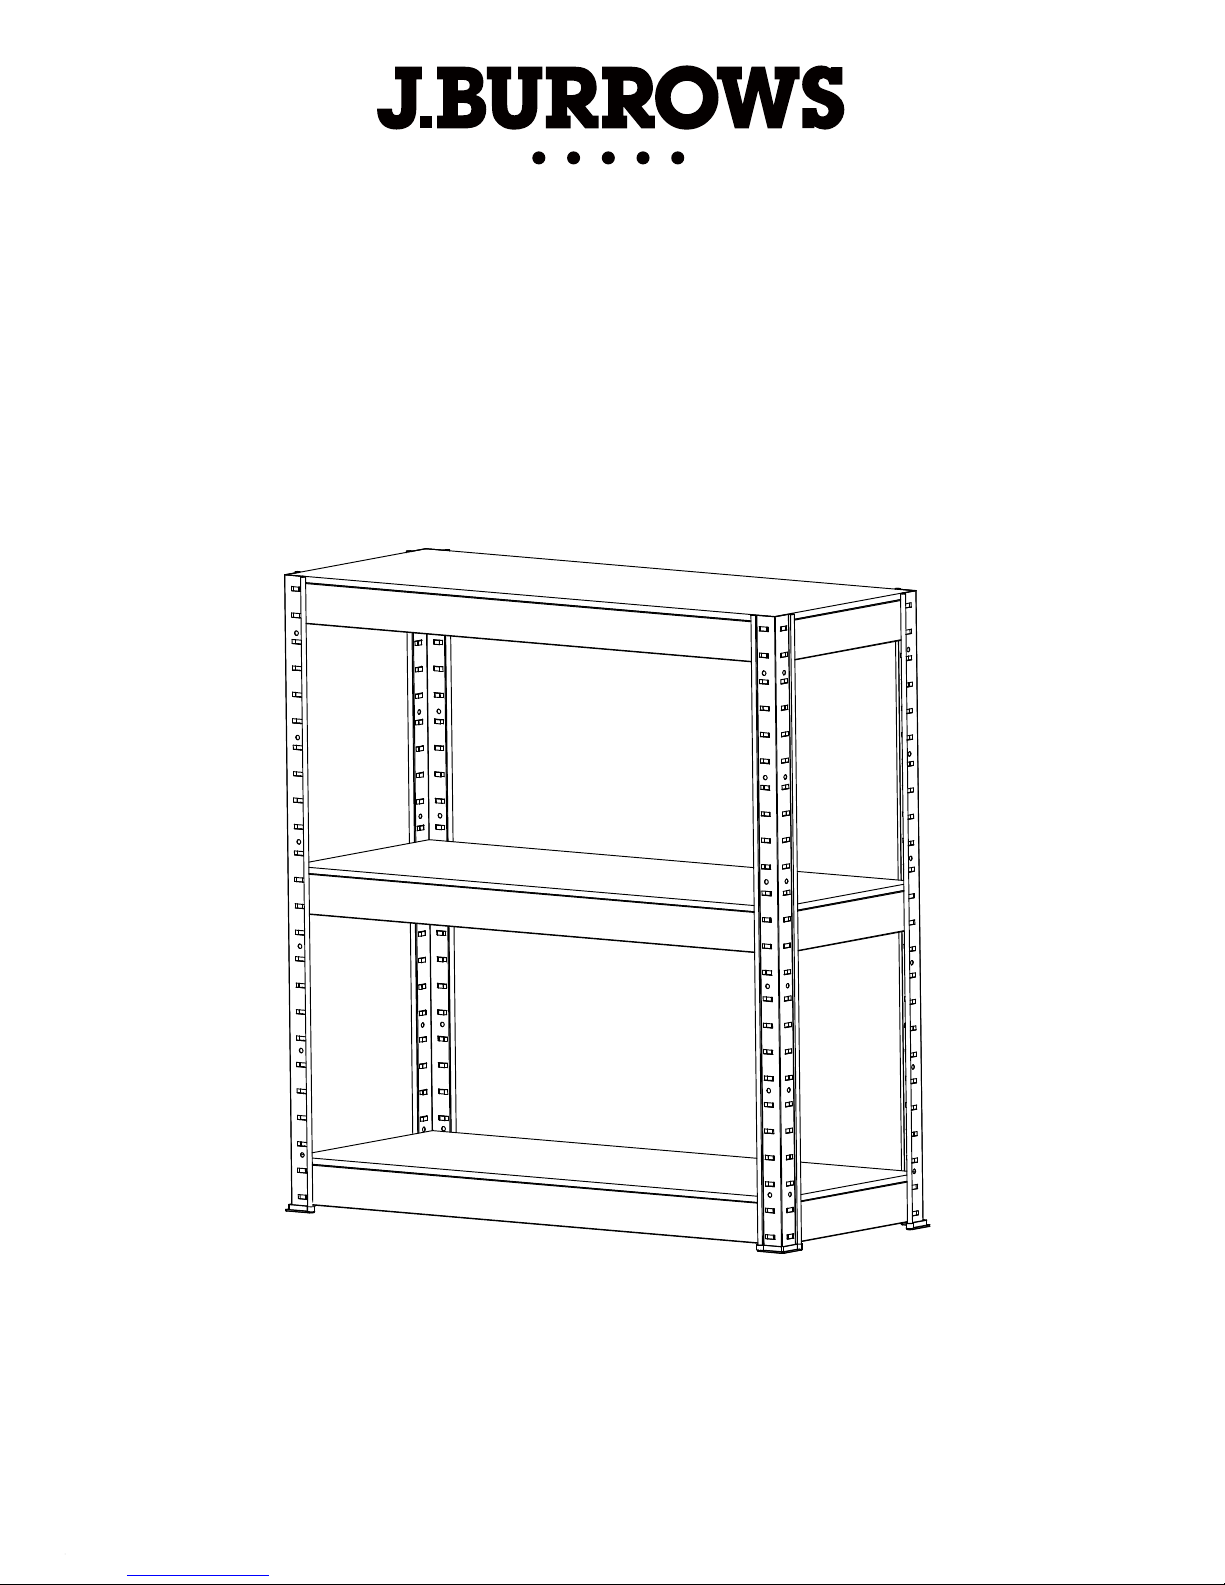
3 Shelf Metal Shelving

2/4
Tools Required
PARTS INVENTORY CHECKLIS T
A - Posts QTY 4
B - Shelves QTY 3
C - Long Apron QTY 6
D
- Short Apron
- Plas tic Floor Protectors QTY 4
QTY 6
E
Hardware List
B
A
E
C
D

Next, insert tabs of a short apron
into the front post, creating a
“tripod.” Then alternate insertion
of support aprons with posts.
2
Important: Be sure to line up and match hole pattern
on all posts prior to assembly.
Place post upright, using cardboard or other safeguard
beneath post to protect floor. Insert tabs on long shelf
support apron into slots on post. Press on tabs with fingers
to guide into slots. Push down lightly to extend tabs
through slots. It is recommended that the bottom shelf
aprons be placed in the second and third slots from the
bottom. To ensure stability of the unit, do not place bottom
shelf aprons any higher than the sixth slot.
1
2nd & 3rd slots
lnside
View
Tabs
Tabs
Short Apron
Short Apron
Long Apron
Long Apron
Assembled
“Tripod”
3/4
887W x 354D x 914H mm
FOR SAFETY
2 people are recommended for assembly
BE CAREFUL of sharp edges when assembling.
DO NOT stand on this product or use as a ladder.
DO NOT alter this product in any manner that is
not intended. This may
cause product damage or
personal injury.
Position the product on a level surface.
The maximum loaded weight for each shelf is no more than 90kg. evenly
distributed.
When loading shelves please distribute items evenly with heaviest items on
the bottom shelf.
Fasten the unit to the wall whenever possible with proper fasteners
(not provided)

When moving assembled unit, always
handle by the lower half. Recheck all
apron tabs / slots being sure they are
securely seated.
Place shelves starting at the bottom as you
build each layer. Gently tap the top of the
shelf around each corner with a rubber
mallet until tabs are flush with slots.
3
4
Fit the floor protectors
provided on the end of each leg.
4/4
For damaged or missing parts, please email products@geelongsales.com.au
 Loading...