

JBL Soundzone Z21S, Soundzone Z32S Owner's Manual

Z21S/Z32S
Soundzone Controllers
Owner ’s Manual
Rev . A
IMPORTANT SAFETY INSTRUCTIONS
WARNING FOR YOUR PROTECTION
CAUTION
RISK OF ELECTRIC SHOCK
DO NOT OPEN
ATTENTION: RISQUE DE CHOC ELECTRIQUE - NE PAS OUVRIR
KEEP THESE INSTRUCTIONS
HEED ALL WARNINGS
PLEASE READ THE FOLLOWING:
WARNING: TO REDUCE THE RISK OF FIRE OR ELECTRIC
SHOCK DO NOT EXPOSE THIS EQUIPMENT TO RAIN OR MOISTURE
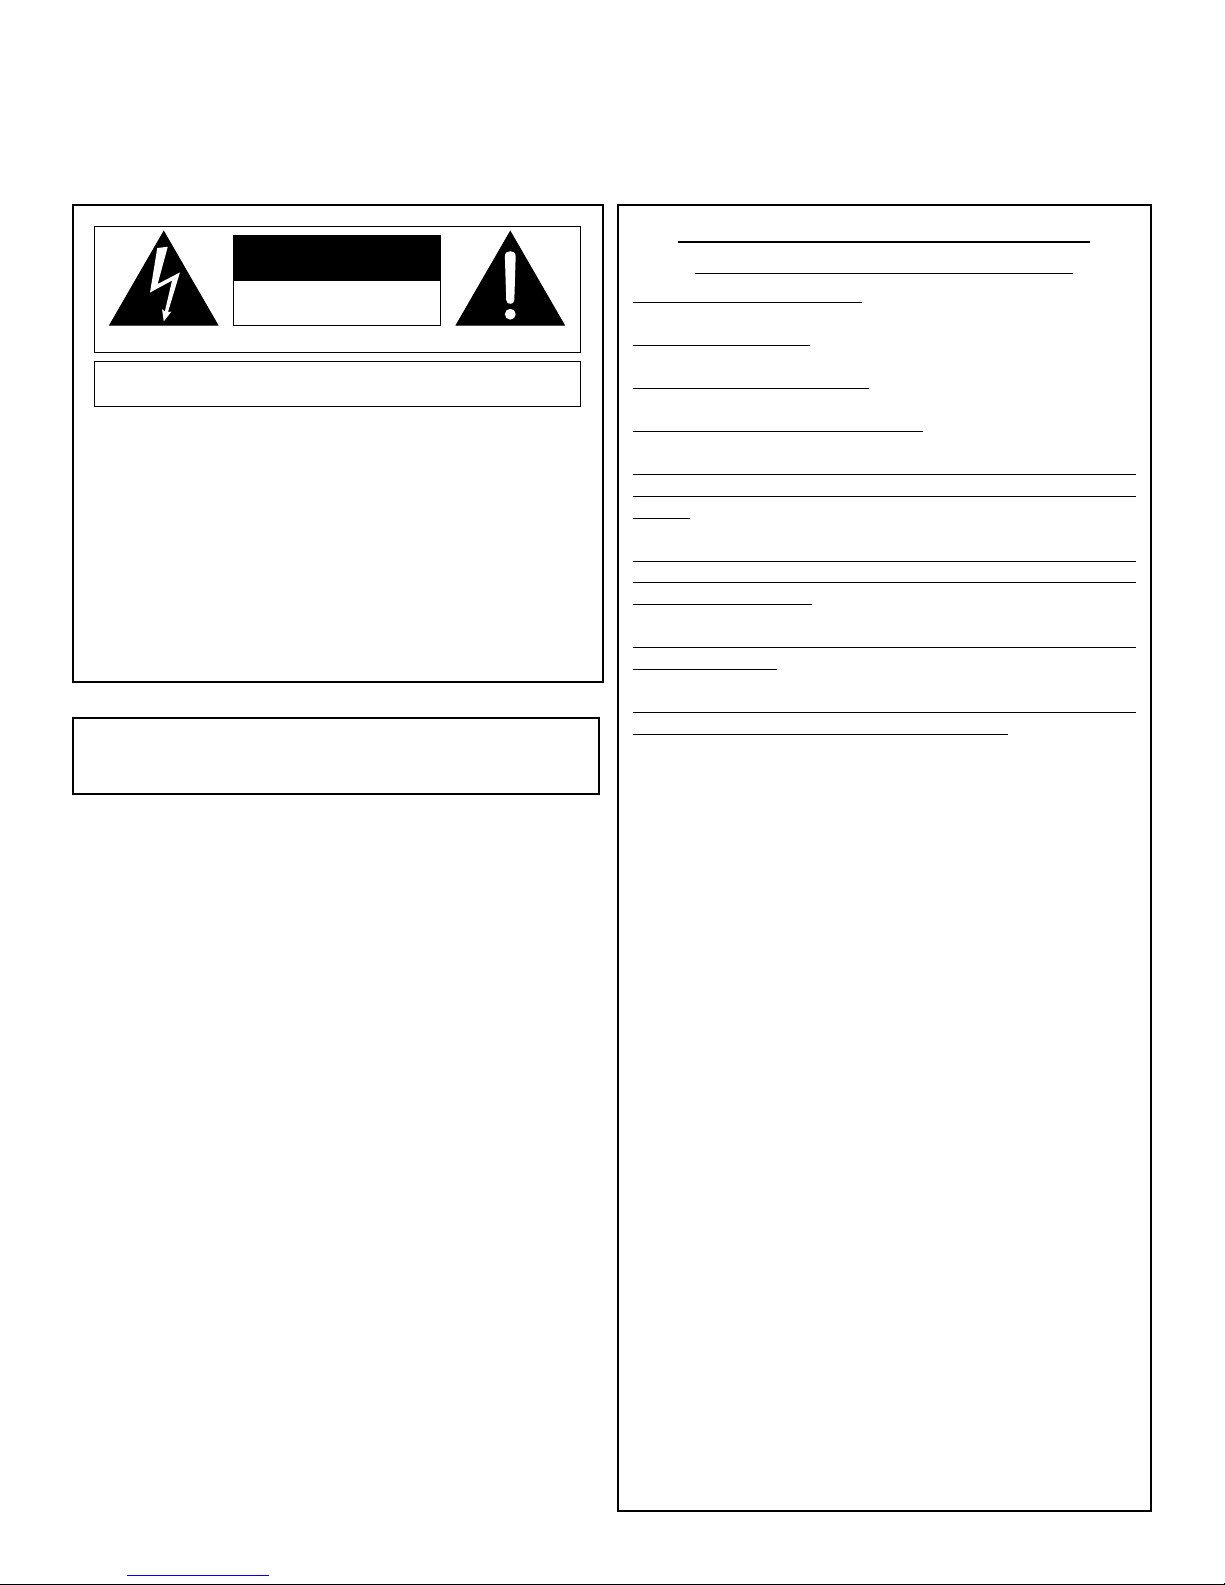
The symbols shown above are internationally accepted symbols that
warn of potential hazards with electrical products. The lightning flash
with arrowpoint in an equilateral triangle means that there are dangerous
voltages present within the unit. The exclamation point in an equilateral
triangle indicates that it is necessary for the user to refer to the owner’s
manual.
These symbols warn that there are no user serviceable parts inside the
unit. Do not open the unit. Do not attempt to service the unit yourself.
Refer all servicing to qualified personnel. Opening the chassis for any
reason will void the manufacturer’s warranty. Do not get the unit wet. If
liquid is spilled on the unit, shut it off immediately and take it to a dealer for service. Disconnect the unit during storms to prevent damage.
This product conforms to EN60065 EMC requirement to EN55103-1,-2
Declaration Of Conformity available upon request.
FOLLOW ALL INSTRUCTIONS
CLEAN ONLY WITH A DAMP CLOTH.
DO NOT BLOCK ANY OF THE VENTILATION OPENINGS. INSTALL
IN ACCORDANCE WITH THE MANUFACTURERS INSTRUCTIONS.
DO NOT INSTALL NEAR ANY HEAT SOURCES SUCH AS RADIATORS, HEAT REGISTERS, STOVES; OR OTHER APPARATUS
THAT PRODUCE HEAT.
ONLY USE ATTACHMENTS/ACCESSORIES SPECIFIED BY THE
MANUFACTURER.
UNPLUG THIS APPARATUS DURING LIGHTNING STORMS OR
WHEN UNUSED FOR LONG PERIODS OF TIME.
WATER AND MOISTURE: Appliance should not be used near
water (e.g. near a bathtub, washbowl, kitchen sink, laundry tub,
in a wet basement, or near a swimming pool, etc). Care should
be taken so that objects do not fall and liquids are not spilled into
the enclosure through openings.
POWER SOURCES: The appliance should be connected to a
power supply only of the type described in the operating instructions or as marked on the appliance.
GROUNDING OR POLARIZATION: Precautions should be taken
so that the grounding or polarization means of an appliance is
not defeated.
POWER CORD PROTECTION: Power supply cords should be
routed so that they are not likely to be walked on or pinched by
items placed upon or against them, paying particular attention to
cords at plugs, convenience receptacles, and the point where
they exit from the appliance.
SERVICING: To reduce the risk of fire or electric shock, the user
should not attempt to service the appliance beyond that
described in the operating instructions. All other servicing
should be referred to qualified service personnel.
FOR UNITS EQUIPPED WITH EXTERNALLY ACCESSIBLE FUSE
RECEPTACLE: Replace fuse with same type and rating only.
MULTIPLE-INPUT VOLTAGE: This equipment may require the use
of a different line cord, attachment plug, or both, depending on
the available power source at installation. Connect this equipment only to the power source indicated on the equipment rear
panel. To reduce the risk of fire or electric shock, refer servicing
to qualified service personnel or equivalent.

Quick Start
QUICK START
1. Connect the included JBL power supply to the rear panel of the
Soundzone Controller and check that it powers up.
2. Connect a Left/Right RCA audio source to Source Input 1. Do
not put any audio through the unit at this time.
3. Turn the Source 1 Gain Knob on the rear panel of the unit all
the way COUNTER-CLOCKWISE.
4. Turn the front panel Source Level Knob all the way COUNTERCLOCKWISE.
5. On the front panel, select Source 1 with the Zone 1 Select
Knob.
6. Connect the Zone 1 Output to your power amplifier. Make sure
it is not powered up while making this connection, this will prevent
any nasty pops.
7. Turn on your power amplifier.
8. Turn on your audio source.
9. Slowly turn up the rear panel Source 1 gain until the Signal
LED is showing constant green.
10. Now turn up the front panel Source Level until you hear audio
through your source speakers.
11. Adjust EQ to the room, or to taste.
12. See page 12 for setting AutoWarmth™ and LevelGuard™.
1

CONTENTS
Contents
1.0 INTRODUCTION 3
1.1 Sound Zone Controller 3
1.2 Other features 3
2.0 INSTALLATION 4
2.1 Unpacking 4
2.2 Mechanical Requirements 4
2.3 Mains Power 4
3.0 REAR PANEL 5
4.0 FRONT PANEL 8
5.0 GETTING TO KNOW YOUR
SOUNDZONE CONTROLLER 10
5.1 Source 10
5.2 Zones 10
5.3 Volume 10
5.4 Autowarmth™ 10
5.5 LevelGuard™ 10
6.0 SETUP 11
6.1 Determining Source Priorities 11
6.2 Connecting Sources 11
6.3 Adjusting Source Gain 11
6.4 Use Of EQ 11
6.5 Using Subwoofer Crossover 12
6.6 Setting Up AutoWarmth™ method 1 12
6.7 Setting Up AutoWarmth™ method 2 13
6.8 Setting up LevelGuard™ 13
6.9 Security Cover 13
APPENDIX A 14
A.1 Setup Diagram 14
A.2 Optional Items 15
A.3 Schematic 16
A.3 Specifications 17
2

1.0 Introduction
INTRODUCTION
1.1 JBL Soundzone
Controller
The JBL Z21S/Z32S Soundzone Controllers are specifically
designed for flexible routing and control of multiple audio sources.
To facilitate this, JBL has equipped the Z21S/Z32S with a wide
array of input and output capabilities.
The Z32S has inputs for three stereo line (-10dB RCA) sources
and a microphone input. The Z32S outputs two stereo signals, two
subwoofer signals, and an isolated auxiliary output, all on
Euroblock connectors. Both Z21S/Z32S convert the incoming 10dB signal and boost it to the +4dB output required by professional grade amplifiers.
JBL's AutoWarmth™ and LevelGuard™ controls give you excellent sounding, easy to use equalization and dynamics control.
This circuitry allows the signal to be tailored for a wide variety of
rooms, taste, and volume requirements.
These features allow you to bring the same audio quality many of
your patrons are used to hearing at home into the realm of business. The Soundzone Controllers have been designed to make
them easier to operate than any other product in their class. In
reality the feature set provided by the Soundzone Controllers puts
them in a class by themselves.
1.2 Other Soundzone
Features
Soundzone Controllers also feature linking capability. This is
accomplished by connecting standard Category 5 UTP cables to
the Soundzone's LINK jacks.
Linking of multiple controllers provides additional output zones yet
does not increase the number of inputs. SOURCE Linking simply
allows multiple controllers to share the same input source, eliminating the need for Y-cables. Main linking allows multiple controllers to share Paging Mic, Music Mute, and Direct Input functions. When multiple units are linked, there is no master or slave
designation. The functions are simply paralleled so that Sources,
Paging Mic, Music Mute, and Direct Input can be run into ANY of
the linked Sound Zone controllers.
JBL offers several optional remote control wall plates -- the ZR3SV, ZR-2SV, and the ZR-V. These plates provide for remote
source selection and/or volume adjustments from within a zone
location.
3

INSTALLATION
2.0 Installation
2.1 Unpacking
2.2 Mechanical
Requirements
This product is carefully checked before packing to ensure flawless appearance and operation and that it reaches you in first
class condition.
After unpacking the unit, please inspect it for any physical damage. If any damage has occurred, notify your dealer immediately.
A written claim for damages can then be initiated. Please retain
the shipping carton and all the packing materials for use should
the unit need to be transported or returned for any reason.
Adequate ventilation must be provided by allowing sufficient space
around the sides, top, and rear of the Z21S/Z32S to ensure free
circulation of air. Forced cooling is not required. The Z21S/Z32S
requires a vertical rack space of 1U. Failure to do so may damage the case and invalidate the warranty.
.
4
 Loading...