

Page 1

Hi Definition
Video Recorder with
Camera
HDV147
User Manual
Page 2

FCC part 15.21
Warning: Changes or modifications to this unit not expressly approved by the party
responsible for compliance could void the user’s authority to operate the equipment.
FCC part 15.105
NOTE: This equipment has been tested and found to comply with the limits for a
Class B digital device, pursuant to Part 15 of the FCC Rules. These limits are
designed to provide reasonable protection against harmful interference in a
residential installation. This equipment generates, uses, and can radiate radio
frequency energy and, if not installed and used in accordance with the instructions,
may cause harmful interference to radio communications. However, there is no
guarantee that interference will not occur in a particular installation. If this
equipment does cause harmful interference to radio or television reception, which
can be determined by turning the equipment off and on, the user is encouraged to
try to correct the interference by one or more of the following measures:
- Reorient or relocate the receiving antenna.
- Increase the separation between the equipment and receiver.
- Connect the equipment into an outlet on a circuit different from that to which
the receiver is connected.
- Consult the dealer or an experienced radio TV technician for help.
Pertinent testing documentation is available for verification.
Page 3

1.PARTS OF THE VIDEO RECORDER ................................... 2
2.PREPARING FOR USING ..................................................... 3
INSTALLING BATTERIES ............................................................ 3
I
NSERTING THE MEMORY CARD ................................................ 4
F
ORMAT THE MEMORY CARD..................................................... 5
S
ETTING THE LANGUAGE.......................................................... 5
M
ONITOR SCREEN DISPLAY ...................................................... 6
3.USING THIS VIDEO RECORDER......................................... 9
TURNING THE VIDEO RECORDER ON AND OFF........................... 9
C
HANGE THE MODE ............................................................... 10
R
ECORDING VIDEO CLIP ......................................................... 10
T
AKING STILL IMAGES ..............................................................11
U
SING THE SELF-TIMER AND BURST SNAPSHOT ....................... 12
U
SING THE ZOOM FUNCTION .................................................. 13
R
ECORDING AUDIO ................................................................ 14
4.USING THE MENU IN RECORD MODE ............................. 14
Page 4

MENU IN CAPTURE MODE........................................................ 14
M
ENU IN VIDEO MODE ............................................................ 16
S
ETUP MENU ......................................................................... 17
5. PLAYBACK ........................................................................ 20
PLAYBACK STILL IMAGE .......................................................... 20
P
LAYING BACK MOVIE CLIPS.................................................... 20
P
LAYING BACK AUDIO FILES .................................................... 21
O
THER FUNCTION IN PLAYBACK MODE ..................................... 21
6. MAKING CONNECTIONS .................................................. 26
CONNECTING THE VIDEO RECORDER TO A TV ......................... 26
C
ONNECTING THE VIDEO RECORDER TO A PC......................... 27
7. SOFTWARE INSTALLATION ............................................. 29
INSTALLING THE SOFTWARE ................................................... 29
8. TROUBLESHOOTING........................................................ 31
9. TECHNICAL SPECIFICATIONS......................................... 33
Page 5

1
Thank you for purchasing this digital video recorder. Please read these
operating instructions carefully in order to use the digital video recorder
correctly. Keep the Manual in a safe place so that you can refer to the
instructions later when necessary.
Precautions
Before using the video recorder, please ensure that you read and
understand the safety precautions described below.
• Do not try to open the case of the video recorder or attempt to modify this
recorder in any way. If required, maintenance and repairs should be
carried out only by authorized service providers.
• Keep the video recorder away from water and other liquids. Do not use if
your hands are wet; keep your video recorder dry.
• Use only recommended AA alkaline batteries.
Page 6

2
1.Parts of the video recorder
1:Lens
2: Microphone
3: Auxiliary LED lamp
4: Self-Timer LED
5: LCD Screen
6: T/Zoom in button
7: W/Zoom out button
8: Shutter button
9: USB port
10: OK button
UP button/Self-timer button
DOWN button
LEFT button/LED ON/OFF
RIGHT button/Display
11: AV / TV connector
12: Power button
13: Mode button
14: Menu button
15: Tripod socket
16: SD Card slot
17: Battery cover
Page 7

3
2. Preparing for using
Installing Batteries
1. Press the latch and open the Battery Door.
2. Insert two fresh AA-size batteries with the positive (+) and negative (-)
terminals matching the directions indicated inside the battery
compartment.
3. Close the Battery Door.
Page 8

4
Inserting the Memory Card
Video recorder requires SD Memory Card inserted to record and store
video clips, taken images or recorded audio files.
1. Turn off the video recorder before inserting or removing the SD memory
card.
2. Orient the card correctly and do not force the card when inserting
-The SD memory card has the LOCK protect switch used to protect data
from accidental deletion. Therefore, whenever you want to record, format
or delete files from the SD card, set the protect switch to the non-LOCKed
position.
3. Lift the Rubber Cover on the bottom of the video recorder and insert the
SD card as illustrated. Press the card until the card is fully down and
latched.
4. To remove; press the card down, then the card
will pop up and be easily removed.
• Do not insert any other object except the
SD/SDHC memory card into the video
recorder SD card slot.
Page 9

5
• Keep the video recorder turned OFF while inserting or removing the
SD card.
Format the memory card
Please format the SD card if it is new or if it was used with another device.
Download important files to your computer before formatting as the
formatting will erase all data from the SD Card.
1:Turn the power ON (when the card is inserted) then press the MENU
button to display options and press the RIGHT button to select Setup
.
2: Press the UP or DOWN button to select Format then press the OK or
RIGHT button to launch the submenu.
3: Press the UP or DOWN button to select YES and press the OK button
to execute formatting the card.
4: Press the MENU button to close the menu.
Setting the Language
You have an option to select the Language used for displayed commands
and information; follow below steps if required:
Page 10

6
1: Turn the power ON (when the card is inserted) then press the MENU
button to display options and press the RIGHT button to select Setup
.
2: Press the UP or DOWN button to select [Language] then press the OK
or RIGHT button to display available languages.
3: Press the UP or DOWN button to select the desired language and
press the OK button to confirm selected language.
4: Press the MENU button to close the menu.
LCD screen display
A. Video Recording Mode
Page 11

7
B. Capture / Taking Still images Mode
Page 12

8
C: Audio Recording Mode / Voice Memo
D. Playback Mode
Page 13

9
3.Using your video recorder
Turning the Video Recorder On and Off
1. Open the LCD screen.
2. Press the POWER button turning the video recorder ON, press this
button again to turn it OFF.
Power Save: To save batteries, your video recorder will automatically turn
OFF after 1 min if no button is pressed.
You can change the power-off time by setting the Power Save function
from the Setup menu.
Press the POWER button to power up the video recorder again.
Press the RIGHT button to clear screen, and press it again to turn the
screen off.
Page 14
10
Select the Mode
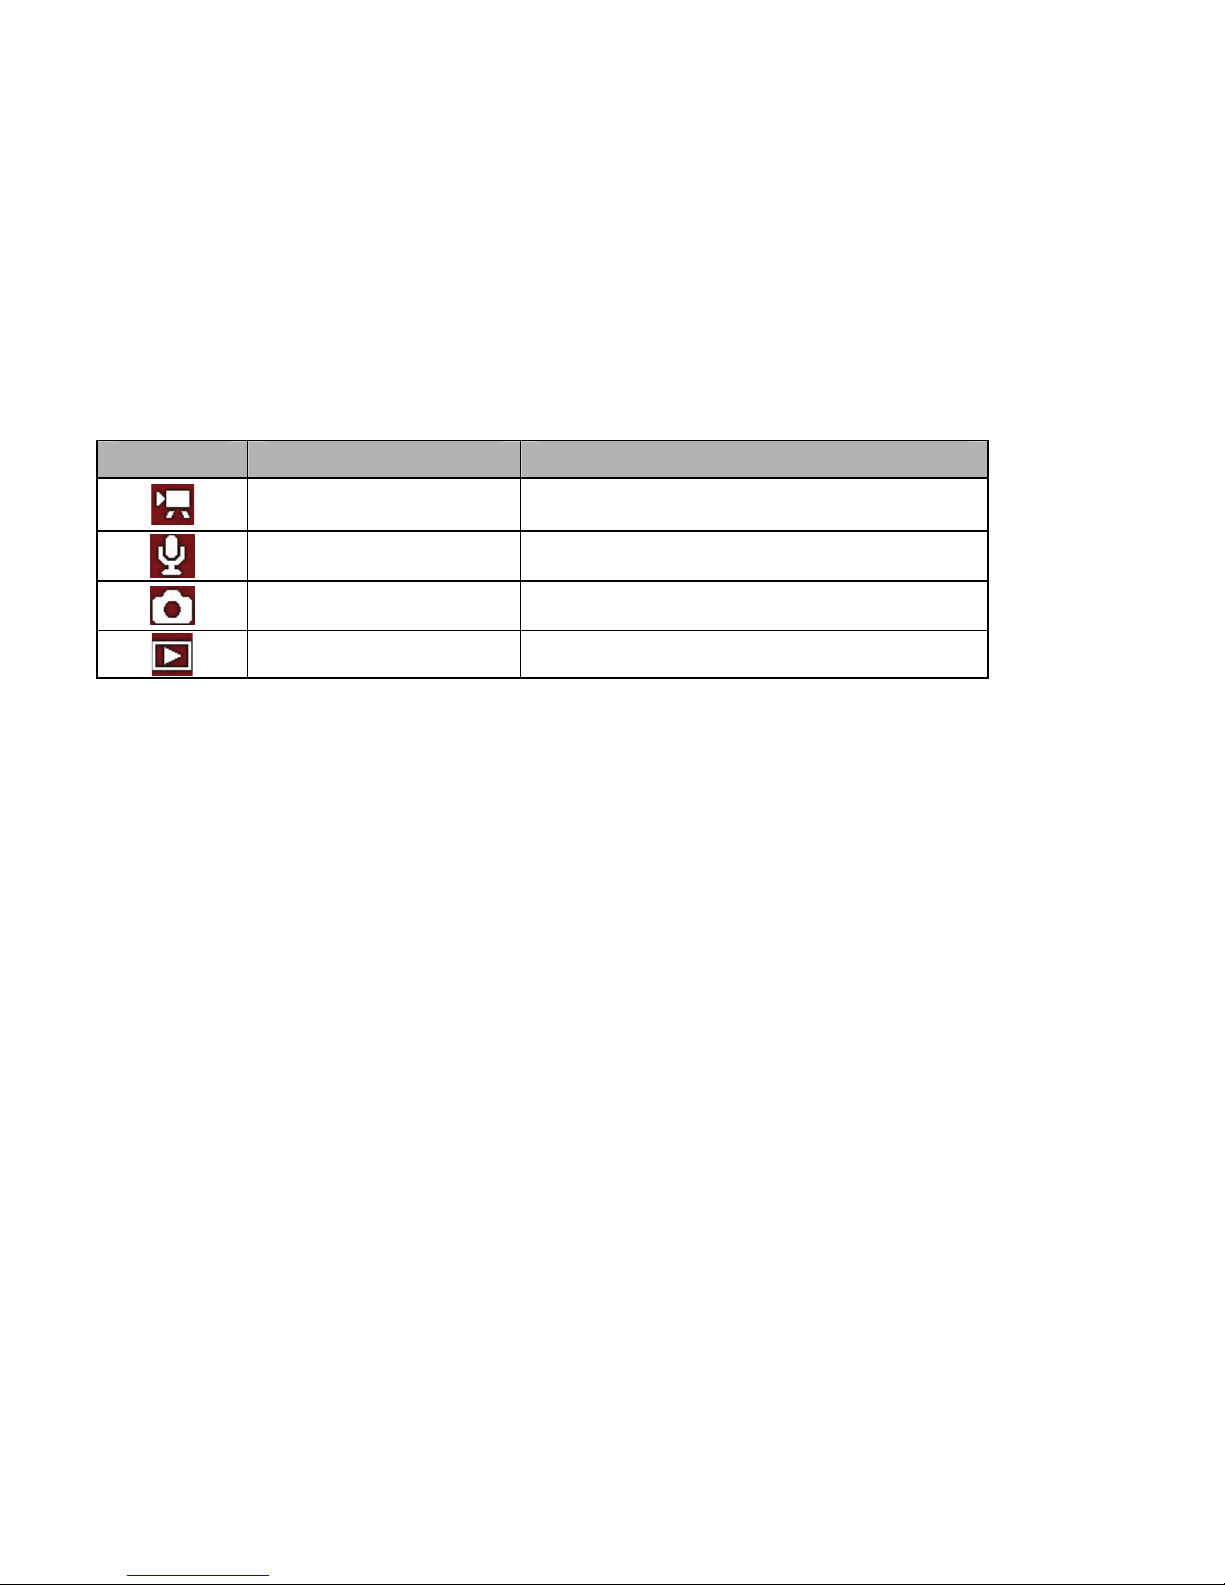
Your video recorder has following selectable Modes
1. After pressing the POWER button the video recorder will become active
and set in Video Recording Mode.
2. Pressing the MODE button will select next mode in sequential order to
change the record mode. The Mode icons – displayed on the LCD
screen – will identify selected Mode.
Recording the Video clip
1: Turn the video recorder ON and it becomes active in Video Recording
mode.
2: Observe the scene on LCD screen and press the SHUTTER button to
Display Mode Function
Video mode Recording video clips.
Audio mode Recording audio files.
Capture mode Taking still photos.
Playback mode Playing back all files.
Page 15

11
START recording.
You may press the RIGHT button to PAUSE and press it again to
continue recording.
3: Press the SHUTTER button to STOP recording.
Note that the video recorder will auto-STOP recording if the memory is
full.
• The LCD screen displays the recorded time.
Capture / Taking Still Images
1. Turn ON the video camera.
2. Press the MODE button to set the Capture Mode, see the icon
appearing on the LCD screen.
3. Use the LCD screen to frame your subject.
4. Hold the video camera steady and press the SHUTTER button down
to take a picture.
• The number displayed on the LCD screen will decrease by one with
each picture taken.
Page 16

12
• No more pictures can be taken if the “Memory Full” message
appears on the LCD screen – replace the SD card or download
stored images into the computer.
• Make sure that your fingers do not cover the lens while recording
video or taking images.
• Do not remove the memory card or batteries when video camera is
saving the image, otherwise the data will be damaged.
Self-timer and Burst Snapshot option
If the Self-timer is set and activated, the camera will auto-take a picture
after the selected delay time.
In the Burst snapshot setting the camera will auto-take three pictures
continuously.
1: Turn the power ON and set video camera to the Capture mode.
2: Press the UP button to select the Self-Timer options; please note icons
and information displayed on left upper corner of the LCD screen.
Off: No Self-timer selected / camera takes photos without delay.
2 seconds: camera will take picture with 2 seconds delay.
Page 17

13
10 Seconds: camera will take picture with 10 seconds delay.
Continuous: camera will take three continuous pictures in the Burst
Snapshot setting.
3: Select one from available options and press the SHUTTER button to
take Self-Timer or Burst Snapshot pictures.
• You can also set the Self-timer and Burst Snapshot from the capture
Menu (Capture Mode). See the details on page 16.
• You can rotate the LCD screen to forward position and set the self
timer to take a photo of yourself.
Using the Zoom Function
This video recorder has a Digital Zoom function that allows you to zoom IN
(Tele) or zoom OUT (Wide) on subjects or recorded scene.
1: Turn the video recorder ON and set it to Capture or Video Recording
mode.
2: Press the W or T buttons and compose the scene as required.
W: zoom out for a wide-angle shot.
T : zoom in for a telephoto shot.
Page 18

14
• When the zoom button is pressed, the value of magnification level
appears on the LCD screen.
Recording audio
1: Turn the video recorder ON and select the Audio Recording mode.
2: Press the SHUTTER button to START recording, you may press the
RIGHT button to pause and press it again to continue.
3: Press the SHUTTER again to STOP recording. The video recorder will
also auto-stop recording if the SD memory card is full.
• The center of the LCD screen displays the Current Recording Time.
4.Using the Menu options
Menu in the Capture Mode
1: Turn ON the video recorder and set it to
the Capture Mode.
2: Press the MENU button to display the
menu options.
3: Use the UP or DOWN button and
Page 19

15
scroll / select required setting.
4: Press the OK or RIGHT button
entering the submenu.
5: Use the UP or DOWN button to select available option.
6: Press the OK button to confirm setting.
7: Press the MENU button to close and exit from the Menu.
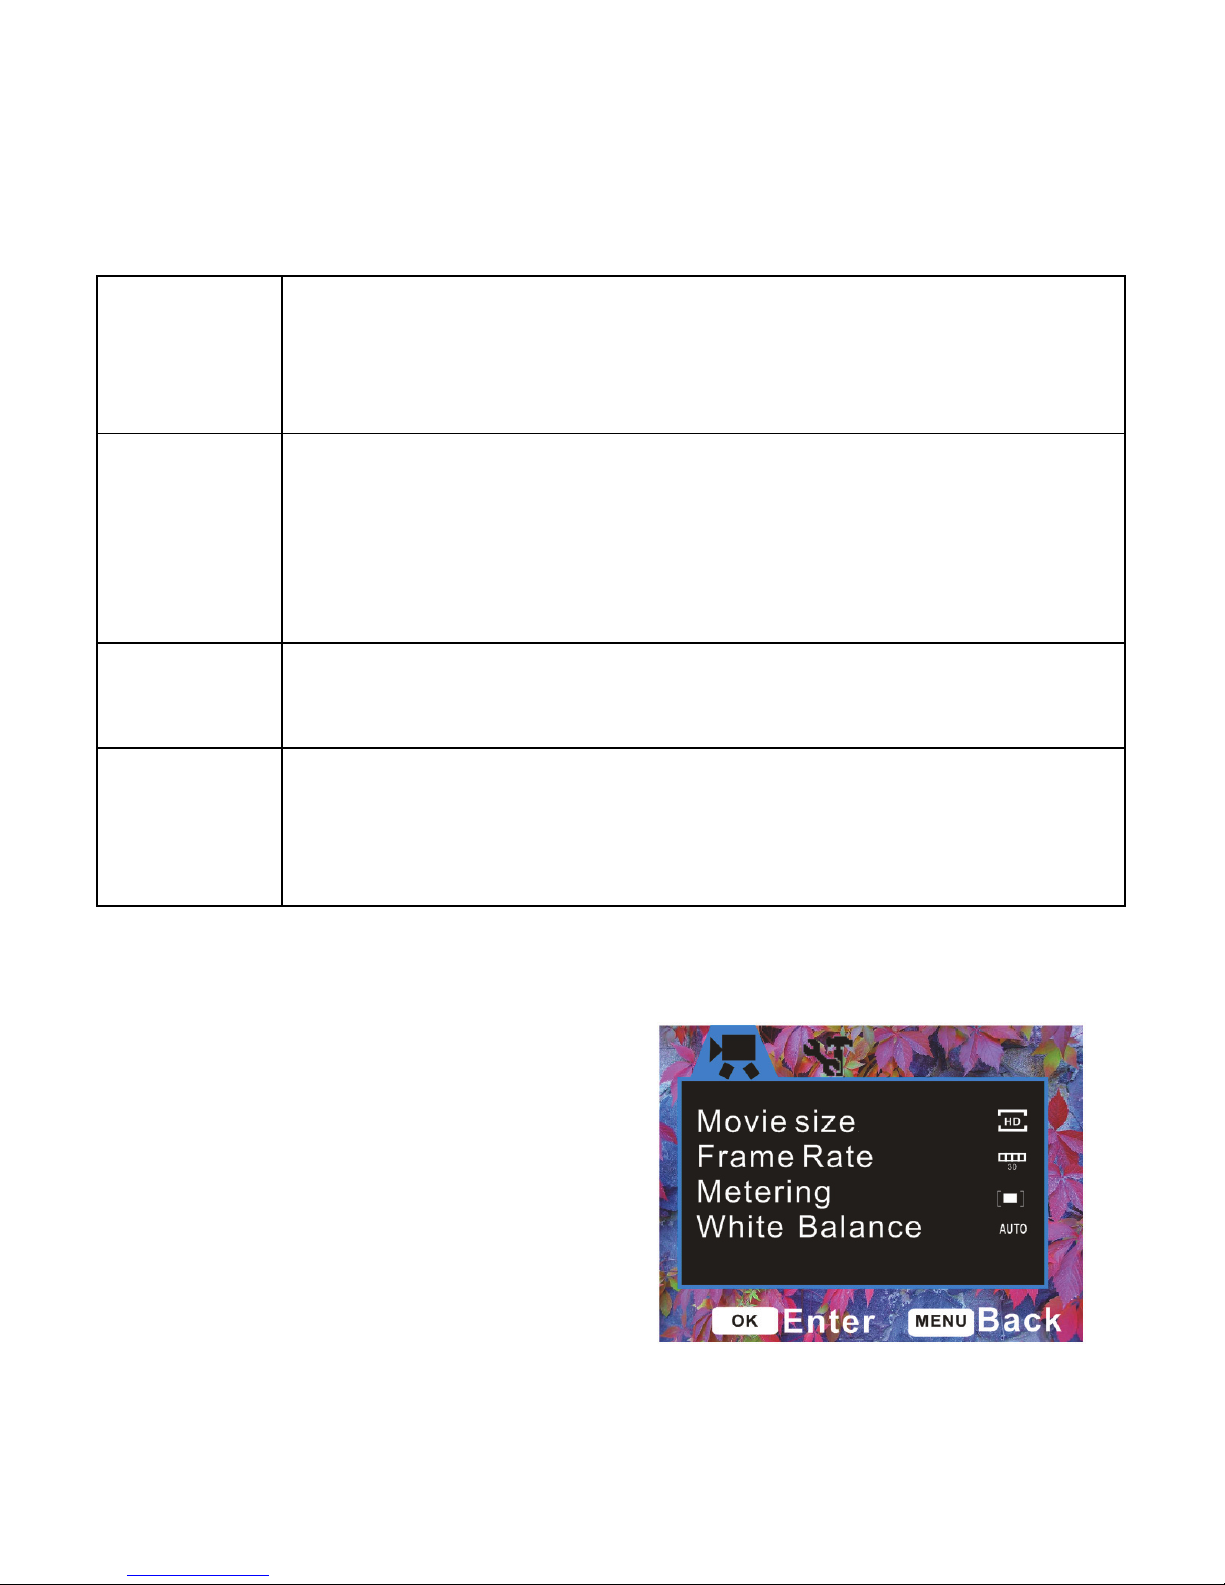
Capture Mode Menu list
Menu item Function
Resolution 12Mpix(4000x3000), 5Mpix(2592x1944),
3Mpix(2048x1536), 1.3Mpix (1280X960), VGA(640X480)
Quality There are three available options of selected image
quality Super Fine, Fine and Normal
Metering Select the Exposure metering area:
[Center]: The Exposure will be calculated based on
brightness of the center area of the scene
[Multi]: The exposure will be calculated based on the
average brightness of the scene
[Spot]: The exposure will be calculated based on the spot
in the center of the scene
Page 20
16
White
Balance
Adjust the White Balance to suit different light sources.
Available options: Auto, Daylight, Cloudy, Fluorescent,
Tungsten
Exposure Set the Exposure Value manually to compensate for
unusual lighting conditions such as indirect indoor lighting
or dark background. The Exposure Value may be set in
minus 2.0 EV to plus 2.0 EV range
Capture
Mode
Use this setting to select Self-Timer and Burst options:
Off, 2sec, 10sec delay, continuous three pictures
Effect Use this option to change the image color tone: Normal,
B&W, Sepia, Negative, Red, Green, Blue, Binarize,
Sunset, Warm, Cold, Contrast
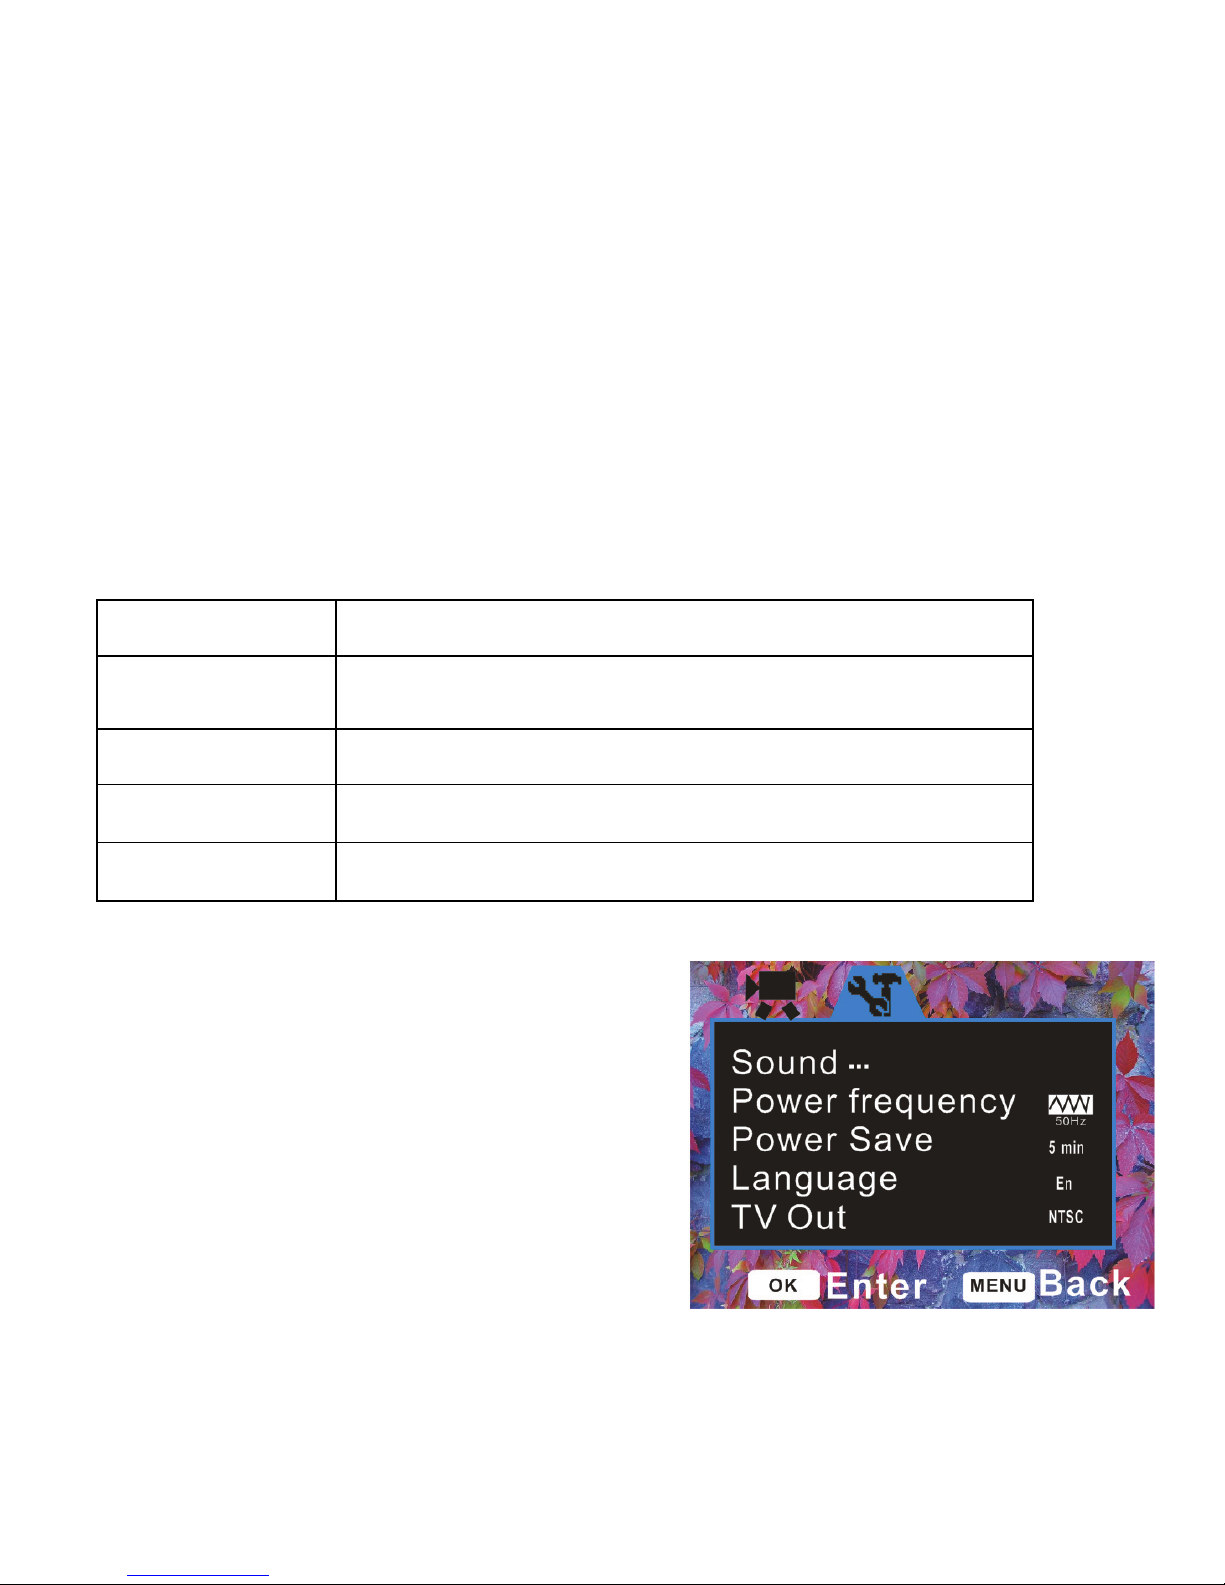
Menu in Video Recording Mode
1: Turn the video recorder ON and
press the Menu button to display the
Menu options.
2: Use the UP or DOWN button to
select required setting
Page 21
17
3: Press the OK or RIGHT button to
enter the submenu.
4: Use the UP or DOWN button to
select the desired setting.
5: Press the OK button to confirm the setting.
6: Press the MENU button to close and enter the Menu.
Menu item Function
Movie Size
There are three available options to select from:
HD (1280x720), D1 (720x480), VGA (640x480).
Frame Rate Available High and Low frames per sec rate
Metering See the details on page 15.
White Balance See the details on page 15.
Setup Menu / System Setting
You can select Set-up Menu / System
Setting and adjust recorder’s internal
settings:
1: Power ON the video recorder and
Page 22

18
press the MENU button to display the menu.
2: Press the RIGHT button to select
Set-up / System Setting options.
3: Use the UP or DOWN button to select desired option.
4: Press the OK or RIGHT button to enter the submenu.
5: Use the UP or DOWN button to select requested setting option.
6: Press the OK button to confirm the setting.
7: Press the MENU button to close and exit from the Menu.
Menu item Function
Sounds Available options:
Shutter: The Shutter sound – press the RIGHT button
to select Shutter Sound ON or OFF.
Start-up: The Start-up sound - press the RIGHT button
to change the Start-up sound. Select one from four
available options: None, [1], [2], [3].
Beep: The Operational sound – press the RIGHT
button to select the operational sound as ON or OFF.
Volume: The Volume level - adjust the sound volume
by pressing the RIGHT button.
Page 23

19
Power
Frequency
Light Frequency - set to 60Hz or 50Hz depending on
your country / location.
Power Save Auto Power OFF – save battery life. The video
recorder will be turned OFF automatically after selected
time. Available options: 1min, 3min, 5min or OFF
(power Save disabled)
Language Refer to page 5.
TV Out TV Output should be set to NTSC or PAL depending
on your country / region.
USB Two available options;
MSDC: Use as a Removable Disk;
PCCAM: Use as a PC camera.
Format See the details on page 5.
Reset All Reset all settings to manufacturer’s default settings.
Select YES to Reset All, or NO to abort resetting.
Page 24

20
5. Playback
Playback still image
1: Turn the video recorder ON, and then press the MODE button and set
recorder to Playback mode.
The latest recorded file appears on the LCD screen. If there are no
images stored, a message [No File] appears on the screen.
2: Press the LEFT or RIGHT button to scroll to previous or next images.
3. To view images in full resolution briefly press zoom (Tele) button.
NOTE for Playback of Still Images: For quick browsing of Still images on
LCD screen or TV the video recorder has an active feature which first
displays stored images in limited resolution. Briefly press the TELE button
to display the image in the full resolution as recorded.
Playing back Video clips
1: Press the LEFT or RIGHT button to select recorded Video clip you wish
to review or watch. Note the Video icon which identifies the Video file.
Page 25

21
2: Press the SHUTTER button to START playing. Press the MENU button
to STOP playing. You may press the UP button to pause it and press it
again to continue. Press the RIGHT button to fast forward and press the
LEFT button to rewind.
Playing back Audio files
1: Press the LEFT or RIGHT button to select the audio file you wish to
playback, note the Audio file icon.
2: Press the SHUTTER button and START playing. Press the MENU
button to STOP playing. You may press the UP button to pause and press
it again to continue. Press the RIGHT button for fast forward and press the
LEFT button to rewind.
Other function in Playback mode
Viewing Thumbnails
Press the W button to view recorded and stored file in thumbnails mode.
Use the UP/DOWN/LEFT/RIGHT button to select a file.
Page 26

22
Press the OK or T button to view selected file in full screen.
Lock files
1: Select the Playback mode and press the MENU button.
2: Press the UP or DOWN button to select the Lock option
3: Press the OK or RIGHT button to enter the submenu.
4: Use the UP or DOWN button to select the item: Lock / Unlock One,
Lock All or Unlock All.
5: Press the OK button to confirm setting.
6: Press the MENU button to close the menu.
• If the file has been LOCK-ed, the icon
will be displayed on the
LCD screen. The LOCK-ed file cannot be deleted – unless un-LOCKed.
Delete files
1: Select the Playback mode and press the MENU button.
2: Press the UP or DOWN button to select the Delete option
3: Press the OK or RIGHT button to enter the submenu: One - Delete
current file, All - Delete All files except locked files, if present.
4: Use the UP or DOWN button to select desired option.
Page 27

23
5: Press the OK or RIGHT button to confirm setting. A dialog box will
appear, use UP or DOWN button to select the Yes.
6: Press the OK button to execute delete current file or all files.
Slide Show
1: Select the Playback mode and press the MENU button.
2: Press the UP or DOWN button to select the Slide Show option
3: Press the OK button to enter the submenu.
START: Select this item to prepare for a slide show after setting the slide
show mode
INTERVAL: Set the interval time (the time for displaying each slide) by
pressing the LEFT or RIGHT button. The range of interval time
is from 1 second to 10 seconds.
REPEAT: Press the LEFT or RIGHT button to select YES or NO
4: Use the UP or DOWN button and select START
5: Press the OK button start slide show.
6: Press the MENU button if you wish to end the Slide Show.
• Only still images can be shown in the Slide Show.
Page 28

24
Effect
1: Select the Playback mode and press the MENU button
2: Press the UP or DOWN button to select the Effect option
3: Press the OK or RIGHT button to enter the submenu: B&W, Sepia,
Negative, Red, Green, Blue, Binarize, Sunset, Warm, Cold, Contrast
4: Use the UP or DOWN button to select desired effect.
5: Press the OK button to apply the setting.
Rotate the image
1: Set the Playback mode and select the image you want to rotate.
2: Press the MENU button to display the menu.
3: Press the UP or DOWN button to select Rotate.
4: Press the OK or RIGHT button to launch the submenu:
Rotate: Press the OK button to rotate the image with 90°
Save: Select Save to save the rotated image.
Back: Select Back to close the submenu.
Resize
1: Set the Playback mode and select an image you want to resize.
2: Press the MENU button to display the menu.
Page 29

25
3: Press the UP or DOWN button to select Resize
4: Press the OK or RIGHT button to launch the submenu: 2048x1536,
1280x960, or 640x480 as available resolution.
5: Press the UP or DOWN button to select desired resolution
6: Press the OK button to Save the resized image.
• The image can only be down-sized to a smaller size.
Add voice memo to image
1: Set the Playback mode and select the
image on which you desire to add voice
memo.
2: Press the MENU button to display the
menu.
3: Press the UP or DOWN button to select the Voice Memo
4: Press the OK or RIGHT button to display the dialog box, see the screen
5: Select the Add, press OK button and speak / start recording voice
memo.
6: Press the SHUTTER button to STOP recording.
7. To listen to recorded voice memo; in playback mode select image with
voice memo and press the SHUTTER button
Page 30
26
8. To Delete the voice memo, repeat up to Step 5 but select Delete instead
of Add and press the OK button。
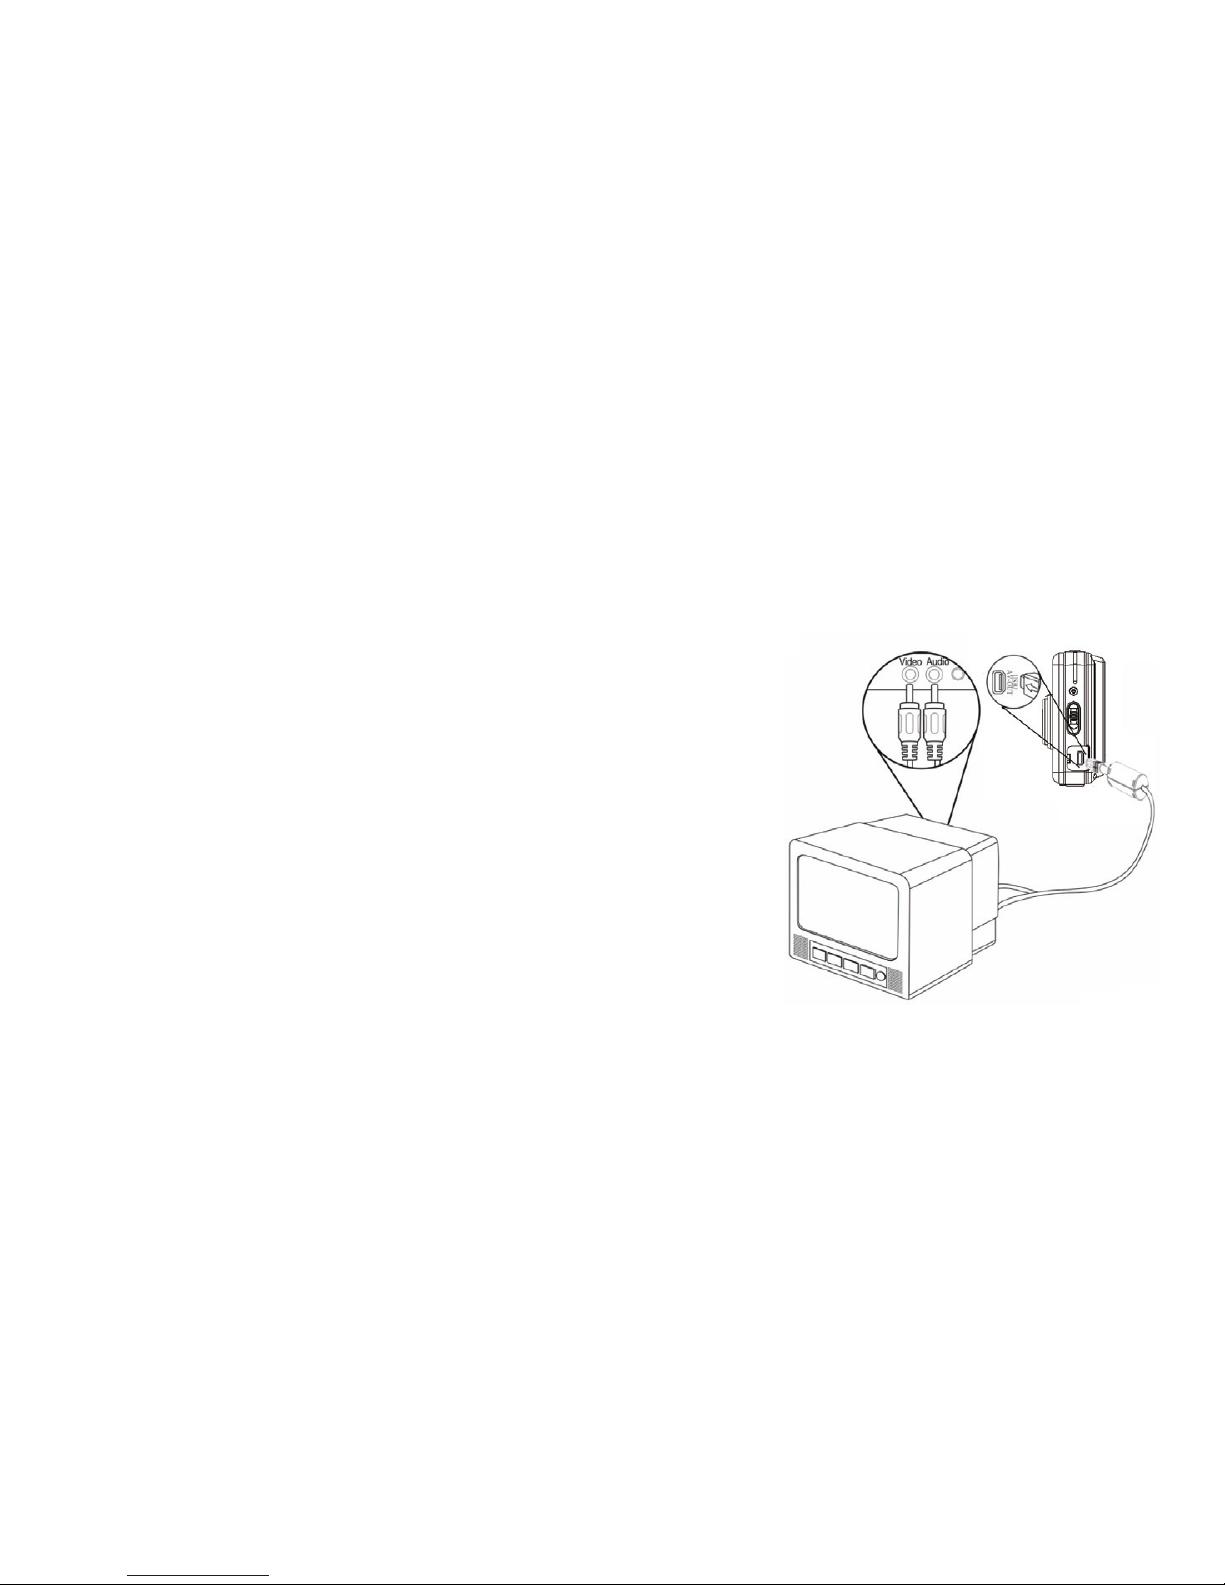
6. Making connections
Connecting the Video Recorder to a TV
You may connect video recorder to TV, then
display all images and recorded video on large
TV screen!
1. Connect the video recorder to a TV using
supplied AV/TV cable.
2. Turn ON the TV and the video recorder;
set the TV to AV INPUT mode, review
the manual for your TV if necessary.
3. At the Playback mode, all the pictures,
video and audio clips stored in the video recorder can be reviewed
and played back on the TV screen.
When the TV is connected, the video recorder LCD screen becomes blank
and TV screen becomes the monitor for your video recorder.
Page 31
27
Connecting the Video Recorder to a PC
There are two ways to download files from the video recorder’s memory
card to the computer:
• Connect the video recorder to computer using the supplied USB cable.
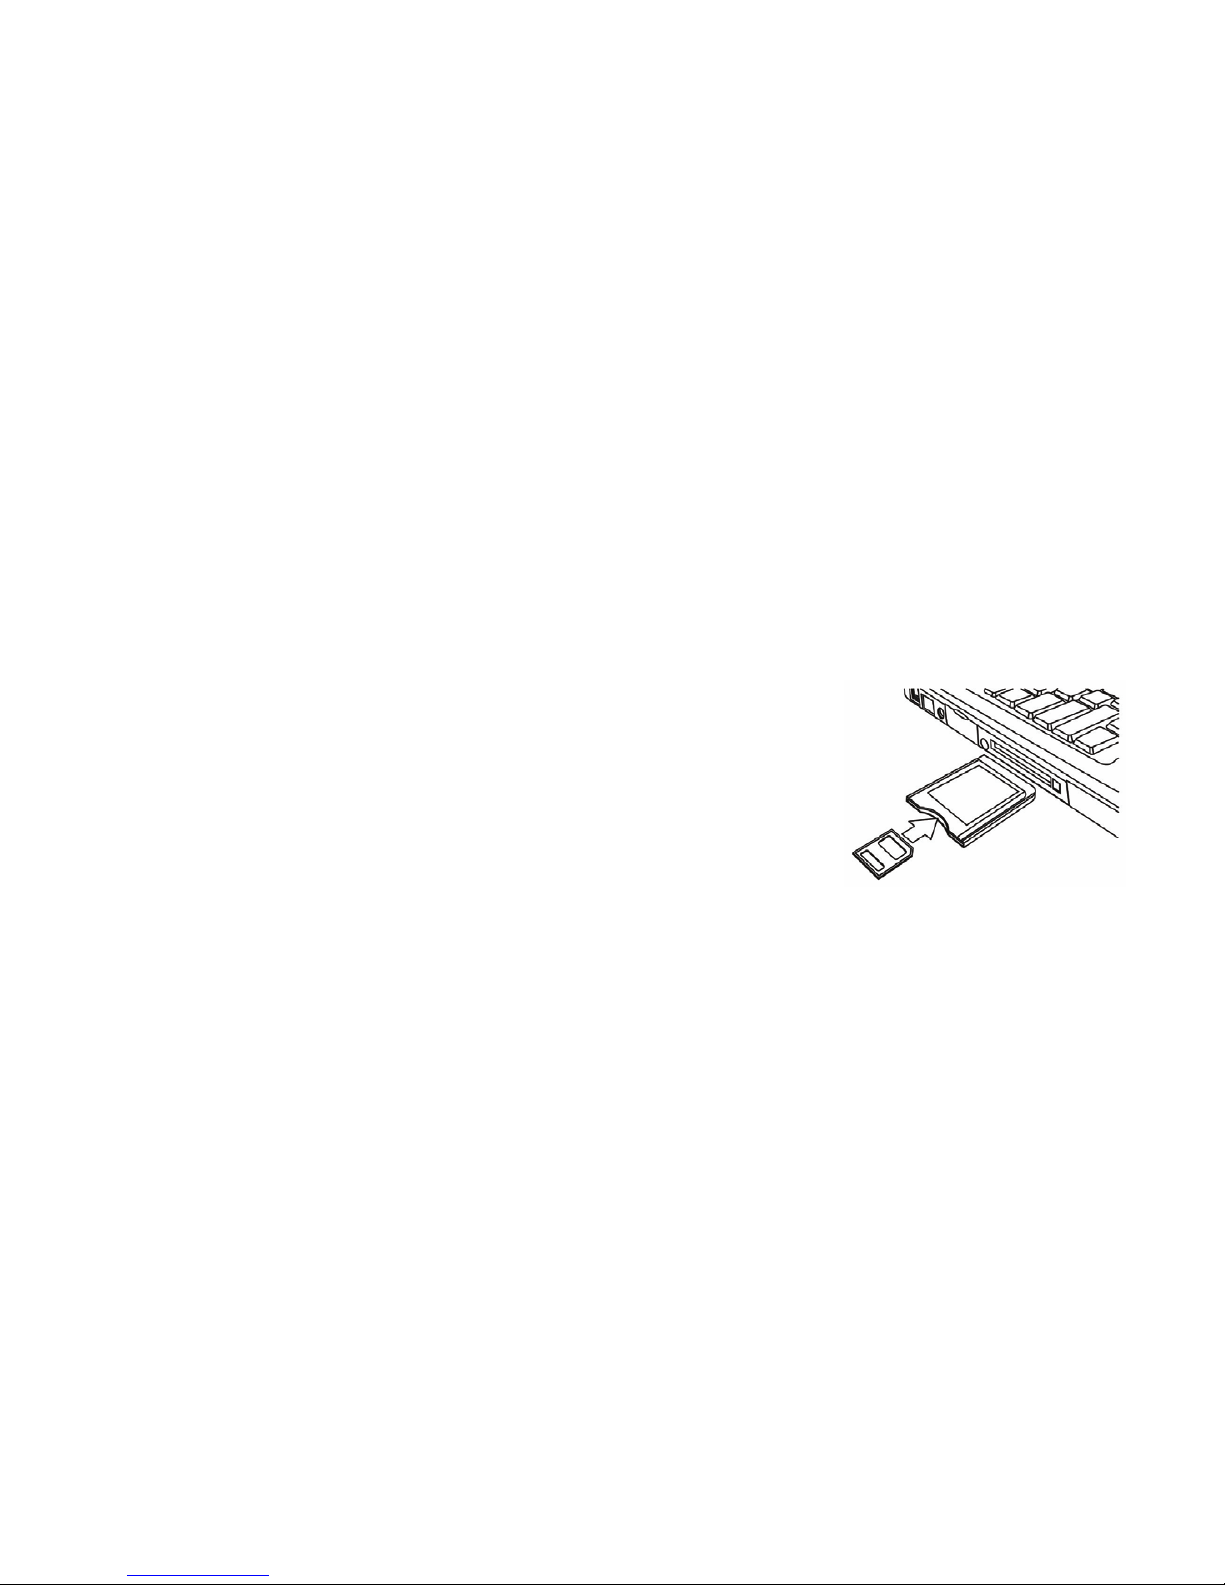
• Remove the SD card from recorder and insert card into the card
reader or into the SD card slot inside the computer (if equipped).
Using a Card Reader
1: Eject the memory card from the video recorder
and insert it into card reader connected to the
computer.
2: Open My Computer or Windows Explorer and double-click the
Removable Disk icon which represents the SD Memory Card.
3: Copy / Save images and records from the card into selected storage
area in your computer.
Page 32

28
Connecting Video Recorder to PC using the USB Cable
1: Set the USB mode to [MSDC] mode to enter default mode. See the
details on page 19.
2: Connect video recorder to a PC using supplied USB cable.
3: Open the “My Computer” icon on the desktop of PC.
4: Double click icon which represents your video recorder as the
Removable Disk.
5: Double click “DCIM” folder - this folder stores all your records.
6: Copy all the files to your PC.
Note: Do not take remove the SD card or the batteries from the video
recorder when you are copying the files to PC - otherwise the files could
be destroyed or the data lost.
Page 33
29
7. Software Installation
Installing the Software
Supplied installation CD contains bundled Arcsoft MediaImpression
program and the Driver for the video recorder.
• Installed Driver is necessary to use your video recorder as PC/ webcam.
• Installed Arcsoft Mediaimpression program is useful for editing pictures
and recorded video clips.
Arcsoft MediaImpression works with Windows 2000/XP,
Windows Vista and Windows 7 platforms.
Install ALL programs BEFORE connecting
video recorder to computer.
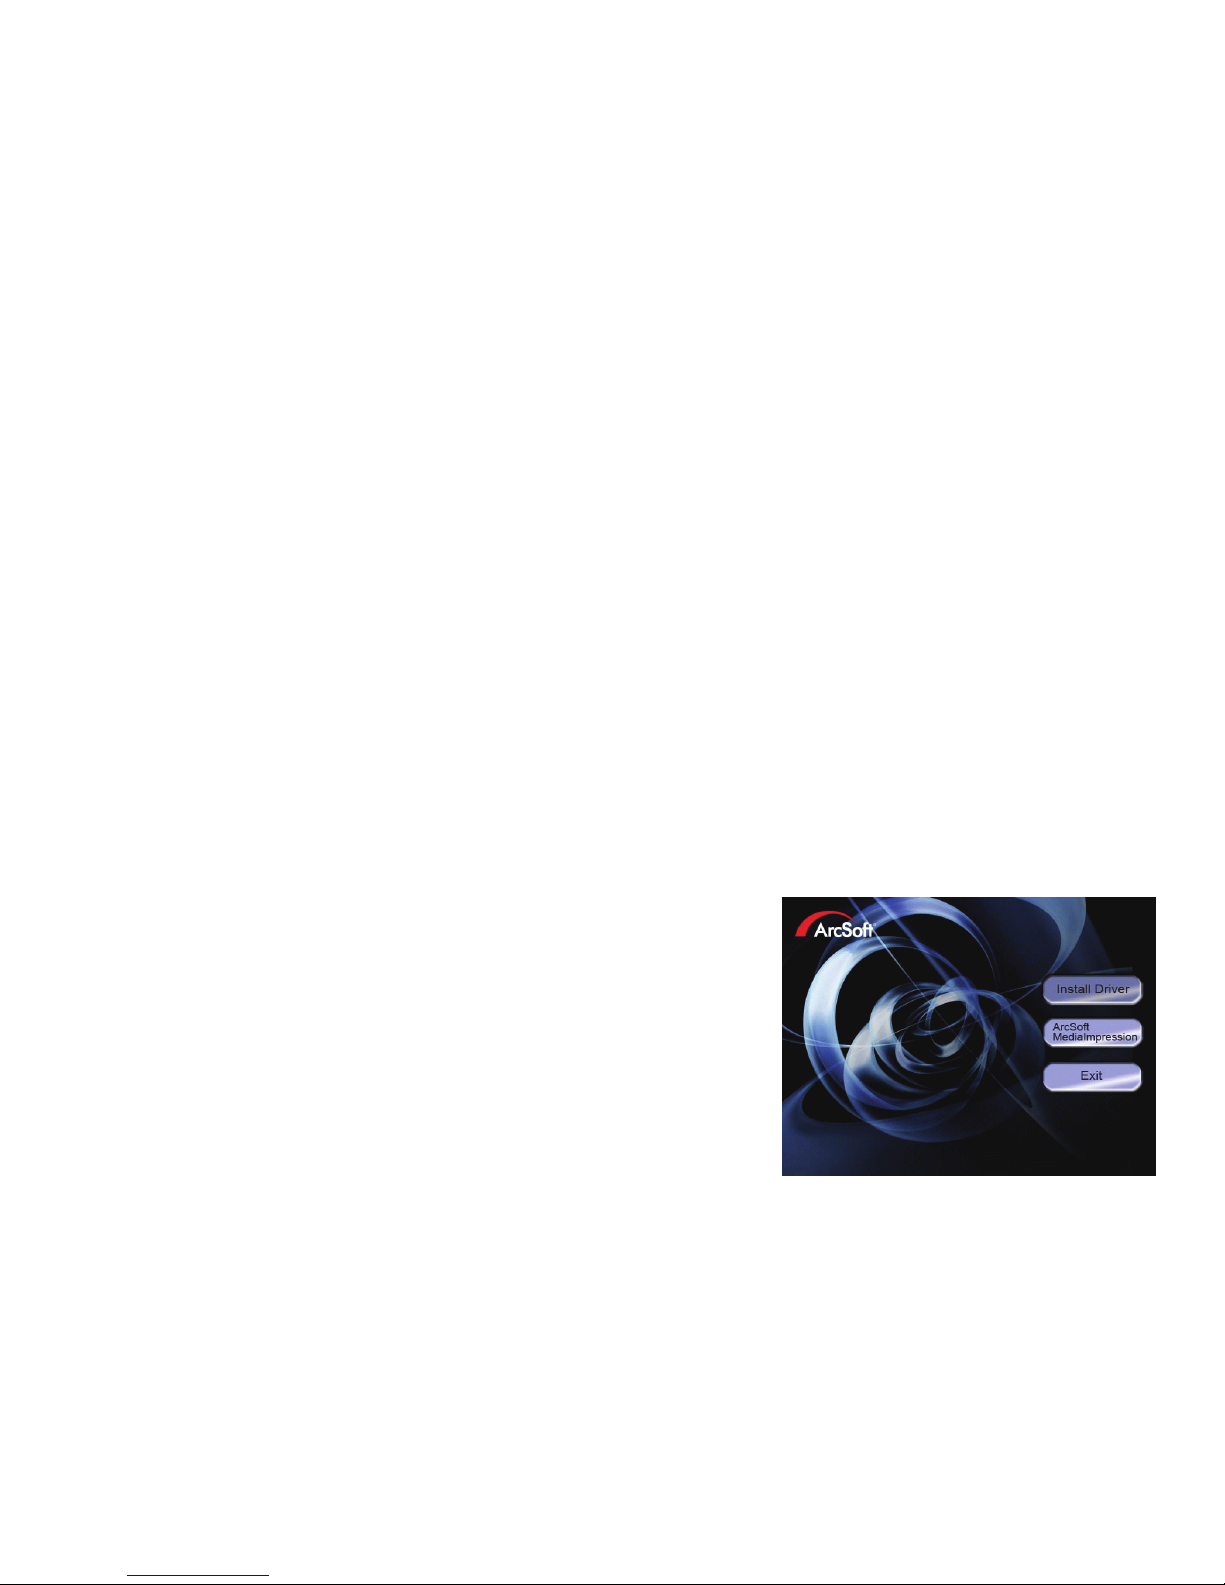
- Insert the CD into your CD-ROM drive.
- The auto-run menu appears:
If the autorun menu does not appear
automatically, open the CD-ROM in My Computer and double-click
[autorun.exe] file to start the program.
Page 34
30
You can also click [Run] in the Windows Startup menu, enter
"D:\autorun.exe" (where D is your CD-ROM drive letter) in the text box,
and click [OK].
Install Driver
1: Click [Install Driver].
2:
Follow the on-screen instructions and install the Driver.
3: Completed installation will create PC/webcam icon on the Desktop.
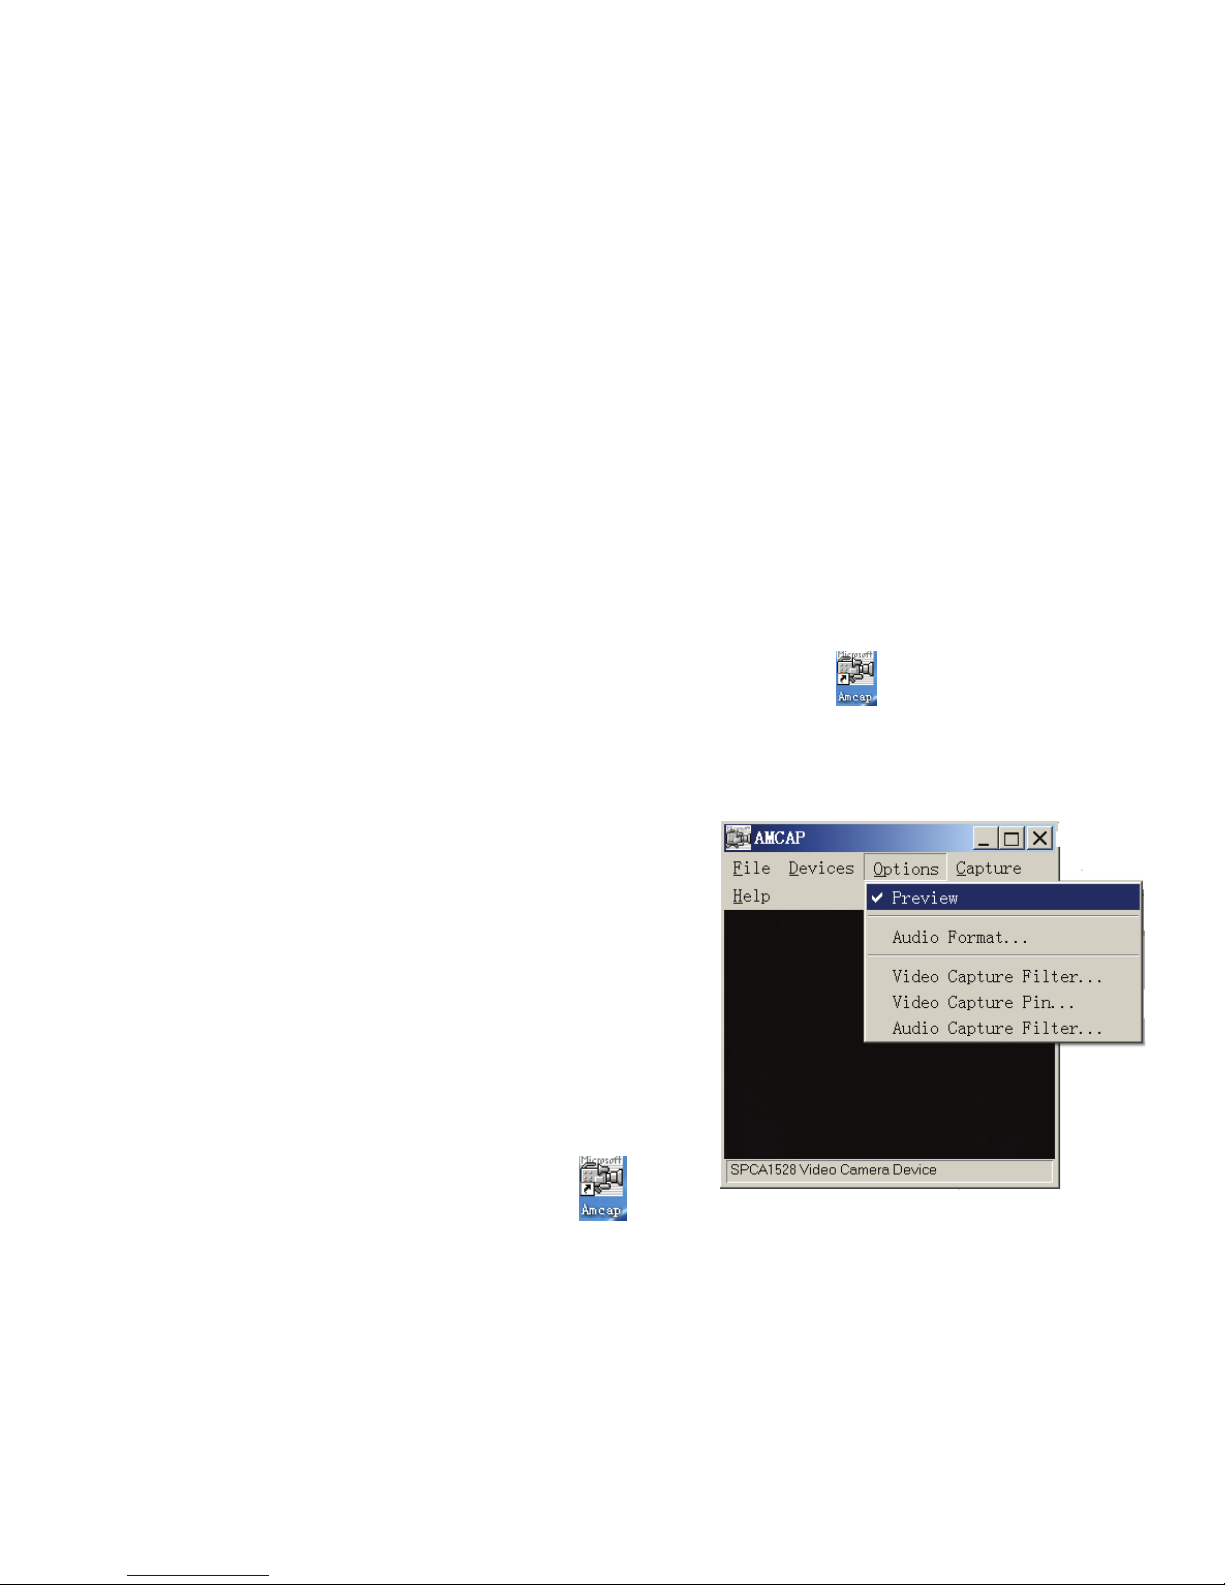
Using the PC Camera function
-Install the Driver first.
-Connect video recorder to the computer
via the USB port.
-Power ON the video recorder, the LCD
screen display “PC CAM” or “MSDC”
options.
-Press the MODE button and select “PC
CAM” mode. Double click the icon to
run the program.
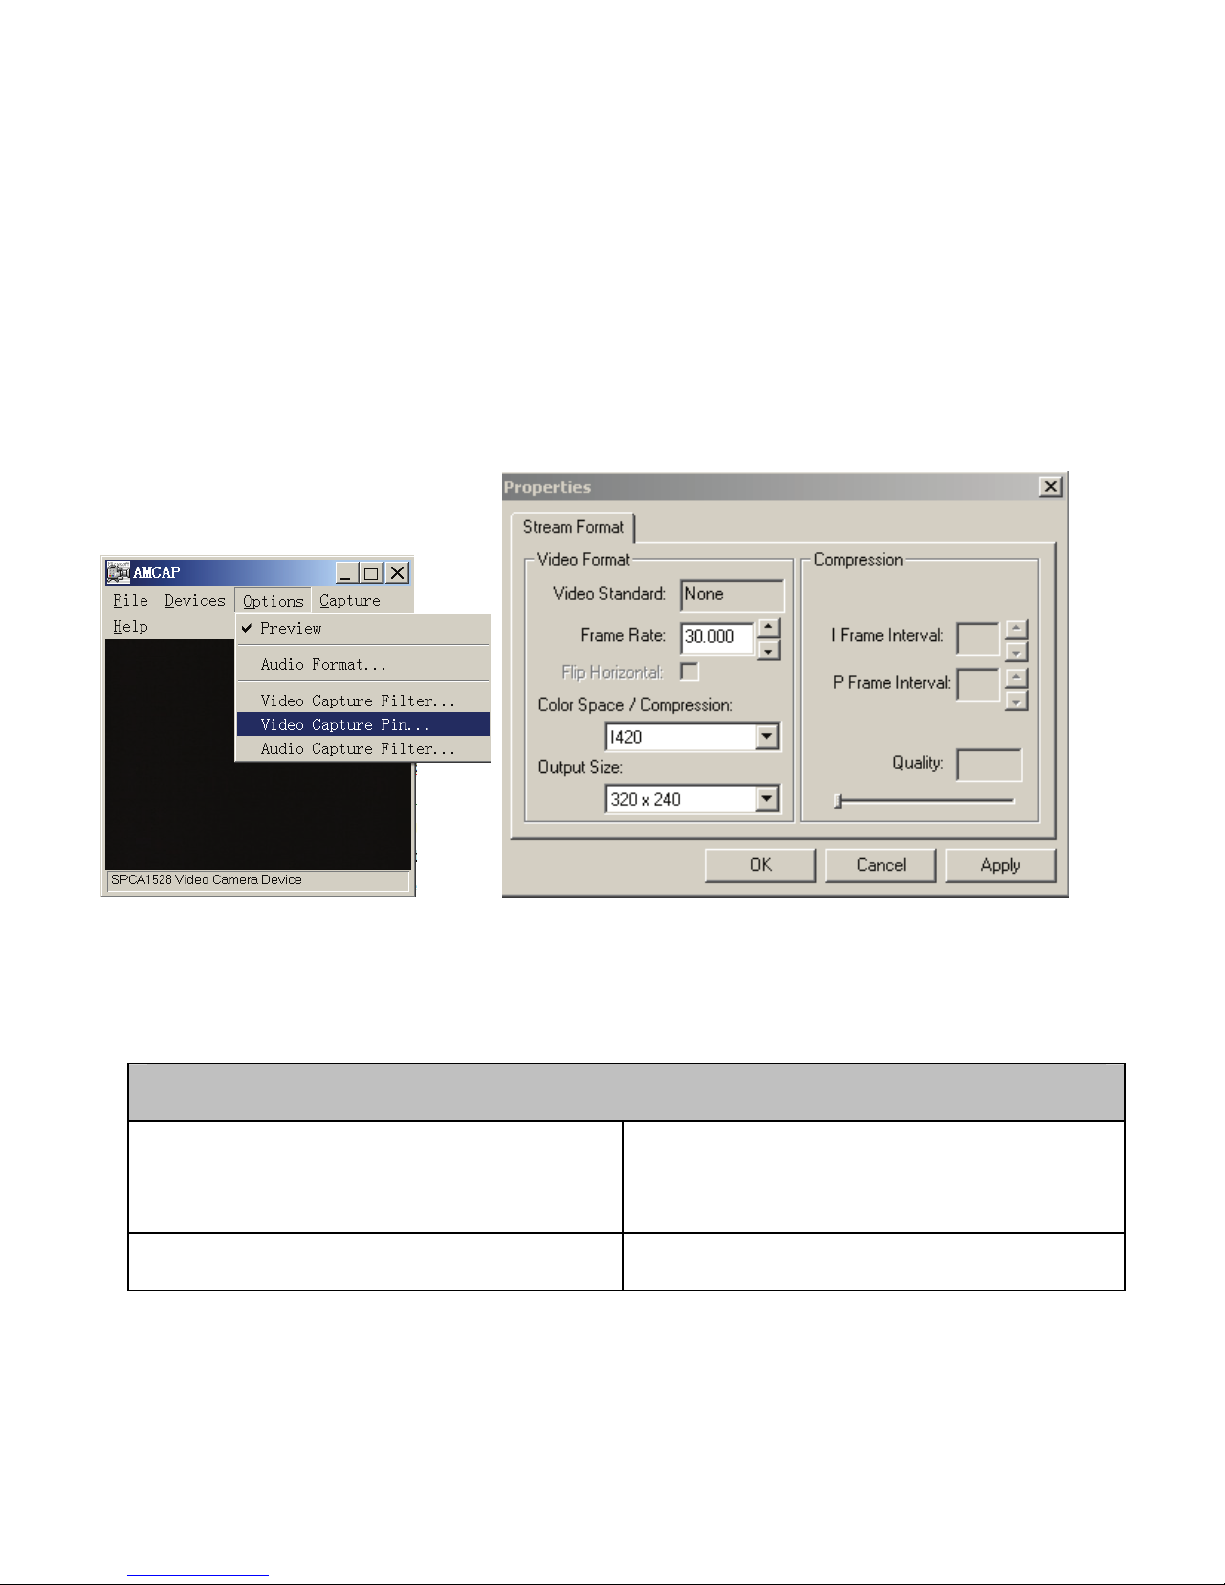
When using the PCcam mode for the first time, select < Preview> as
Page 35
31
shown below.
Now you can use video recorder in the PC/web cam function; you may
change the imaging size. Select <Video Capture Pin> to change the
Output Size if required.
8. Troubleshooting
Video Recorder could not be turned ON
1. Batteries are inserted
incorrectly.
★ Reinstall batteries; note plus
and minus terminals location
2. Batteries are exhausted and ★ Replace / reinstall new
Page 36
32
can not power the video
recorder.
batteries
The video recorder does not take pictures.
1. Memory is full. ★Insert a new memory card.
2. Memory card is not formatted
★Format the memory card or
use another card.
Image is blurry or out of focus.
1. The video recorder was
moving when the image was
captured.
★Hold the video recorder steady
when shooting picture.
Image is not displayed on the LCD monitor.
1. A memory card used on
another camera / video recorder
is inserted.
★ This video recorder may not
display other cameras /
video recorders JPG images.
Recorded images are not saved on the SD memory card.
1. The video recorder was turned
OFF before the images were
saved.
★ If the battery low indicator
appears on the LCD monitor,
replace the battery immediately.
Page 37
33
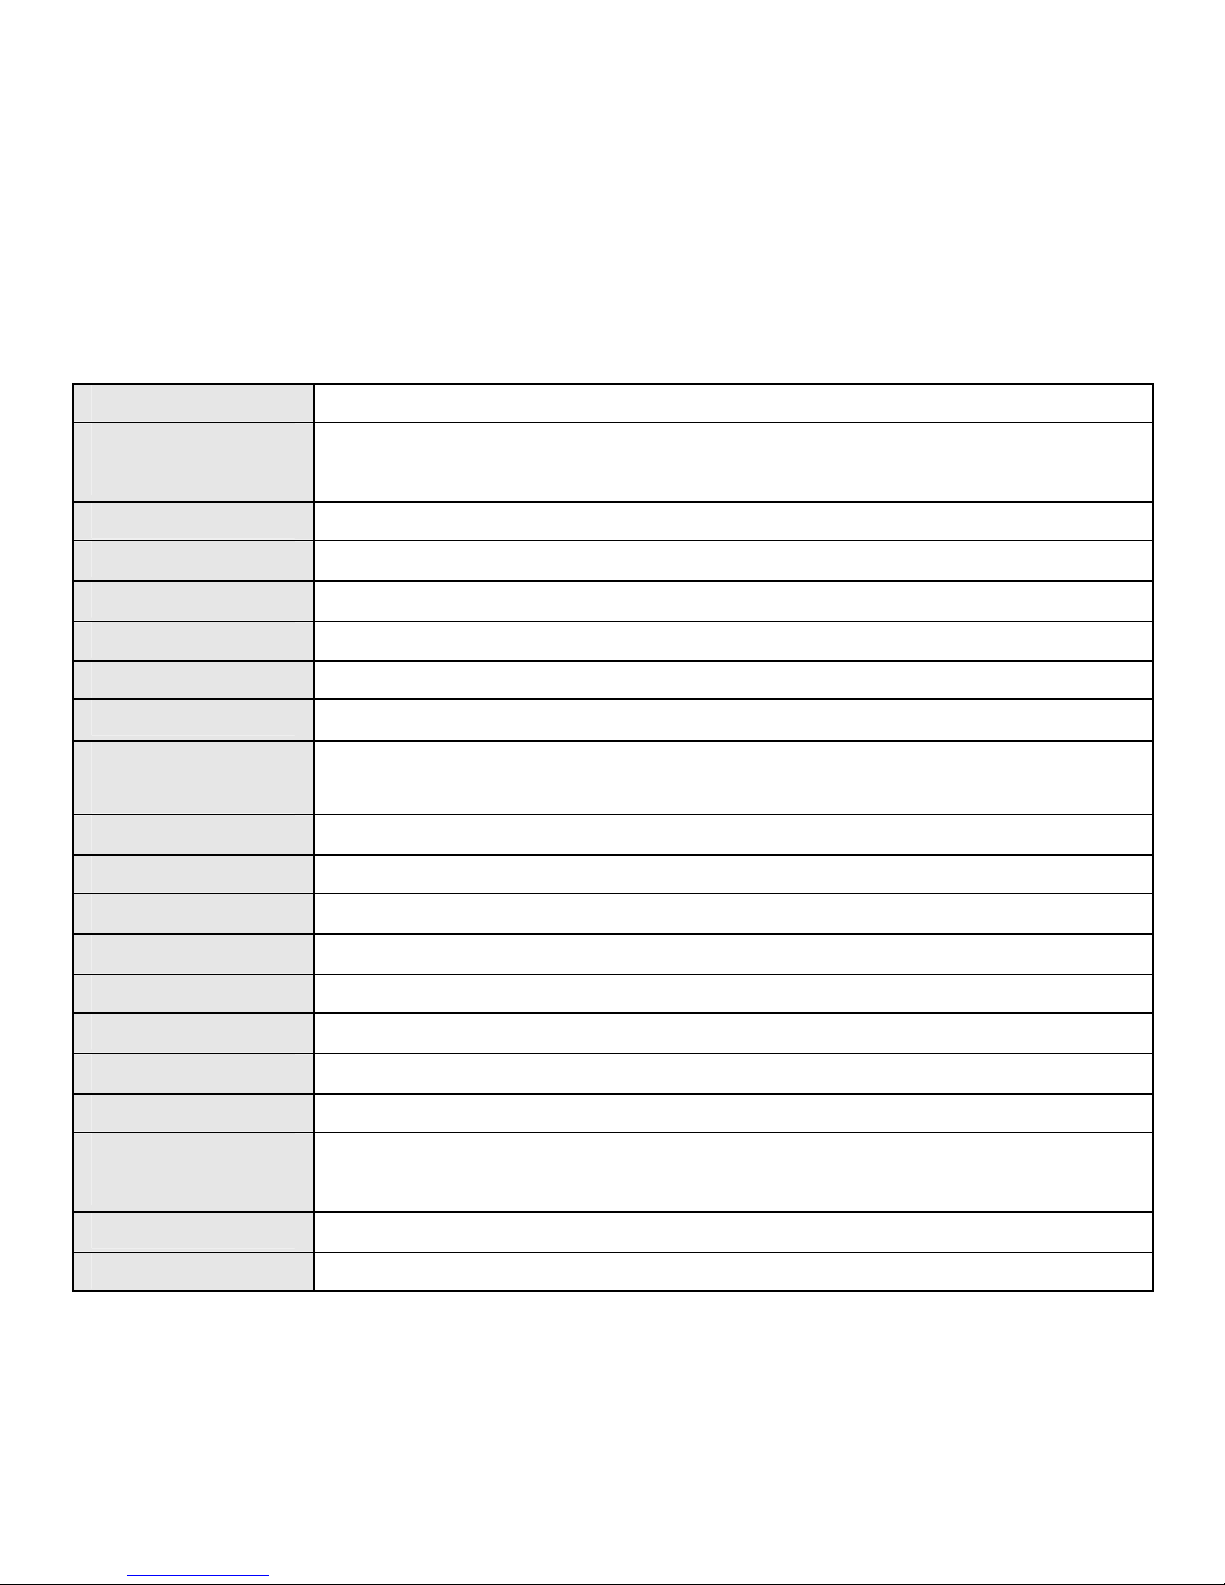
9. Technical Specifications
Video res HD-1280x720; D1-720x480; VGA-640x480
Still image
Resolution
Still Image:12M(4000X3000); 5M(2592X1944);
3M(2048X1536); 1.3M(1280X960); VGA(640X480)
Display 2.7" TFT Color LCD
Focus range 150cm ~ infinity
Aperture F3.0, (f=6.5mm) fixed focus
Shutter
Electronic Shutter: 1/4~ 1/10000sec.
Sensitivity Auto
White balance
Auto / Daylight / Cloudy / Fluorescent / Tungsten
Exposure
control
-2EV to +2EV in 0.3 step
Burst Three consecutive photos
Photo effect Normal / B&W / Sepia / Negative / Red/ Green/ Blue
Self-timer 2/ 10 sec.
Storage Required SD / SDHC memory card, up to 8GB capacity
TV system NTSC / PAL
Zoom 4 x Digital Zoom
Interface USB 2.0
Power Supply Required two AA alkaline / 1.5V batteries
Ambient
temperature
Operating: 0° C to 40° C
Storage: -20 to 60° C
Mic & speaker Built-in
Dimensions Video Recorder Body : 4.1 x 2.4 x 1.6 inches
Page 38

34
Note: The product specifications are subject to change without prior notice.
System requirement:
Windows 2000 /XP/Vista/Win7
CPU: Pentium III 1GHz or higher
Memory:min 64 MB memory
Disk space:At least 128 MB space free
 Loading...