

Page 1
Avire Inc
Janus is a brand of Avire
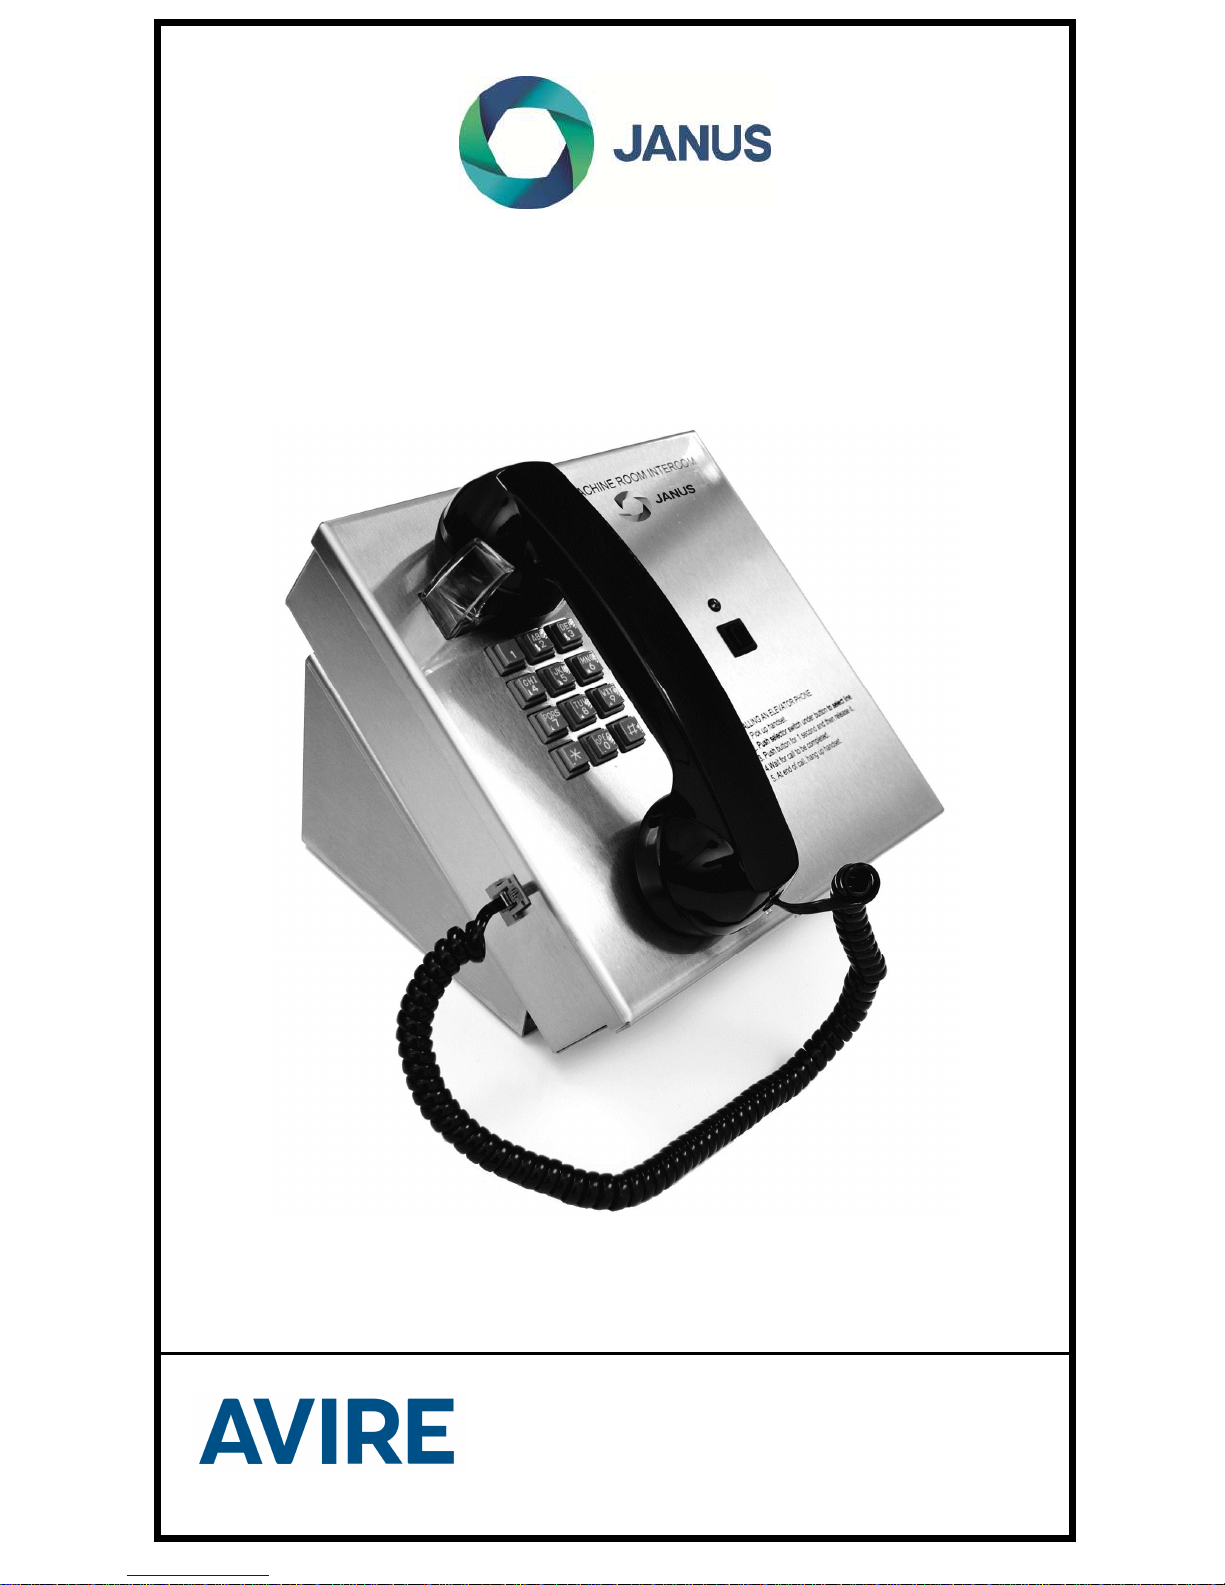
SHW-MRI-1 MACHINE ROOM INTERCOM
USER’S MANUAL
SHW-MRI-1
415 Oser Avenue, Suite Q, Hauppauge, New York 11788
Phone: 631 864 3699 Toll Free: 800 527 9156
Fax: 631 864 2631 Email: sales.us@avire-global.com
Page 2

TABLE OF CONTENTS
SECTION PAGE
OVERVIEW 3
INSTALLATION 4
OPERATION 5
TROUBLESHOOTING 6
SHW-MRI-1 CONNECTION DIAGRAM 7
SHW-MRI-1 MOUNTING DIAGRAM
WARRANTY POLICY 9
RETURN POLICY 10
8
2
Page 3

Overview
The SHW-MRI-1 is an easy upgrade solution to provide twoway voice communications between the machine room and
the elevator car using an existing ADA elevator phone.
The SHW-MRI-1 installs in the machine room, using the
existing telephone line that is connected to the ADA elevator
phone. The telephone line is cut and the SHW-MRI-1 is
connected in series to that Line using the supplied phone
jacks. The Incoming phone jack connects to C.O. or PBX
phone line and the Outgoing phone jack connects to the
ADA elevator phone.
The SHW-MRI-1 meets requirements for ASME A17.1a
2001 addenda to ASME A17.1-2000 Safety Code for
Elevators and Escalators.
Code: 2.27.1.3 Machine Room Communications:
A means of two-way communications between the car and
the machine room shall be provided as required by
2.26.1.5.10(c).
3
Page 4

Installation
1. The Machine room intercom requires two pair of wires,
one for the ADA elevator phone and one for the phone
line. The SHW-MRI-1 system requires 24VDC/0.5A to
operate.
Note: Cabling can be inexpensive telephone communication
cable, which is normally 20-22 gauge twisted pair. Through
the travelling cable you will need a twisted shielded pair with
the shield grounded at the elevator controller or a good earth
ground. The shield needs to be connected throughout the
entire run including any splices and should only be grounded
at the controller end.
2. Install the SHW-MRI-1 unit on the wall or flat surface with
(4) 8-32 screws using the (4) keyholes on the back of the
unit. (See Figure 2)
3. Plug in the incoming phone line to the “Incoming” phone
jack of the SHW-MRI-1 unit. If you don’t have a modular
connector on your phone line wires, you need to open up
the Incoming phone jack and connect the Incoming
phone line to the Green and Red terminals of that jack.
Close the jack when finished. (See Figure 1)
4. Plug in the ADA elevator phone to the “Outgoing” phone
jack of the SHW-MRI-1 unit. If you don’t have a modular
connector on your phone wires, you need to open up the
“Outgoing” phone jack and connect the ADA elevator
phone wires to the Green and Red terminals of that jack.
Close the jack when finished. (See Figure 1)
4
Page 5

Operation
1. Pickup the handset on the SHW-MRI-1.
2. Press and hold the push-button on the SHW-MRI-1
faceplate for at least three seconds.
3. The LED on the SHW-MRI-1 faceplate will start flashing
and nothing will be heard through the touchtone phone.
The flashing will continue at a faster rate for 4 seconds
and then it will go out for 2 seconds. If the elevator phone
is equipped with a ringer it will start ringing. This will
continue until the ADA elevator phone turns ‘ON’
automatically or someone actually answers the call.
4. When the ADA elevator phone has turned ‘ON’ you will
have two-way communication.
5. The call will be terminated when you hang up the phone
on the SHW-MRI-1 unit or the elevator phone. The LED
will start flashing again and then it will turn ‘OFF’.
6. The SHW-MRI-1 and the ADA elevator phone are now
ready for normal operation.
Note: If the ADA elevator phone is being used while the
SHW-MRI-1 is trying to call the unit the ADA elevator phone
will be disconnected from the phone line and automatically
connected to the SHW-MRI-1 unit.
5
Page 6

Troubleshooting
1. If the SHW-MRI-1 does not turn ‘ON’ make sure that the
wall transformer is plugged into 110VAC outlet, and
measure the voltage on the “POWER” connector inside
the SHW-MRI-1 unit. The voltage should read about 2428VDC. The “POWER” connection is not polarity
sensitive.
2. If the SHW-MRI-1 turns ‘ON’ but does not call the ADA
elevator phone: Check all your connections according
diagram on Figure 1. Press the Button to make a call
and measure the maximum AC voltage coming from the
elevator port using a voltmeter.
Note: The normal ring voltage generated by the SHW-MRI-1
unit is about 60-80VAC. USE CAUTION WHEN
MEASURING RING VOLTAGE ON THE LINE.
3. If the ADA elevator phone does not call out: Check the
voltage of the phone line on the “Telco” connector of the
SHW-MRI-1 unit. The same voltage should be shown on
the “Elev.” connector of the SHW-MRI-1.
Note: The normal phone line voltage is about 24-52VDC.
There are cases that the voltage might drop bellow 24VDC if
the phone line connection is located far away from the
central office or an internal phone system is used.
4. If the ADA elevator phone (JANUS-ADA phone) sounds
low you can call in and when the phone answers press 9
and listen for 3 beeps. You can repeat this step one
more time to adjust the speaker volume to the maximum
level. If you have an older EMS-HFP phone you can
adjust the R13 (VOL.) potentiometer counter-clockwise
to the max. If it’s still low add a 9-volt battery to the
battery lead of this phone and try again.
6
Page 7

SHW-MRI-1 CONNECTION DIAGRAM
Figure 1
7
Page 8

SHW-MRI-1 MOUNTING DIAGRAM
Figure 2
8
Page 9

Warranty Policy
Avire Inc. warrants its products to be free from defect in
materials and workmanship under normal use and service
for 24 months from date of purchase. Seller’s obligation shall
be limited to repairing or replacing, at its option, free of
charge for materials or labor any product which proves
defective in materials or workmanship under normal use and
service. Avire shall not be responsible for any damage to the
unit incurred during installation. Seller shall have no
obligation under this Limited Warranty or otherwise if the
product is altered or improperly repaired or serviced by
anyone other than Avire factory service. For warranty
service, contact Avire at 631-864-3699 or 800-527-9156.
THERE ARE NO WARRANTIES, EXPRESS OR IMPLIED,
OF MERCHANTABILITY, OR FITNESS FOR A
PARTICULAR PURPOSE OR OTHERWISE, WHICH
EXTEND BEYOND THE DESCRIPTION ON THE FACE
HEREOF. IN NO CASE SHALL SELLER BE LIABLE TO
ANYONE FOR ANY CONSEQUENTIAL OR INCIDENTAL
DAMAGES FOR BREACH OF THIS OR ANY OTHER
WARRANTY, EXPRESS OR IMPLIED, OR UPON ANY
OTHER BASIS OF LIABILITY WHATSOEVER, EVEN IF
THE LOSS IS CAUSED BY THE SELLER’S OWN
NEGLIGENCE OR FAULT.
9
Page 10

Return Policy
During installation, if a product does not appear to function
properly the installer must call the Avire Technical Support
Unit at (800) 527-9156, Monday through Friday. If the
technician determines that the product is not functioning, an
RA (Return Authorization) number will be issued, allowing
the installer to return the product directly to Avire for repair,
replacement or credit. Returns with no fault found, will result
in a bench charge plus shipping costs. Returns without an
RA number will result in a restocking charge of 25% or more
plus shipping costs.
Need Technical Assistance?
Call 1-800-527-9156
10
 Loading...