

Page 1
Installation
+ Note:
+ 2D detectors require 2D Pana40 Plus Controller
+ 3D detectors require 3D Pana40 Plus Controller
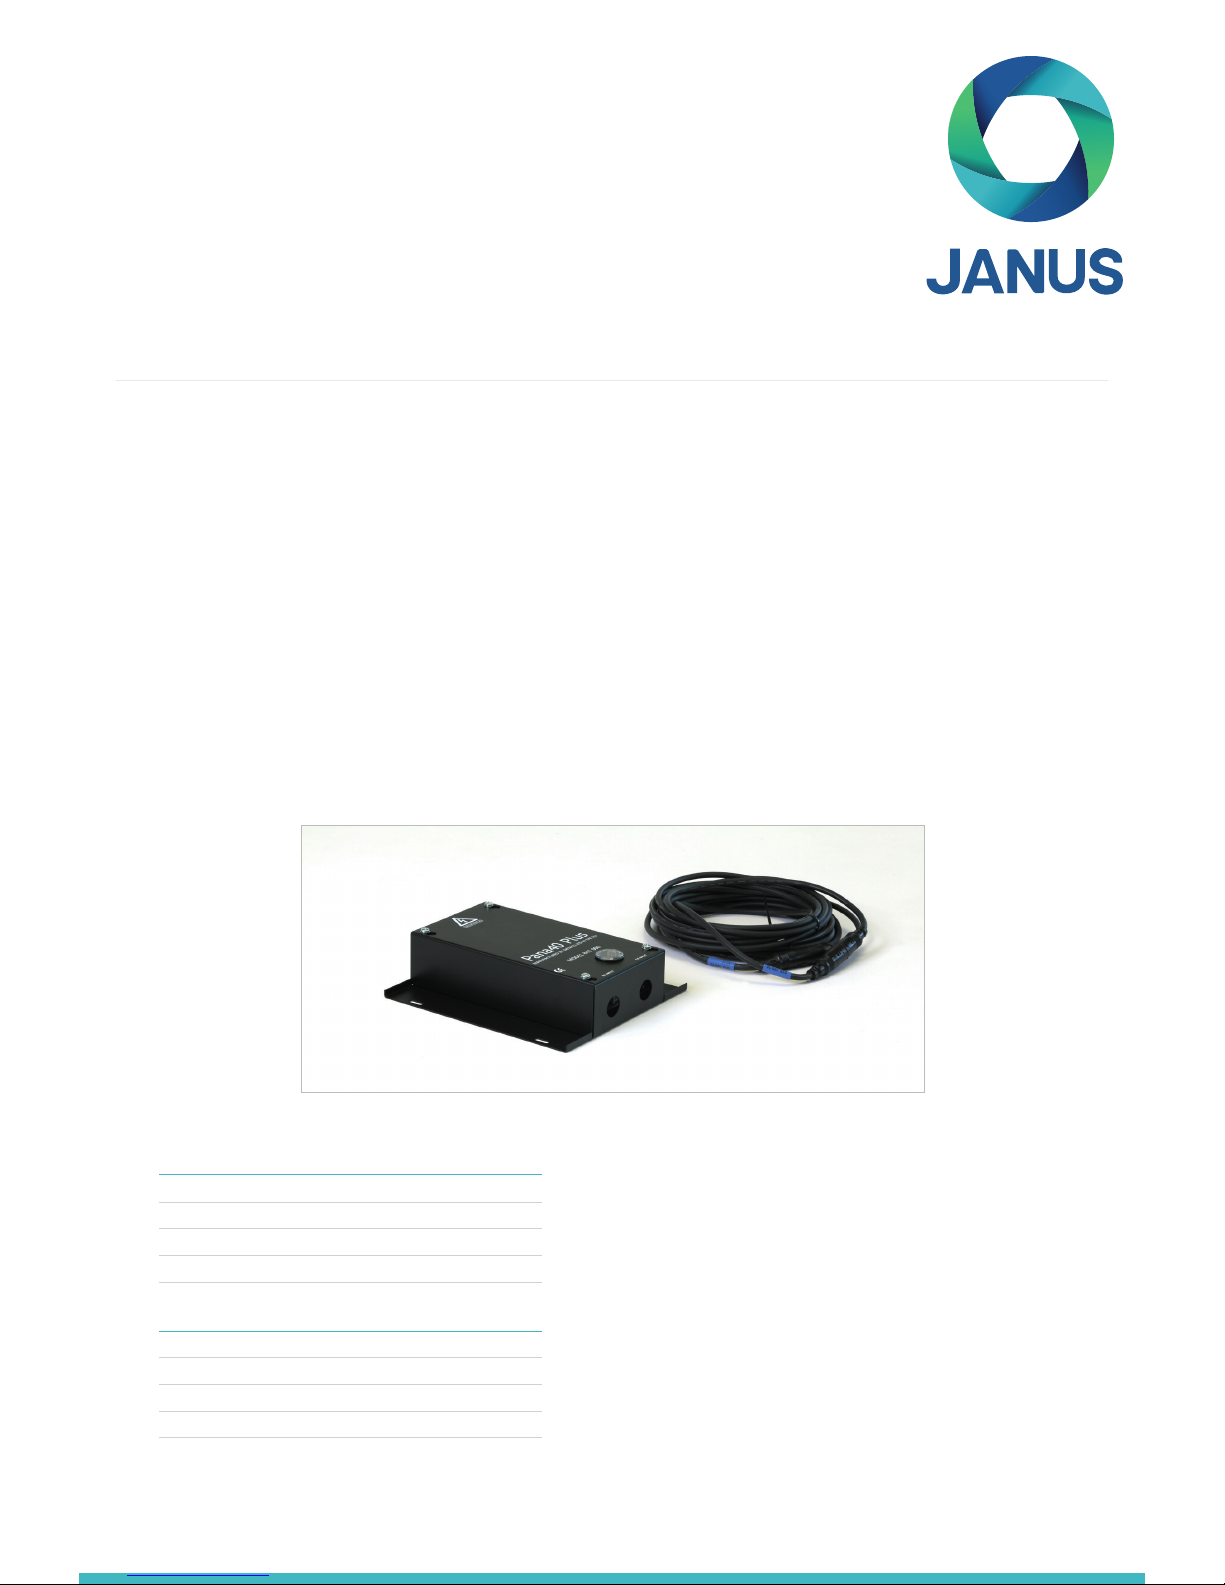
Pana40Plus 2D / 3D Controllers
Installation Guide
Ref. No. 843 852GB Version 1
Set-up for 3D model controllers
To congure 3D Pana40 Plus Controller:
+ Fit the Pana40 Plus 3D detectors (Models 77X) to the
controller.
+ All 3D controllers are factory set as: 3D activated settings
‘as door close’ on ‘Highest’ sensitivity’.
+ Select the 3D Operating Mode using switches 1 & 2 if
necessary (see Table 1 opposite)
+ Adjust the 3D Sensitivity using switches 3 & 4 if
necessary (see Table 1)
3D Operating Mode Switch 1 Switch 2
As Doors Close OFF OFF
At 2’8” (800mm) OFF ON
3D timeout - 20 seconds ON OFF
3D timeout - 10 seconds ON ON
3D Sensitivity Switch 3 Switch 4
Highest ON ON
Intermediate OFF ON
Normal ON OFF
O OFF OFF
Table 1
1. Secure Pana40 Plus Controller in a suitable position on
top of car to avoid damage.
2. Connect the Controller with the correct mains supply
voltage and Inputs (see instruction label inside lid).
3. It is important to ensure that the detector cables and
travelling cables (015 199) are secured to the door
correctly and that the travelling cable is routed to the
controller correctly.
4. Connect the Transmit (TX) and Receive (RX) leads into
the Controller sockets as marked
5. On completion, carefully open & shut doors by hand to
check the travelling cable (015 199) has a smooth free
movement and is not liable to snag on anything during
normal operation otherwise there is a risk of leads being
damaged by the lift doors or caught up when lift moves.
6. Correct operation will show display showing 3 bars
scanning up/down. If this is not observed, switch
number SW3 ON and check trouble shooting guide, card
is located on the side of the controller lid.
7. Static Installation Jumper J1 needs to be over both pins
(See instruction label inside lid).
Page 2

3D Troubleshooting Guide:
No 3D detection when the 3D is supposed to be active Check that 3D detectors are tted with a 3D controller.
Check that TX is on left and RX on right when viewed from landing.
Check that switches 3 & 4 are not both in the Down position
Check that switches 1 & 2 are correctly set to desired mode
Unit false triggers as doors are closing Make sure that the 3D detectors are mounted as far forward as possible.
Reduce the sensitivity using switches 3 & 4 if necessary.
As doors close - Switches 1 & 2 both OFF.
+ 3D proximity detection will be activated as the doors
begin to close. The system will allow up to three
consecutive triggers on the 3D. After this, the 3D will
be turned o leaving only the light curtain detection.
An intermittent beep will sound as a warning that the
doors are closing. If the light curtain is broken then three
further 3D triggers are enabled.
At 800mm (2’ 8”) - Switch 1 OFF & Switch 2 ON.
+ This mode of 3D operation is similar to ‘As Doors Close’
but the 3D will only become active when the doors are
closing and have reached a separation of 800mm (2’
8”). This mode is usually for wider doors restricting the
range of 3D detection into the landing.
3D Timeout (20 seconds) - Switch 1 ON and Switch 2 OFF.
+ In this mode of operation the 3D proximity detection
is activated when the doors have reached their fully
opened position. As long as the 3D detection zone
is clear the doors will be closed normally by the
door operator. However, if someone is inside the 3D
detection zone then the doors will be held open i.e.
the door operator relay is de-energised and a timer is
started. If the timer expires the doors are allowed to
close with an intermittent beep sounding as a warning.
This beep will occur regardless of the ‘TONE’ switch
position. If the 3D zone becomes clear then the timer
is reset and the door operator relay is re-energised
allowing the doors to close.
If the light curtain is broken at any time, the timer will then
be reset and the door operator relay is de-energised
which allows the doors to re-open.
3D Timeout (10 seconds) - Switch 1 & 2 ON.
+ The operation is the same as in previous section.
However, the 3D is set at 10 seconds internally.
3D Sensitivity Adjustment: (Switch 3 & 4).
+ In most cases the 3D’s sensitivity will not require
adjustment. However, it may need to be adjusted to
overcome spurious reections which cause erratic
3D triggering. The sensitivity should be rst set to
the highest level i.e. level 1. If erratic 3D triggers are
experienced then select the next lower level of
sensitivity. Continue lowering the sensitivity until the
unit operates without any erratic 3D triggers.
843 Models
+ Relay 2 is a double pole change-over relay. The second
relay function e.g. “Canadian Timeout” is programmed
in the Model 843 rmware.
+ Canadian Timeout Function This timeout is designed
to close the doors at a reduced speed, if the cables
becoming unplugged or any beams are obscured.
2D Troubleshooting Guide:
For 2D troubleshooting, refer to Diagnostic Fault Card attached to the side of the lid.
415 Oser Avenue, Suite Q
Hauppauge, NY 11788
Phone: 631 864-3699 • 800 527-9156
Website: www.januselevator.com
E-mail: sales.us@avire-global.com
PA40+ 843_IG V01 (GB)_PA_15/07/2016
 Loading...