


PL SERIES LCR INSTALLATION GUIDE
(For PL Series shipped after July 15, 2010)
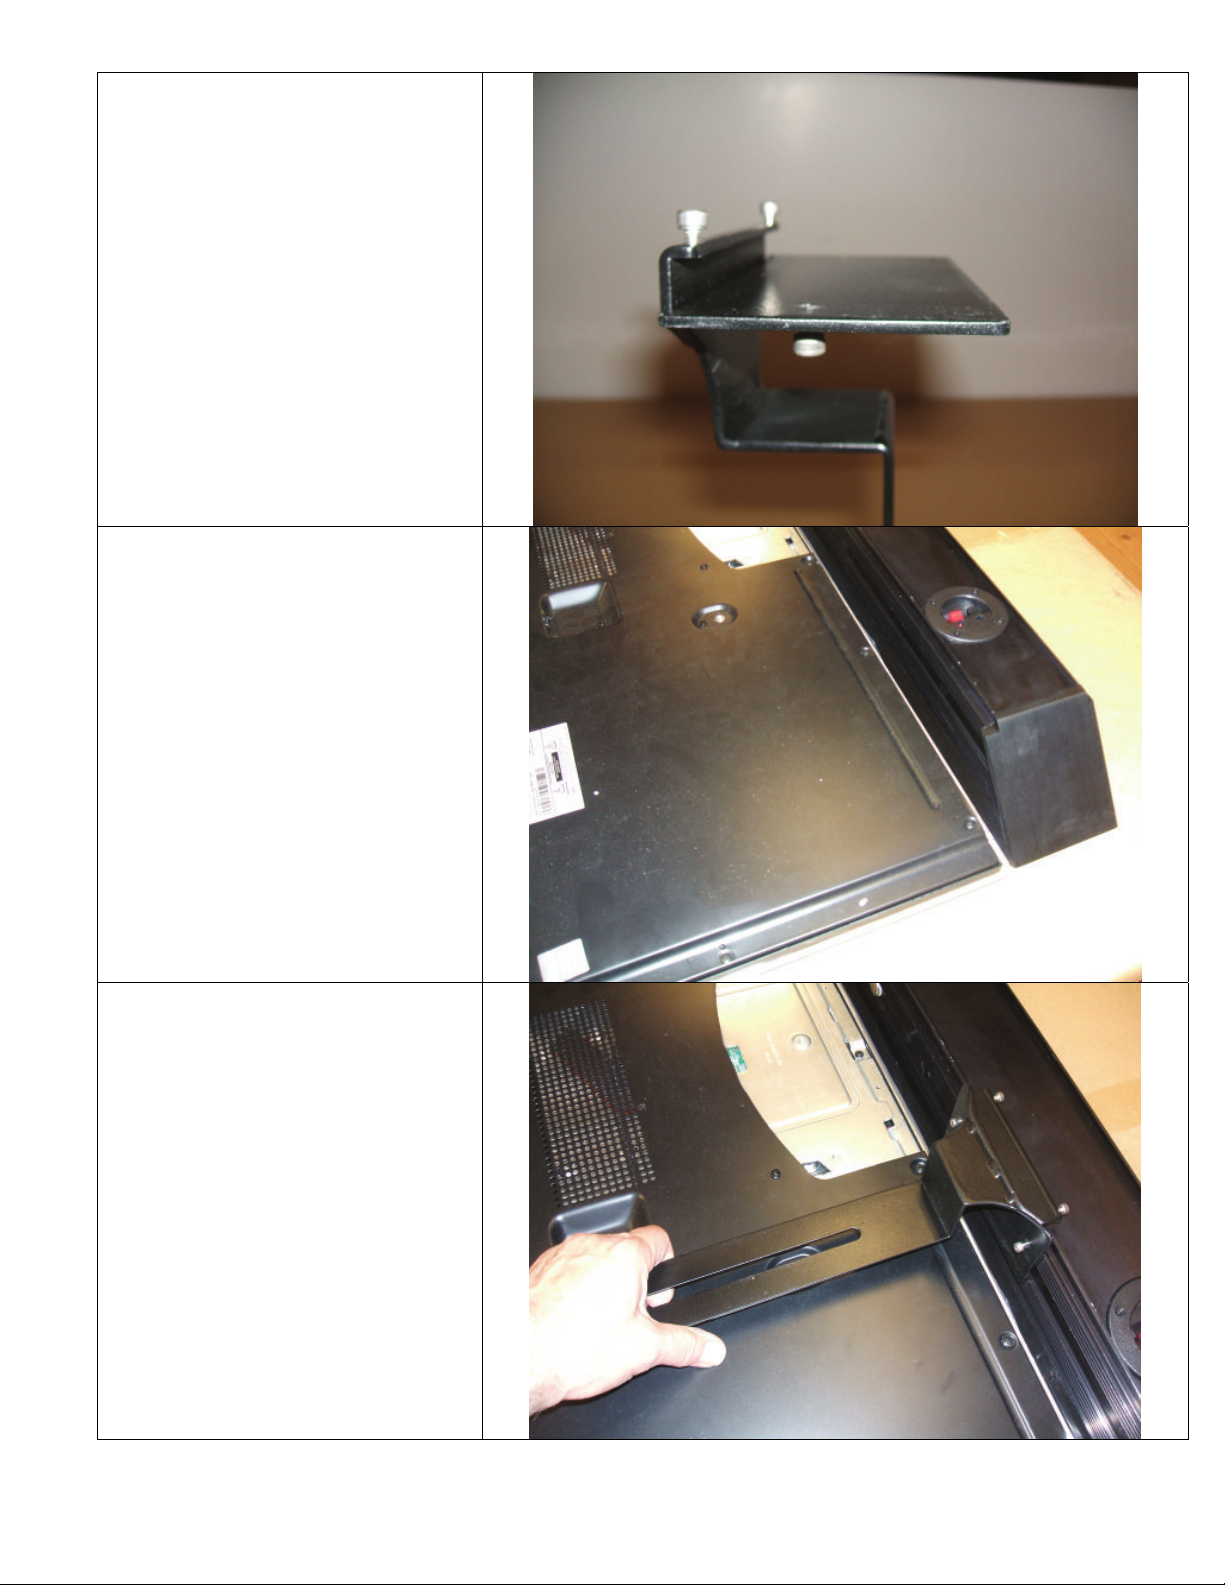
Step 1 – Unpack the carton. You should
have 1 plasma/LCD/LED speaker bar
and 2 brackets. The new brackets have
4 locking screws on each bracket.
There are 2 screws on the bottom of the
bracket, and 2 screws on the top of the
bracket.
NOTE: Hex key size is 9/64”
Bottom of bracket
Top of Bracket
Page 1
Step 2 – If the screws were supplied
separately from the bracket, install all 8
screws now. Once the screws are
installed, or if you received them
installed, make sure the screws do not
protrude beyond the bracket material or
you will not be able to get the bracket
onto the speaker.
Step 3 – Lay your TV face down on a
pad or other protected surface.
Lay the speaker face down along the
bottom of the TV. The bar should be the
same length as the TV, so center the bar
under the TV.
Step 4 – Take the first bracket and place
it over the bracket holes in the TV while
sliding the bracket into the top of the
speaker – make sure the bracket slides
under the lip in the front edge of the
speaker.
NOTE: Some PL Series speakers may
still have neo magnets attached to the
speaker. These are no longer required
and have been deleted from current
production models. The magnets may
make it a little more difficult to move the
bracket while aligning the bracket to the
TV.
Page 2

Step 5 – Loosely install the BOTTOM
bracket screw into the TV. You will be
sliding the bracket down for some other
adjustments so if the top bracket screw
is installed, the bracket will not move
down enough to allow the next step. DO
NOT install the top bracket screw yet.
Step 6 – Repeat with the second
bracket.
Step 7 – Slide the speaker away from
the TV so you have access to the top
screws.
Step 8 – Tighten the 4 top screws – 2 on
each bracket - making sure the bracket
stays pushed down fully into the slot in
the speaker. These screws can be
tightened all the way so the heads sit
against the bracket.
Page 3

Step 9 – Tighten the 4 bottom screws –
2 on each bracket. These screws bite
into the bottom of the speaker so tighten
until snug. The heads will NOT go down
to the bracket face.
Step 9 – Push the speaker up tight
against the bottom of the TV. Recheck
that the speaker is flush with both sides
of the TV.
Step 10 – Remove the single bottom
screw from one bracket.
Page 4

Step 11 – Place the TV bracket over the
speaker bracket, aligning the screw
holes, and reinsert the screw to now
hold the speaker bracket and the wall
mounting bracket.
Step 12 – Install additional (top) screws
in this bracket.
Step 13 – Repeat these steps for the
other bracket. NOTE - If you have a 1
piece TV wall mount, then you will have
to remove both screws that hold the
speaker brackets and align and install
the bottom screws at the same time,
Step 14 – Check that all the screws in
both brackets and on the rear of the TV
are tight.
Step 15 – Hang the TV on the wall
bracket.
NOTE: We have not discussed when the
speaker wires should be attached – this
depends on the type of installation. We
leave it up to you to make the choice of
connecting the wires while installing the
brackets or after.
Enjoy your new TV!
Rev PL-V2-A
Page 5
 Loading...