

Izzo Golf Big Daddy Insta-Net User Manual
CLOSING THE BIG DADDY INSTA-NET™
BIG DADDY INSTA-NET™
Continued
4
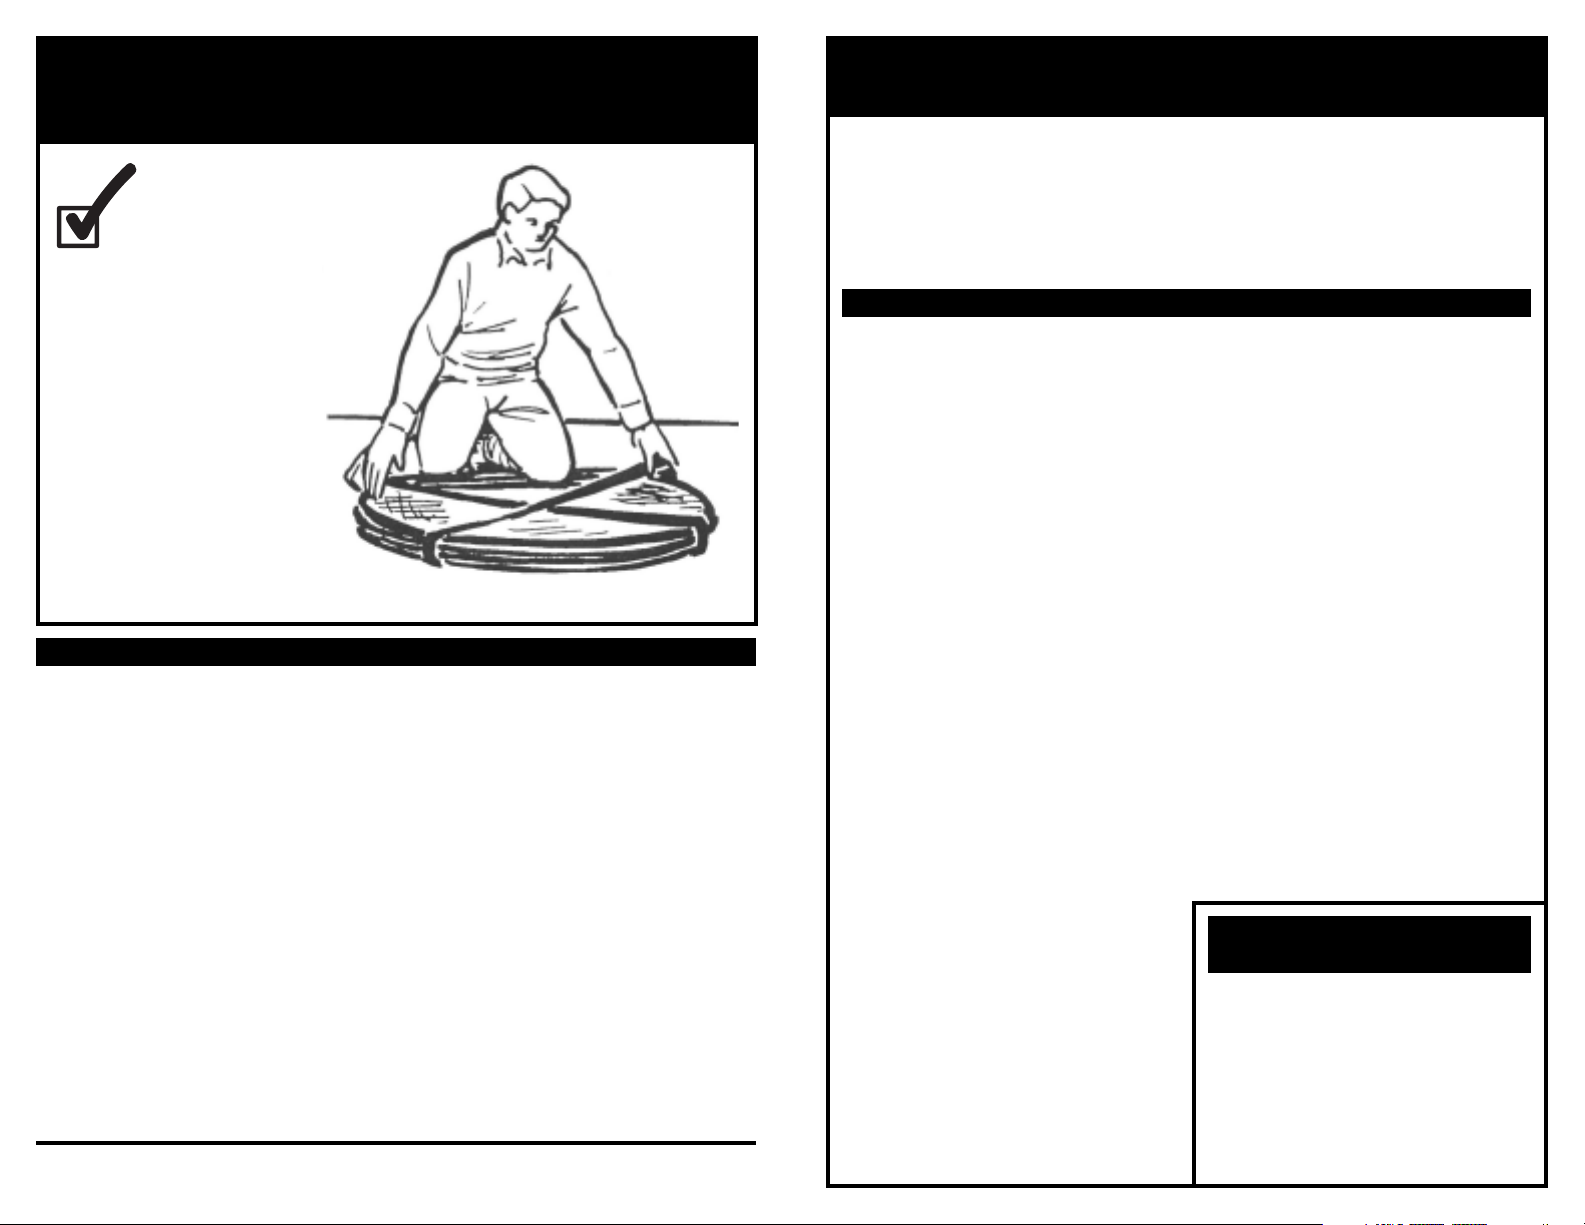
DO NOT LET GO OF THE NET.
From this position, the net can
pop open again. Keeping your
feet or knees on the net frame,
slide the storage strap on the
net. Make sure the strap is
centered on the net.
WARRANTY
This product from IZZO GOLF Inc. is warranted to the original purchaser for a
period of 90 days from the original purchase date against defective material
and workmanship. Any implied warranties are also limited in duration to 90day period from original purchase date. This warranty is void if the product
has been damaged by accident or unreasonable use, neglect, improper
service, normal wear and tear or other causes not arising out of defects in
material of workmanship. IZZO GOLF Inc. shall not be liable for loss of use or
other incidental of consequential costs, expenses or damages incurred by
purchaser. There is no warranty for netting deterioration due to natural
factors.
You have purchased a net that is easy to setup and take down.
Safe use of this net depends on your complete understanding of these
instructions before setting up the net. You will find the setup and take
down process easier if you have another adult help you the first time.
CAUTION: AFTER ASSEMBLY THIS NET OPENS VERY QUICKLY. Start in
an open and clear area; NO PEOPLE OR OBJECTS AROUND. This net
goes from a shipping size to a 9-foot circle in less than one second.
Children should not be allowed to open or close this net.
READ PRIOR TO SETTING UP YOUR NET
NET PLACEMENT:
DO NOT place the net near any solid objects like trees, fences, retaining
walls, block walls, rocks, windows, or any other object that could cause
the ball to rebound, ricochet or cause damage. Remember that it is
possible for a ball to ricochet off of a hard floor or ground surface as well.
DO use common sense in selecting the area beyond the net. Avoid
windows, people or other objects that could be harmed if you mis-hit or
throw a ball.
WHERE TO STAND:
The distance you choose to stand from the net will vary from person to
person due to height, ability, power, etc. Stand about a club length away
from the net. If you are using a high lofted wood or iron, move closer to
keep the ball flight contained within the nets’ frame. Begin your practice
with slow, easy swings. From there, adjust your swing and net distance
to fit your needs.
FOR GOLF PRACTICE:
Stand so the ball is positioned to hit the center of the net. In general, you
may use any Iron or Woods for your practice. If you are using a higher
lofted club like a 9 iron or wedge, move closer to the net (do not move so
close that the club will come in contact with the net frame). This net is a
practice tool, we recommend you work with your personal coach or
teacher to get their recommendation for your game. IZZO offers a full line
of training aids to help all golfers improve. Visit your local golf retailer or
www.izzo.com to view our complete assortment of training aids. IZZOpractice anywhere and improve everywhere.
If your product fails during the warranty period, we will repair any defects or,
at our option, replace the product with a reconditioned model of equivalent
quality. There is no charge to the purchaser when the product is returned
prepaid with proof of purchase to the address listed below. Products returned
without proof of purchase and date of purchase may, at the customer’s
request, be repaired or replaced at the service rates in effect at the time of
return.
Packaging accuracy: We make every attempt to package every item correctly.
If a part has been inadvertently omitted in packaging, please call the number
listed below and we will send the part to you immediately at no charge. We
provide this service to solve the problem quickly and to ensure your
satisfaction with our products.
© 2002 IZZO GOLF Inc., 1635 Commons Parkway, Macedon, New York 14502-9191
phone: 1.800.284.1220, e-mail: info@izzo.com, Warranty at www.izzo.com
INSPECT YOUR NET EACH TIME
BEFORE YOU PRACTICE:
Nets are inspected before shipping
and are warranted for 90 days.
Factors that may speed the rate of
net deterioration include, but are
not limited to: amount of use,
exposure to the elements (such as
sun, wind and rain), air pollution
and misuse. We recommend you
fold the net and store it inside
when it is not in use. This will help
to prolong the life of your net.
Sun, wind, rain and pollution are
damaging elements.
Parts List
•Frame
• Net
• White Strap
• Blue’X’ Cross Strap
with Weight Bag
• 4 Ground Stakes
• 2 Guidelines
• Storage Strap
ASSEMBLY INSTRUCTIONS
CAUTION: THIS NET OPENS VERY QUICKLY.
CLOSING THE BIG DADDY
INSTA-NET
TM
1 2
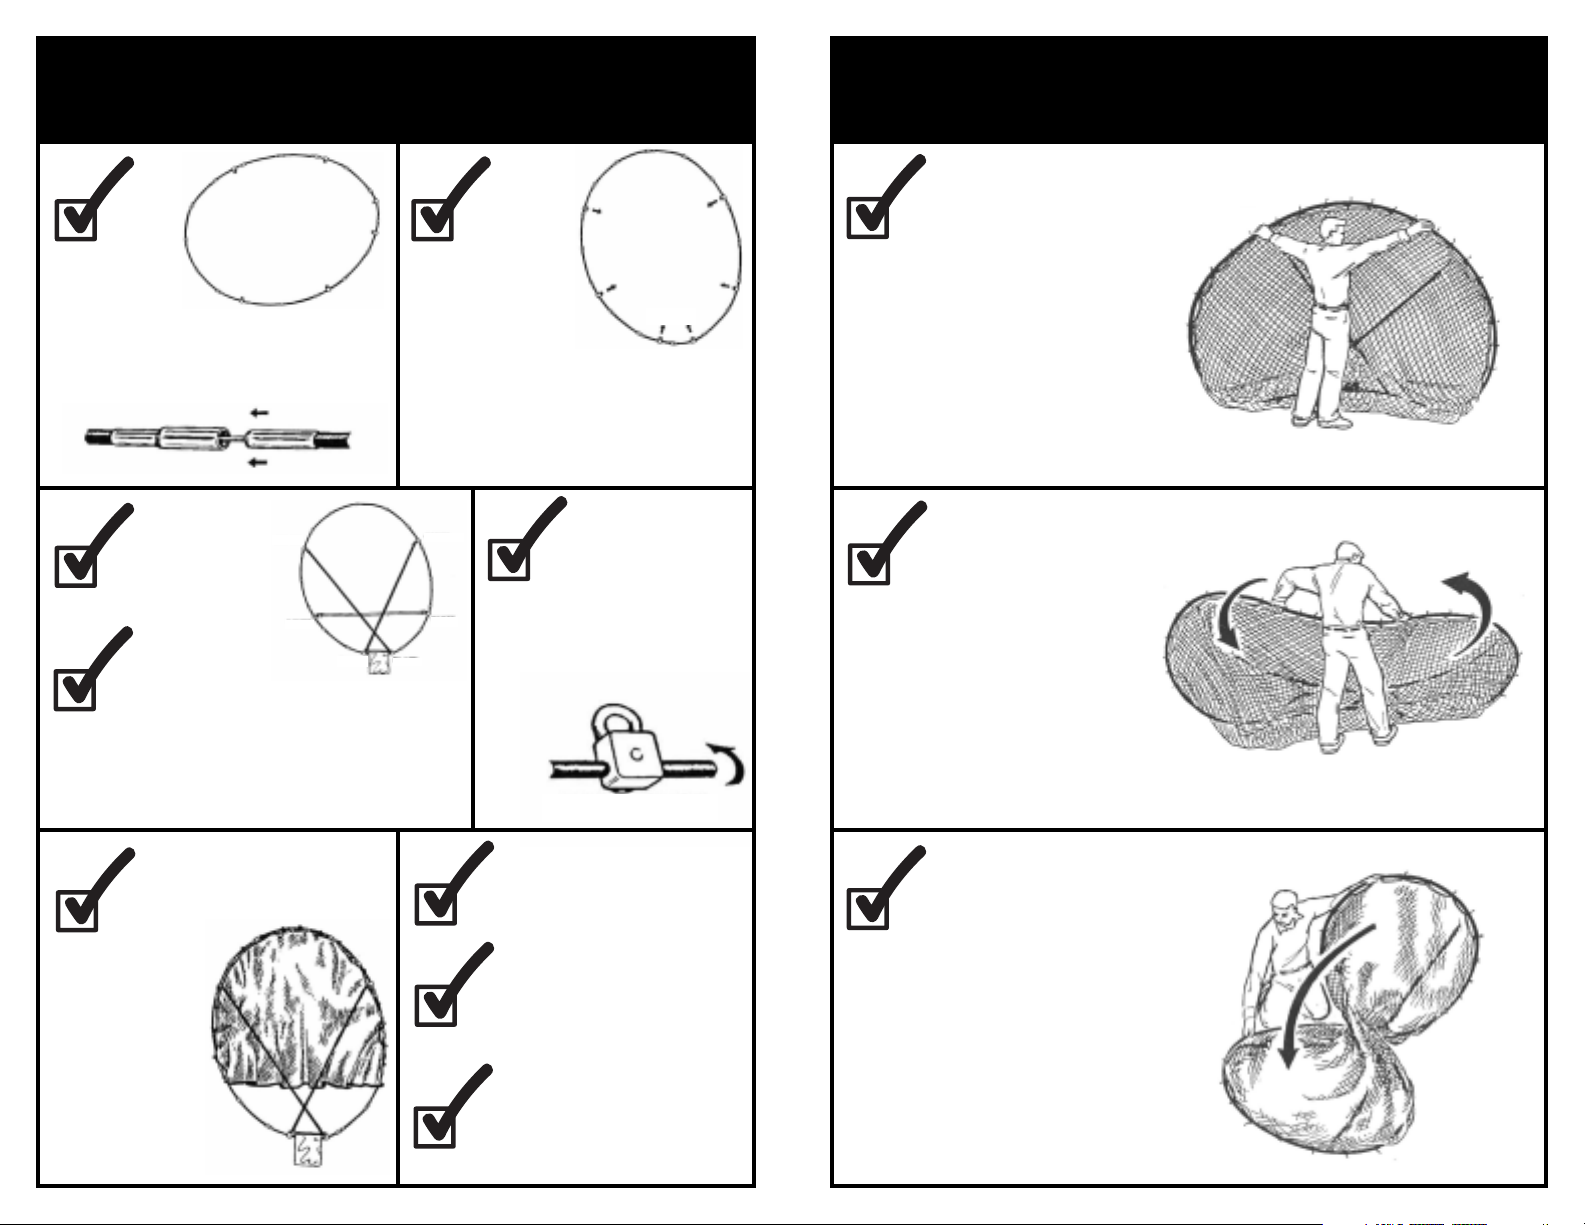
Assemble frame by inserting the
smaller fiberglass end of the pole
section into the center of the
larger metal sleeve. Frame should
form an oval.
3
4
Attach white
strap to white
connector on
each side of
frame.
Find weight bag attached to strapping
that forms a large ‘X’. Place weight
bag at bottom of frame between the
black connectors and attach short
ends of blue ‘X’ cross straps to the
connectors. Attach Velcro® strap on
weight bag to frame.
Green
White
Black
Black
BOTTOM
Lay frame on ground and
rotate connectors on frame so they
face inside of net. Twist frame rod
to rotate the connectors, do not
loosen screws. Black
connectors should be at the
bottom of the frame.
5
Green
Locate green connectors
White
at top of frame. Attach
green clips at long end of
blue ‘X’ cross straps to
green connectors on
frame.
CONNECTOR
1
Remove weight or ground
stakes from base of net. Grab
frame at 10 and 2 o’clock
positions.
2
Push the net down to the
ground with your right hand
while pulling the net
towards your body with
your left hand. Let the net
collapse naturally to the
ground. This will result in a
‘figure 8’.
10
2
6
Stand net
upright and
anchor by
adding weight
to the weight
bag or using
the enclosed
ground stakes.
7
8
9
Find red clip at top of
netting attached to
topmost part of the
frame.
Working down from the
red clip, attach all clips
to the frame on sides of
net.
Attach guidelines to
each side of net and
secure.
3
Lift up on the left loop with your
left hand and fold over the right
loop to form two circles.
 Loading...