

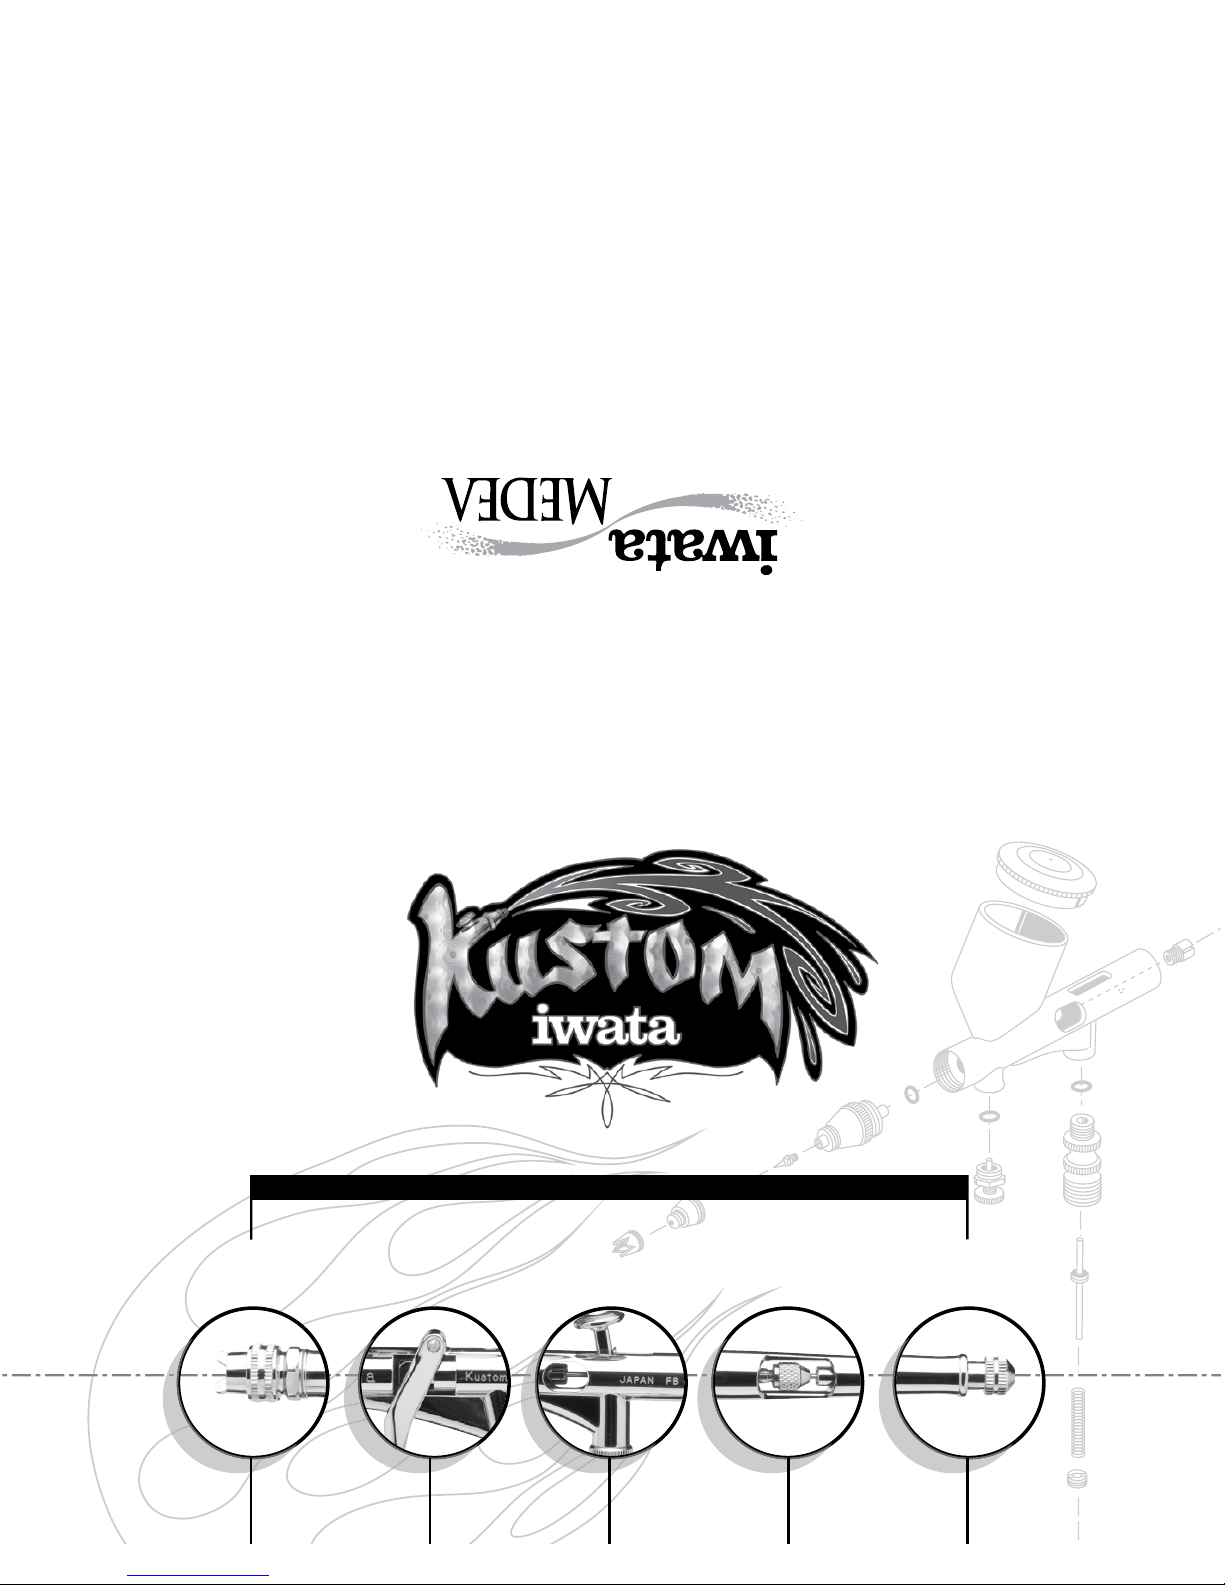
Iwata Kustom Hi-Line TH, Kustom Hi-Line CH, Kustom Revolution TR, Kustom Micron CM, Kustom Eclipse CS Manual & Parts Manual
Micron CMHi-Line TH Revolution TR Hi-Line CH Eclipse CS
K U S T O M S E R I E S M A N UA L & P A R T S G U I D E
Iwata-Medea, Inc. • P.O. Box 14397 • Portland, Oregon 97293
tel: (503) 253-7308 • fax: (503) 253-0721 • info@medea-artool.com
— w w w . I W AT A A I R B R U S H . c o m —
part no. K 910

Congratulations on the purchase of your Iwata
Kustom
™
— a versatile, reliable and high
performance airbrush! Kustom painting takes pole position with the new Iwata Kustom airbrush series
that sports large cups and shines in atomizing solvent-based paints.
T E F L O N PA C K I N G S • L A R G E C U P S
P R E - S E T H A N D L E S & TA L L T R I G G E R S
distinguish these airbrushes as Kustom!
ONLY FROM IWATA-MEDEA
Iwata airbrushes are designed for the demanding professional. Modern, precision machining and carefully selected
materials are employed in the manufacturing process to ensure consistent high performance and long life. Each Iwata
airbrush is spray-tested before shipment to assure maximum performance and adherence to Iwata’s strict quality
standards. To maintain your Iwata Kustom airbrush at its peak performance, proper care and attention must be observed.
K9200 Features:
Unique high-precision fan-pattern spray-head system;
• "Fan-Pattern" air cap
(requires 1 HP or larger compressor)
• "Round-Pattern" air cap
• Pre-set handle
MAC Valve (Micro Air Control) •
Spray-gun trigger design •
0.50mm nozzle •
• Teflon needle packings
• Large 1/2 oz. (14ml) removable gravity-feed fluid cup
• Pistol-Grip Filter included - see page 15
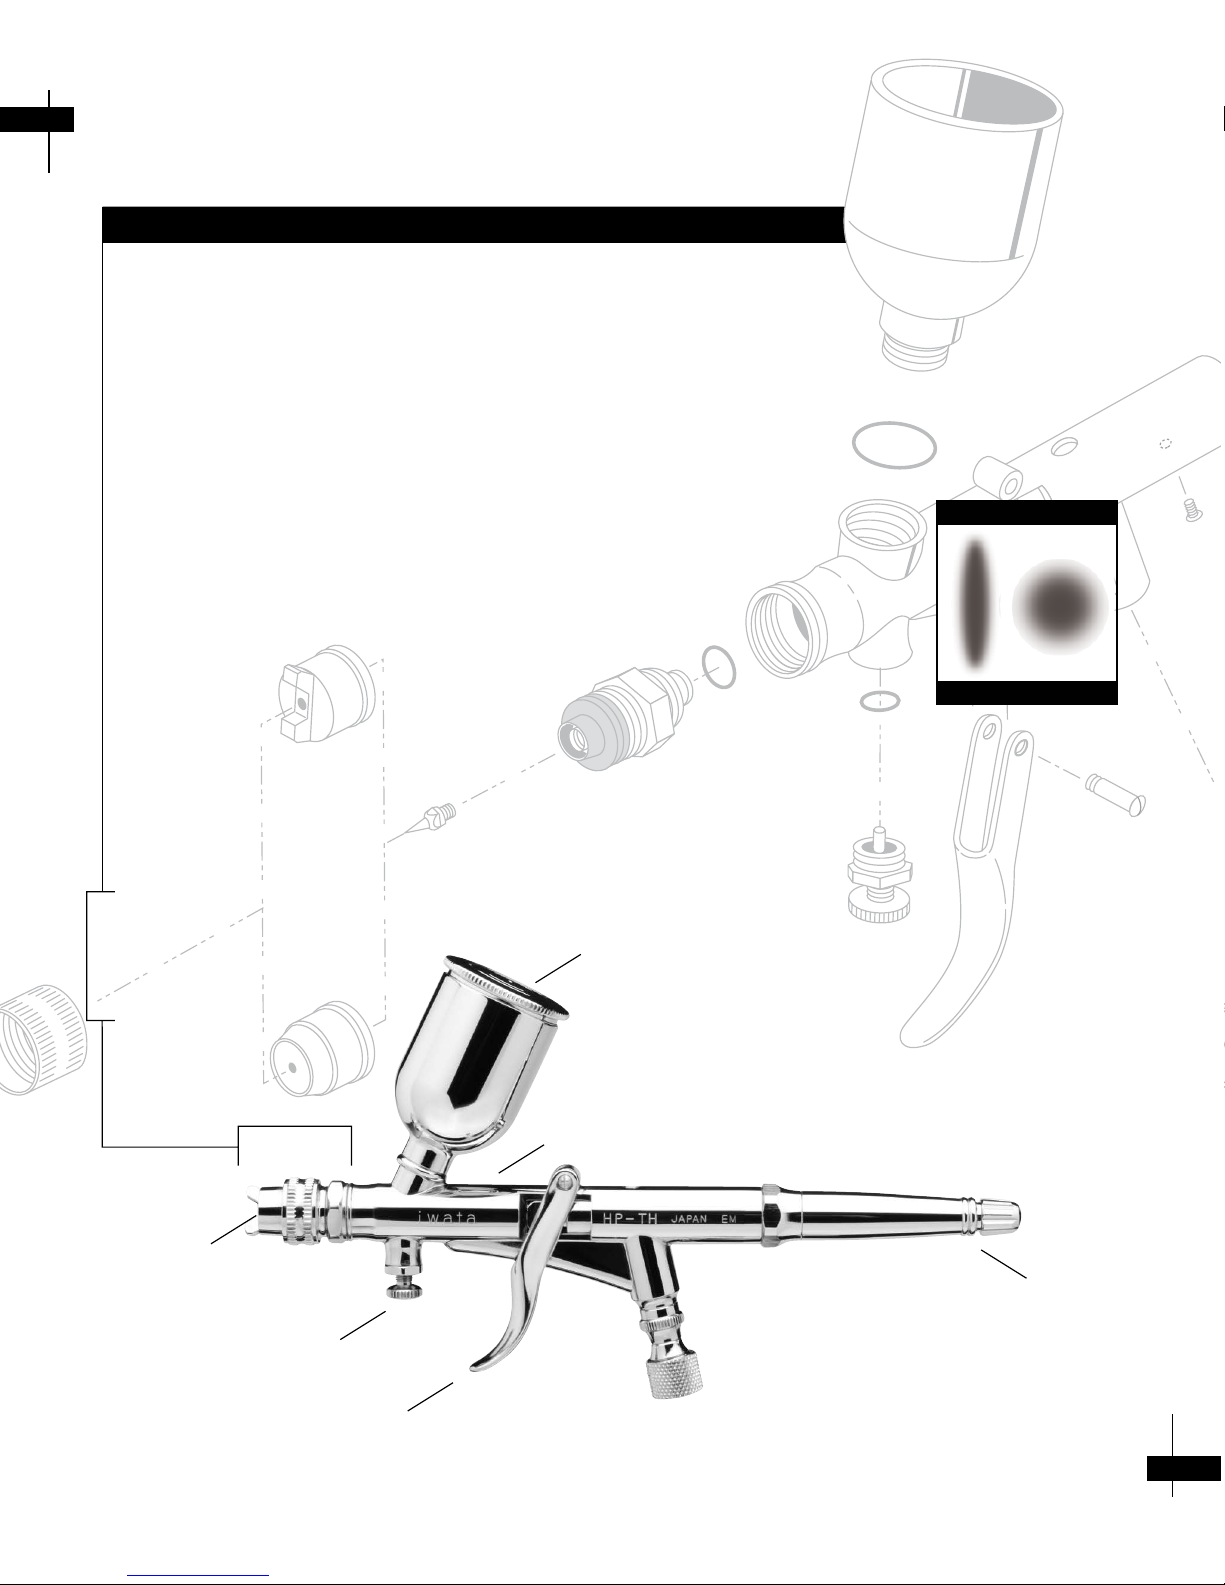
Iwata Kustom Hi-Line TH Airbrush
The first airbrush to create both round-pattern and fan-pattern sprays,
the Kustom Hi-Line TH stands alone among its peers. Triggering the
imagination of auto-body touch-up and Kustom painters, the Kustom TH
delivers unprecedented fan pattern control with a minimum of
overspray — giving it a unique advantage over mini touch up guns.
The fan-pattern air cap produces an oval spray pattern — perfect for
creating smoother blends, gradations and backgrounds because the
paint is atomized more consistently across the entire width of the spray.
Great for small areas such as chip repair, fender wells, door jams and
other hard-to-reach areas.
The Kustom TH also features an interchangeable round-pattern air cap,
producing a round spray pattern with concentrated spray at its center,
which is preferable for freehand graphics and fine line detail.
FAN ROUND
TH Spray Patterns
These features, and more, distinguish the Kustom TH as the ultimate airbrush for creative versatility.
4
5
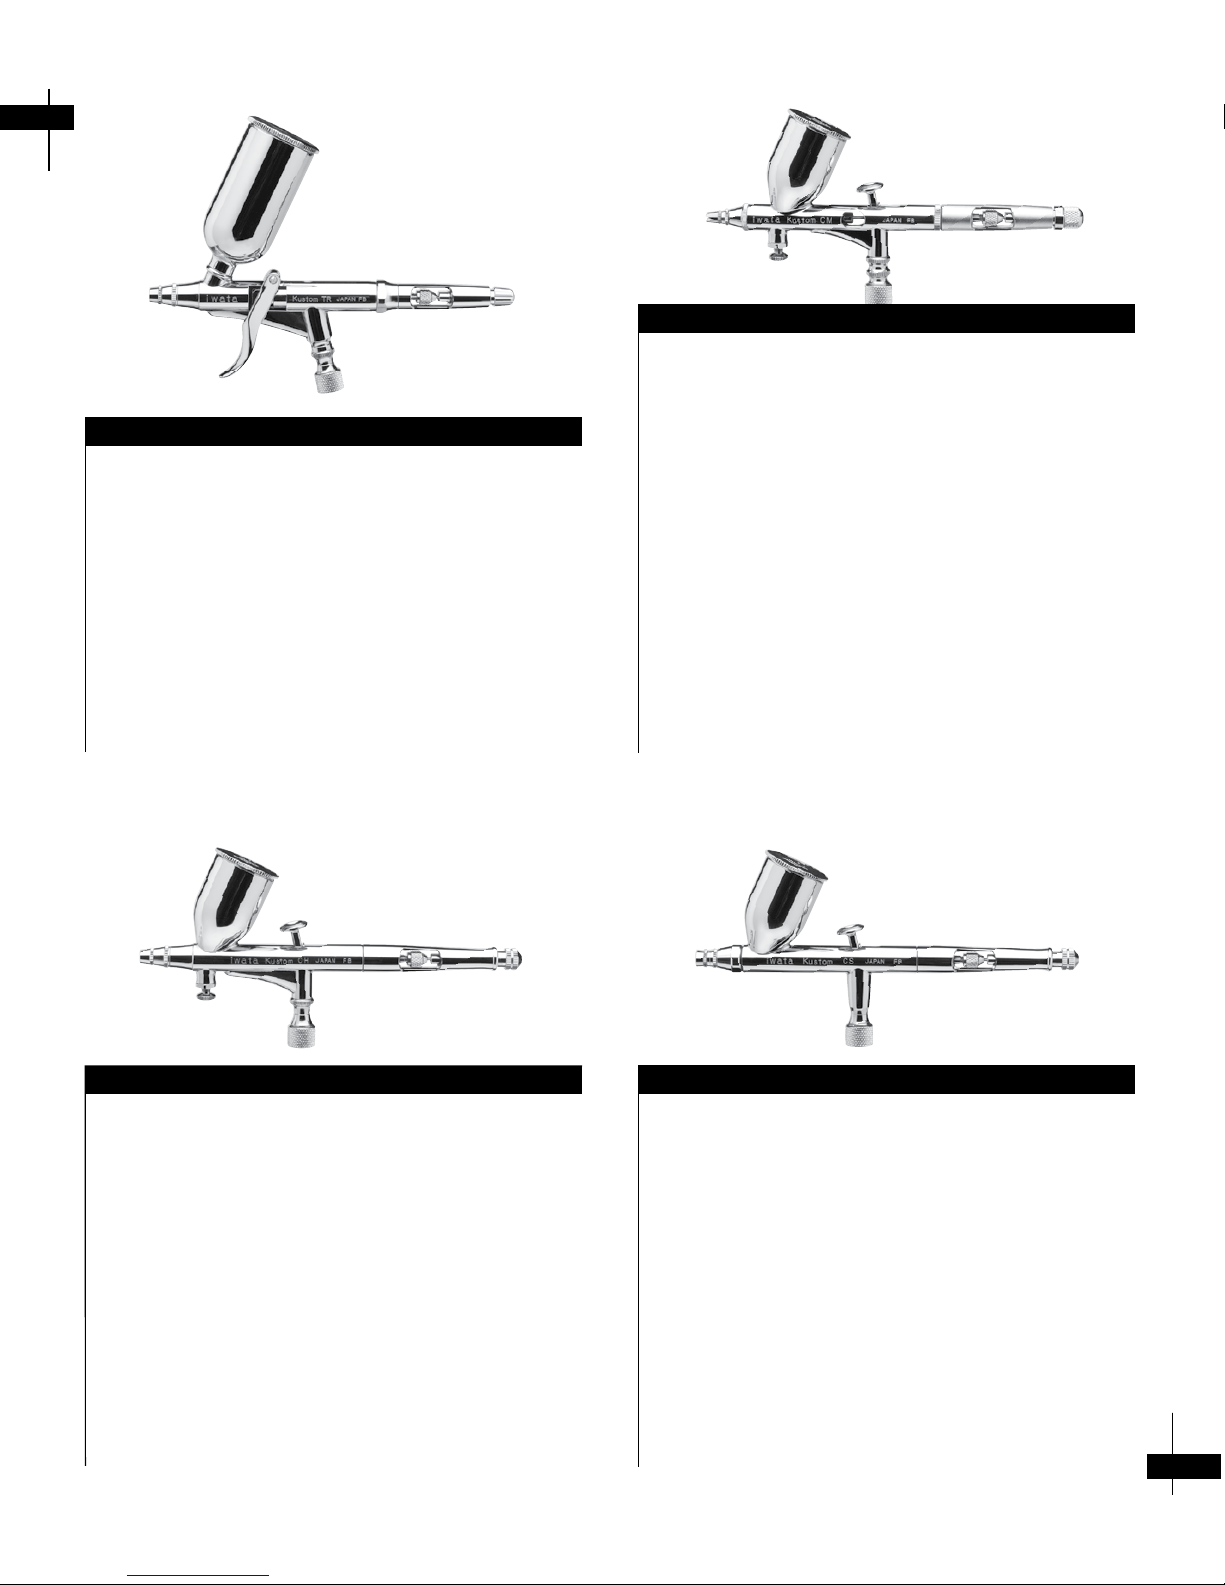
Iwata Kustom Revolution TR Airbrush
Triggering the passion of spray-gun users, the Kustom
Revolution TR airbrush proves easy to use. The long trigger
provides commanding control of the airbrush spray.
K9400 Features:
• 0.30mm nozzle
• Teflon needle packings
• Large 3/4 oz. (21ml) gravity fluid removable cup
• Spray-gun trigger design
• Pre-set handle
• Pistol-Grip Filter included - see page 15
Iwata Kustom Hi-Line CH Airbrush
A preferred airbrush for users who need ultimate control
of fine-line work and medium background spraying, the
Kustom Hi-Line CH boasts a MAC valve that supplies precise
air control to the head of the airbrush for ultimate control.
K9100 Features:
• 0.30mm nozzle
• Teflon needle packings
• Large 1/2 oz. (14ml) gravity fluid cup
• Taller trigger for extreme control of trigger action and paint flow
• Pre-set handle
• MAC Valve for precise air-pressure control
• Pistol-Grip Filter included - see page 15
Iwata Kustom Micron CM Airbrush
The MAC Daddy of all airbrushes, the Kustom Micron CM is
framed around the Iwata Custom Micron airbrush. The new
Kustom Micron CM airbrush provides extreme control of
ultra fine-line spray, silky-smooth atomization and ultimate
paint-flow control with hand-tuned, hand-adjusted
performance. Iwata Micron airbrushes are world-renown
as the professional’s choice for the utmost of fine line detail.
K9000 Features:
• 0.23mm "Matched Head System"
• Teflon needle packings
• Large 1/2 oz. (14ml) gravity fluid cup
• Taller trigger for extreme control of trigger action and paint flow
• Pre-set handle
• MAC valve for precise air pressure control
• Pistol-Grip Filter included - see page 15
Iwata Kustom Eclipse CS AirbruIsh
The workhorse of the Kustom line, the Kustom Eclipse CS
features a large general-purpose nozzle/needle combination.
Still maintaining fine-line control, the Kustom Eclipse CS
creates wide background sprays with fine atomization and
control. Designed to spray metallic, pearlescent and base
coat paints.
K9300 Features:
• 0.35mm nozzle
• Teflon needle packings
• Large 1/2 oz. (14ml) gravity fluid cup
• Taller trigger for extreme control of trigger action and paint flow
• Pre-set handle
• Pistol-Grip Filter included - see page 15
6
7
— G E T T I N G S T A R T E D —
Compressor
Choose an appropriate compressor for your Kustom airbrush.
The Iwata Sprint Jet or Smart Jet compressors are a good beginner’s
choice and will provide approximately 25 - 30 psi of air pressure
to your Kustom TR, CM, CH and CS airbrushes. The high powered
Iwata Power Jet Pro, Power Jet and Power Jet Lite compressors can
be controlled to provide 5 - 45 psi to your Kustom airbrush, and
are the ideal air sources to utilize all of the Kustom airbrush series’
unique potential.
PLEASE NOTE: The TH fan pattern air cap requires a 1 HP or larger
compressor.
Assembly and Spray Test
Carefully screw the Pistol-Grip Filter (#40) onto the air valve of your
Kustom airbrush and hand tighten. Next, screw airhose to bottom of
the Pistol-Grip Filter and hand tighten. CAUTION: Be especially careful
to not cross-thread or over-tighten connections or you may damage
the filter. Finally, screw the airhose onto the compressor and lightly
tighten with a wrench.
DO NOT OVERTIGHTEN!
Check to ensure that you can pull the main lever (#14 on CM, CH
and CS) or trigger (#14 on TH and TR) fully back. If trigger action is
limited, unscrew the adjusting knob at the back end of the pre-set
handle (#39) to allow the main lever (or trigger) to be fully pulled
back, or adjust as needed.
Turn the compressor on, and if using an Iwata Power Jet Pro, Power
Jet or Power Jet Lite compressor, adjust the pressure to 25 psi. Check
for any air leaks at airhose connections.
If your airbrush is equipped with a Micro Air Control (MAC) valve (#16
on TH, CM and CH), adjust valve to wide open position, allowing air to
flow when the main lever is pushed down, or trigger is pulled back.
Pointing the airbrush away from you, press down on the main
lever (or pull trigger) to start the flow of air through the airbrush
and clear it of any residue. To further ensure a clean airbrush, add
a small amount of the appropriate cleaner or solvent into the
color cup and spray it through the airbrush by pushing down and
pulling back on the main lever (or pull trigger) to open the nozzle
(#6) of the airbrush. Fully allow the all the cleaner to spray through
the airbrush. CAUTION: Check paint manufacturer’s label for details.
Not all paints and cleaners are compatible with one another, and
the appropriate cleaner must be used to ensure that your airbrush
is properly maintained.
CAUTION: Always wear appropriate respirator or spray mask and
protective clothing. Spray in a well ventilated area.
Fine Line Spray
To spray a fine line, depress and pull the main lever (#14 on CM, CH
and CS) or pull trigger (#14 on TH and TR) back slightly while positioning the airbrush close to the surface (approximately 1/16 - 1/2
inch). The thickness of the line can be controlled by varying the
distance of the airbrush from the surface and adjusting the amount of
paint flow by the position of the main lever (or trigger).
Wide Line and Background Spraying
For wider lines and background spray, depress and pull the main
lever (or pull trigger) further back to release more paint. Increase the
distance between the airbrush and surface (from 1/2 - 6 inches is
common) to control spray width. Increasing the air pressure will also
affect the spray width. Kustom airbrushes will spray a background
width of approximately 2” (TR, CM, CH and CS) to 4” (TH).
The TH is equipped with a fan air cap (#5A) creating an oval spray
pattern, as opposed to a circle. The fan air cap produces a superior
spray pattern for backgrounds, smoother blends and gradations. To
use the fan air cap, loosen the cover ring (#4) and position the tabs on
the fan air cap up-and-down for a horizontal spray pattern, and sideto-side for a vertical spray pattern. The round pattern air cap (#5B) can
be substituted to create a circle spray pattern for finer detail work.
Cutaway Handle
The cutaway handle (#39) is a special feature on the Kustom TR, CM,
CH and CS. Its purpose is two-fold;
1) A wider background spray pattern can be accomplished by
pulling the exposed needle chucking nut (#37) back to fully
open the nozzle, while
simultaneously depressing the main lever
(#14 on CM, CH and CS) or trigger (#14 on TR), passing more paint
through the nozzle.
2) Free up paint clogs that may have formed at the tip of the
airbrush by pulling the exposed needle chucking nut back to
fully open the nozzle while simultaneously depressing the main
lever or trigger .allowing the clog to be sprayed out.
Stippling
Iwata Kustom TR, CM, CH and CS airbrushes are designed to produce
a wide range of stippling textures. Stippling is achieved by removing
the needle cap (#1) and nozzle cap (#2) and adjusting the air pressure
between 5 and 50 psi. Lower air pressure will give you coarse stipple
whereas a higher pressure will provide a fine stipple effect. Paint
viscosity will also affect the stippling texture. At low air pressure the main
lever (or trigger) may need to be pumped to create a coarse stipple.
Air Pressure
Working pressures vary from between 10 to 45 psi, depending on what
type of work is being done and what textures are desired. The viscosity
of the paint and your desired spray characteristics will also have an
effect on which pressure is ideal. As a general rule, larger amounts of
paint or thicker paints will be sprayed with higher pressures.
Paint Preparation
Proper preparation and filtering the paint through a nylon mesh is
recommended for best performance. Paint should be thinned with
its proper solvent. It is best to prepare the paint relatively thin and
make repeated passes across the work to achieve the desired shade.
This will also improve the quality of your work and decrease the
cleaning time of your airbrush.
— G E N E R A L O P E R AT I O N —
8
9
 Loading...