

Page 1
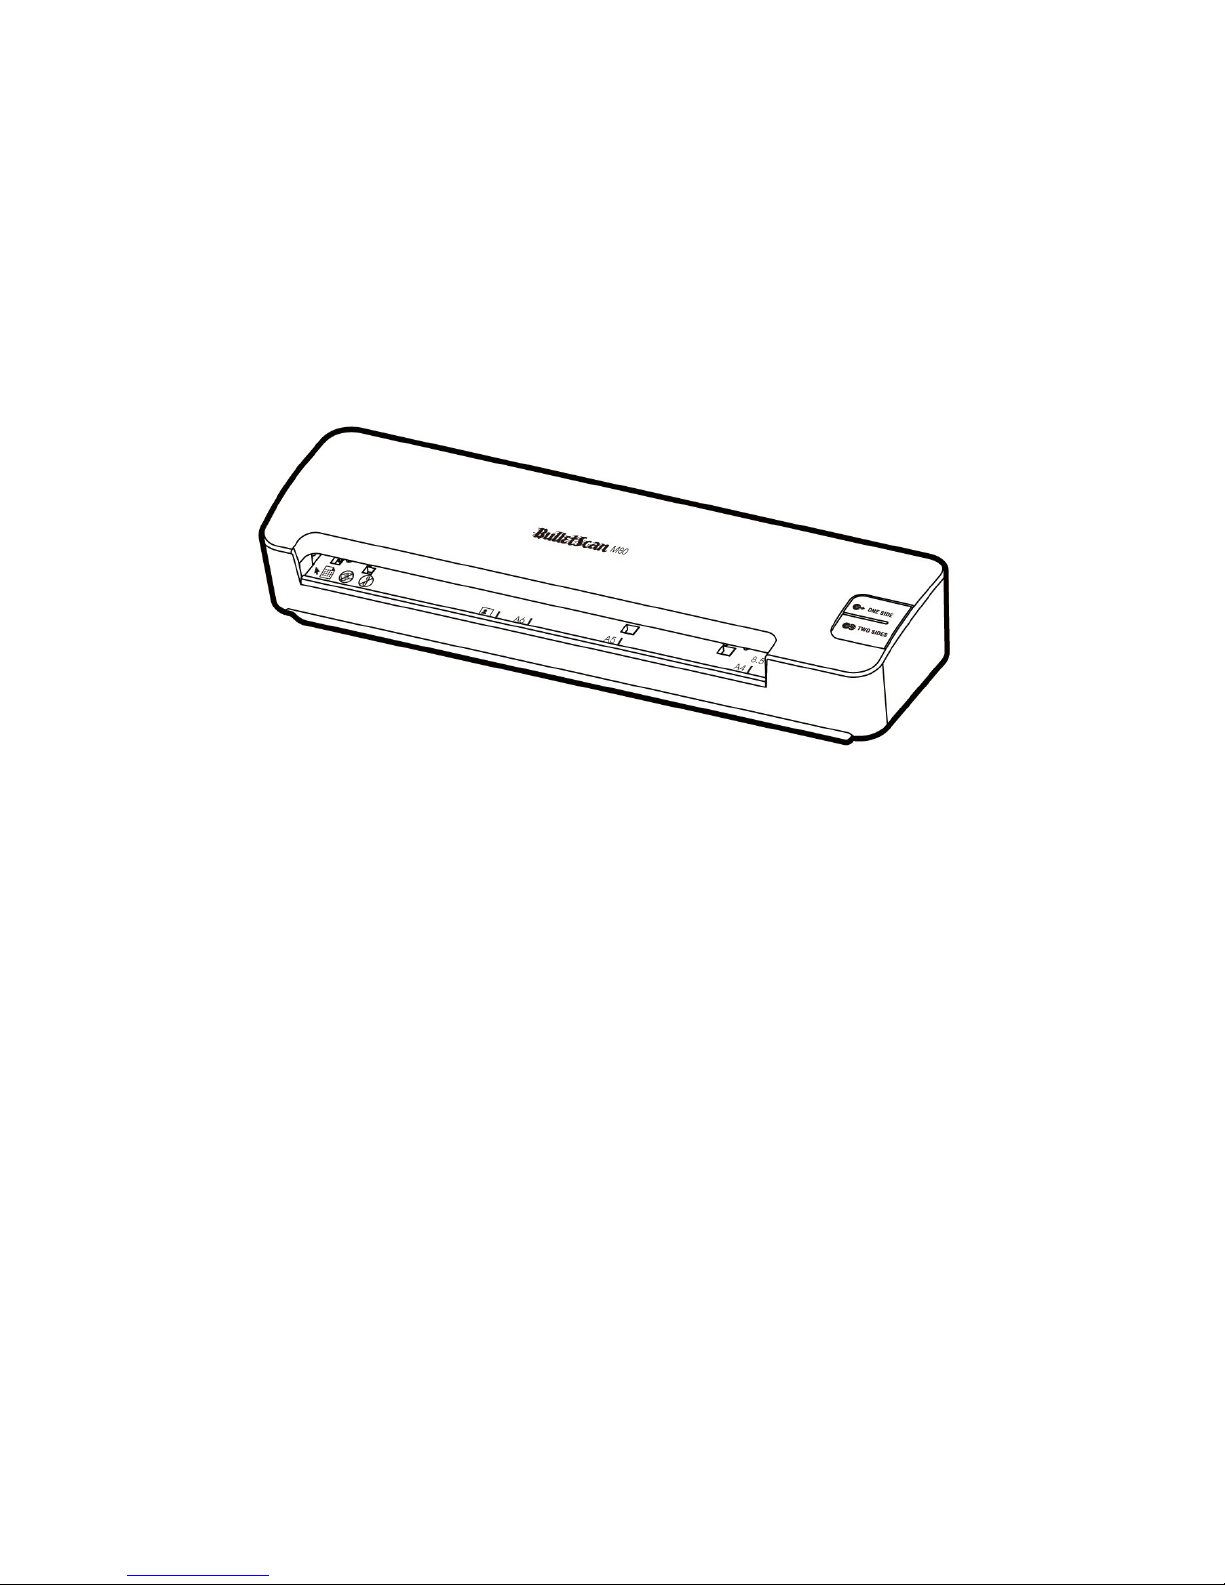
iVina BulletScan M80
Quick Installation guide
Duplex Color Mobile Scanner
Page 2

2
Copyright
All rights reserved. No part of this publication may be reproduced, transmitted,
transcribed, stored in a retrieval system, or translated into any language or
computer language, in any form or by any means, electronic, mechanical, magnetic,
optical, chemical, manual, or otherwise, without the prior written permission of iVina
Inc.
Material scanned by this product may be protected by governmental laws and
other regulations, such as copyright laws, the customer is solely responsible for
complying with all such laws and regulations.
Page 3

3
Software Installation
Make sure no other programs or applications are running when installing the
scanner software.
Insert the scanner software CD into your computer's CD drive.
The software installation menu should launch, asking you for which type of
installation to perform.
Select "Easy Install" from the menu to have all of the standard software installed
automatically for you.
If you're using Windows Vista or Windows 7 with User Access Control enabled, you
may see a confirmation window pop up. Click the "Allow" option.
When your computer finishes installing the software and driver, you can then
connect your scanner (see next page).
If the installation menu above doesn't open automatically, you'll need to open "My
Computer" (on Windows XP) or "Computer" (on Windows Vista/7). From there
double-click the "ScannerDrivers" icon and the menu should open.
If you do not have a drive that can read CD-ROM discs, the driver for your scanner
is available at www.bulletscan.com
The additional software provided with your scanner is only licensed for distribution
via CD, and is only licensed for the computer that the BulletScan scanner is
attached to.
iVina BulletScan M80 Quick Install Guide
Rev. 6
Page 4

4
Attention! – Remove the clear plastic bag and clear plastic cover from the
scanner before operation.
Assembling the Scanner
Connect the scanner to your computer
Page 5

5
Loading Your Document
Loading Paper to the Paper Feed Slot
1. To scan a single side of the page, insert the page facing up with the top of the
page pointing to the paper feed slot.
2. To scan both sides of the page, insert the 1
page pointing to the paper feed slot.
3. Align the original to the left side of the paper feed slot.
st
page facing up with the top of the
Loading A Card to the Paper Feed Slot
1. Place the card face up with the long dimension parallel to the paper feed slot
and make sure the top of the card points to the paper feed slot.
2. Align the original to the left side of the paper feed slot.
iVina BulletScan M80 Quick Install Guide
Rev. 6
Page 6

6
Start Scanning
Press the “One Side” or “Two Sides” Button
Congratulations, you're now scanning
Tips
When scanning, be sure to remove all staples, paperclips, etc from your paper
before scanning as it will scratch the glass.
For the latest information regarding your scanner, including software updates and
tutorial videos, go to our website www.BulletScan.com
If you've just set up your scanner as directed and are having any problems with
your computer seeing your scanner, try the following:
Unplug the USB cable from the computer and plug it into a different USB
port.
Shut down and power up your computer. Power the scanner back on.
If you still can't scan, contact us at www.BulletScan.com
Warranty
The information contained in this document is subject to change without notice.
iVina makes no warranty of any kind with regard to this material, including, but not limited to, the implied warranties of fitness for a particular
purpose.
iVina shall not be liable for errors contained herein or for incidental or consequential damages in connection with the furnishing, performance,
or use of this material.
Trademarks
Microsoft is a registered trademark of Microsoft Corporation.
Windows and Vista are trademarks of Microsoft Corporation.
ENERGY STAR is a U.S. registered mark.
Other brands and product names herein are trademarks or registered trademarks of their respective holders.
 Loading...