

Ithaca 37 Service Manual


CONTENTS
PREFACE:
e following information is intended to provide you with
Preface . . . . . . . . . . . . . . . . . . . . . . . . . . . . . . . . . 2
History . . . . . . . . . . . . . . . . . . . . . . . . . . . . . . . . . 2
Features . . . . . . . . . . . . . . . . . . . . . . . . . . . . . . . . 3
Care and Maintenance . . . . . . . . . . . . . . . . . . 4
Safety . . . . . . . . . . . . . . . . . . . . . . . . . . . . . . . . . . 11
Loading . . . . . . . . . . . . . . . . . . . . . . . . . . . . . . . . 13
Unloading . . . . . . . . . . . . . . . . . . . . . . . . . . . . . . .17
Disassembly . . . . . . . . . . . . . . . . . . . . . . . . . . . . .19
Reassembly . . . . . . . . . . . . . . . . . . . . . . . . . . . . . 23
Warranty . . . . . . . . . . . . . . . . . . . . . . . . . . . . . . . 29
Contact Information . . . . . . . . . . . . . . . . . . . . 30
knowledge that will allow for the safe operation, proper
care and maintenance of your new Ithaca Gun rearm.
Ithaca encourages all individuals to use extreme caution
when handling any rearm. Treat the gun as if it is loaded
at all times. Always practice safe shooting habits and
remember that safe operation of any rearm depends
entirely on your actions.
Congratulations on purchasing your very own Ithaca Gun,
Americas most reliable rearm.
HISTORY:
With more than 125 years of history behind this trademark,
we still produce rearms to exact standards that made this
gun a preferred choice of the American sportsman. Ithaca
Guns are still craed and assembled in the United States by
American workers with emphasis on high quality, reliability
and safety.
1
2

FEATURES:
CARE AND MAINTENANCE:
AENTION!
3” Chamber
Briley Choke Tubes (Full, Modied, Improved)
Boom Ejection and Loading
Machined Steel Receiver
(Except for the Aluminum Ultralight)
Steel Trigger Housing
Lengthened Forcing Cones to Reduce Recoil and
Shot Deformation
5 Shot Capacity (4+1) with Follower and Duck Plug
Your new Model 37 has been treated at the factory with
protective oils. General cleaning should be done before
and aer every use to maintain its functionality and
appearance. Please follow the instructions to ensure the
safe operation of your new rearm.
Readers should be aware that this manual is a guide to
care and maintenance of a Model 37. With the use of
illustrations you will be guided through the
disassembly as far as needed to clean and care for the
rearm.
Tools Needed for Cleaning;
Small athead screw driver
So cloth and cleaning solution
Quality rearm cleaning kit with cleaning
Crisp 4-6 Lb. Trigger Pull
3
patches and rod.
Note: When cleaning, your rearm be sure not to lose or
damage any parts.
Owners of the Ithaca Model 37, DSII, DSIII,
Home Defense and Turkeyslayer with xed barrels must
be aware that the barrel is not intended to be removed.
4

CARE AND MAINTENANCE:
All new Model 37’s will accept 2 3/4 or 3 shells.
e ONLY exception to this is in 16 and 28 gauge:
chambered 2 3/4” Only.
Cleaning Instructions:
1- Keeping the barrel pointed in a safe direction with
CARE AND MAINTENANCE:
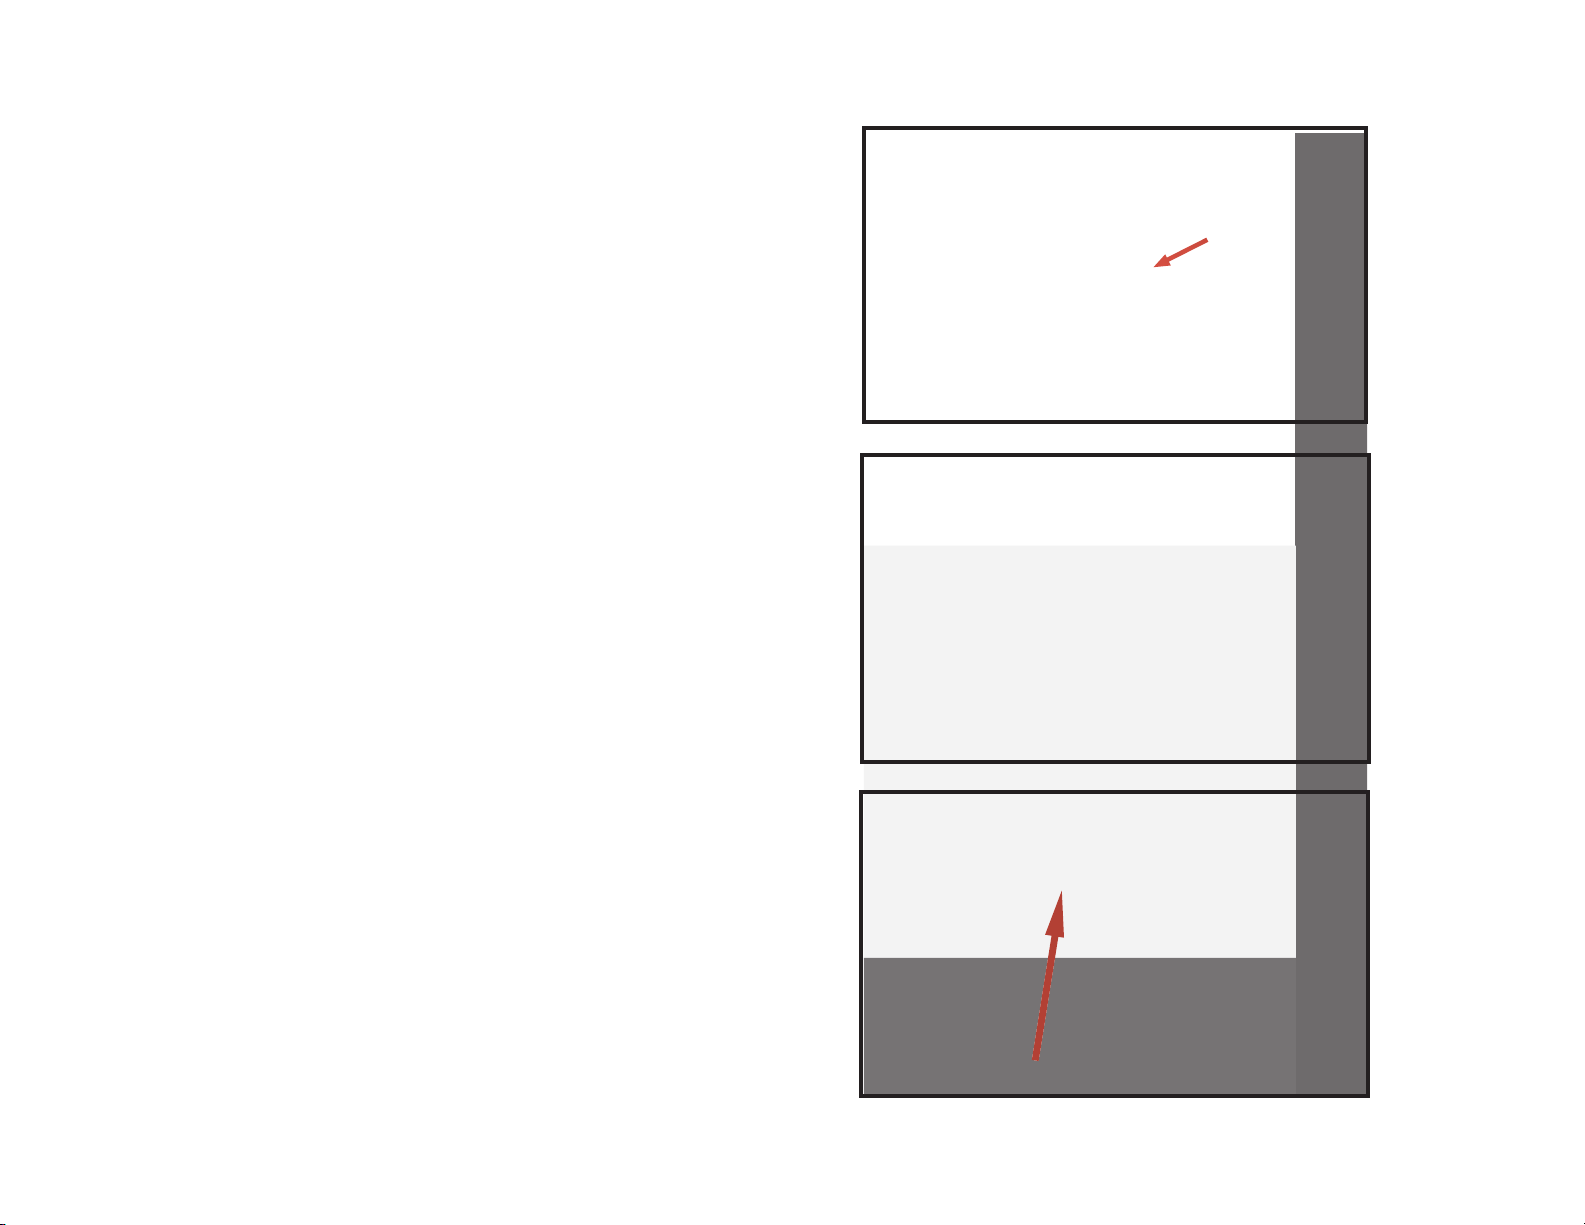
Figure 1
the safety on, press back on the action release and
pull the forend back to open the action (Figure 1).
Check to make sure the gun is unloaded by looking
and feeling in the chamber and magazine tube
(Figure 2 and 3).
e only disassembly required for general cleaning is
to remove the barrel and the choke tube.
Action Release
Figure 2
Figure 3
5
6
CARE AND MAINTENANCE:
CARE AND MAINTENANCE:
Cleaning Instructions Continued:
2- With the rearm held upright, turn the magazine nut
clockwise until its snug against the magazine tube yoke
(Figure 4).
3- Next turn the barrel a 1/4 turn (Figure 5) and
pull it straight out away from the receiver (Figure 6).
[Note: is will be all you need to disassemble the
rearm for general cleaning].
4- Assemble your cleaning rod and place the correct
aachment on the tip, place a cleaning patch on the end
of the rod tip that is saturated in cleaning solvent.
5- Start the rod into the rearm by feeding it slowly into
Figure 4
Magazine Nut
Figure 5
1/4 Turn
the breech end about 3-4 inches. Now grasp the handle
and push the rod in, through the bore and out the
muzzle using only necessary force. Do not force a rod
that is overly tight in the bore.
6- Repeat step ve with another saturated patch,
working the rod the entire length of the bore in both
directions. Do not switch direction in the middle of
the bore.
7
Figure 6
8
 Loading...