

ITD Food Safety Inc. Temp-Taker 3 Subway Edition Getting Started
2475 Palm Bay Road Suite 110
Palm Bay, FL 32905-2928
Office: 321.676.3194
Fax: 321.674.7018
Info@ITDFoodSafety.com
ITDFoodSafety.com
Getting Started
T3GSSW-150826

Introduction
Installing the PC software
Logging into the software
Customizing the setup:
◦ Setting up the Subway Temp Log
◦ Setting reminder alarm times
◦ Entering user names
Using the handheld device:
◦ Logging in & logging out
◦ Taking In-Range Temps
◦ Taking Out-of-Range Temps
◦ Taking a Temp of a product after corrective action is performed
◦ ‘Closing out an entry with an owner/manager signature’
◦ Using Spot-Check Temps mode
Generating Subway Temp Log reports
Notes & Tips
Technical Support
© 2015 ITD Food Safety Inc. 2

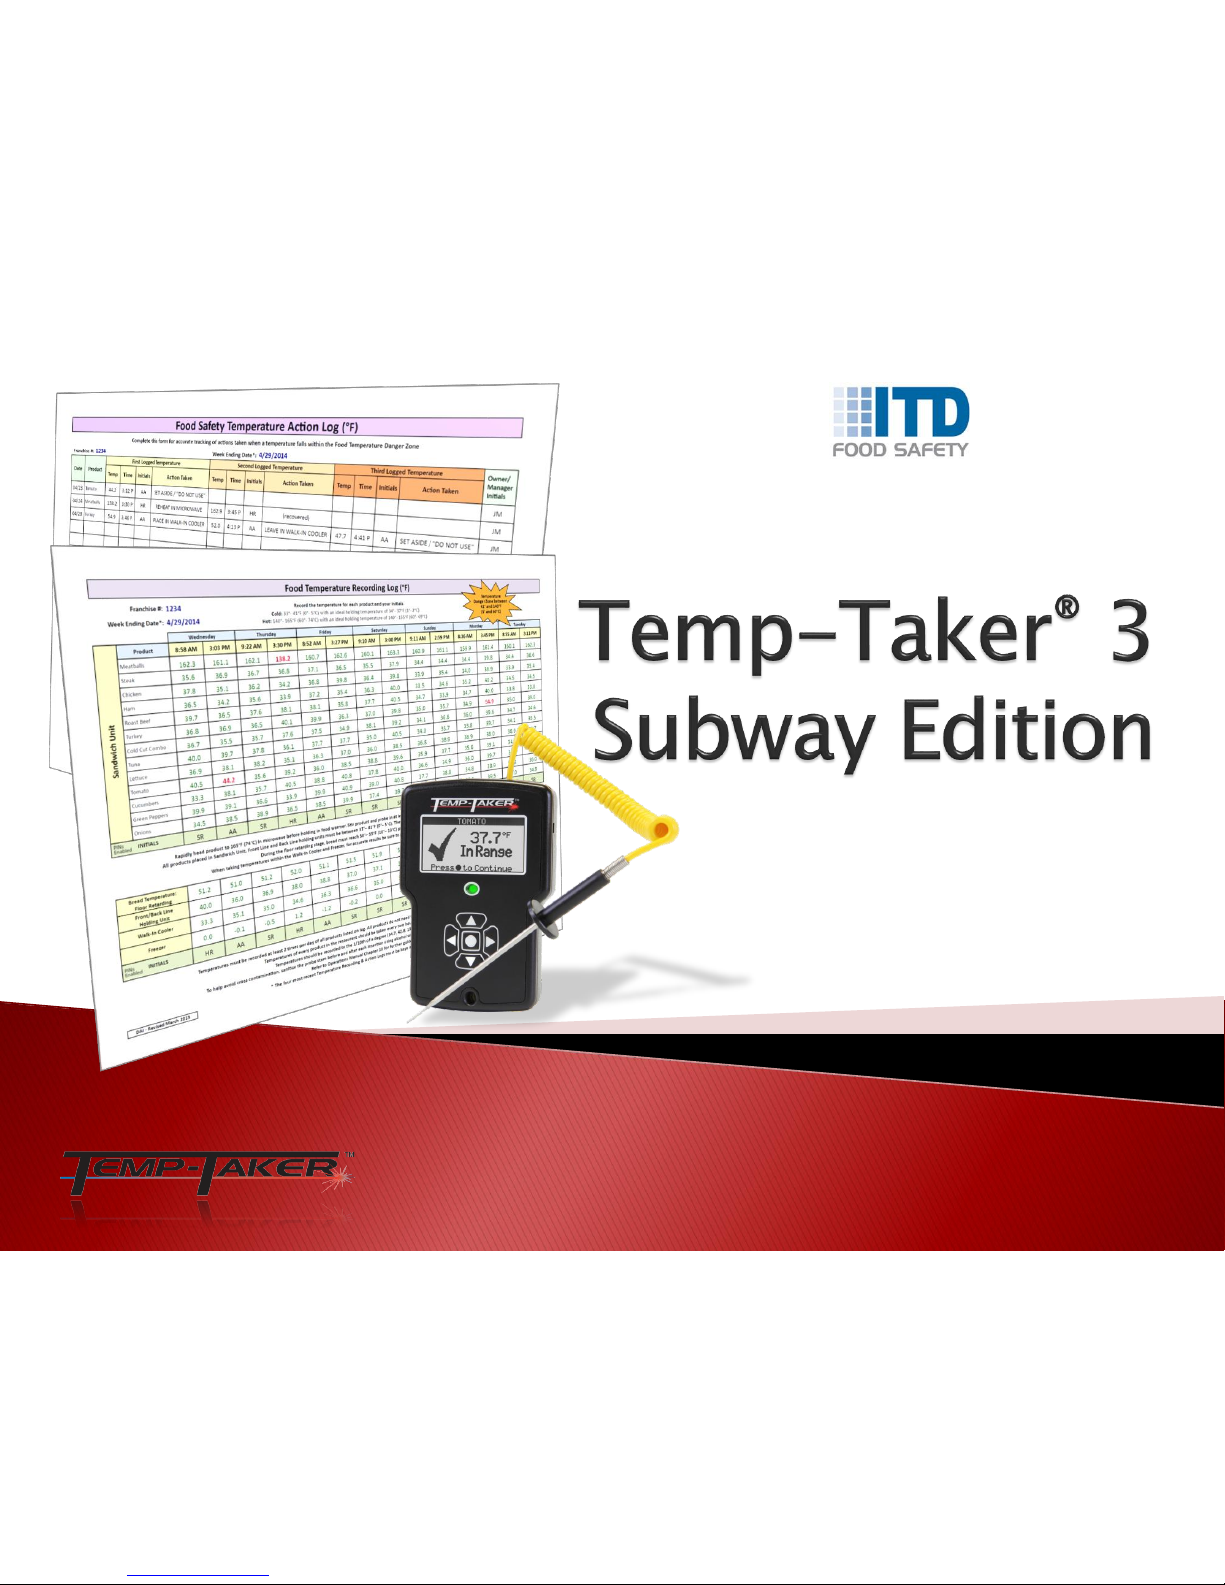
Congratulations on your acquisition of the Temp-Taker® 3 – Subway Edition.
This edition automates the temperature-taking process while maintaining
full compliance with Subway’s operation guidelines, including the printing of
Subway’s Temp Log reports and the implementation of Subway’s Corrective
Action procedure.
This guide will assist store owners and managers in quickly setting up and
using the Temp-Taker® 3 – Subway Edition in their stores. For more detailed
technical information consult document T3UMGE Temp-Taker 3 - User
Manual (see last page in this document).
IMPORTANT NOTE: If you already have Temp-Taker® 3 installed on your
machine, it is important that you follow the instructions described in
document T3SUSW A Guide to Upgrading to the Subway Edition.
© 2015 ITD Food Safety Inc. 3
To perform a fresh installation of the Temp-Taker® software, please note the following:
You must be logged on your machine with an administrator account; this is because
Windows must install USB drivers.
You may also need to temporarily disable antivirus and/or other security software in
order to successfully perform the installation.
Insert the installation disc in your CD drive. On most systems, the installation will
automatically start; if it does not, simply browse to the contents of your CD drive and
double-click the Setup.exe file.
If you downloaded the executable, you may need to extract the file from the zipped
folder and then double-click it.
© 2015 ITD Food Safety Inc. 4
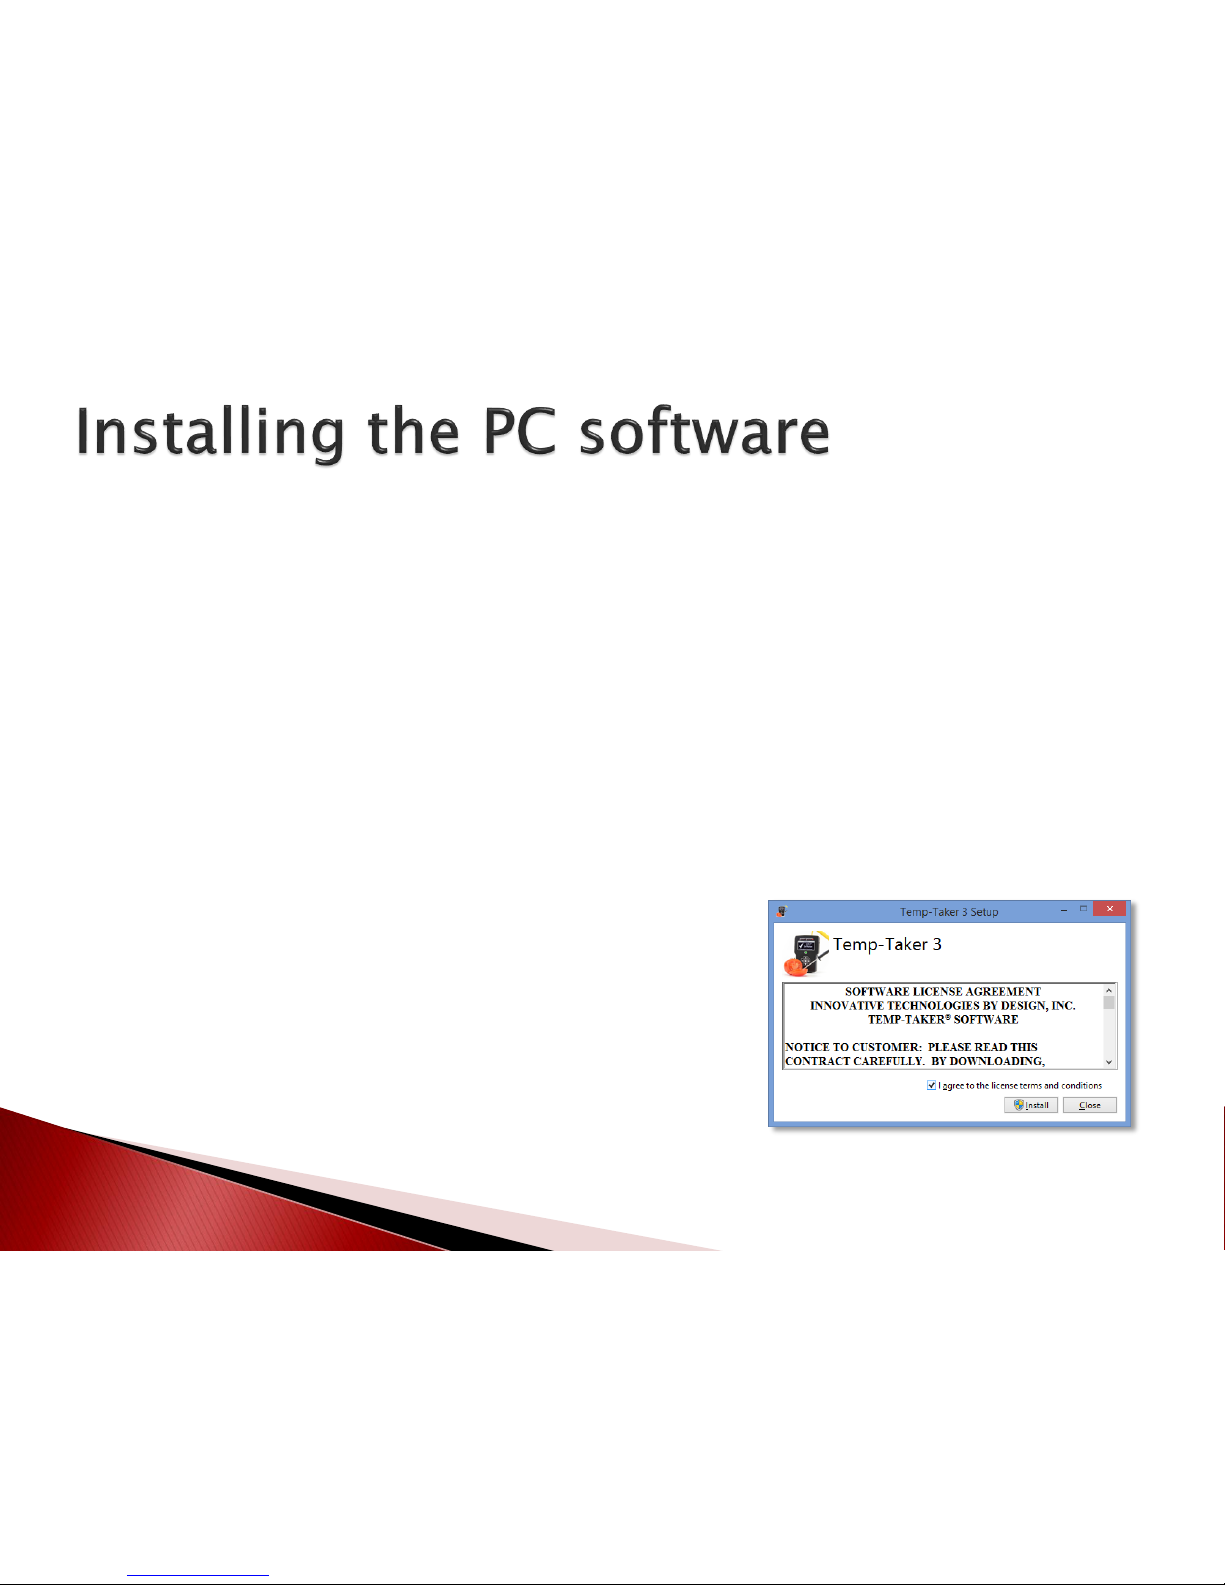
A setup window will appear displaying the
Software License Agreement (see figure). Check
the box to agree to the license terms and then
click the ‘Install’ button. If Windows or other
security software requests confirmation that you
wish to allow the installation, be sure to agree.
© 2015 ITD Food Safety Inc. 5
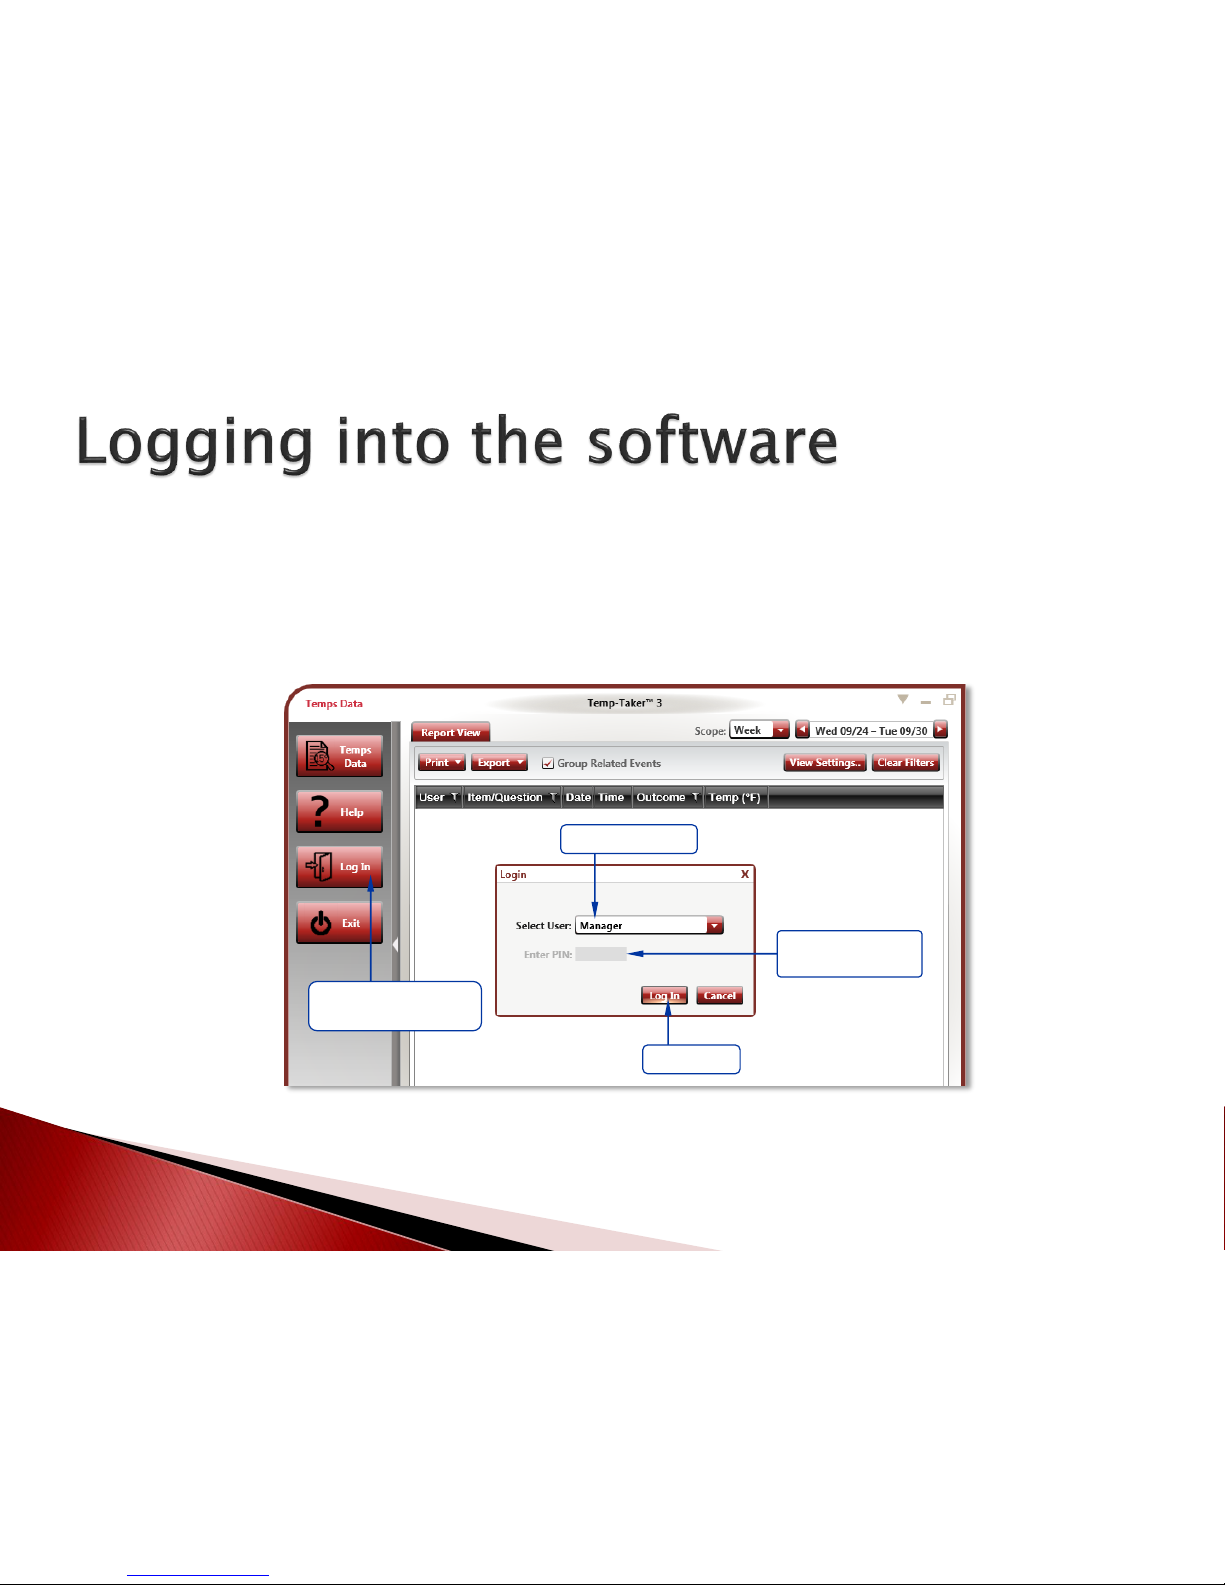
The store owner or a general manager should be the first to log into the
software. Click the ‘Log In’ button on the left vertical toolbar, select
Manager from the ‘Select User’ dropdown, and then log in (see figure
below).
Log in as Manager
Click Log In
Clicking this button
displays the Login dialog
PINs can be enabled
(see slide #17)

The figure below shows how to perform the one-time setup of the Subway
reporting features. Enter your Franchise Number and the AM/PM target times
for taking the temperatures that should appear in the Subway Temp Log reports.
Temps do not need to be taken precisely at these specified target times. They
may be taken at any time during the AM and PM. The target times entered here
are used by the software to select between multiple Temps taken for a particular
product during the AM or PM. In this case, the temperature closest to the target
time is used for the report.
© 2015 ITD Food Safety Inc. 6
Enter your target times
for the AM & PM Temps
Enter your Franchise #
Subway reporting is set up in
General Settings Printing tab
If this section is missing, refer to
the document entitled A Guide to
Upgrading to the Subway Edition
 Loading...