

Page 1
T-5K225T-SA
1 x 5.25" to Slim ODD & 2 x 2.5" HDD Hot-Swap Trayless Drive Cage
User’s Manual
Trayless Hot-swap Backplane Manual
• Interface: Supports SATA III (6.0Gb/s)
• Fits 2.5” SATA hard disk
• Supports hot swap
• Weight: 565g
• Dimensions: 142(L) x 148(W) x 42(H) mm
• Operation Temperature:
Accessories Quantity
Trayless hotswap backplane
SATA data cable
SATA+4PLED cable
Chassis xed screws
DVD-ROM xed screws
/ 1.25lb
User’s Manual
Key
/ 32~131 F
1 pcs
2 pcs
1 pcs
4 pcs
3 pcs
1 pcs
1 pcs
/ 5.59” x 5.83” x 1.65”
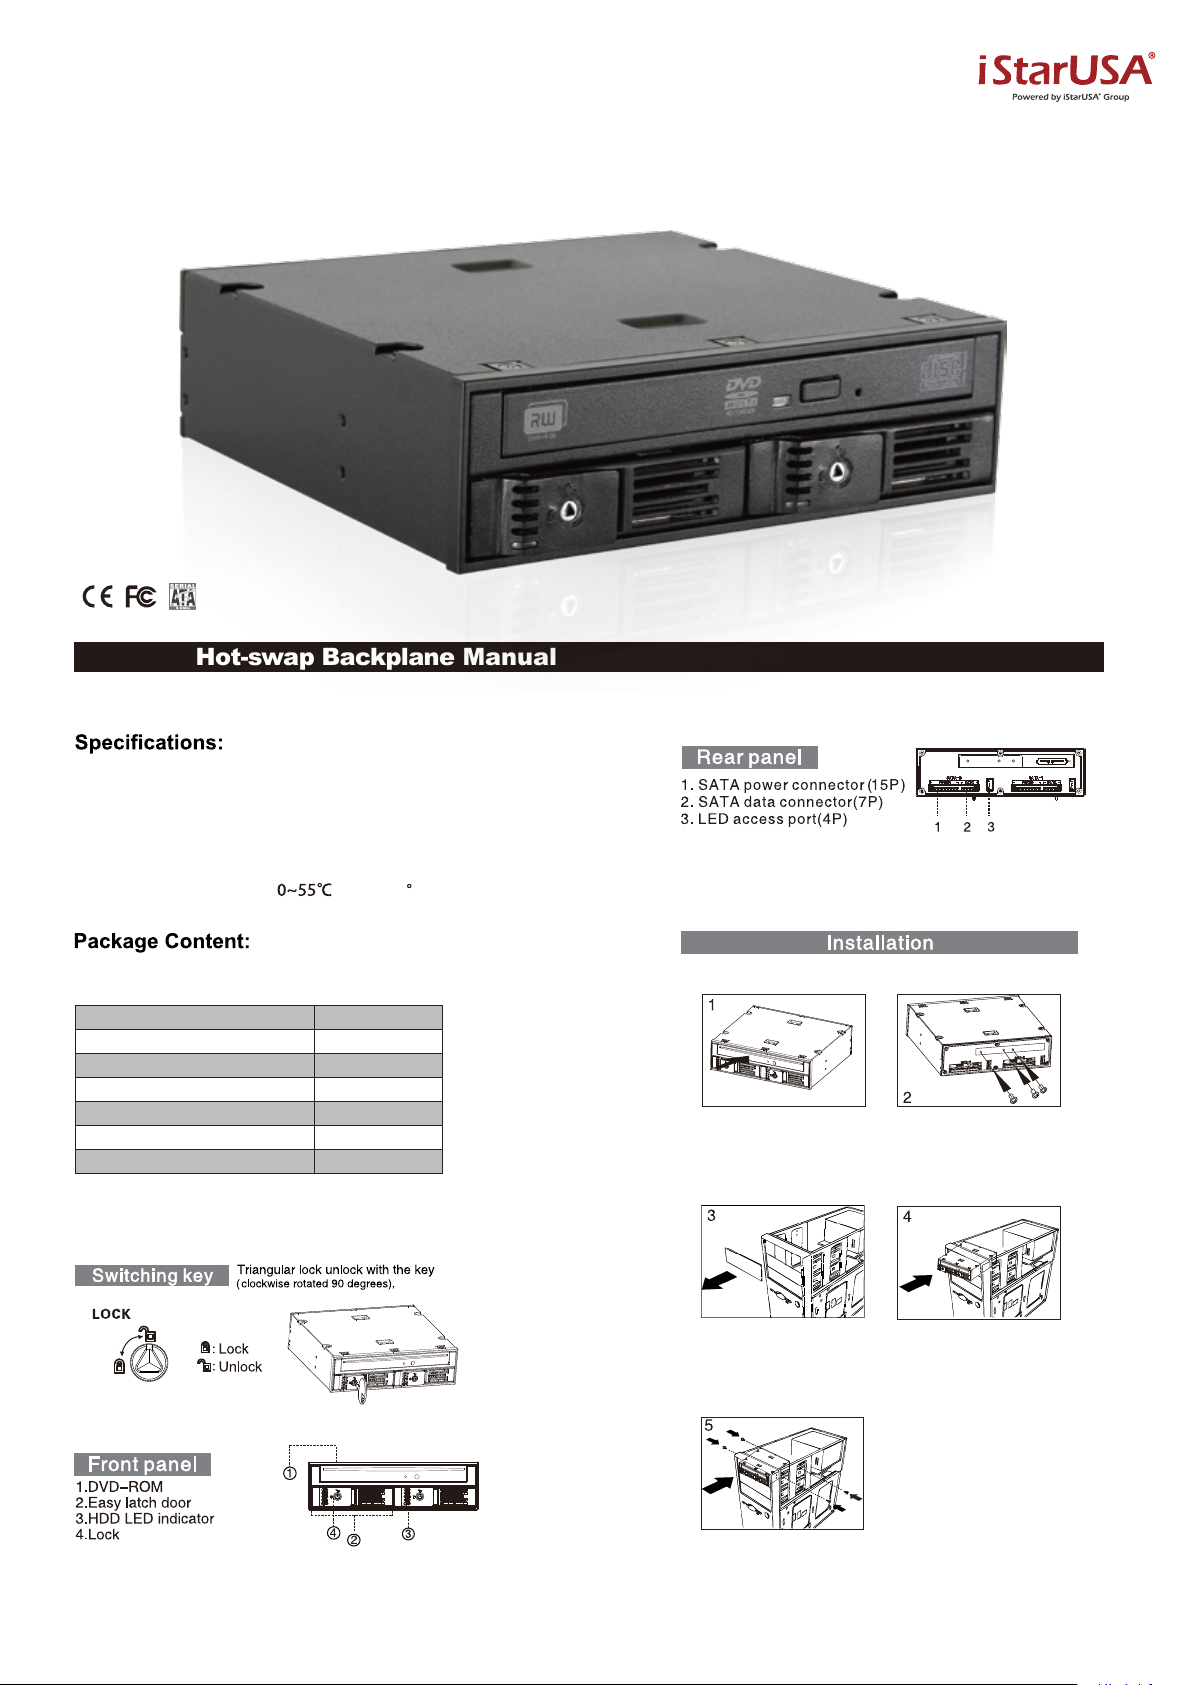
1.
Push 12.7mm slim optical drive into the slim drive bay.
After pushing the slim optical drive into postion to align with the
2.
front panel, use screw to secure the optical drive.
Remove the slot cover of an empty oppy bay.
3.
Carefully insert the drive cage into the bay and push it inward until
4.
the drive cage’s screw hole is aligned with the hole of the bay.
5.
Secure the drive cage is packed with screws. use 2 screws on each
side to securely hold the device.
Page 2
cage
Insert the SATA 15P connector into the T-5K225T-SA, 15P connec-
1.
tor, connect the big power 4P connector to the PC’s 4P power plug,
and the small 4P LED wire connector to the 4P LED port at the back
of T-5K225T-SA.
2.
Insert one end of the SATA data cable to drive cage, another
end(7P)to either the motherboard.
Be sure to connect the 4P LED wire, or the LED
1.
indicator will not be lighted up.
Before connecting the patent SATA data cable &
2.
SATA+4PLED cable with the PC or with HDD-cage,
please check there is no object on or beside the
terminals that may eect the mechanical
assembly or become a possible source of an
electrical short.
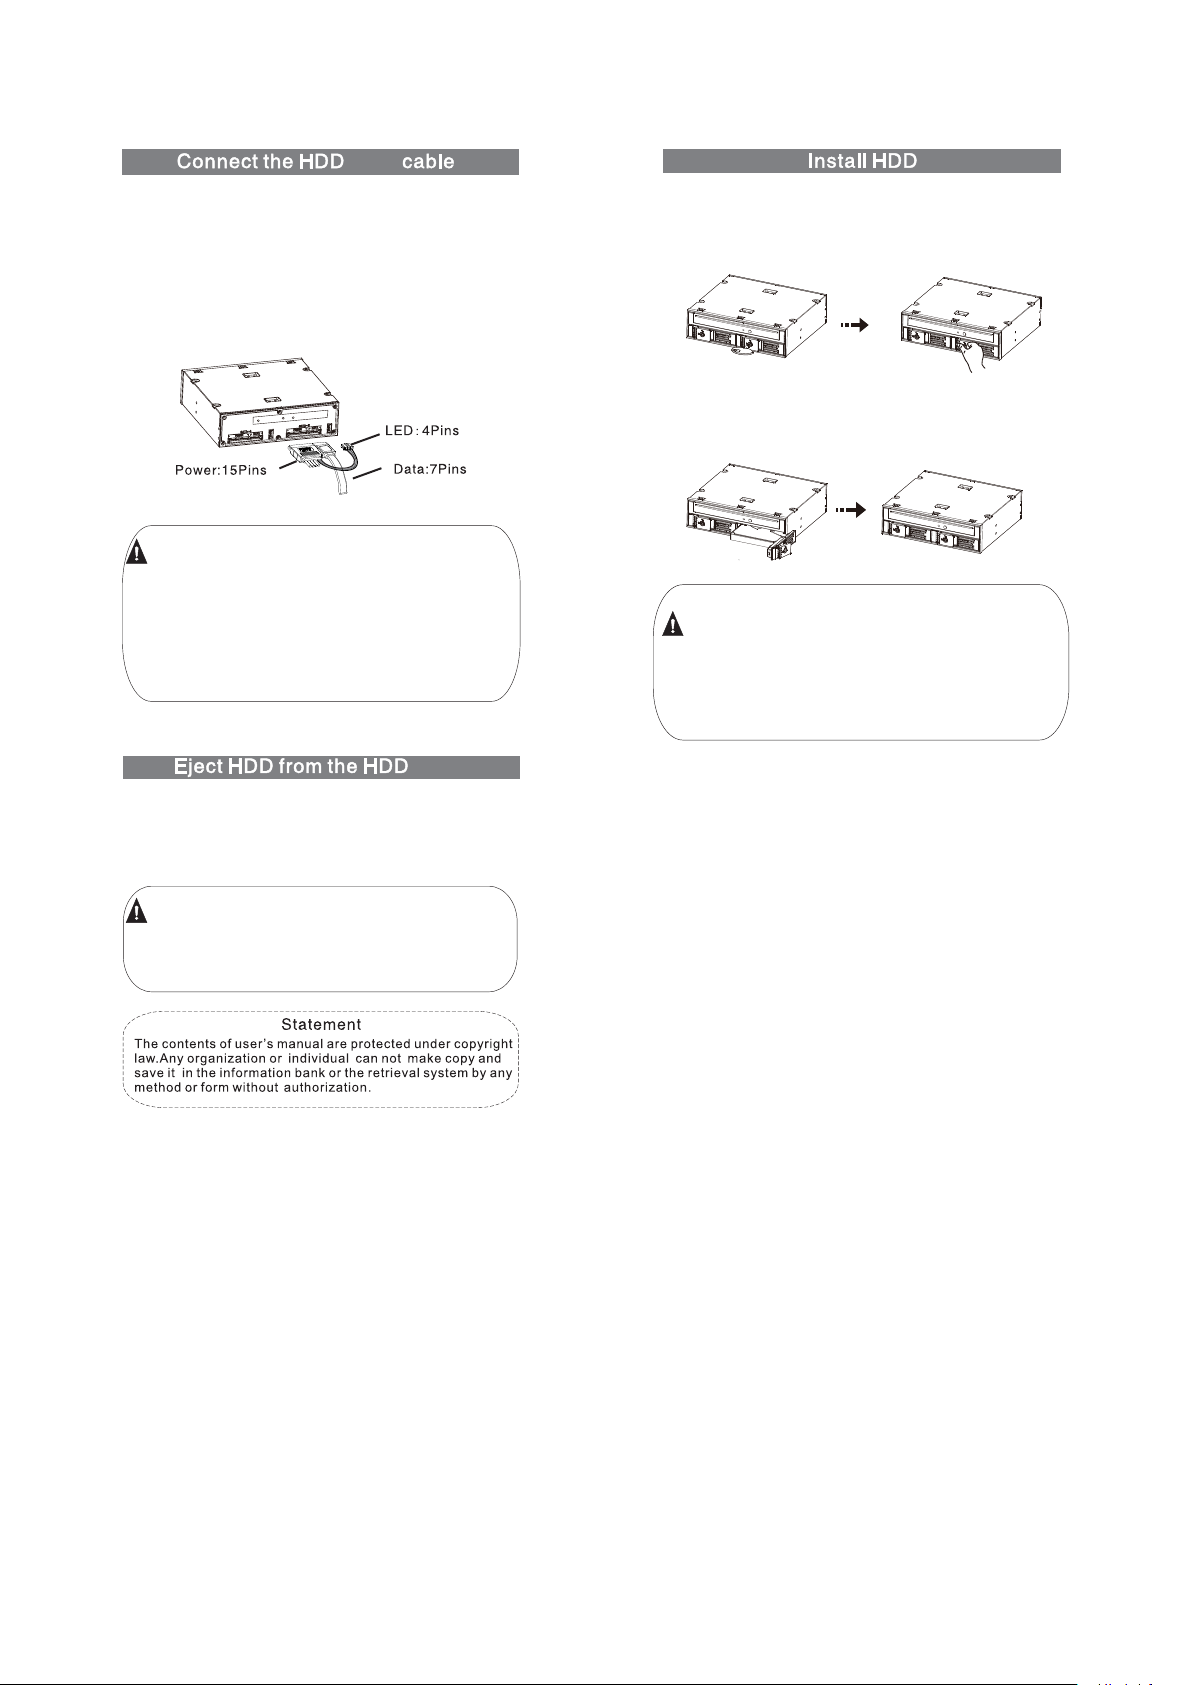
cage
Triangular lock unlock with the key ( clockwise rotated 90º )
Put the 2.5” HDD into the drive cage and close the
front panel.
After inserting HDD and closing the front door,
1.
carefully push the tray until it is seated into position.
Excessive force may damage its mechanical parts.
If the HDD is inserted backward into the tray, forcing
2.
the device may damage the HDD cage.
1. Use the key clockwise 90º to open the bezel.
2. Take the HDD out and rmly close the front bezel,
use the key counter-clockwise 90º to lock the bezel.
Do not eject the HDD while it is busy.
1.
2.
Carefully take the HDD out from HDD cage. The
HDD can reach temperatures over 50ºC. It will not
burn the ngers but should be handled with care.
 Loading...