

Page 1
T-5K25TU-SA
User’s Manual
Features:
Specifications:
Installation :
Connection :
Package Content:
Fits 2.5”Serial ATA hard disk
Supports hot swap
Supports SATA III(6.0Gb/s)
Housing Assembly: 138mm(L)x148mm(W )x42mm(H)
/ 5.43”x5.83”x1.65”
Interface: SATA/USB3.0
Weight: 484g/1.07 lb
Operating Temperature:
T-5K25TU-SA
SATA data cable
SATA+4PLED-MOLEX cable
User manual
Screws 3 x 6
1Pcs
1Pcs
1Pcs
1Pcs
4Pcs
Screws 2 x 3
2Pcs
T-5K25TU-SA Manual
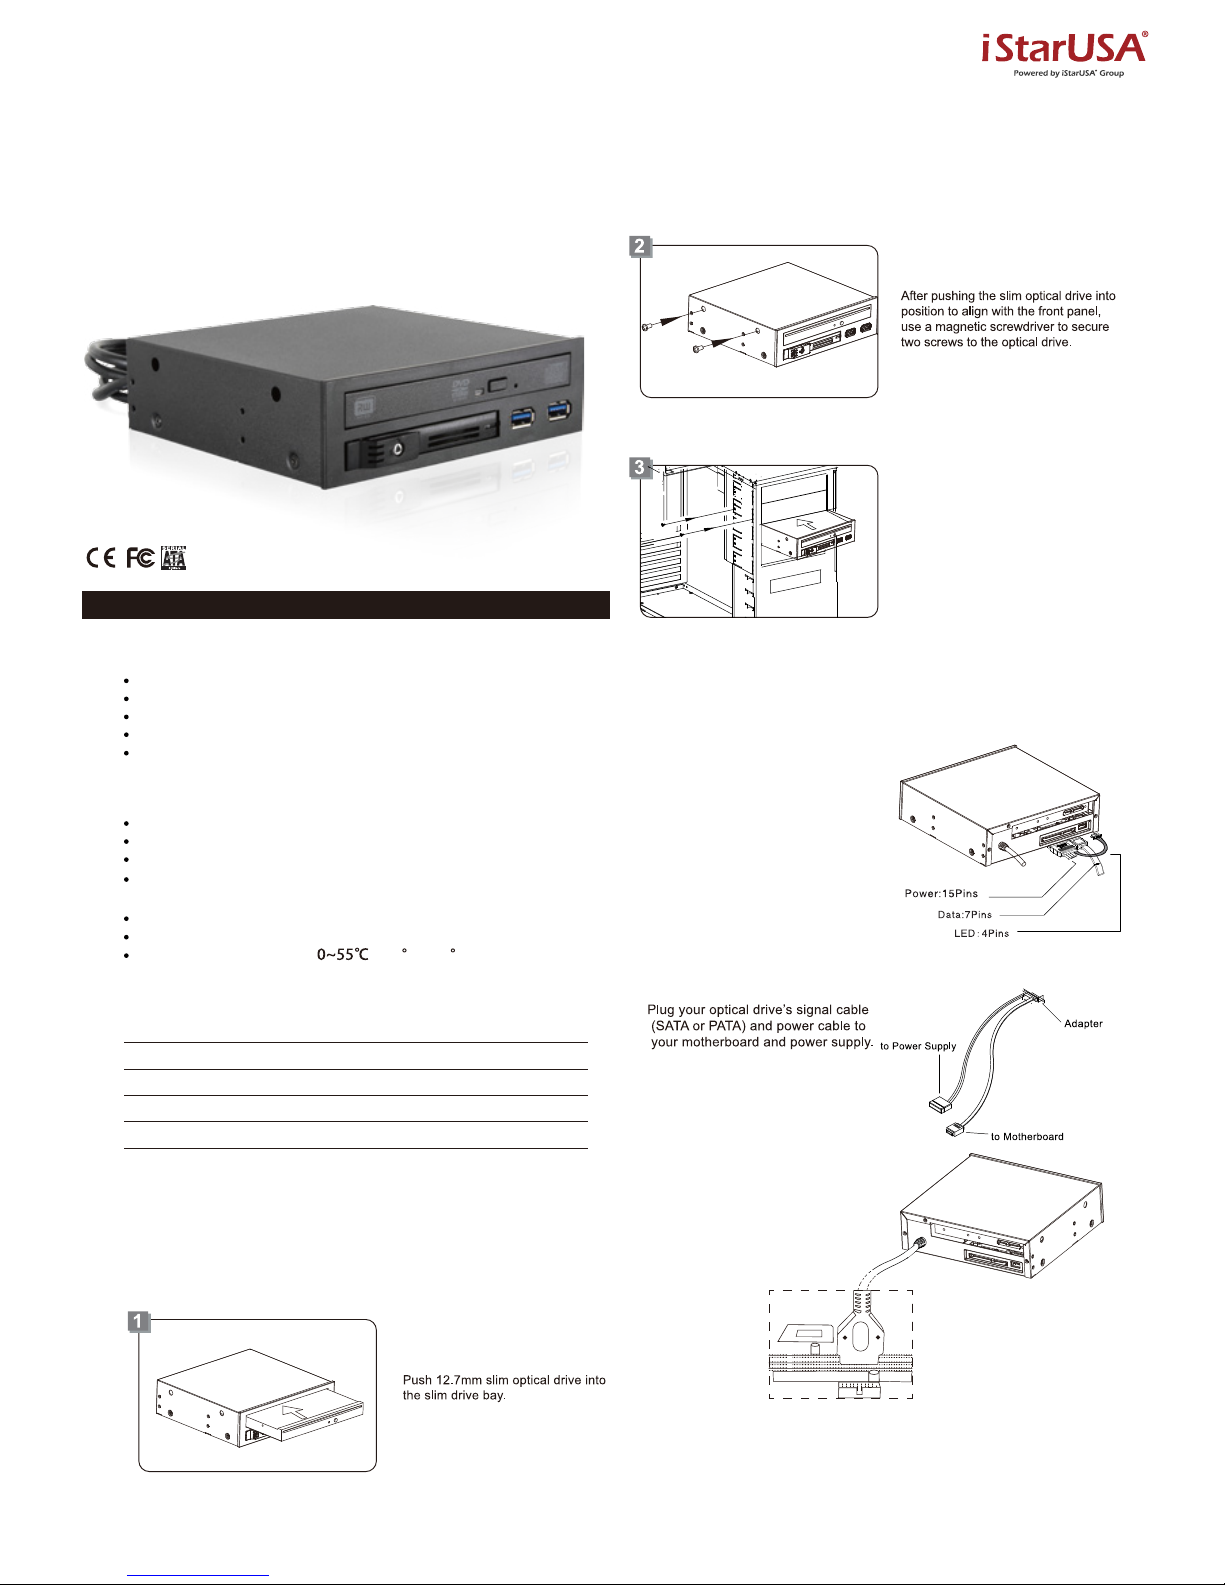
1. Insert the SATA 15P connector into
the T-5K25TU-SA 15P, connect
the big power 4P connector to the
PC 4P power plug, and the small
4P LED wire connector to the 4P LED
port at the back of T-5K25TU-SA.
2. Insert one end of the SATA data
cable to T-5K25TU-SA, another
end(7P) to either the mother board
or the SATA RAID card.
Place
T-5K25TU-SA into an available
5.25” bay in the chassis and secure
with screws.
3.
Elegant plastic panel design
Fits in any 5.25” drive bay
Two USB3.0 ports
Unique screwless design for hot-swapping 2.5” SATA hard drive
Accommodates 12.7mm slim optical drive
1 x 5.25" to Slim ODD plus USB3.0 x 2 & 1 x 2.5" HDD Hot-Swap Trayless Drive Cage
4. Plug USB3.0 cable connector
motherboard.If your motherboard does
not support USB3.0 then you
can use the alternate USB3.0
connector instead for USB3.0
operation only.
/ 32 F~131 F
Page 2
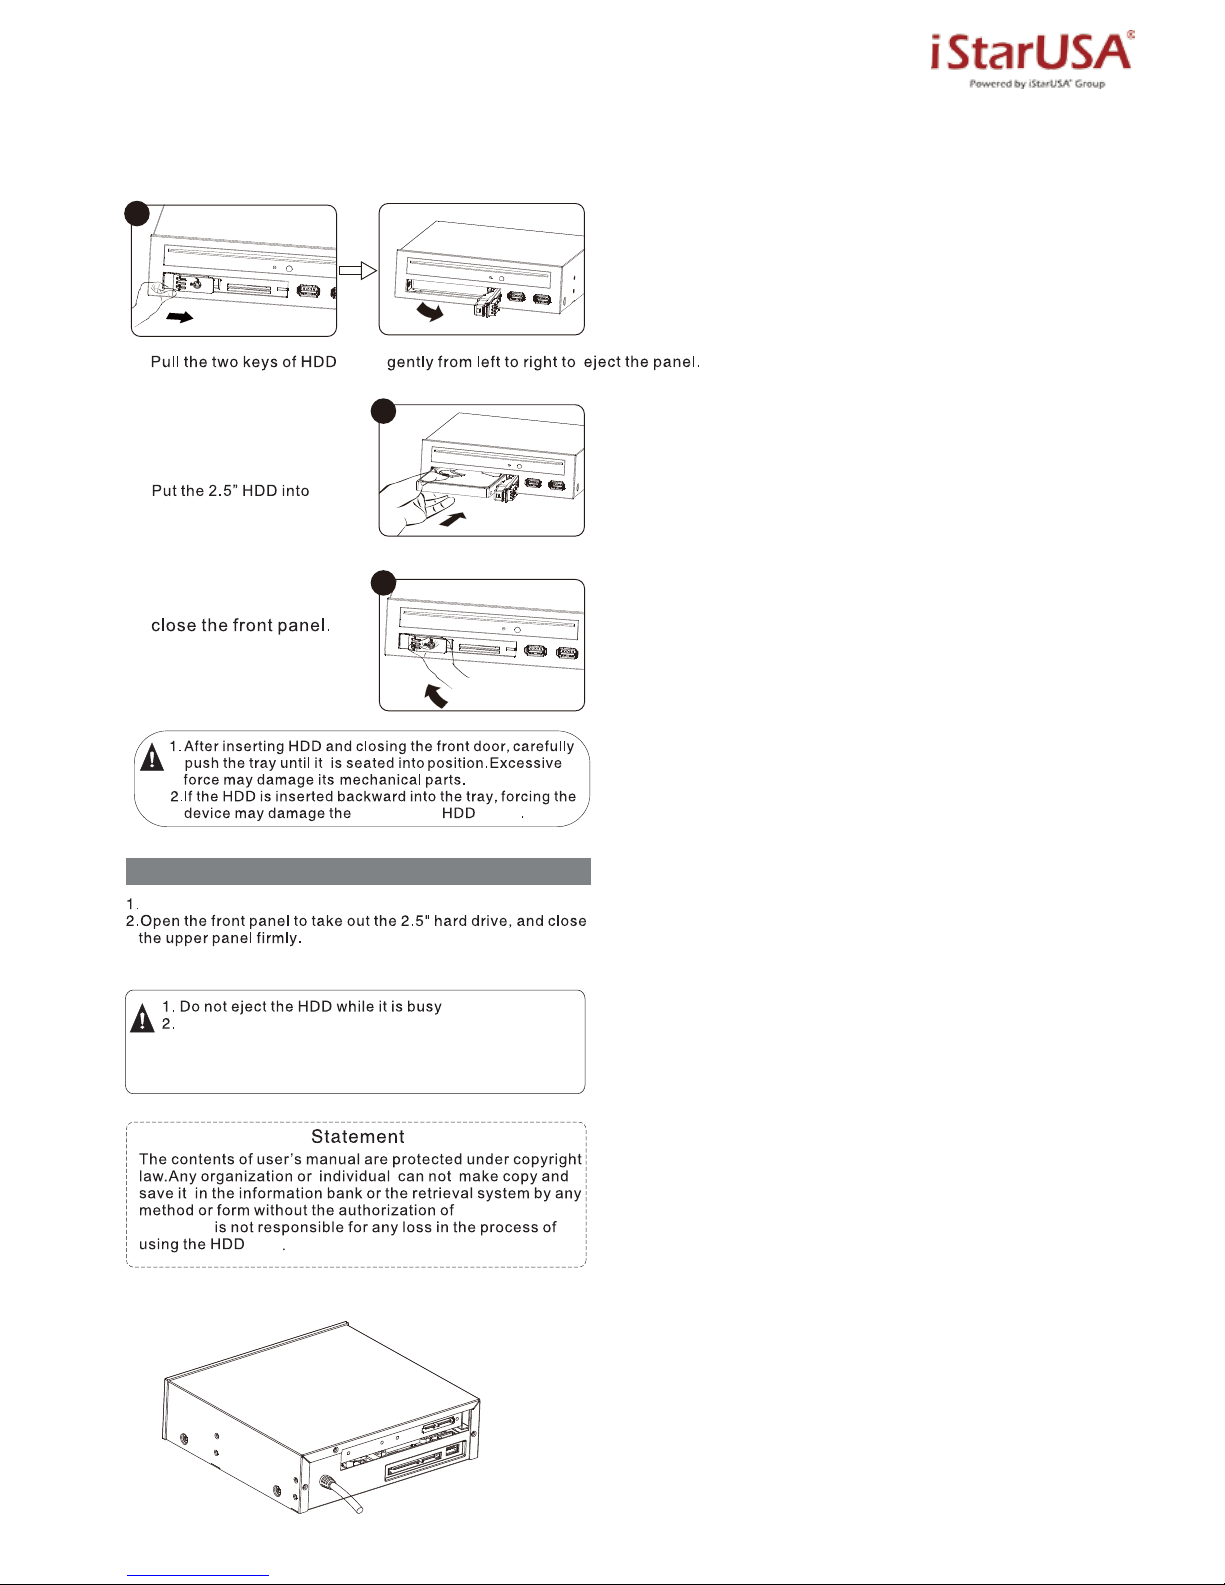
Inserting the Hard Drive:
T-5K25TU-SA.
1.
2.
3.
Removing the Hard Drive:
2
3
1
T-5K25TU-SA
Carefully take the HDD out from T-5K25TU-SA HDD cage.
The HDD can reach temperatures over 50ºC. It will not burn
the fingers but should be handled with care.
iStarUSA
iStarUSA.
cage
cage
Open the latch geatly to eject the HDD.
cage
 Loading...