

Page 1
D1
D2
User Manual
Specifications:
BPX-35U3-SA
Introduction:
Features:
Hot Swap 2.5” Drive: 1
3.5” Drive: 1
102.0 mm x 25.2 mm x 165 mm
Aluminium (main body)
SATA
0.2 kg
SATA Cable Included (1pcs)
Floppy to Molex Power Cable Included (1pcs)
USB 3.0 Micro-B to Standard-A Cable Included (1pcs)
Standard Drive Bays
Dimensions (W x H x D)
Material
HDD Interface
Weight
Cable
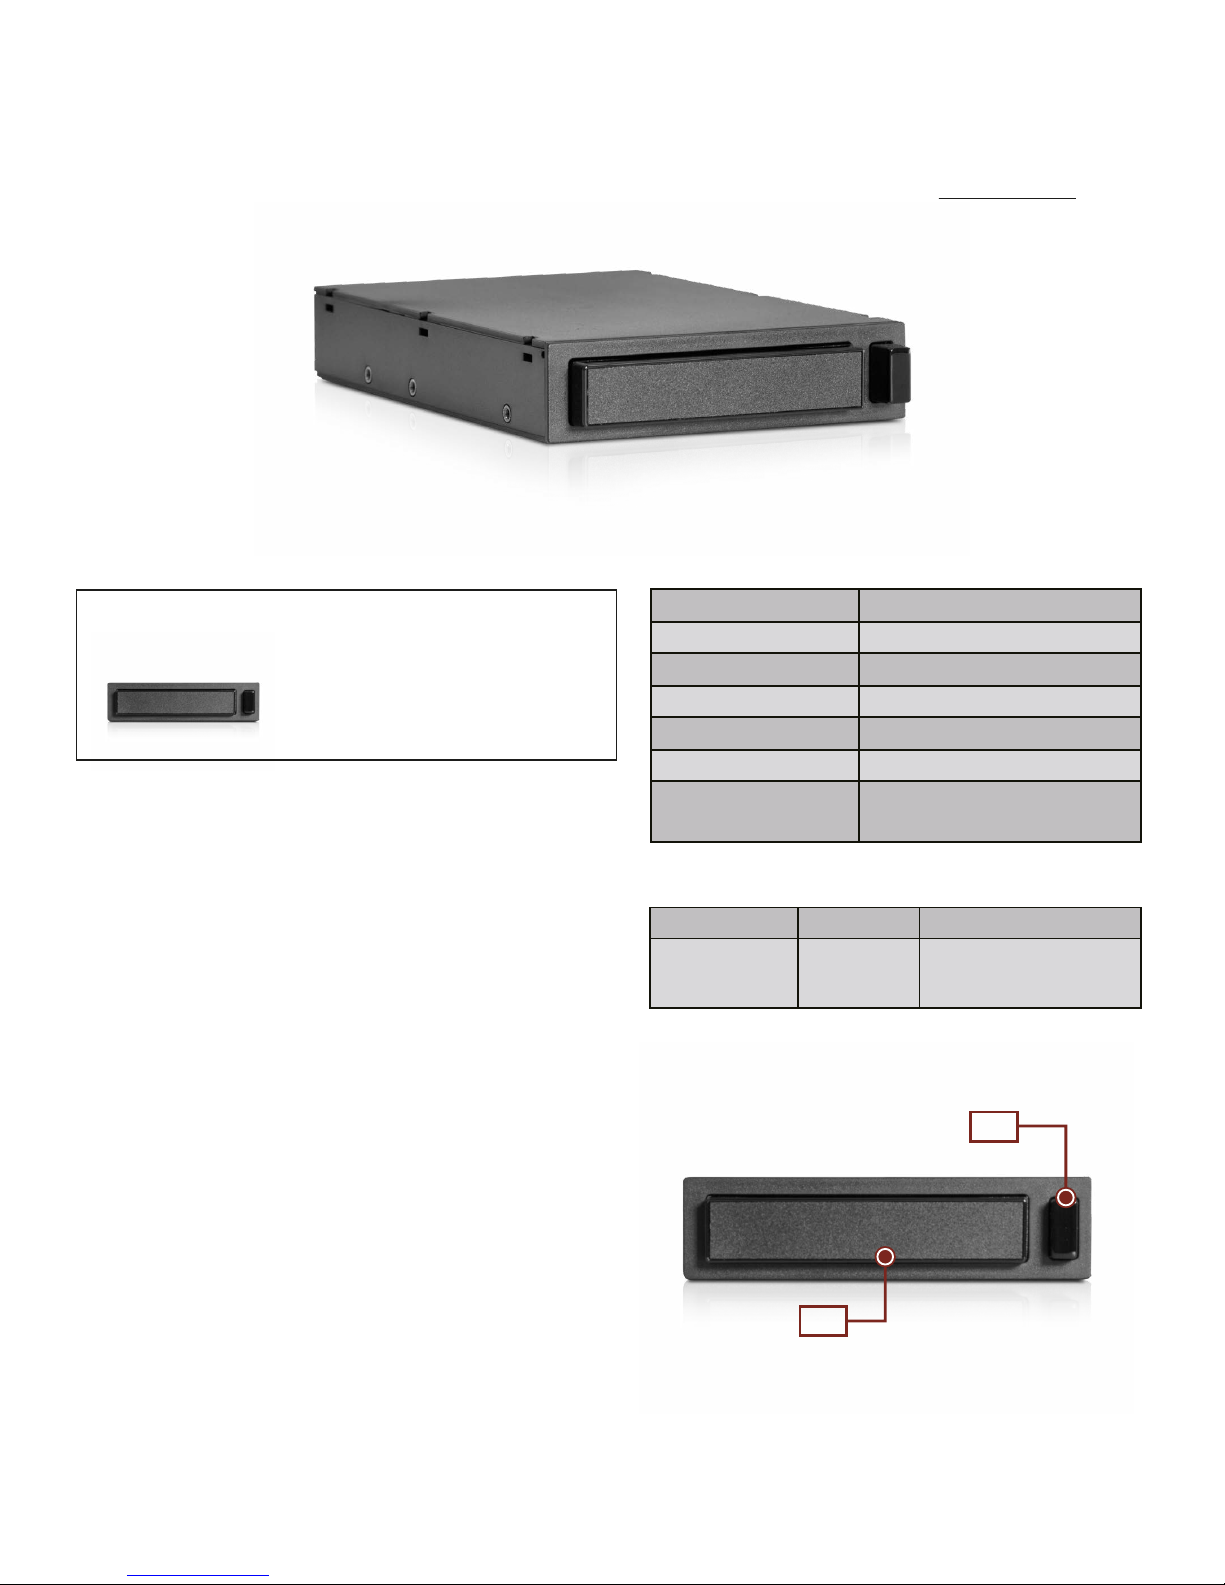
Hardware Information: Front View
BPX-35U3-SA 3.5” to 2.5” SATA 6.0 Gbps HDD/SSD Hot-Swap Rack
for Internal SATA and External USB 3.0 Applications
D1
Eject Button: Press the button to eject the HDD enclosure.
D2
Hidden LED indicator:
Solid blue illumination for HDD power on.
Blinking blue illumination for HDD access.
*Note: LED indicator might not work with some SSDs.
The iStarUSA BPX-35U3-SA gives you the exibility to bring your storage with
you quickly and easily without having to deal with numerous cables. When at
the oce or at home, just insert the enclosure into the rack and you will
instantly have a super-speed SATA connection to your drive. If you need to take
it with you, just eject the enclosure, grab the included USB 3.0 cable, and you’ll
still have access to all of your data while on the road.
• Easily connect a 2.5" HDD/SSD to your computer using
• this specially-designed rack.
• Internally: Use the rack's SATA interface to connect.
• Externally: Connect to other computers conveniently with USB3.0 or USB2.0
• (USB 3.0 cable included).
• Designed to minimize dust intrusion: The drive door closes automatically
• when ejecting a drive from the enclosure.
• Aluminum alloy body for strength and ecient heat dissipation.
• LED indicators for power & HDD activity.
• Fits in any standard 3.5” drive bay.
• Compatible with 7mm & 9.5mm 2.5” SATA I/II/III HDD and SSD.
i
StarUSA - Powered by iStarUSA Group
727 Phillips Drive City of Industry, CA 91748
United States of America
Tel: 1-626-303-8885
Toll-Free: 1-888-989-1189
Email: sales@istarusa.com
Order Information:
Model Number:
BPX-35U3-SA
Color:
Black
UPC Code:
846813036160
Page 2

Hardware Information: Rear View
D4
SATA 7-pin data connector
D5
4-pin Floppy power connector
BPX-35U3-SA Installation
Hard Drive Installation
4)
Press the eject button to eject, and pull the HDD enclosure out.
Connect the Floppy to Molex power cable. Floppy end to the
BPX-35U3-SA and Molex end to a power supply.
1) Install BPX-35U3-SA to a computer with one 3.5" drive bay available
Use the screwdriver to unscrew the back cover.
Take out the PCB.
Insert the PCB back to the HDD enclosure and secure the back cover
with screws.
Included Accessories
• Power cable, SATA cable, USB3.0 cable, screwdriver, screws
2)
3)
Insert the HDD enclosure.
4)
Connect SATA 7-pin data cable. one end to the BPX-35U3-SA and the
other end to a motherboard
2)
D4
D5
1)
3)
Place HDD/SSD onto the PCB, and connect to SATA connector.
Use M3 screws to secure the HDD/SSD.
External Application with USB 3.0 Connection
Eject the HDD enclosure
1)
Connect the USB 3.0 Micro-B to Standard-A cable. One end to the
BPX-35U3-SA and the other end to a computer with an USB 2.0 or 3.0
port available.
2)
BPX-35U3-SA
 Loading...