

2500_EN_IT_IS_R2_PED
MANUALE DI INSTALLAZIONE, USO E
MANUTENZIONE
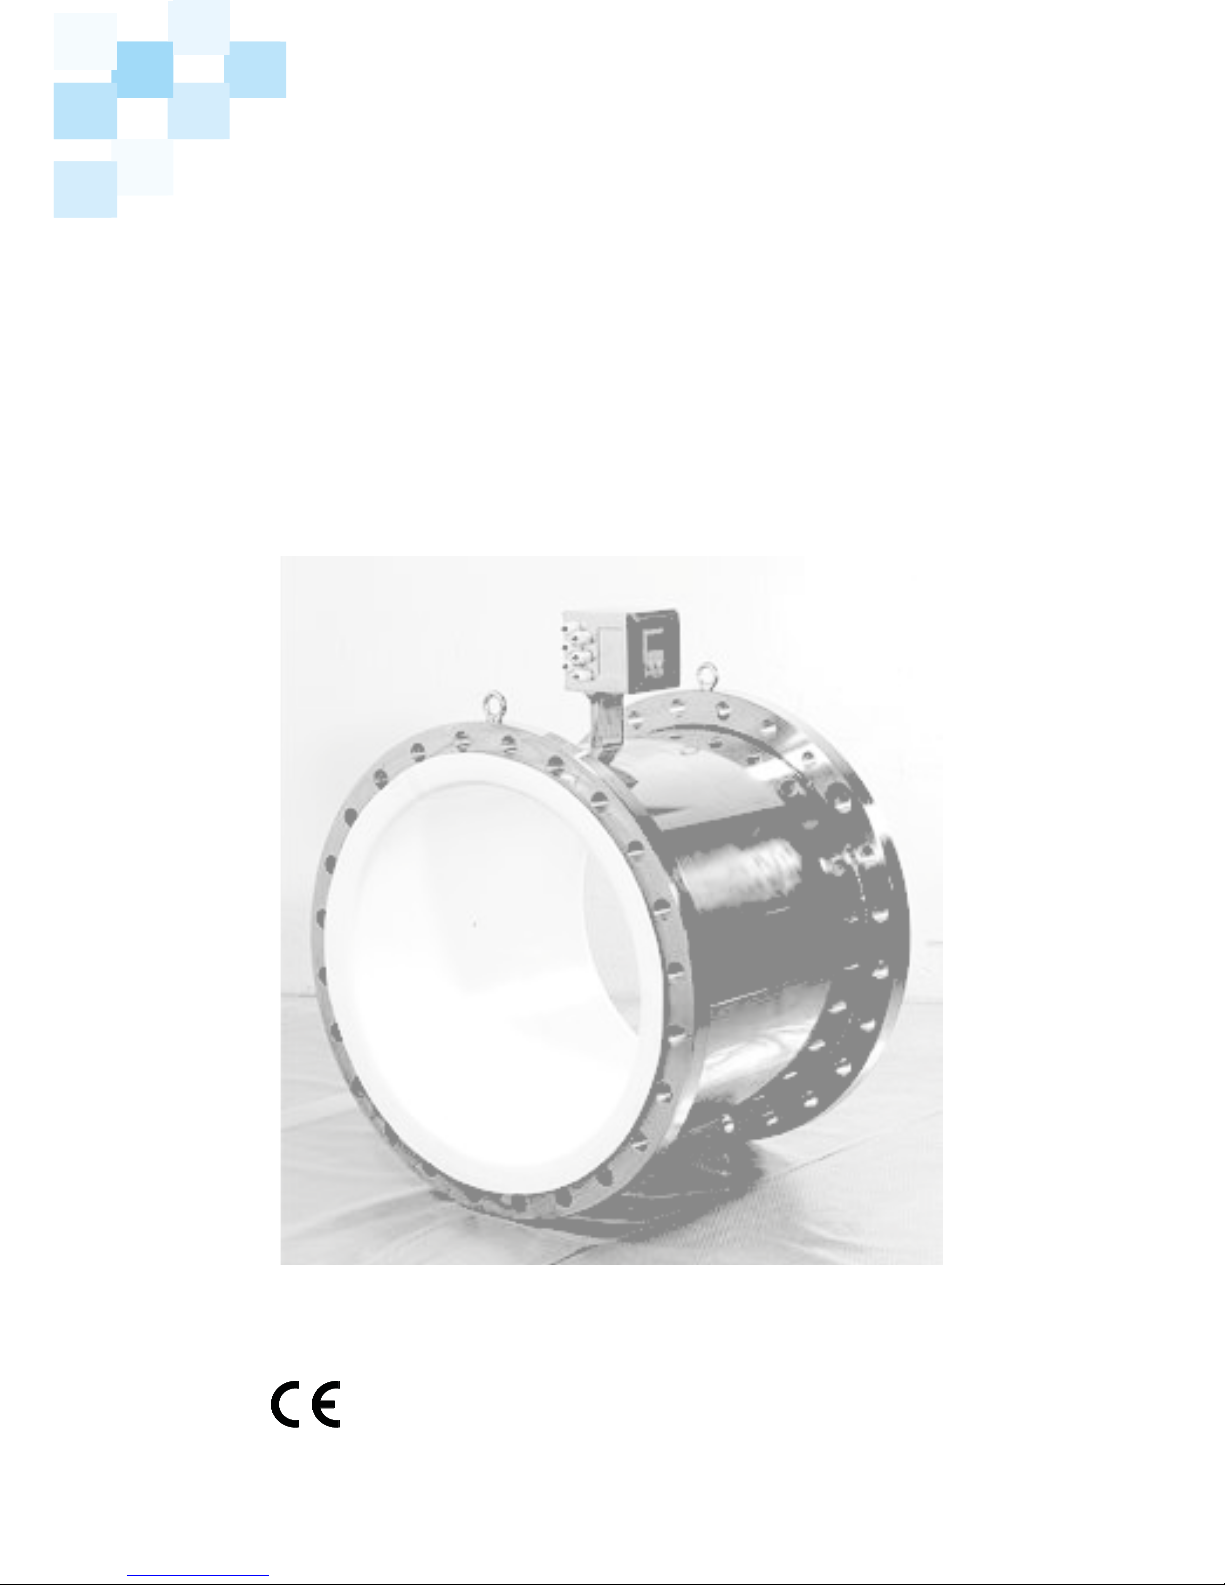
MS 2500
2500_EN_IT_IS_R2_PED
OPERATING AND MAINTENANCE
MANUAL
MS 2500
MS 2500

Versione numero: 2500_EN_IT_IS_R2_PED - I caratteri del nome le in grassetto indicano la versione del software
alla quale il manuale si riferisce; essa è visualizzata all’accensione dello strumento oppure da apposita
funzione nel menu DIAGNOSI.
Release number: 2500_EN_IT_IS_R2_PED - The characters of le name in bolt type indicate the software version
which the manual refers to; it is visualized at the instrument start up, or by specic function on DIAGNOSTIC
menu.

2500_EN_IT_IS_R2_PED
AVVIAMENTO E MANUTENZIONE DELLO STRUMENTO ______________ 1
INTRODUZIONE ___________________________________________ 1
SICUREZZA ______________________________________________ 2
MODALITÀ GENERALI D’INSTALLAZIONE DEL SENSORE ____________ 2
TEMPERATURE DI ESERCIZIO ________________________________ 3
MESSA A TERRA DEL SENSORE _______________________________ 4
COPPIE DI SERRAGGIO (Nm) PER BULLONI SENSORI FLANGIATI) ____ 5
NOTE PER SENSORI SOTTOPOSTI ALLA DIRETTIVA PED ____________ 6
2500_EN_IT_IS_R2_PED
START UP AND MAINTENANCE OF THE INSTRUMENTS _____________ 1
INTRODUCTION ___________________________________________ 1
SAFETY __________________________________________________ 2
GENERAL INFORMATION ON THE SENSORS INSTALLATION _________ 2
OPERATING TEMPERATURES ________________________________ 3
GROUNDING INSTRUCTIONS ________________________________ 4
TORQUES (NM) FOR FLANGED SENSOR’S BOLTS __________________ 5
NOTES FOR PED DIRECTIVE FOR SENSOR ______________________ 6

2500_EN_IT_IS_R2_PED
1 di 9
INTRODUZIONE
– Il presente manuale è parte integrante del prodotto. Leggere attentamente le avvertenze
contenute in esso, in quanto forniscono importanti indicazioni riguardanti la sicurezza d’uso
e di manutenzione.
– Le informazioni tecniche ed i prodotti relativi a questo manuale possono subire modiche
senza alcun preavviso.
– Il misuratore di portata dovrà essere utilizzato all’uso per il quale è stato costruito. L’uso
improprio, eventuali manomissioni dello strumento o parti di esso e sostituzioni di alcuni
componenti non originali, fanno decadere automaticamente la garanzia.
– Il costruttore si ritiene responsabile dello strumento solo se usato nella sua congurazione
originale.
– Il misuratore di portata effettua misure di uidi con conducibilità superiore a 5µS/cm ed è
composto da un sensore (descritto in questo manuale) ed un convertitore per il quale si
rimanda al manuale apposito.
– Se il sensore è fornito in versione compatta al convertitore, considerare le temperature di
esercizio più limitative, altrimenti fare riferimento ai rispettivi manuali (pag. 6).
– Quando si trasporta, disimballa e maneggia il misuratore di portata, prestare la massima
attenzione e cura.
– Nel caso di prolungato inutilizzo e di trasporto, utilizzare e conservare nell’imballo originale
in ambienti asciutti; non sovrapporre per più di 3 imballi.
– È possibile lo stoccaggio ed il trasporto con pallets (in caso di imballi in gabbie di legno
non sovrapporre mai).
– Per la pulizia del dispositivo utilizzare solamente un panno inumidito, mentre per la
manutenzione/riparazioni rivolgersi al centro di assistenza.
– Per quanto riguarda lo smaltimento in sicurezza del dispositivo e dell’imballaggio fare
rigoroso riferimento alle normative vigenti.
– È vietata la riproduzione del presente documento e di eventuali software forniti con la
strumentazione
AVVIAMENTO E MANUTENZIONE DELLO STRUMENTO
– Prima di effettuare il primo avviamento dello strumento vericare che i collegamenti di messa
a terra dello strumento siano eseguiti in ottemperanza di quanto indicato a pag. 4.
– Vericare periodicamente : integrità dei cavi di alimentazione, serraggio degli elementi
di tenuta (pressacavi, coperchi, ecc.), ssaggio meccanico dello strumento alla condotta.
The manufacturer guarantees only English text available on our web site www.isoil.com
2500_EN_IT_IS_R2_PED
1 di 9
INTRODUCTION
– This manual is integral part of the product. Read carefully the instructions contained since
it contains important indications for the safety of use and of maintenance.
– The technical information and the relative products of this manual could be modied
without any previous notice.
– The ow meter must be used for the use it has been built for. The improper use, possible
tampering of the instrument or parts of it and substitutions of any components not original,
makes the warranty to decay automatically.
– The manufacturer is considered responsible only if the instrument is used in its original
conguration and setting.
– The owmeter makes measures of liquids with conductivity greater than 5µS/cm; it consists
of a sensor (described in this manual) and a converter, for it see the manual provided.
– If the sensor is supplied in compact version to the converter, consider the operating
temperatures more restrictive, otherwise refer to the respective manuals (page 6).
– When transporting, unpacking and handling the owmeter, be careful and care.
– In the case of prolonged storage and of transport, use and store in the original container
in a dry place, do not place more than 3 packs one above the other.
– It is possible pallets storage and transport (in case of wooden crates do not place one
above the other).
– For the cleaning of the device use only a damp cloth, and for the maintenance/repairs,
contact the customer service.
– For the disposal of the device and of the packaging make strict reference to the regulations
– It is forbidden the reproduction of the present manual and of possible software supplied
with the instrument.
START UP AND MAINTENANCE OF THE INSTRUMENTS
– Before starting up the instrument, always make a sure connection to ground as suitable
to page 4.
– Verify periodically: the cables integrity, the tightening of the sealing elements (cable glands,
covers, etc.), the mechanical xing of the instrument on the pipe or on the wall stand

2500_EN_IT_IS_R2_PED
2 di 9
Prima di utilizzare lo strumento effettuare sempre il collegamento a terra
Evitare qualsiasi tentativo di riparazione dello strumento. Nel caso in cui
lo strumento presenti delle anomalie rivolgersi al servizio assistenza
Porre la massima attenzione nell’eseguire l’operazione
ATTENZIONE!!!
PERICOLO!!!
SICUREZZA
MODALITÀ GENERALI D’INSTALLAZIONE DEL SENSORE
Prima di installare il sensore individuare
la direzione del liquido nella condotta.
Il segno della portata è positivo,
quando la direzione del usso
corrisponde alla direzione dal – verso
il + indicata sulla targa dati.
Qualora dopo l’installazione, per
necessità impiantistiche si rendesse
necessario invertire il segno della
portata, è sufciente invertire il segno
del coefciente KA
?
+
Direzione flusso
sollevamento sensore
I sensori dotati di golfari devono essere
sollevati secondo il metodo indicato a
lato.
I golfari sono dimensionati per
sostenere esclusivamente il peso del
sensore
The manufacturer guarantees only English text available on our web site www.isoil.com
2500_EN_IT_IS_R2_PED
2 di 9
Before using the instrument, always make a sure connection to the ground
Avoid any attempt to repair the instrument. If the instrument is not
functioning properly, please call the nearest assistance service
Pay maximum attention during the operations
ATTENTION !!!
DANGER !!!
SAFETY
GENERAL INFORMATION ON THE SENSORS INSTALLATION
Before install the sensor locate the
direction of the liquid in the piping
The sign of the ow rate is positive,
when the ow direction is from – to +
as printed on the tag plate.
If after the installation, for plant request
becomes necessary reverse the sign of
the ow, it is enough reverse the sign
of the coefcient KA
?
+
flow Direction
lifting sensors
The sensors with eyebolts must be
lifted by the method shown below.
The eye-bolt are measured to sustain
exclusively the weight of the meter

2500_EN_IT_IS_R2_PED
3 di 9
accorgimenti e precauzioni
3 X DN
2 X DN
2mm
2mm
Installare il sensore lontano da curve e accessori idraulici
Prima di serrare i raccordi, avvicinare il più possibile l’attacco della condotta all’attacco del sensore
Per installazioni su lunghe tratte di condotte inserire dei giunti anti vibranti
Per installazioni verticali è preferibile il flusso ascendente. Per installazioni verticali con moto discendente
contattare la fabbrica
In fase di misurazione la tubazione deve essere completamente piena di liquido, o completamente vuota
CONDOTTE LUNGHE
GIUNTI ANTI VIBRANTI
TEMPERATURE DI ESERCIZIO
EBANITE PP RILSAN® PTFE HT
Temp.
liquido
Temp.
ambiente
Temp.
liquido
Temp.
ambiente
Temp.
liquido
Temp.
ambiente
Temp.
liquido
Temp.
ambiente
Temp.
liquido
Temp.
ambiente
Min. Max Min. Max Min. Max Min. Max Min. Max Min. Max Min. Max Min. Max Min. Max Min. Max
°C 0 80 -5 60 0 60 0 60 0 70 0 60 -20 130 -10 60 -20 180 -10 60
°F 30 176 23 140 32 140 32 140 32 158 32 140 -4 266 14 140 -4 356 14 140
The manufacturer guarantees only English text available on our web site www.isoil.com
2500_EN_IT_IS_R2_PED
3 di 9
shrewDness anD precautions
3 X DN
2 X DN
2mm
2mm
Install the sensor away from bends and hydraulic accessories
Avoid positioning flanges by tigthening the nuts.
In vertical installations an ascending flow is preferable. For vertical installations with descending flow
direction contact the manufacturer
For installations in long pipe lines, please use anti vibration joints
Avoid a partially empty pipe, during operation the pipe must be either completely full of liquid or completely
empty
LONG PIPE
ANTI VIBRATION JOINTS
OPERATING TEMPERATURES
EBANITE PP RILSAN® PTFE HT
Liquid
Temp.
Ambient
Temp.
Liquid
Temp.
Ambient
Temp.
Liquid
Temp.
Ambient
Temp.
Liquid
Temp.
Ambient
Temp.
Liquid
Temp.
Ambient
Temp.
Min. Max Min. Max Min. Max Min. Max Min. Max Min. Max Min. Max Min. Max Min. Max Min. Max
°C 0 80 -5 60 0 60 0 60 0 70 0 60 -20 130 -10 60 -20 180 -10 60
°F 30 176 23 140 32 140 32 140 32 158 32 140 -4 266 14 140 -4 356 14 140

2500_EN_IT_IS_R2_PED
4 di 9
MESSA A TERRA DEL SENSORE
Per il corretto funzionamento dello strumento È NECESSARIO che il sensore ed il liquido siano
equipotenziali, perciò effettuare SEMPRE il collegamento di messa a terra del sensore e del
convertitore secondo le seguenti modalità:
installazione su tubazioni metalliche
installazione su tubazioni isolanti
GUARNIZIONE ISOLANTE
DISCO METALLICO
Se il sensore deve essere installato in una tubazione
di materiale isolante necessario:
• inserire tra le ange del sensore e quelle della
condotta due anelli per la messa terra del
liquido
oppure
• utilizzare un sensore munito di elettrodo di
messa a terra (3° elettrodo)
installazione su tubazioni con protezione catoDica
GUARNIZIONI ISOLANTI
BUSSOLE ISOLANTI
DISCO METALLICO
Se il sensore deve essere installato in una
tubazione isolata da protezione catodica, in fase di
montaggio è necessario:
• isolare dadi e controdadi con apposite bussole
isolanti
• inserire i dischi metallici fra le ange del
sensore e quelle della condotta; i dischi
devono essere isolati da apposite guarnizioni
isolanti
IMPORTANTE: Il ripple della sorgente di
alimentazione usata per la protezione catodica
deve essere zero
The manufacturer guarantees only English text available on our web site www.isoil.com
2500_EN_IT_IS_R2_PED
4 di 9
GROUNDING INSTRUCTIONS
For correct operation of the meter is NECESSARY that the sensor and the liquid are equipotential,
so ALWAYS connect the sensor and converter to ground:
grounDing with metallic pipe
grounDing with insulating pipe
grounDing when there is a cathoDic protection over the pipe
INSULATING GASKET
INSULATING BUSH
METALLIC RING
If the sensor must be install in the piping with a
cathodic protection, is necessary:
• using insulating bushes to isolate the bolts
• Grounding metallic rings should be provided
to ground the liquid using insulating gasket
between the rings
IMPORTANT: The ripple of DC power source
used for cathodic protection shall be = 0
INSULATING GASKET
METALLIC RING
If the sensor has to be mounted on a pipe made of
an insulating materials necessary:
• Install two metallic ring between the sensor
anges and the counter anges of the pipe line
or
• Use a sensor with the additional grounding
electrode

2500_EN_IT_IS_R2_PED
5 di 9
PRESSIONI DI ESERCIZIO
Kpa 1000 1600 2500 4000 6400
psi 140 260 350 600 1000
DN PTFE EBON. PTFE EBON. PP PTFE EBON. PTFE EBON. EBON.
25
25
(21)
19 25
25
[32]
135
[95]
32
43
(26)
28 43
43
[40]
184
[115]
40
53
(32)
36 53
53
[63]
250
[184]
50
68
(60)
52 68
68
[35]
284
[101]
65
90
(78)
75 45
45
[53]
203
[156]
80
53
(89)
41 53
53
[68]
218
[200]
100
59
(70)
56 83
83
[94]
305
[273]
125
77
(94)
71 112
112
[130]
519
[380]
150
108
(106)
106 135
135
[113]
758
[328]
200 148 432
99
(148)
288
(433)
134 391
178
[178]
520
[519]
816
[519]
250 123 359
140
(156)
408
(455)
204 595
267
[185]
780
[540]
1124
[540]
300 142 415
175
(234)
510
(683)
201 588
278
[275]
812
[803]
1108
[803]
350 172 502
205
(325)
598
(946)
324 945
422
[318]
1231
[927]
1684
[927]
400 217 632
282
(312)
821
(911)
426 1243
619
[411]
1805
[1198]
2180
[1198]
450 194 564
281
(336)
981
(926)
[398] [1161]
500 224 652
382
(317)
1113
(924)
[465] [1356]
550 (379) (1105) [608] [1772]
600 323 942
568
(463)
1658
(1350)
[774] [2258]
650 (429) (1251) [753] [2195]
700 356 1040
421
(503)
1230
(1468)
[947] [2761]
750 (451) (1315) [1105] [3223]
800 476 1388 549 1603
850 (563) (1642) [1373] [4006]
900 450 1312
519
(618)
1515
(1803)
[1408] [4106]
1000 582 1699
721
(736)
2105
(2146)
[1598] [4662]
COPPIE DI SERRAGGIO (Nm) PER BULLONI SENSORI FLANGIATI)
• Stringere uniformemente i dadi in sequenze diagonalmente opposte
• Le coppie di serraggio indicate in tabella sono applicabili a ange: EN1092-1, DIN 2501,
BS 4504, ANSI B16.5, JIS
• È consigliabile l’uso di guarnizioni DIN 2690
• Per DN >1000 contattare il produttore
• (***)= ANSI 150
• [***]= ANSI 300
The manufacturer guarantees only English text available on our web site www.isoil.com
2500_EN_IT_IS_R2_PED
5 di 9
OPERATIVE PRESSURE
Kpa 1000 1600 2500 4000 6400
psi 140 260 350 600 1000
DN PTFE EBON. PTFE EBON. PP PTFE EBON. PTFE EBON. EBON.
25
25
(21)
19 25
25
[32]
135
[95]
32
43
(26)
28 43
43
[40]
184
[115]
40
53
(32)
36 53
53
[63]
250
[184]
50
68
(60)
52 68
68
[35]
284
[101]
65
90
(78)
75 45
45
[53]
203
[156]
80
53
(89)
41 53
53
[68]
218
[200]
100
59
(70)
56 83
83
[94]
305
[273]
125
77
(94)
71 112
112
[130]
519
[380]
150
108
(106)
106 135
135
[113]
758
[328]
200 148 432
99
(148)
288
(433)
134 391
178
[178]
520
[519]
816
[519]
250 123 359
140
(156)
408
(455)
204 595
267
[185]
780
[540]
1124
[540]
300 142 415
175
(234)
510
(683)
201 588
278
[275]
812
[803]
1108
[803]
350 172 502
205
(325)
598
(946)
324 945
422
[318]
1231
[927]
1684
[927]
400 217 632
282
(312)
821
(911)
426 1243
619
[411]
1805
[1198]
2180
[1198]
450 194 564
281
(336)
981
(926)
[398] [1161]
500 224 652
382
(317)
1113
(924)
[465] [1356]
550 (379) (1105) [608] [1772]
600 323 942
568
(463)
1658
(1350)
[774] [2258]
650 (429) (1251) [753] [2195]
700 356 1040
421
(503)
1230
(1468)
[947] [2761]
750 (451) (1315) [1105] [3223]
800 476 1388 549 1603
850 (563) (1642) [1373] [4006]
900 450 1312
519
(618)
1515
(1803)
[1408] [4106]
1000 582 1699
721
(736)
2105
(2146)
[1598] [4662]
TORQUES (NM) FOR FLANGED SENSOR’S BOLTS
• Tighten uniformly in diagonally opposite sequence
• The torque listed in tab are applicable to anges: EN1092-1, DIN2501, BS4504, ANSI
B16.5, JIS
• Is recommended the use of gaskets DIN 2690
• For DN > 1000 contact the manufacturer
• (***)= ANSI 150
• [***]= ANSI 300

2500_EN_IT_IS_R2_PED
6 di 9
NOTE PER SENSORI SOTTOPOSTI ALLA DIRETTIVA PED
Di seguito le tabelle esplicative riguardanti i prodotti sottoposti alla direttiva Pressure Equipment
Device 2014/68/UE (PED) recepita con DECRETO LEGISLATIVO 15 febbraio 2016 , n. 26.
I modelli sono : MS1000/MS2410/MS2500.
Le tabelle, distinte per temperatura di esercizio dell’acqua (TAB A T<110°C TAB B T>=110 °C),
indicano quali categorie PED siano applicabili ai nostri prodotti e quali siano fornibili attualmente.
Nel caso di applicabilità viene indicata, in corrispondenza del diametro sensore e della pressione
nominale, in quale categoria PED il prodotto ricade.
DN
PRESSIONE NOMINALE (PN)
10 16 25 40
25
USARE PN 40
E
32 E
40 E
50
USARE
PN 16
E
USARE
PN 40
E
65 E E
80 E E
100 E E
125 E E
150 E E
200 E E E E
250 I I I I
300 I I I I
350 I I I I
400 I I I I
450 I I I I
500 I I I I
600 I I I I
700 I I I I
800 I I I I
900 I I I I
1000 I I I I
1200 I I I I
1300 I I I I
1400 I I I I
1500 I I I I
1600 I I I I
1700 I I I I
1800 I I I I
2000 I I I I
2400 I I I I
tab. a
applicabilità Direttiva peD con
t. acqua < 110°c per tutti i rivestimenti pp-
ebanite-ptfe
DN
PRESSIONE NOMINALE (PN)
10 16 25 40
25
USARE PN 40
E
32 E
40 II
50
USARE PN
16
I
USARE PN
40
II
65 I II
80 I II
100 I II
125 I II
150 I II
200 I I II II
250 I II II II
300 I II III III
350 I III III III
400 II III III III
450 II III III III
500 II III III III
tab. b
applicabilita’ Direttiva peD con
t. acqua >= 110°c solo per rivestimenti in
ptfe
legenDa
E ESCLUSI DALLA DIRETTIVA
I PED CAT. I
II PED CAT. II
III PED CAT. III
Per i prodotti appartenenti a categoria I è valida la dichiarazione di conformità disponibile nella
pagina seguente, per i prodotti appartenenti a categoria II e III è fornita una dichiarazione di
conformità specica per ogni misuratore prodotto.
The manufacturer guarantees only English text available on our web site www.isoil.com
2500_EN_IT_IS_R2_PED
6 di 9
NOTES FOR PED DIRECTIVE FOR SENSOR
Here below the tables of products subject to Directive Pressure Equipment Device 2014/68/UE
(PED) implemented by legislative decree February 15, 2016, n. 26
The models are : MS1000/MS2410/MS2500.
The tables show which category of PED is applicable according to the water operating
temperature (TAB A T <110 ° C TAB B T> = 110 ° C), sensor’s DN and its nominal pressure.
DN
NOMINAL PRESSURE (PN)
10 16 25 40
25
USE PN 40
E
32 E
40 E
50
USE
PN 16
E
USE
PN 40
E
65 E E
80 E E
100 E E
125 E E
150 E E
200 E E E E
250 I I I I
300 I I I I
350 I I I I
400 I I I I
450 I I I I
500 I I I I
600 I I I I
700 I I I I
800 I I I I
900 I I I I
1000 I I I I
1200 I I I I
1300 I I I I
1400 I I I I
1500 I I I I
1600 I I I I
1700 I I I I
1800 I I I I
2000 I I I I
2400 I I I I
tab. a
peD Directive for water with
temperature <110°c
all lining : pp, ebonite,ptfe
DN
NOMINAL PRESSURE (PN)
10 16 25 40
25
USE PN 40
E
32 E
40 II
50
USE
PN 16
I
USE
PN 40
II
65 I II
80 I II
100 I II
125 I II
150 I II
200 I I II II
250 I II II II
300 I II III III
350 I III III III
400 II III III III
450 II III III III
500 II III III III
tab. b
peD Directive for water with
temperature >=110°c
only ptfe lining
legenDa
E OUT OF DIRECTIVE
I PED CAT. I
II PED CAT. II
III PED CAT. III
For products that falls in category I, is valid the declaration of conformity available on the
following page; the products in Category II and III are supplied with a specic declaration of
conformity for each instrument

2500_EN_IT_IS_R2_PED
7 di 9
Alla ne del suo ciclo di vita, questo prodotto deve essere smaltito in piena conformità ai
regolamenti in materia ambientale dello stato nel quale si trova.
The manufacturer guarantees only English text available on our web site www.isoil.com
2500_EN_IT_IS_R2_PED
7 di 9
At the end of its lifetime, this product shall be disposed of in full compliance with the
environmental regulations of the state in which it is located.

2500_EN_IT_IS_R2_PED
8 di 9
The manufacturer guarantees only English text available on our web site www.isoil.com
2500_EN_IT_IS_R2_PED
8 di 9

ISOIL INDUSTRIA S.p.A.
UFFICI ASSISTENZA
Via Fratelli Gracchi, 27
20092 Cinisello Balsamo (MI)
Tel +39 02 66027.1
Fax +39 02 6123202
vendite@isoil.it
assistenzaindustria@isoil.it
Per incontrare il distributore più vicino accedi al seguente link:
http://www.isoil.com/italia.asp?ID=ITALY
PRIMA di qualunque reso di materiale
contattare il nostro servizio ASSISTENZA:
assistenzaindustria@isoil.it
Dovuto al continuo sviluppo tecnologico e migliorie apportate
ai propri prodotti, il costruttore si riserva il diritto di apportare
modiche e/o cambiamenti alle informazioni contenute nel presente
documento senza preavviso
AZIENDA CON SISTEMA
DI GESTIONE QUALITA’
CERTIFICATO DA DNV GL
ISOIL INDUSTRIA S.p.A.
HEAD OFFICE SERVICE
Via Fratelli Gracchi, 27
20092 Cinisello Balsamo (MI)
Tel +39 02 66027.1
Fax +39 02 6123202
vendite@isoil.it
isomagservice@isoil.it
If you want to nd the complete list of our distributors access at the following link:
http://www.isoil.com/u_vendita.asp
BEFORE returning any material, please
contact our SERVICE at the e-mail adress:
isomagservice@isoil.com
Due to the constant technical development and improvement of its
products, the manufacturer reserves the right to make changes and/or
modify the information contained in this document without notice.
AZIENDA CON SISTEMA
DI GESTIONE QUALITA’
CERTIFICATO DA DNV GL
 Loading...