

USER GUIDE
SDBS20 SDBS40 WJBS40
DBS20-01 SDBS40-01 WJBS40-01
The picture is only for reference, please make the object as the standard.
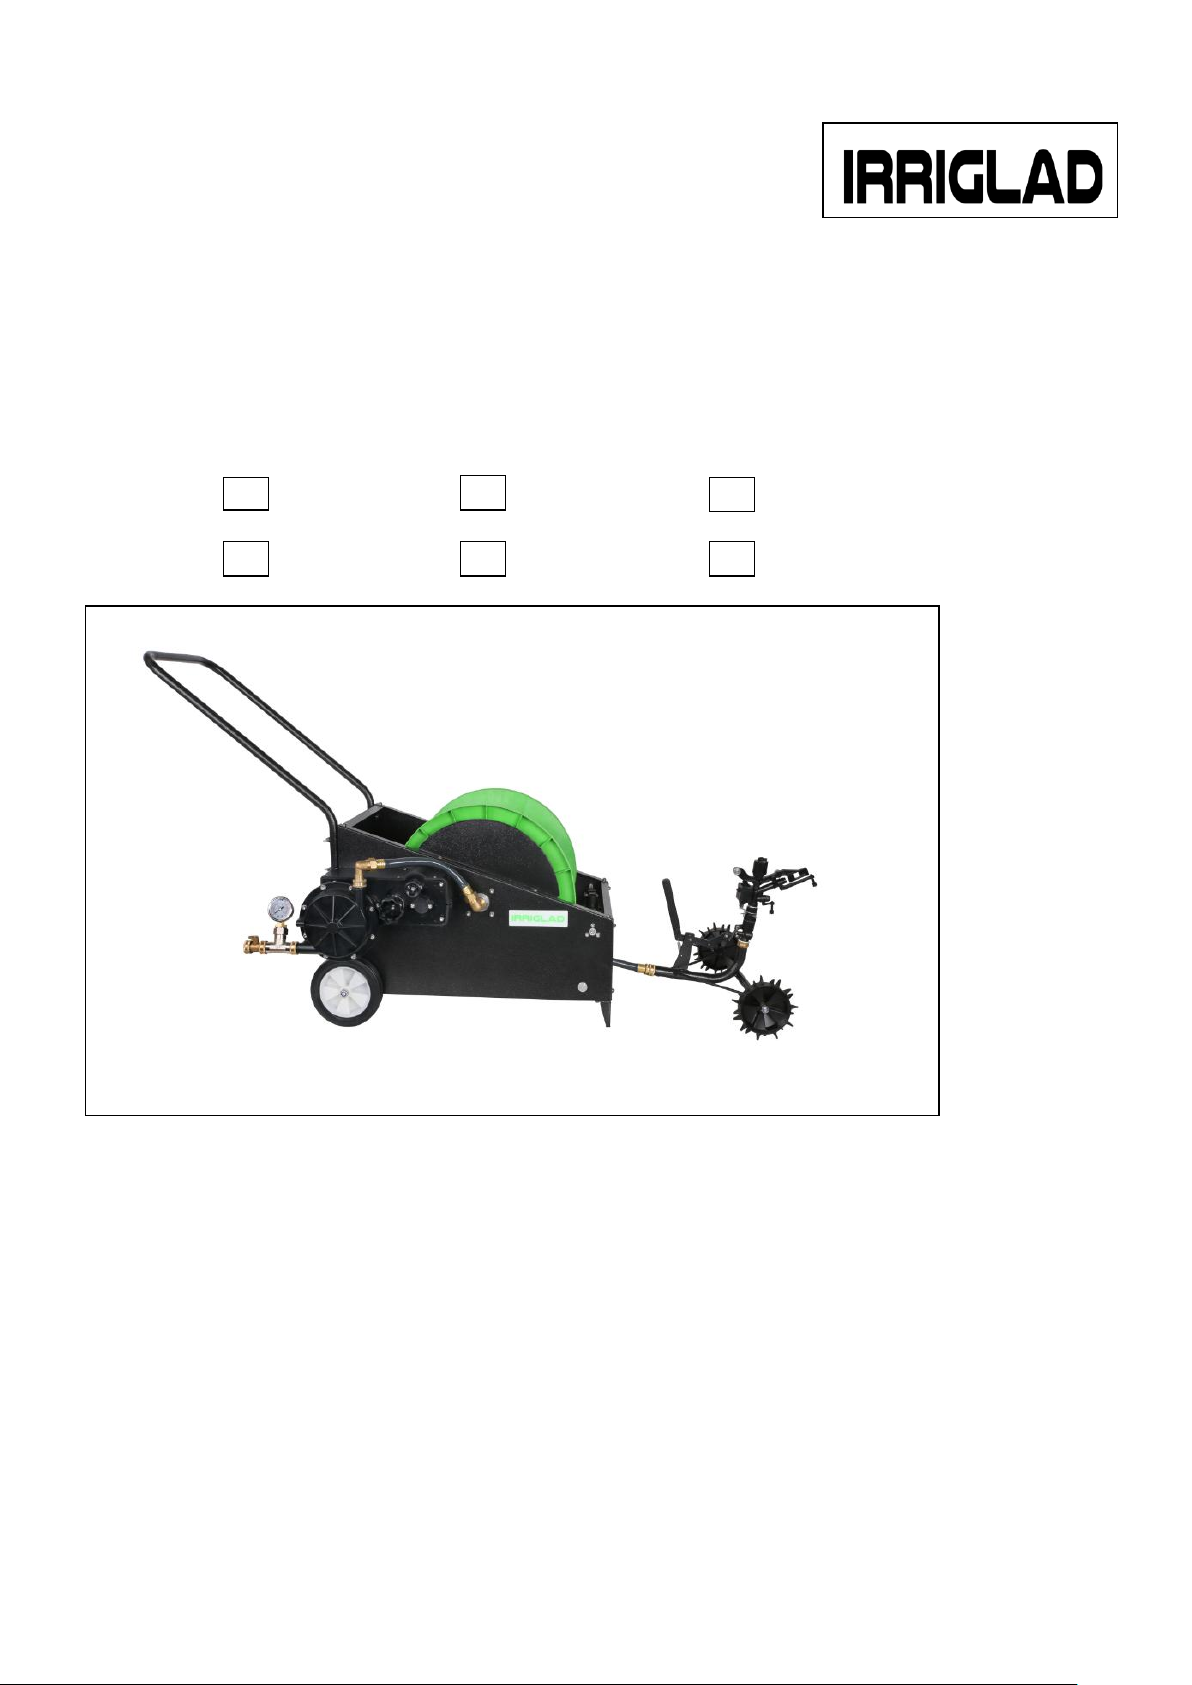
IRRIGLAD Hose Reel Water Carts are a portable irrigation option for irrigating lawns, crops,
sports fields, parks …etc
The way to go for getting rid of wastewater
Easy to use
Offer adjustable speed control to regulate run time & application depth
Feature automatic retraction and sprinkler shut down
VERSION A1

SDBS20- Manual Speed Adjustment Travelling Water Sprinkler
SDBS40- Manual Speed Adjustment Travelling Water Sprinkler
WJBS40- Variable Speed control Travelling Water Sprinkler
SDBS20-01 Manual Speed Adjustment Travelling Water Sprinkler (with turning function
device)
SDBS40-01 Manual Speed Adjustment Travelling Water Sprinkler (with turning function
device)
WJBS40-01 Variable Speed control Travelling Water Sprinkler (with turning function
device)
2
User Guide
- SDBS20 / SDBS40 / WJBS40/ SDBS20-01 / SDBS40-01 / WJBS40-01
(A)Product application:
Automatic irrigation for irrigating lawns, crops, sports fields, parks …etc
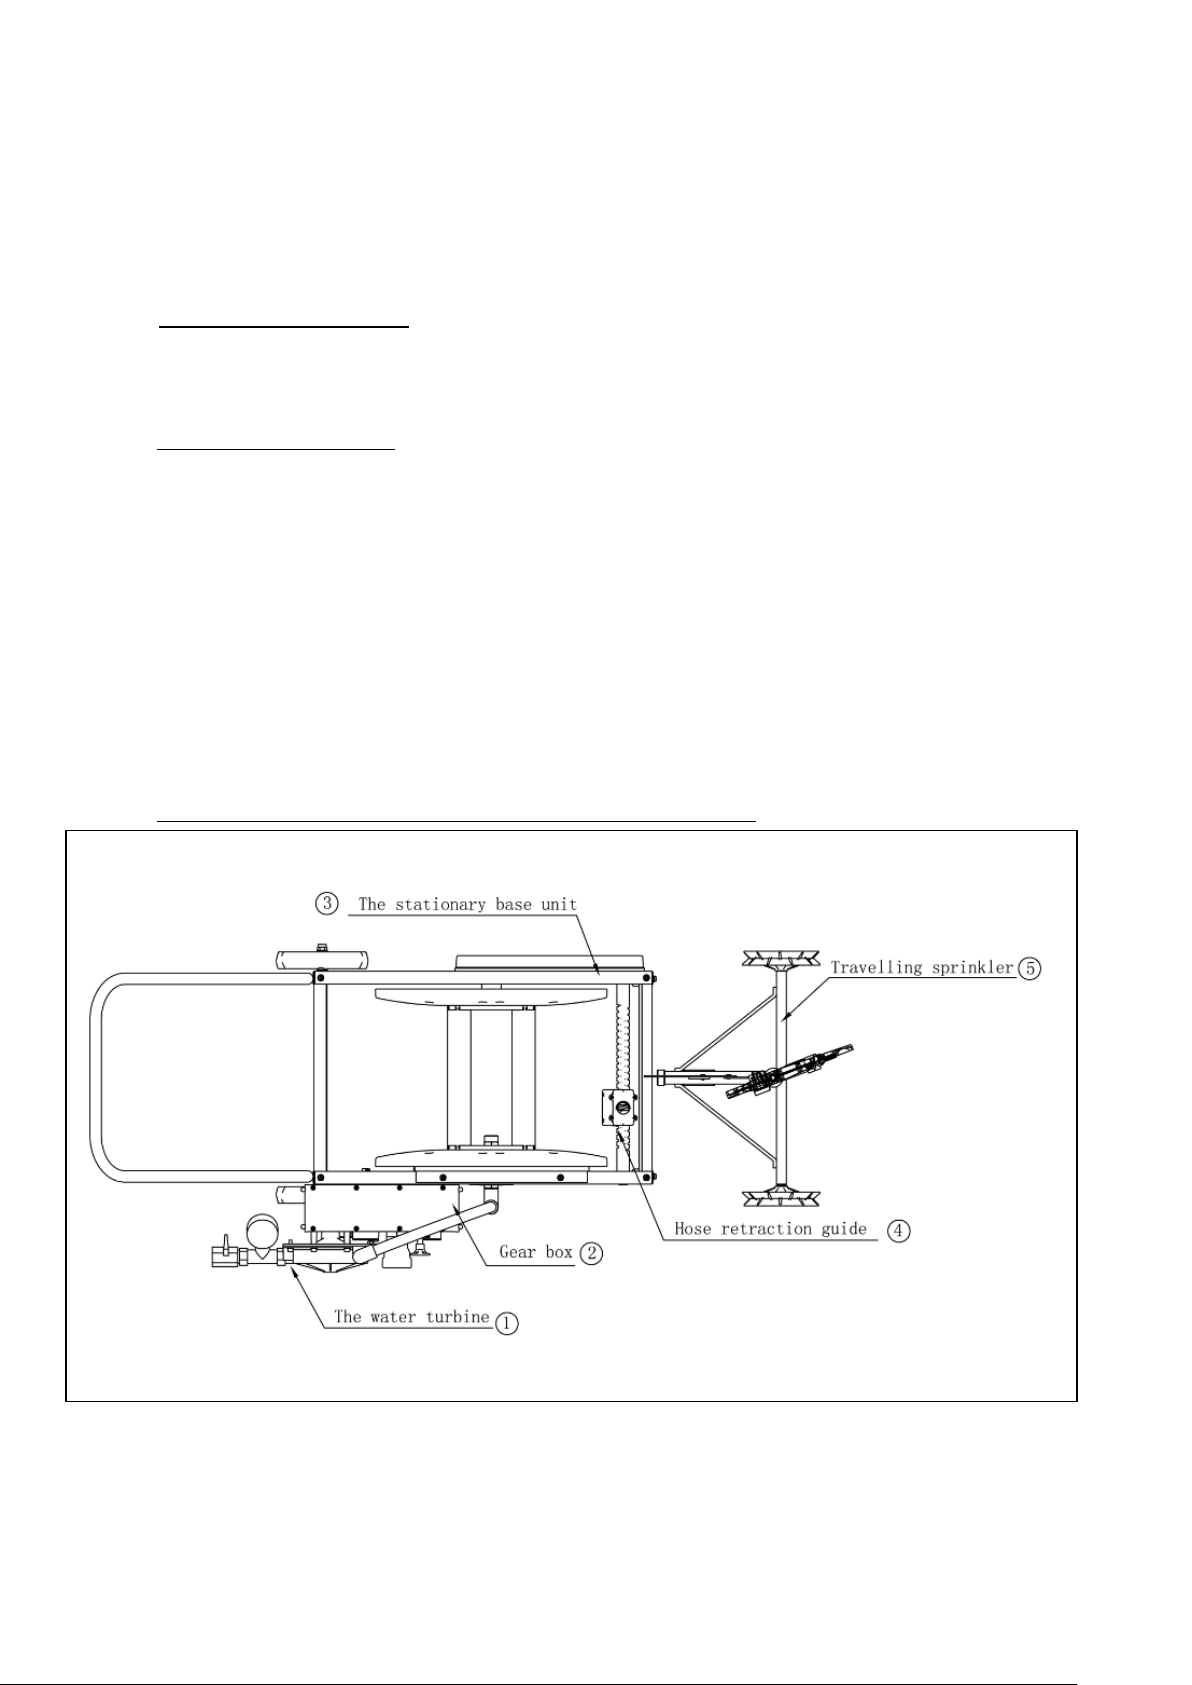
(B)Main Components:
① - The water turbine
② - Gear box
③ - The stationary base unit
④ - Hose retraction guide
⑤ - Travelling sprinkler
(C)Assemble Outline - Travelling Water Sprinkler:
1-1
3
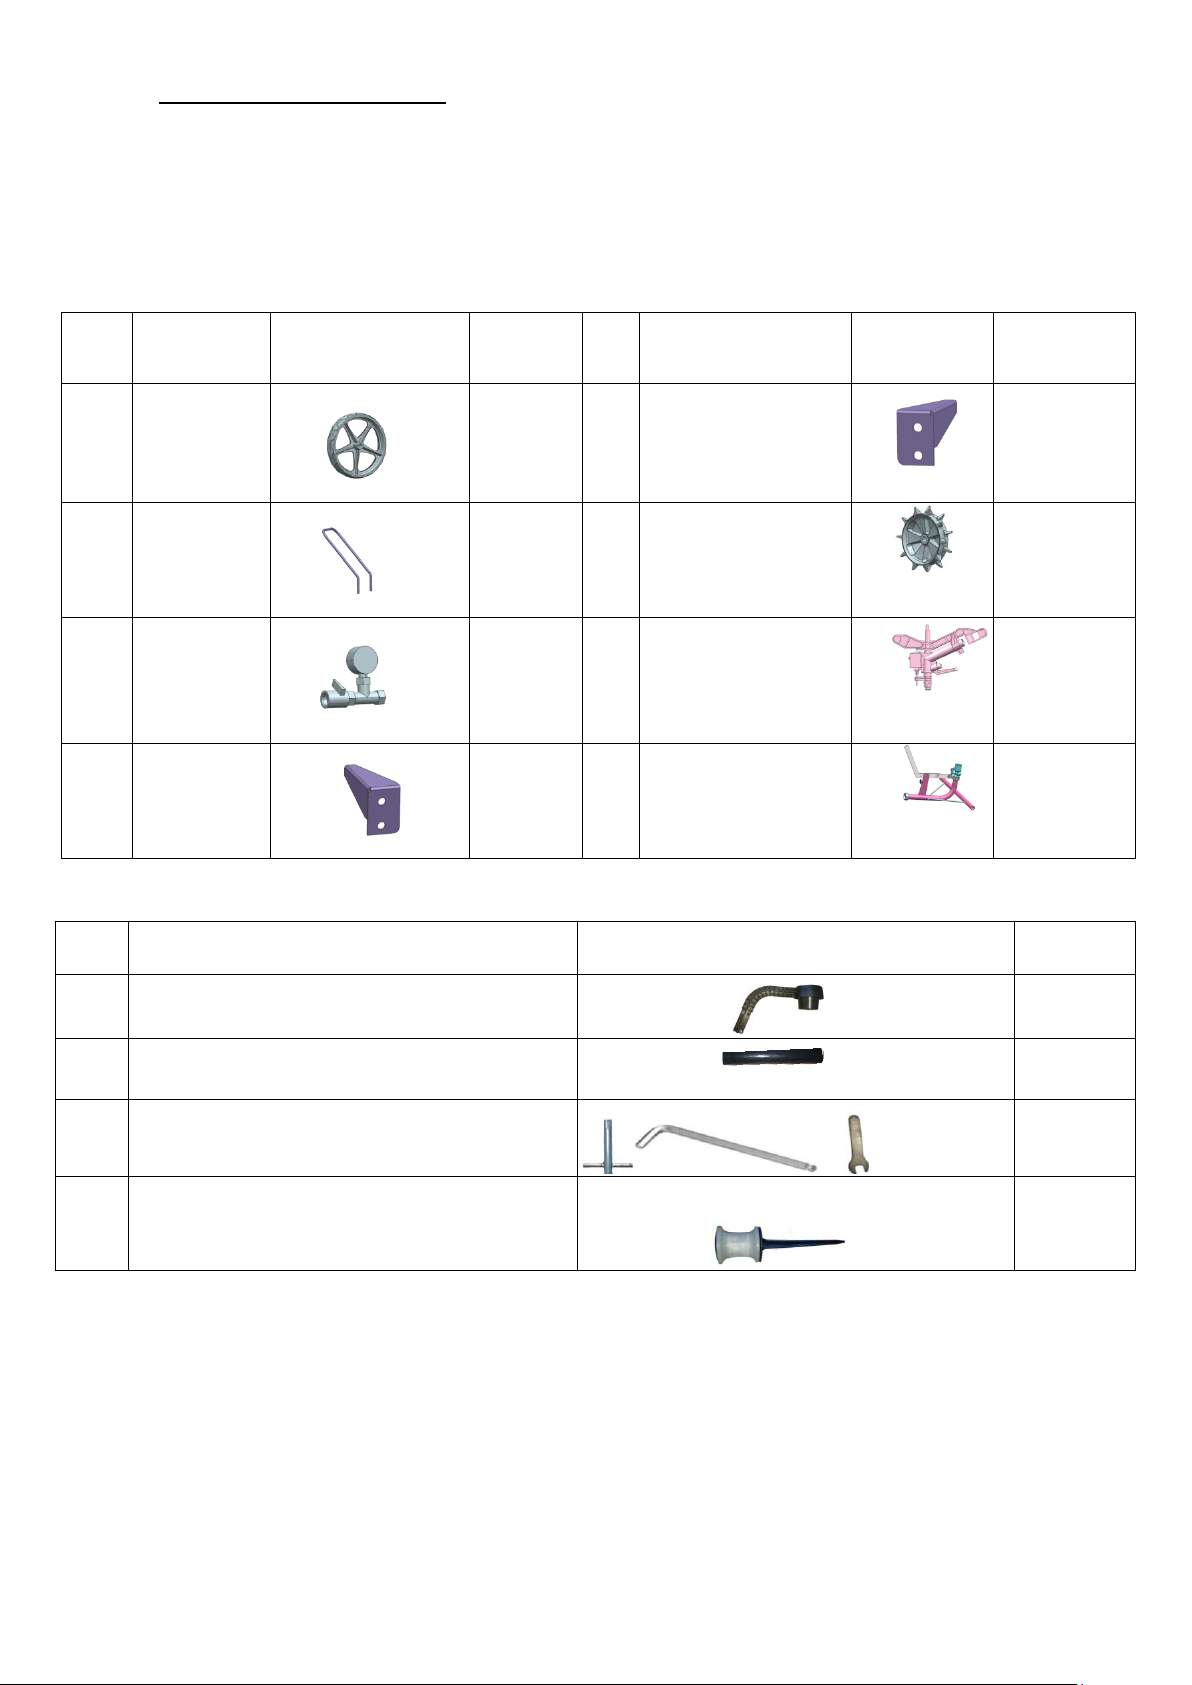
(D)Assembly Instructions:
No.
Parts Name
Pictures
Quantity
9
Guide rod
2
10
Guide tube
2
11
Tool
3
12
Spike
1
No.
Parts Name
Pictures
Quantity
No.
Parts Name
Pictures
Quantity
1
Back wheel
2 5 Left Foot Anchor
1
2
Handle
1
6
Front wheel
2
3
Three-way
valve with
pressure
gauge
1 7 G3/4"sprinkler head
1
4
Right Foot
Anchor
1
8
Watering cart
1
1. Components list:
2. Assemble Process:
*SDBS20 / SDBS40 / WJBS40/ SDBS20-01 / SDBS40-01 / WJBS40-01
List (1):
List (2):
Remarks: 9, 10, 12 of list (2) are used for the turning function, as alternative. 11 of list (2)
are common tools.
- Step 1: The thread shaft is already installed, and just rotate the wheel to finish it. The
4

1 Left back wheel
2 Handle
3 Three-way valve with hydrometer
4 Right Foot Anchor
5 Left Foot Anchor
The thread shaft
installation of the left thread shaft and the left wheel is the same as the right one. Tighten the
screws of the handle to assemble it as the following: (1-2)
1-2
- Step 2: Rotate the three-way valve with pressure gauge into the thread of water turbine.
(1-3)
1-3
- Step 3: Install the left and right foot Anchor on the stationary base unit. (1-4)
1-4
5

6 Right Front wheel
6 Left Front wheel
7 G3/4"sprinkler
9 Guide rod and 10 Guide tube
Assemble
the wheel
Connect the guide rod
and the guide tube
Tighten the
screws with
the tool
- Step 4: Install the sprinkler head and two front wheels on the travelling sprinkler cart. (1-5)
1-5
Remarks:
(1) The turning function is as alternative and the guiding device is assembled as the
following: (1-6)
1-6
(2) When using the turning function, insert the spike into the required position. The total
6

Thread joint
metal parts should be in the earth. When the guiding device meets the top of the spike, the
This part should be in the earth.
travelling position will be adjusted automatically. (1-7)
1-7
- Step 5: Connect the hose of the stationary Base Unit to the travelling sprinkler cart. (1-8)
1-8
(E)Operation instruction
* Part A - apply for SDBS20 / SDBS40/ SDBS20 -01/ SDBS40-01; Part B - apply for
WJBS40/ WJBS40-01
Part A:
Step 1: The fully Assembled Unit is pulled onto the lawn, and the legs are pushed into the
ground to prevent the Stationary Base Unit from moving. Connect the Stationary unit to the
water supply and close the main water valve.
7

Step 2: Pull out the clutch handle, the hose reel is separated and the hose reel can be rotated.
Pull out
Close
Open
Main water valve
(1-9)
1-9
Step 3: Button up the rotator clockwise, to make it off the transmission. (1-10)
1-10
Step 4: Pull the watering cart to the required irrigation position, and press the the open/close
lever to the fully open position. (1-11)
1-11
Step 5: Button the rotator into the groove anticlockwise. (1-12)
1-12
8

Step 6: Push in the clutch handle and engage the clutch handle. Shift: inside is slow, outside
Slow
Fast
Push in
Main water valve
is fast. (1-13)
1-13
Step 7: Open the main water valve and adjust the water pressure. The sprinkler sprays, and
the water flow will drive the travelling water sprinkler to recovery the hose. The higher the
water pressure, the faster the recovery speed. When the hose fully retracted, it is
automatically shut off.
Remarks: the retractable speed will be adjusted during the watering by Hose-recovery
Speed rotator.
Part B:
Step 1: The fully Assembled Unit is pulled onto the lawn, and the legs are pushed into the
ground to prevent the Stationary Base Unit from moving. Connect the Stationary unit to the
9

water supply and close the main water valve.
Open
Close
Pull out
Main water valve
Step 2: Pull out the clutch handle, the hose reel is separated and the hose reel can be rotated.
(1-14)
1-14
Step 3: Button up the rotator clockwise, to make it off the transmission. (1-15)
1-8
1-15
Step 4: Pull the travelling Sprinkler to the required irrigation position,
and press the open/close lever to the fully open position.(1-16)
1-16
Step 5: Button the rotator into the groove anticlockwise. (1-17)
1-17
10

Step 6: Push in the clutch handle and engage the clutch handle. (1-18)
Push in
Hose-recovery Speed rotator
Main water
1-18
Step 7: Open the main water valve and adjust the water pressure. The sprinkler sprays, and
the water flow will drive the travelling water sprinkler to recovery the hose. The higher the
water pressure, the faster the recovery speed. When the hose fully retracted, it is
automatically shut off. (1-19)
1-19
Remarks: the retractable speed will be adjusted during the watering by Hose-recovery
Speed rotator.
(F) Warranty:
- The water cart without the water hose: 2 years life time guarantee
-Water hose used on the water cart: 1year life time guarantee
11

Except following situation:
1 The product was not normal use.
2 Unauthorized misuse, abuse and change.
3 Product of the normal wear and tear.
4 Damaged by force majeure such as earthquake, floods lightning strike, transport accident
and so on.
(G) Special Tips:
1 The water pressure should not exceed the maximum allowable value.
12

2 Electric shock hazard, do not spray water on or near electrical connections, products or into
outlets. For watering use with outdoor home water faucet only. Not for indoor or appliance
use. Use only with pressure 100 PSI max. Do not use with water exceeding 100℉(38℃).
Detach, (if it has flow control, turn it to on position) and drain before freezing weather. Do
not leave product pressurized while unattended.
3 This product can expose you to chemicals including lead, which is known to the State of
California to cause cancer and birth defects or other reproductive harm. Wash hands after
handling. For more information go to www.P65Warnings.ca.gov
13
 Loading...