

Page 1
Electronic Thermo-Hygrometer
Model: ETHG912
USER MANUAL
COM
EN
INTRODUCTION
This thermo-hygrometer has been designed specifically with
performance and ease-of-use in mind. This thermo-hygrometer
is made to the highest quality standards using precision electronic
components and should give you many years of trouble free
use.
Please read the User’s Guide carefully before use to ensure you
get the best out of your new thermo-hygrometer.
INDOOR THERMOMETER WITH RELATIVE
HUMIDITY READING
The thermo-hygrometer is specially designed for accurate
reading of indoor temperature and relative humidity. It can help
you control humidity and your heating / cooling system, for an
ideal living environment.
FEATURES
Easy Operation: Displays the temperature and relative humidity
reading automatically.
Error-free Reading: Digital display system ensures clear,
error-free reading at a glance.
Temperature compensation: Assures accurate relative humidity
measurement unaffected by temperature change.
Comfort indicator: The comfort indicator lets you know when
your environment is in the ideal range for both relative humidity
and temperature.
Mounting: Table or wall-mount option.
INSTALLING THE BATTERY
The thermo-hygrometer is powered by one piece UM-4 or
AAA size battery. Follow the below steps to install or replace
the batteries:
1. Open the battery cover on the back of the unit.
2. Insert the battery as indicated by the polarity symbols (+/-)
marked inside the battery compartment.
3. Replace the battery cover.
NOTE
1. When you install or replace the battery, it takes time to reset
both the temperature and humidity data.
The display will show ‘---°C’ and ‘88%’ for 1 to 2 seconds,
then it shows the updated tem peratur e and humidit y
reading.
2. When the display becomes dim, replace the battery.
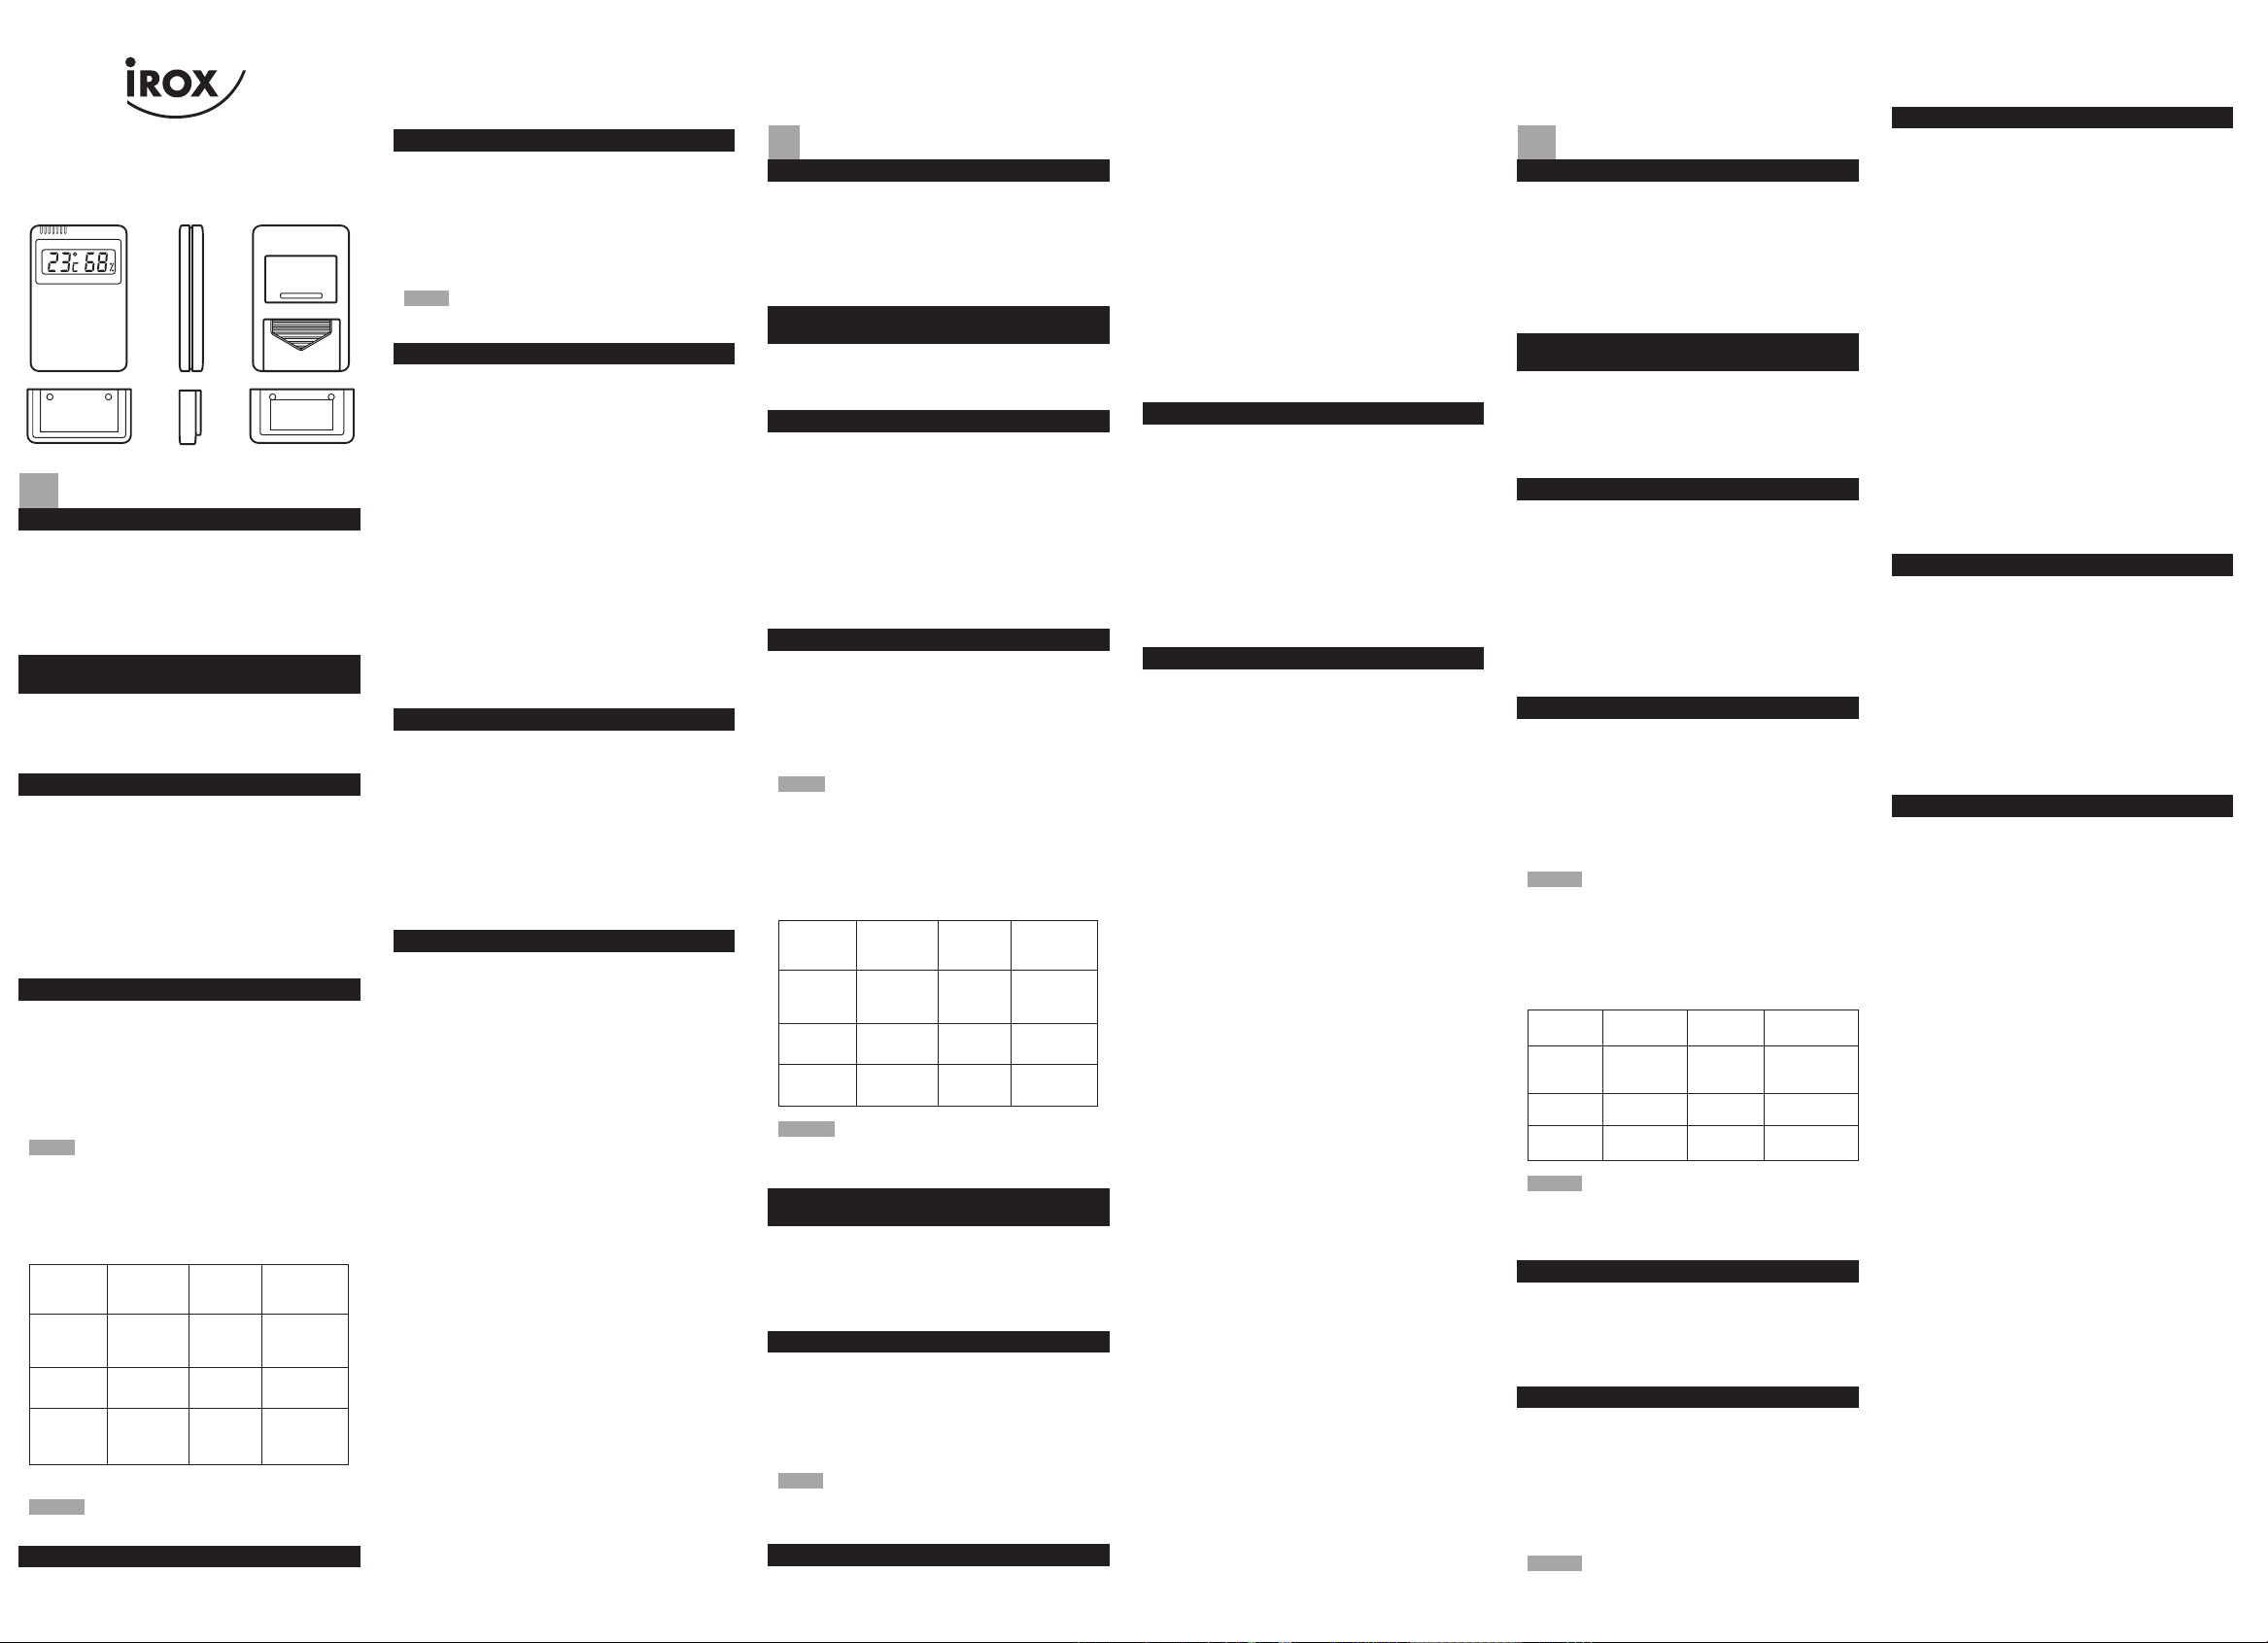
Indicator on
the display
Temperature
Range
Humidity
Range
Shows the
current
environment
COM 20ºC to 25ºC
(68ºF to 77ºF)
40% RH to
70% RH
(Comfort)
Ideal range for
both relative
humidity and
temperature
WET 0ºC to 50ºC
(32ºF to 122ºF)
Over
70% RH
Contains excess
moisture.
(Too wet)
DRY
0ºC to 50ºC
(32ºF to 122ºF)
Below
40% RH
Contains
inadequate
moisture.
(Too dry)
NOTE Some env iron ment s ma y excee d th e above
standards. When this happens, COM, WET or DRY will not
appear on the display.
USE OF SUPPLIED STAND
You can set your thermo-hygrometer on a table as follows:
1. Remove the plastic bracket.
2. Flip out the built-in plastic stand on the back side of the
thermo-hygrometer.
MOUNTING THE THERMO-HYGROMETER
Follow these steps to mount the thermo-hygrometer:
1. The thermo-hygrometer has a plastic bracket with sticker
pad on the back side of the bracket.
Peel off the protective paper on the sticker pad for attaching
the bracket on a wall.
2. Slide the thermo-hygrometer down into the holder unit until
it locks into place.
NOTE Do not place the thermo-hygrometer in direct sunlight
or in area exposed to heavy saturation.
PRECAUTIONS
When handled properly, this unit is engineered to give you
years of satisfactory service. Here are a few product care
instructions:
1. Do not immerse the unit in water. If the unit comes in contact
with water, dry it immediately with a soft lint-free cloth.
2. Do not clean the unit with alcohol containing detergent,
abrasive or corrosive materials. Abrasive cleaning agents
may scratch the plastic parts and corrode the electronic
circuit.
3. Do not subject the unit to excessive force, shock, dust,
temperature, or humidity. Such treatment may result in
malfunction, a shorter electronic life span, damaged batteries,
or distorted parts.
4. Do not tamper with the unit’s internal components. Doing so
will terminate the unit’s warranty and may cause damage.
The unit contains no user-serviceable parts.
5. Only use new batteries as specified in this instruction manual.
Do not mix new and old batteries as the old batteries may
leak.
6. Read this instruction manual thoroughly before operating the
unit.
SPECIFICATIONS
Temperature: 0°C to 50°C (32°F to 122°F)
Measuring Range
Temperature: 1°C (2°F)
Resolution Humidity: 25% RH to 95% RH
at 25°C (77°F)
Measuring Range Humidity: 1% RH
Resolution Power Source: One (1) UM4 (AAA) battery
Battery Life: Approx. 6 months
Dimension: 93 x 62 x 15 mm (H x W x D)
Weight: 80 g (without battery)
CAUTION
• The contents of this manual and the product specifications are
subject to change without further notice.
• The technical specifications of this product are subject to
change without notice.
• The contents of this manual may not be reproduced without
the permission of the manufacturer.
Thermohygromètre Electronique
Modèle: ETHG912
Manuel d’utilisation
FR
INTRODUCTION
Ce thermohyg rom ètr e a été conçu ave c le souci d’une
performance optimale et d’une grande facilité d’utilisation. Ce
thermohygromètre a été fabriqué selon les standards de qualité
les plus élevés, avec l’utilisation de composants électroniques
de précision, pour vous apporter de nombreuses années de
satisfaction.
Lisez attentivement ce manuel d’utilisation avant toute première
utilisation afin d’utiliser votre nouveau thermohygromètre de
façon optimale.
THERMOMÈTRE INTÉRIEUR AVEC MESURE DE
L’HUMIDITÉ RELATIVE
Ce thermohygromètre a été spécialement conçu de façon à
permettre une lecture précise de la température intérieure et
de l’humidité relative. Il peut vous permettre de contrôler le taux
d’humidité relative de votre environnement et par conséquent
évaluer au mieux vos besoins de chauffage / climatisation, pour
votre plus grand confort.
CARACTÉRISTIQUES
Facilité d’Utilisation : Affichage automatique de la température
et de l’humidité relative.
Mesure de Précision : L’affichage numérique permet une lecture
rapide et précise des relevés.
Compensation des Températures : Permet une mesure précise
de l’humidité relative, indépendamment des changements de
température.
Indice de Confort : L’indice de confort vous indique lorsque
l’envir onnement est idéal sur la base des relevés de la
température et de l’humidité relative.
Montage : Sur dessus de table ou mural.
INSTALLATION DE LA PILE
Votre thermohygromètre est alimenté par une pile de type UM4 ou AAA. Suivez les instructions suivantes pour installer ou
remplacer la pile :
1. Ouv rez la trappe du compartim ent à piles au dos de
l’appareil.
2. Insérez la pile en respectant les indications de polarités (+/-)
à l’intérieur du compartiment.
3. Remettez la trappe du compartiment à piles en place.
NOTE :
1. Lorsque vous installez ou remplacez la pile, les données
con cernant la température et l’h umidité relat ive sont
réinitialisées.
L’affichage indique : « --°C » et « 88% » pendant 1 à 2
secondes, puis les relevés actualisés de la température et
de l’humidité relative
s’affichent à l’écran.
2. Lorsque l’affichage s’affaiblit, remplacez la pile.
Indicateur à
l’affichage
Températures
Humidité
relative
Environnement
présent
COM 20°C à 25°C
(68°F à 77°F)
40% HR à
70% HR
(Confortable)
Environnement
idéal
WET 0ºC à 50ºC
(32ºF à 122ºF)
Supérieure à
70%
Trop humide
DRY 0ºC à 50ºC
(32ºF à 122ºF)
Inférieure à
40%
Trop sec
NOTE :
Certains environnements peuvent ne pas se conformer aux
standards décrits ci-dessus. Dans ce cas de figure, les indicateurs
COM, WET ou DRY n’apparaissent pas à l’affichage.
UTILISATION DU SOCLE
Vous pouvez poser votre thermohygromètre sur un dessus de
table en procédant comme suit :
1. Enlevez le support en plastique située au dos de l’appareil.
2. Faites basculer le socle en plastique intégré et posez
l’appareil sur un dessus de table.
MONTAGE MURAL
Suivez les instructions suivantes pour un montage mural de
votre thermohygromètre :
1. L’appareil est équipé au dos d’un support en plastique avec
une surface autocollante permettant un montage mural.
Enlevez la feuille de protection au dos du support et collez
le support sur le mur.
2. Faites glisser le thermohygromètre dans son support jusqu’à
ce qu’il s’enclenche en position.
NOTE :
Ne placez pas le thermohygromètre en plein soleil ou dans
lieux très humides.
PRÉCAUTIONS D’EMPLOI
Cet appareil a été conçu de faç on à vou s appo rte r de
nombreuses années de satisfaction, sous réserve toutefois
que vous en preniez soin. Vous trouverez ci-dessous quelques
précautions d’emploi, ainsi que quelques conseils utiles pour
l’entretien de votre appareil.
1. Ne plongez pas l’appareil sous l’eau. Si l’appareil vient à
tomber dans l’eau, séchez-le immédiatement avec un chiffon
doux qui ne peluche pas.
2. Ne nettoyez pas le corps de l’appareil avec des détergents
contenant de l’alcool ou d’autres substances corrosives.
Des détergents abrasifs peuvent endommager les pièces en
plastiques et corroder les circuits électroniques.
3. Ne faites subir aucun choc à cet appareil et gardez-le à l’abri
de l’humidité et des températures extrêmes, au risque de
causer un mauvais fonctionnement de l’appareil, de réduire
la durée de vie des circuits électroniques, d’endommager les
piles ou de déformer certaines pièces.
4. Ne touchez pas aux composants internes de cet appareil,
au risque d’endommager l’appareil et d’annuler votre garantie.
Cet appareil contient des pièces qui ne nécessitent aucune
maintenance.
5. Utilisez uniquement des piles du type recommandé dans le
manuel d’utilisation. Ne mélangez pas des piles neuves avec
des piles usées, au risque de causer un écoulement des
piles.
6. Lisez attentivement le manuel d’utilisation avant
toute
première utilisation de
cet appareil.
SPÉCIFICATIONS
Températures : 0°C à 50°C (32°F à 122°F)
Précision des relevés de
température : 1°C (2°F)
Humidité relative : 25% HR à 95% HR
à 25°C (77°F)
Précision des relevés de
l’humidité : 1% HR
Source d’alimentation : Une (1) pile UM-4 (AAA)
Durée de vie de la pile : Environ 6 mois
Dimensions : 93 x 62 x 15 mm (H x L x P)
Poids : 80g (sans la pile)
ATTENTION
• Le contenu de ce manuel d’utilisation et les spécifications du
produit sont sujets à modification sans avis préalable.
• Les spécifications techniques de ce produit sont sujettes à
modification sans avis préalable.
• Le contenu de ce manuel ne peut être reproduit sans la
permission du fabriquant.
Termoigrometro elettronico
Modello: ETHG912
Manuale d’uso
IT
INTRODUZIONE
Questo termoigrometro è stato progettato per offrire prestazioni
ottimali e una
estrema facilità d’uso.Questo termoigrometro
è conforme ai migliori standard qualitativi ed è costituito dai
migliori componenti elettronici di precisione per garantire anni
di corretto utilizzo.
Leggere attentamente il manuale
d’uso prima dell’uso per
ottenere il massimo risultato dal nuovo termoigrometro.
TERMOMETRO PER INTERNI CON LETTURA
DELL’UMIDITÀ RELATIVA
Il termoigrometro è stato proget tato per una rile vazi one
accurata della temperatura interna e dell’umidità relativa
per
un ambiente ideale.
FUNZIONI
Il termoigrometro rileva e visualizza automaticamente i valori
della temperatura e dell’umidità relativa.
Il prodotto è dotato di un sistema con display digitale che
garantisce una lettura accurata e chiara delle informazioni.
Garantisce un’accurata misurazione dell’umidità relativa non
influenzata dai cambiamenti di temperatura.
L’indicatore di benessere informa sulle condizioni ambientali
che rientrano nell’intervallo ideale per quanto riguarda umidità
relativa e temperatura.
Il termoigrometro può essere utilizzato appoggiato su una
superficie piana o appeso ad una parete.
INSTALLAZIONE DELLE BATTERIA
Il termoigrometro è alimentato da una batteria UM-4 o AAA. Per
installare o sostituire la batteria, seguire i seguenti passaggi:
1. Aprire il coperchio del vano batteria sul retro dell’unità.
2. Inserire la batteria rispettando i simboli delle polarità (+/-)
riportati all’interno del vano batteria.
3. Riposizionare il coperchio del vano batteria.
NOTA
1. Dop o l’inst allazione o la sostituzione della batteria, è
necessario attendere alcuni istanti per il ripristino dei dati
relativi alla temperatura e all’umidità.
Sul display verrà visualizzato: ºC’ e ‘88%’ per 1 o 2 secondi
e quindi i valori aggiornati della temperatura e dell’umidità.
2. Quando il display si affievolisce, sostituire la batteria.
Indicatore
sul display
Intervallo
temperatura
Intervallo
umidità
Condizione
ambientale
corrente
BEN Da 20ºC a 25ºC
(da 68 ºF a
77ºF)
Da 40% RH a
70% RH
(Benessere)
Intervallo ideale
per l’umidità
relativa e la
temperatura
UMIDO Da 0ºC a 50ºC
(da 32ºF a
122ºF)
Oltre 70% RH Molta umidità.
(Troppo umido)
SECCO Da 0ºC a 50ºC
(da 32ºF a
122ºF)
Inferiore a
40% RH
Scarsa umidità.
(Troppo secco)
NOT A Qua nd o i va lori rile va ti non sono com pr esi
negli intervalli sopra riportati, il prodotto non riporta alcuna
indicazione.
UTILIZZO DEL SUPPORTO FORNITO IN
DOTAZIONE
È possibile posizionare il termoigrometro su un tavolo nel
modo seguente:
1. Rimuovere la graffa di plastica.
2. Aprire il suppo rto di plastica incorpor ato sul retr o del
termoigrometro.
MONTAGGIO DEL TERMOIGROMETRO
Per montare il termoigrometro, seguire i passaggi seguenti:
1. Il termoigrometro è dotato di un supporto di plastica che
presenta un cuscinetto adesivo sul retro. Togliere il foglio
adesivo dal cuscinetto per fissare il supporto al muro.
2. Far scorrere il termoigrometro verso il basso all’interno del
supporto finché non scatta in posizione.
NOTA Non esporre il termoigrometro alla luce diretta del sole
o in un ambiente troppo saturo.
PRECAUZIONI
Se manipolata correttamente, questa unità è stata progettata per
offrire anni di funzionamento soddisfacente. Leggere le istruzioni
seguenti sulla manutenzione del prodotto:
1. Non immergere l’unità nell’acqua. Se l’unità entra in contatto
con l’acqua, asciugarla immediatamente con un panno
asciutto.
2. No n puli re l’u nità c on alc ol, de terg enti o m ater iali
abrasivi o corrosivi. Gli agenti abrasivi possono graffiare le
parti in plastica e corrodere il circuito elettronico.
3. Non sottoporre l’unità a umidità, temperature, polvere, scosse
e sforzi eccessivi per evitare malfunzionamenti oppure per
non abbreviare la durata dei componenti elettronici, per non
danneggiare le batterie o deformare alcuna parte.
4. Non manomettere i componenti interni dell’unità. Ciò potrebbe
invalidare la garanzia e danneggiare il prodotto. L’unità non
contiene parti riparabili dall’utente.
5. Utilizzare solo batterie nuove del tipo specificato nel manuale
di istruzioni. Non mescolare batterie vecchie e nuove. Le
batterie vecchie potrebbero perdere liquidi.
6. Leggere attentamente il manuale di istruzioni prima di mettere
in funzione l’unità.
SPECIFICHE
Intervallo di misurazione
della temperatura: da 0 °C a 50 °C
(da 32 °F a 122 °F)
Risoluzione della
temperatura: 1 °C (2 °F)
Intervallo di misurazione
dell’umidità: da 25% RH a 95%
RH a 25 °C (77 °F)
Risoluzione dell’umidità: 1 % RH
Alimentazione: Una (1) batteria UM4 (AAA)
Dimensioni: 93 x 62 x 15 mm (A x L x P)
Peso: 80 g (senza batteria)
ATTENZIONE
• Il contenuto del manuale e le specifiche del prodotto sono
soggetti a modifiche senza preavviso.
• Le specifiche tecniche del prodotto sono soggette a modifiche
senza preavviso.
• È vietato riprodurre il contenuto di questo manuale senza il
consenso del produttore.
P/N: 086L001499-230 REV1
1/2
Page 2
Termo-Higrómetro
Modelo: ETHG-912
Instrucciones de Funcionamiento
ES
INTRODUCCION
Este está hecho con los más altos niveles de calidad y utilizando
componentes electrónicos de gran precisión que se espera le
facilitarán su uso, sin problema alguno, por mucho tiempo.
Por favor, lea ate nta mente las in str uccio nes antes de
utilizarlo con el fi n de obtener el mayor rendimiento de su
nuevo modelo.
TERMÓMETRO DE INTERIOR CON LECTURA
DE HUMEDAD RELATIVA
El Termo-higrómetro está especialmente diseñado para la
medición precisa de la temperatura interior y la humedad
relativa. Puede ayudarle a controlar la humedad y el sistema de
calefacción / refrigeración, para un ambiente ideal.
CARACTERÍSTICAS
Fácil operación: Muestra la temperatura y la medición de la
humedad relativa automáticamente.
Lectura libre de errores: Si stema d e pa ntall a di gital , que
asegura una medición clara y libre de errores de un vistazo.
Compensación de: Asegura una medición correcta de la
temperatura humedad relativa sin afectarle los cambios de
temperatura.
Indicador de confort: El indicador de confort le hace saber cuando
el ambiente está a un nivel ideal tanto para la humedad relativa
como para la temperatura.
Montaje: Montaje en mesa o en pared.
INSTALACIÓN Y REEMPLAZO DE LAS PILAS
El termo-higrómetro funciona con una sola pila de tamaño UM-4
o AAA. Siga estos pasos para instalar o reemplazar la pila:
1. Abra la tpa del compartimento en la parte trasera de la
unidad.
2. Coloque la pila tal como indican los símbolos de polaridad
(+ / -) que están marcados dentro del compartimiento de las
pilas.
3. Cierre la tapa del compartimento de las pilas.
NOTA
1. Cuando instale o cambie la pila, se necesita algo de tiempo
para reiniciar los datos de temperatura y humedad. La
pantalla mostrará “--- °C” y “88%” durante 1 o 2 segundos,
y entonces mostrará los datos actualizados de temperatura
y humedad.
2. Cuando la pantalla no aparezca clara, es un buen momento
para cambiar la pila.
CÓMO LEER LOS INDICADORES DE
HUMEDAD RELATIVA Y CONFORT
La unidad muestra la humedad relativa del interior y esta
medición está compensada por la temperatura. A la vez, los
indicadores de confort – COM, WET o DRY le dirán si el ambiente
actual es confortable, demasiado húmedo o demasiado seco.
Los indicadores de confort aparecerán en la pantalla cuando se
cumplan las siguientes condiciones:
Indicación
en la
pantalla
Nivel de
temperatura
Nivel de
humedad
Estado del
ambiente
actual
COM 20ºC a 25ºC
(68ºF a 77ºF)
40% RH a
70% RH
Nivel ideal tanto
para tempertura
como para
humedad
WET 0ºC a 50ºC
(32ºF a 122ºF)
Màs de
70% HR
Humedad
excesiva
DRY
0ºC a 50ºC
(32ºF a 122ºF)
Menos de
40% HR
Humedad
inadecuada
NOTA Algunos ambientes pueden exceder los estándares
expuestos arriba. En ese caso, no se mostrarán los indicadores
COM, WET o DRY.
USO DEL SOPORTE INCORPORADO
Puedo colocar su termo-higrómetro en una mesa de la forma
siguiente:
1. Quite el soporte del plástico.
2. Gire el soporte incorporado hacia la parte posterior del
termo-higrómetro.
MONTAJE DEL TERMO-HIGRÓMETRO
Siga estos pasos para montar el termo-higrómetro:
1. El termo-higrómetro tiene un soporte de plástico con una
superfi cie adhesiva en la parte posterior. Quite el papel
protector de la superfi cie adhesiva para colocar el soporte
en la pared.
2. Deslice el termo-higrómetro en el soporte hasta que se
coloque en su sitio.
NOTA Coloque el termo-higrómetro lejos de la luz del sol
directa y de la saturación alta.
PRECAUCIONES
Este producto está diseñado para ofrecerle años de servicio
satisfactorio si lo maneja cuidadosamente. Aquí hay unas
pocas precauciones:
1. No lo sumerja en agua
2. No limpie la unidad con materiales abrasivos o corrosivos.
Se puede dañar las partes de plástico y corroer el circuito
eléctrico.
3. No someta la unidad a fuerzas excesivas, sacudidas, polvo,
tempera tu ra o hu medad q ue puede ca us ar un mal
funcionamiento, acortar la duración electrónica, dañar las
pilas y distorsionar algunas partes.
4. No juegue con los componentes internos de la unidad. El
hacerlo invalidaría la garantía en la unidad y podría causar
daños innecesarios. La unidad no contiene partes que
puedan utilizarse por el usuario.
5. Use solo pilas nuevas como se especifi ca en el manual del
usuario. No mezcle pilas nuevas y usadas ya que las usadas
pueden licuar.
6. Lea siempre el manual del usuario por completo antes de
usar la unidad.
ESPECIFICACIONES
Nivel de medida de la
temperatura: 0°C a 50°C (32°F to 122°F)
Resolución de la
temperatura: 1°C (2°F)
Nivel de medida de la
humedad: 25% a 95% HR a 25°C (77°F)
Resolución de la humedad: 1% HR
Fuente de alimentación: Una pila (1) LR03 (AAA) de 1,5V
Duracion de las pilas: Aprox. 6 meses.
Dimensiones: 93 x 62 x 15 mm
(Altura x Anchura x Profundidad)
Peso: 80 g (Sin batería)
PRECAUCION
• El contenido de este manual está sujeto a cambio sin aviso
previo.
• Debido a las limit aciones de impresión, las panta lla s
mostradas en este manual podrían diferir de la pantalla real.
• Se prohibe reproducir el contenido de este manual sin el
permiso del fabricante.
For more info visit www.irox.com
Eletronisches Thermo-Hygrometer
Modell: ETHG912
Bedienungsanleitung
DE
EINFÜHRUNG
Bei der Entwicklung dieses Produktes haben wir speziell auf
einfachste Bedienung bei hoher Leistung geachtet. Produkten
wurden auch hier nur Präzisionsbauteile verwendet. Dadurch
wird ein hoher Qualitätsstandard gewährleistet, der Ihnen ein
jahrelanges, fehlerfreies Funktionieren des Gerätes erlauben
wird. Bitte lesen Sie unsere Bedienungsanleitung sorgfältig
durch, bevor Sie das Gerät in Betrieb nehmen. Dadurch ist auch
der richtige Einsatz sichergestellt.
INNENRAUM-THERMOMETER MIT
MESSMÖGLICHKEIT FÜR RELATIVE
LUFTFEUCHTIGKEIT
Di eses The rmo- Hyg rome te r w ur de sp ezi ell f ür di e
gen aue Messung von Innentemp era tur en und rela tiv en
Luftfeuchtigkeitswerten geschaffen. Das Gerät ermöglicht
Ihnen dadurch die Regelung der Luftfeuchtigkeit und der
Raumtemperatur mittels Ihres
Heiz-/Kühl – Systems, so dass
Sie stets optimal e Bedingungen in Ihrer Wohnumgebung
genießen können.
FUNKTIONSMERKMALE
Einfache Bedienung: Zeigt automatisch die Raumtemperatur
sowie die relative Luftfuechtigkeit an.
Fehl erfreie Ablesung: Digi tales
Anze igesystem garantiert
fehlerfreies Ablesen auf einen Blick.
Te m p e ra t u r ko m p en s a t io n : G ar a n t ie r t ge n a u e
Luftfeuchtigkeitsmessung - unabhängig vonTemperaturschw
ankungen.
Komfort-Anzeige: Die Komfort-An zeige zeig t an, wenn in
Ihrem
Wohnraum ideale Luftfeuchtigkeits – und Temperatur-
Bedingungen herrschen.
Aufstellung : Tischaufstellung oder Wandaufhängung
EINLEGEN UND AUSWECHSELN DER
BATTERIEN
Dieses Thermo-Hygrometer wird durch eine Batterie des Typs
UM-4 oder “AAA” mit Strom versorgt.
Gehen Sie beim Einlegen oder Auswechseln der Batterien wie
nachfolgend beschrieben vor:
1. Öffne n Sie das Bat terienf ach an der Rücksei te des
Gerätes.
2. Legen Sie die Batterien entsprechend den
Polarisierungs-
angaben
(+/-) ein, wie im Inneren des Batterienfachs ange-
geben
3. Schließen Sie das Batterienfach wieder.
HINWEIS
1. Na chd em Sie die Batterie n ers tma ls eingeleg t ode r
ausgewechselt haben, benötigt das Gerät einige Zeit, um
eine Rücksetzung der
Temperatur- und Luftfeuchtigkeits-
anzeige
zeige durchzuführen. In der Anzeige erscheint ca. 2
Sekunden lang “--°C” und “88%”. Anschließend erscheinen
die aktuellen Temperatur – und Luftfeuchtigkeitswerte.
2. Sobald die Anzeige schwächer wird, sollten die Batterien
ausgewechselt werden.
HINWEIS ZUM SCHUTZ UNSERER UMWELT /
BATTERIEENTSORGUNG
Batterien gehören nicht in den Hausmüll. Als Verbraucher sind Sie
gesetzlich verpfl ichtet, gebrauchte Batterien zurückzugeben. Sie
können Ihre alten Batterien bei den öffentlichen Sammelstellen
in Ihrer Gemeinde oder überall dort abgeben, wo Batterien der
betreffenden Art verkauft werden.
ABLESEN DER LUFTFEUCHTIGKEIT UND DER
KOMFORT-ANZEIGE
Da s G er ät ze igt Ih ne n d ie te mp era tur- kor rigi er ten
Luft feuchtigkeits werte an. Zugleich veranschaulichen die
Anzei gen “COM ”, “WET” oder “DRY” , ob di e aktuel len
Raumbeding ungen angenehm, zu feucht oder zu trochen
sind.
Di e Komfort-Anzeigen er scheinen en tsp re ch en d de n
nachfolgend aufgeführten Messergebnissen in der Anzeige:
Anzeige
Indikator
Temperatur Bereich
LuftfeuchtigkeitsBereich
Zeigt an, wie die
Raumtemperatur-und
Luftfeuchtigkeitsbedingungen
einzuschätzen sind:
COM 20ºC bis 25ºC
(68ºF bis 77ºF)
keit
40% - 70%
Relative
Luftfeuchtigkeit
Idealer Bereich
sowohl für relative
Luftfeuchtigkeit als
auch Temperaturen
WET 0ºC bis 50ºC
(32ºF bis 122ºF)
Über 70%
Relative
Luftfeuchtigkeit
Luftfeuchtigkeit ist
zu hoch
DRY 0ºC bis 50ºC
(32ºF bis 122ºF)
HR - 40% Luftfeuchtigkeit ist
niedrig
HINWEIS In eingen Räumen werden die oben aufgeführten
Grenzwerte über –
oder unterschritten, und die Anzeigen COM,
WET oder DRY erscheinen in der Folge nicht.
DER EINSATZ DES MITGELIEFERTEN
STÄNDERS
Si e kö nne n Ih r Thermo-Hygrometer wie nac hfolgend
beschrieben auf einem Tisch aufstellen:
1. Nehmen Sie die Plastikklammer ab.
2. Klappen Sie den integrierten Plastikständer an der Rückseite
des Gerätes heraus.
WANDAUFHÄNGUNG DES THERMOHYGROMETERS
Befolgen Sie die nachfolgend beschriebenen Schritte, um das
Gerät an der Wand aufzuhängen:
1. Das Thermo-Hygrometer ist mit einer Halteklammer und einer
Klebefl äche auf der Rückseite der Klammer versehen. Ziehen
Sie die Schutzfolie von der Klebefl äche ab, bevor Sie die
Klammer an der Wand befestigen.
2. Schieben Sie das Thermo-Hygrometer abwärts auf die
Klammer, so
dass dieses einrastet.
HINWEIS Das Thermo-Hygrometer sollte keiner direkten
Sonneneinstrahlung und Feuchtigkeit ausgesetzt sein.
VORSICHTSMASSNAHMEN
Dieses Gerät wird Ihnen bei schonender Behandlung viele Jahre
nützlich sein. Beachten Sie dennoch die wenigen nachfolgenden
Vorsichtsmaßnahmen:
1. Tauchen Sie das Gerät nicht in Wasser.
2. Reinigen Sie das Gerät niemals mit scheuernden oder
sc harfe n Reinig ern. Die se könnt en die Pla stik teile
be sc hä di ge n, und die el ek tronischen Sch al tk re ise
korrodieren.
3. Setzen Sie das Gerät nicht irgendwelcher Gewalteinwirkung,
Ersc hütterungen, Staub, extremen Temperaturen oder
Feuchtigkeit aus, da dadurch Funktionsstörungen, kürzere
L eb e ns d au e r u nd B a t te r ie s ch ä de n s o wi e
Gehäuseverformungen verursacht werden können.
4. Nehmen Sie keine Änderungen an den inneren Komponenten
des Gerätes vor. Dadurch erlischt die Garantie für das Gerät
und es können andere Schäden verursacht werden. Im
Inneren des Gerätes befi nden sich keine Teile, die vom
Benutzer selbst gewartet werden müssen.
5. Ve rw en de n Sie nu r n eu e Bat te ri en d es in der
Bedienungsanleitung angegebenen Typs. Mischen Sie
niemals alte und neue Batterien, da alte Batterien auslaufen
können.
TECHNISCHE DATEN
Temperatur- Messbereich: 0°C bis 50°C (32°F bis 122°F)
Aufl ösung der
Temperaturanzeige: 1°C (2°F)
Luftfeuchtigkeits-
Messbereich: 26% bis 95% Relative
Luftfeuchtigkeit bei 25°C (77°F)
Aufl ösung der
Luftfeuchtigkeitsanzeige: 1% Relative
Luftfeuchtigkeit
Abmessungen: 93 x 62 x 15mm (H x T x W )
Gewicht: 80 Gramm (ohne Batterie)
VORSICHT
• Aufgrund von Einschränkungen der Druckmöglichkeiten kann
die Darstellung der Anzeige in dieser Bedienungsanleitung
von der tatsächlichen Anzeige abweichen.
• Der Inhalt dieser Bedienungsanleitung darf nicht ohne die
Zustimmung des Herstellers vervielfältigt werden.
• Änderungen vorbehalten
P/N: 086L001499-230 REV1
2/2
 Loading...