

iRoom iDock Basic Instruction Manual
Instruction Manual
iPad® Docking Station
iD N310510DS/PV
iRoom‘s iDock Basic
Warranty Period
The warranty period is TWO (2) YEARS from the date of purchase by the original end-user customer, unless the equipment has been
repaired or replaced under warranty, in which case the warranty applies until the end of the original warranty period, or six (6) months
from the date of such a repair or replacement, whichever is longer.
Warranty Claims and Validation
Warranty claims are subject to
• The purchaser presenting to the or iginal sales invoice (indicating the date of purchase by the original end-user customer, serial
number and the original dealer‘s name) together with the defective Equipment within the warranty period; and
• Inspection by manufacturer (or its authorized service agent) disclosing that the defect in the equipment has arisen from defects in
workmanship or materials during the warranty period;
• none of the exclusions apply.
Exclusions
The following incidents are excluded from warranty. Damage caused by:
• acts of God or any reason beyond reasonable control;
• misuse, including (but not limited to) failure to use the equipment for its normal purpose in accordance with instructions on its
proper use and maintenance;
• improper operation or maintenance of the equipment;
• connection to improper power supply;
• attempted repair by anyone other than a properly authorized service agent;
• use of the equipment in conjunction with third party accessories, products or ancillary peripheral equipment.
• equipment where the manufacturer’s serial number has been altered, deleted, removed, or made illegible.
• equipment which has been adjusted or adapted without prior written consent, including (but not limited to):
• upgrading the equipment beyond specications or features described in the instruction manual, or
• modications to the equipment to conform it to national or local technical or safety standards in countries other than those for
which the equipment was specically designed and manufactured.
Limitation of Liability
THE EXPRESS WARRANTY ABOVE SHALL BE THE FULL EXTENT OF iRoom’s LIABILITY. ACCORDINGLY, iRoom’s DISCLAIMS ALL OTHER
LIABILITY FOR LOSS OR DAMAGE HOWSOEVER CAUSED (EXCEPT FOR DEATH OR PERSONAL INJURY RESULTING FROM PROVED NEGLIGENCE) ARISING OUT OF THE PURCHASE, POSSESSION, SALE OR USE OF THE EQUIPMENT AND ALL OTHER TERMS, CONDITIONS, AND
WARRANTIES EXPRESS OR IMPLIED, ARISING OUT OF TRADE USAGE OR OTHERWISE ARE HEREBY EXCLUDED.
IN NO EVENT SHALL iRoom’s BE LIABLE FOR ANY SPECIAL, INCIDENTAL OR CONSEQUENTIAL DAMAGES INCLUDING, BUT NOT LIMITED
TO THE INFRINGEMENT OF ANY INTELLEC TUAL PROPERTY RIGHTS, DELAYS, OR INACCURATE INFORMATION OR ADVICE. NOTWITHSTANDING THE FOREGOING THE CUSTOMER‘S STATUTORY RIGHTS (IF ANY) ARE NOT AFFECTED.
Miscellaneous Provisions
No person, including any distributor, dealer, agent or representative of iRoom is authorized to assume for iRoom any liabilit y on its
behalf or in its name. The purchaser is not entitled to rely on any representations made either orally or in writing by or on behalf of
iRoom save for those made fraudulently. The purchaser relies entirely on its own skill and judgment in determining the tness of any
item of Equipment for any particular purpose.
iRoom‘s Warranty
iRoom GmbH – intelligente Technik
Bayerhamer Str. 5 • A-5020 Salzburg • Austria
www.i-room.at • www.ipad-dock.at
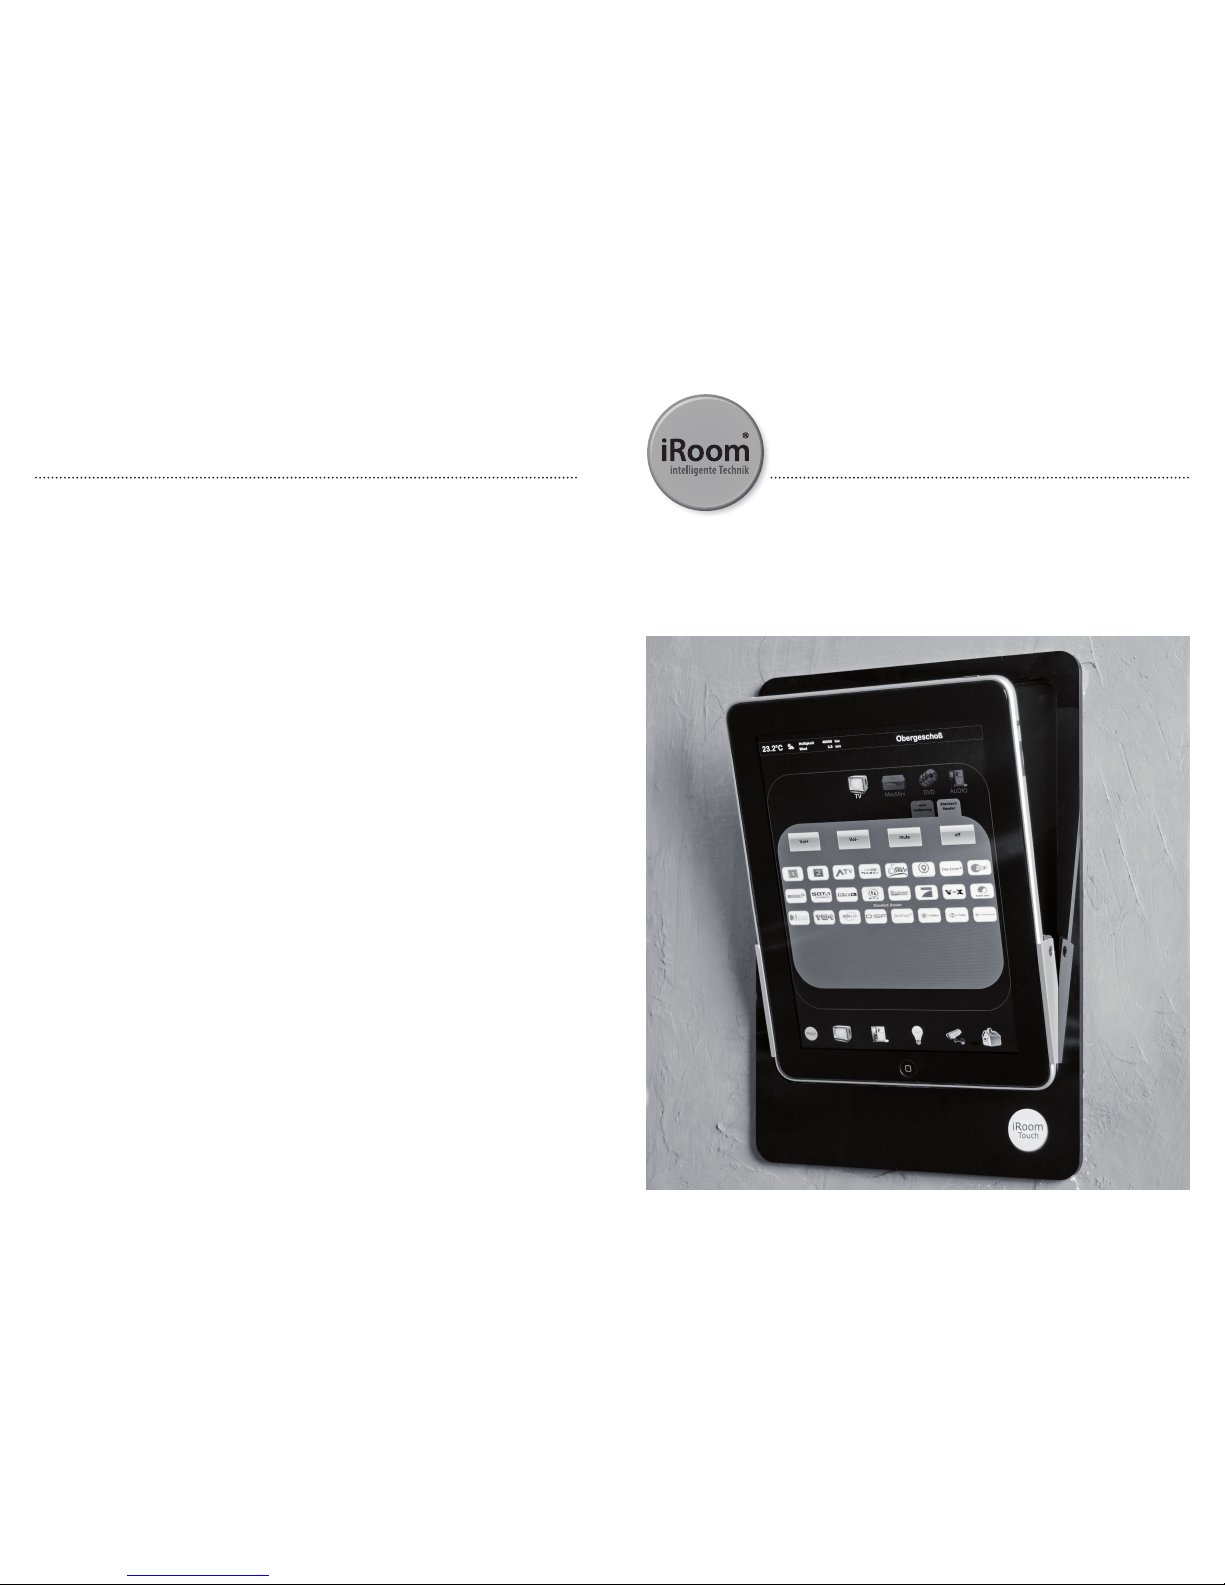
Overview
The iRoom’s iDock Basic is the best solution for storing an Apple
iPad® safely – and it‘s stylish too. By using our special back-box
the iDock Basic can be ush-mounted into the wall. So the iPad®
is fully integrated in a rooms design concept.
Before installation and use please read the instruction manual
and follow the instructions step by step.
What‘s in the box?
iRoom’s iDock Basic (1 pcs.) • Frame, black glossy (1 pcs.) • Frame
removal plastic-scraper (1 pcs.) • Stick-on holder (1 pcs.) • Cable
tie (1 pcs.) • Instruction manual (1 pcs.) • Mounting screws M3x20
(4 pcs.) • Mounting screws M3x40 (4 pcs.)
Recommended accessories:
iRoom‘s iDock back-box (iD N310510BB/PV)
Important
All elec trical connections must be carried out by trained electricians in compliance with the general electrical requirements
and rules.
Select the location
• iRoom’s iDock Basic is designed for wall fastening only.
• The iDock Basic is designed for indoor use only. D o not use
the iDock Basic outside or in a humid or wet environment. It is
not waterproof or water-resistant.
• The iDock Basic may be installed into existing walls. The
mounting location must have enough depth within the wall
for the back-box and the cable connection.
• Ensure a mounting location with a strong Wi-Fi signal reception so the iPad® can be used while it’s docked.
Unpacking and installation
iRoom’s iDock Basic has a glossy surface. So it ’s sensitive to getting scratched. To avoid damage handle all equipment with care.
Do not use liquids for cleaning. Use soft cotton gloves during
installation.
Unpacking and rst steps
1. Unpack the frame. Handle with care (glossy surface)!
2. Remove the protection lms from the double-sided tape.
3. Attach the frame to the iDock Basic.
Removal of the frame
Remove the frame by using the plastic scraper carefully. Attach
the plastic scraper below the frame and use the scraper to lever
out the frame smoothly.
Installation of the back-box and the iDock Basic
NOTE: The back-box is not included in this box; it has to be ordered separately. The back-box has four knockouts (2 x 25 mm +
2 x 20 mm) and four lockdown wings attached to the box with
Phillips-head screws (PH1). Install the back-box carefully to prevent damage to the device and its surrounding area.
1. Cut a hole into the wall or surface intended to hold the back-
box (H/W/D: 295/205/70)
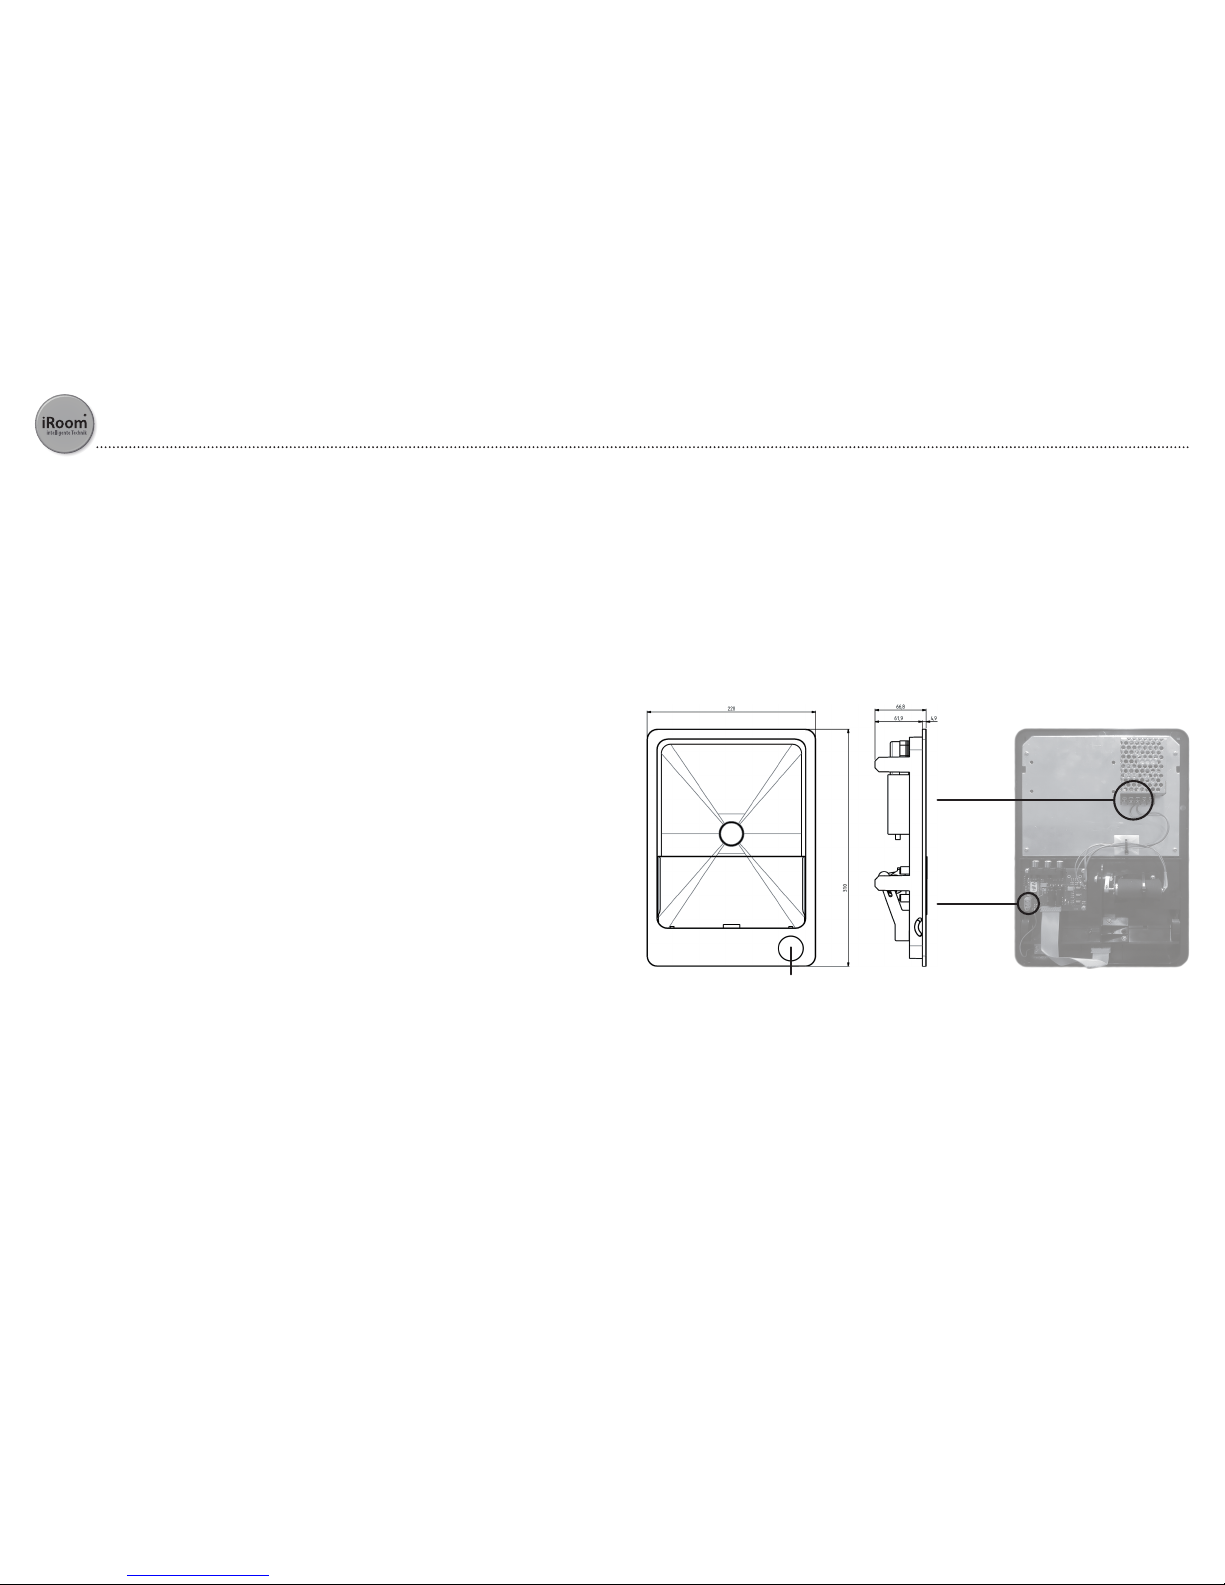
Optional external switch operation
Delivery condition (Fig. 2): Jumper plugged = proximity switch operation enabled, external contact operation disabled.
For external operation remove the jumper and replace it by connecting an
external potential free switch (closing contact / e.g. key switch, etc.). If the impulse (0.5 < time < 5 sec) of the external switch is detected (closing edge) the
docking slot automatically opens. The docking slot will remain in the removalposition for 10 seconds – afterwards the slot will be closed automatically. During this operation mode the proximity switch is disabled.
Specications
Dimensions iDock Basic (W/H/D) .......................................220 / 310 / 66,8 mm
Dimensions back-box (W/H/D) ...........................................214,1 / 304,2 / 70 mm
Dimensions back-box cutout (W/H/D) ...........................205 / 295 / 70 mm
Power supply ...................................................................................85-264 V AC, 47-63 Hz / 15 W
Outputs ...............................................................................................Composite-Audio / RCA jack
Weight .................................................................................................1.700 g
Operating & Storage environments ..................................0°C to 35°C
20%-95% RH non-condensing
Touch Sensor ...................................................................................capacitive proximity sensor
External Contact ............................................................................yes (normally disabled)
Secure-open function ...............................................................yes (in case of power loss)
Installation position.....................................................................vertical – max tilt angel: +/- 3° in all directions
2. Remove appropriate knockout.
3. Run the power cable through the knockout into the backbox using a tting self-sealing grommet.
4. Slide the plastic back box into the hole, being careful not to
twist or pinch the cable, and set it ush with the wall. Avoid
deformation due to small hole-dimensions.
5. Cut a small cross into the strips covering the lockdown wing
feed trough – do not remove the strips. Extend all four wings
on the sides of the back-box by tightening the screws inside
the box, taking care not to over tighten.
6. Prepare the power supply cable for connecting the premounted power supply unit.
7. Reduce the power supply cable length to a minimum to avoid blocking of the mechanical system and secure the power
cable to the device, using the stick-on holder and the cabletie included.
8. Connect the cable to the pre-mounted power supply unit
(L/N/GROUND) to the labeled connectors.
9. Insert the iRoom’s iDock Basic into the back box and rmly
seat against the back box. Being careful not to twist or pinch
the cable.
10. Insert the four installation screws from the docking station
into the screw holes and tighten them to anchor the iRoom’s
iDock Basic docking station to the back-box.
Normal operation description
• For easy insertion and removal of the iPad® please initiate the
opening mechanism by activating an invisible proximity sensor (Figure 1). Now the docking slot will move in the removalposition.
• The docking slot will remain in the removal-position for 10 se-
conds – afterwards the slot will be closed automatically.
• In case of a mechanism overload the docking slot will be
opend automatically to avoid injur y and damage to the
equipment.
• In the case of a power loss the docking slot opens automati-
cally to guarantee a removal of the iPad®, even when no power is supplied.
NOTE! Unauthorized iPad® removal
The iDock Basic is NOT designed to serve as a theft protection.
Unauthorized extraction of the iPad® – even in closed position –
cannot be prevented.
Safety notice
• The iRoom’s iDock Basic is designed to operate on 220-240
VAC, 50-60 Hz!
• To prevent damage which may result in re or shock hazard,
do not expose this appliance to humidity or wet conditions!
Keep it dry!
• To prevent electrical shock, do not remove cover! There are no
user serviceable parts inside!
• Do not stick any foreign objects into the docking station!
• If liquids or foreign objects get inside the docking station or if
the docking station becomes damaged, disconnect the power supply immediately.
power supply
terminal contact
terminal contacts
for external switch
(e.g key switch)
proximity switch
Figure 1
Figure 2
iRoom‘s iDock Basic
© 2010. All rights reserved. Alterations to technical data reserved at all times. The technical data and specications do not constitute a guarantee of any kind.
Products mentioned (Apple iPad® in particular) are the property of their respective manufacturers and are under the protection of international copyright laws.
iPad® Docking Station
iD N310510DS/PV
 Loading...