

Iron-A-Way NE46WDU, NE46MDU, NE46RMU, NE46NDU, NE46FWU Installation Manual
...
Installation
Manual
MODEL NE-46
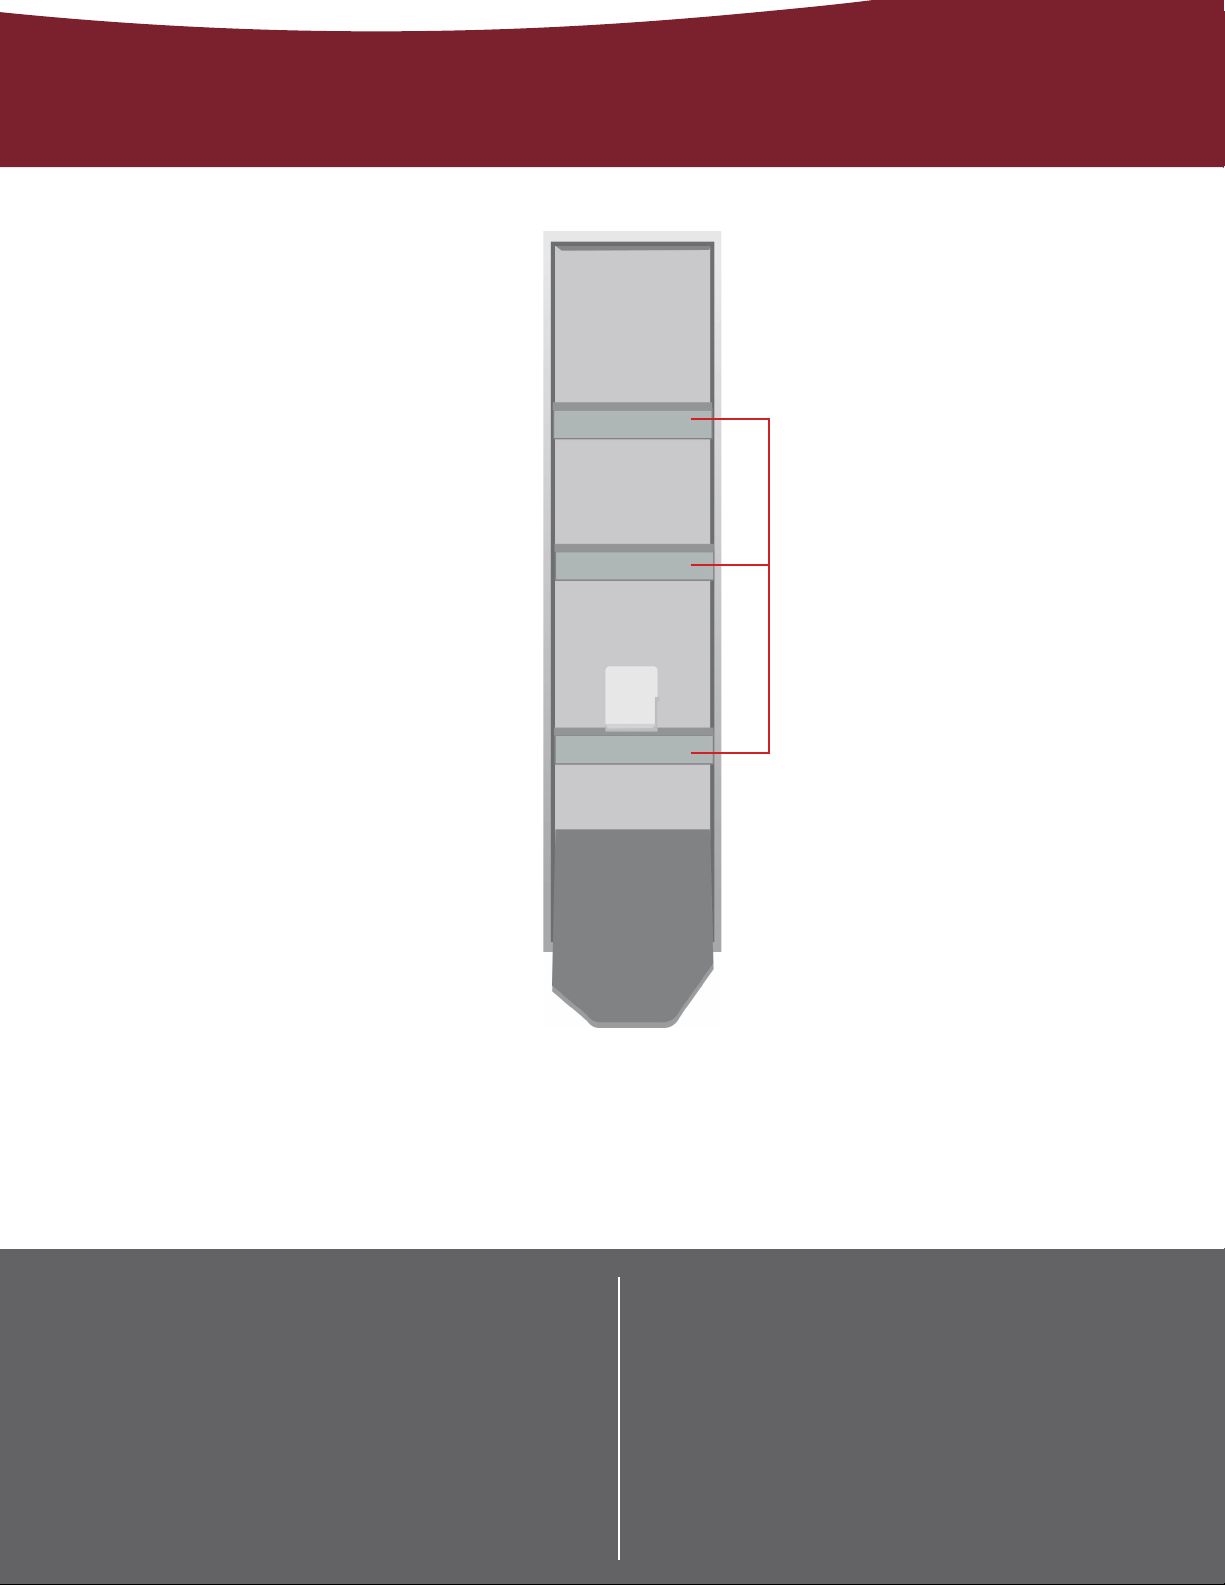
GET TO KNOW YOUR UNIT
1
2
1. CROSS BRACES 2. HOT IRON REST
Tools Needed: Supplied Parts:
- Stud Finder
- 12-14” Level
- Tape Measure
- Small Flathead
Screwdriver
- Electric Drill
(with 1/4” & 1/8” drill bit)
- 1/4” Nut Driver
(optional)
- Safety Glasses
- Utility Knife
Recessed Mounting:
- Four #10 x 1
portion of cabinet
- Two #14 x 2
side brackets
Surface Mounting:
- Two #14 x 4” wood screws
1/2
” wood screws for top
1/2
” Phillips screws for top
9

PRE-INSTALLATION
1. DETERMINE MOUNTING HEIGHT
Using the charts provided, determine
the mounting height above oor (the
distance between the oor and the
bottom of the cabinet). First choose
your desired ironing board height
from the left column, then locate the
corresponding mounting height in the
right column.
Desired Ironing
Board Height
36”
35”
34”
33”
Mounting
Height Above
Floor
25”
24”
23”
22”
2. LOCATE STUDS & UTILITIES
Using a stud nder, locate the wall
studs to be used for mounting.
Locate the existing wiring or other
utilities in the wall to prevent drilling
into/severing a wire and/or other utility
during installation.
Mounting
Height
Above Floor
Desired Ironing
Board Height
 Loading...