

Page 1
YB Tracker - Mounting Guide
The YB Tracker is an Iridium satellite based locator beacon, and as such requires to be
able to see the sky - both for acquiring a GPS fix and transmitting positions.
!!! PLEASE INSTALL YOUR TRACKER IMMEDIATELY !!!
Your tracker has already been turned on
DOs and DO NOTs
DO ensure that the YB Tracker is mounted with the antenna pointing towards the sky
DO ensure that the YB Tracker has a good view of the sky
DO NOT place the YB Tracker where it may be grabbed and broken in heavy seas
DO NOT place the YB Tracker under metal covers or inside a vessel
DO NOT place the YB Tracker within 12 inches of another GPS antenna
How to Mount
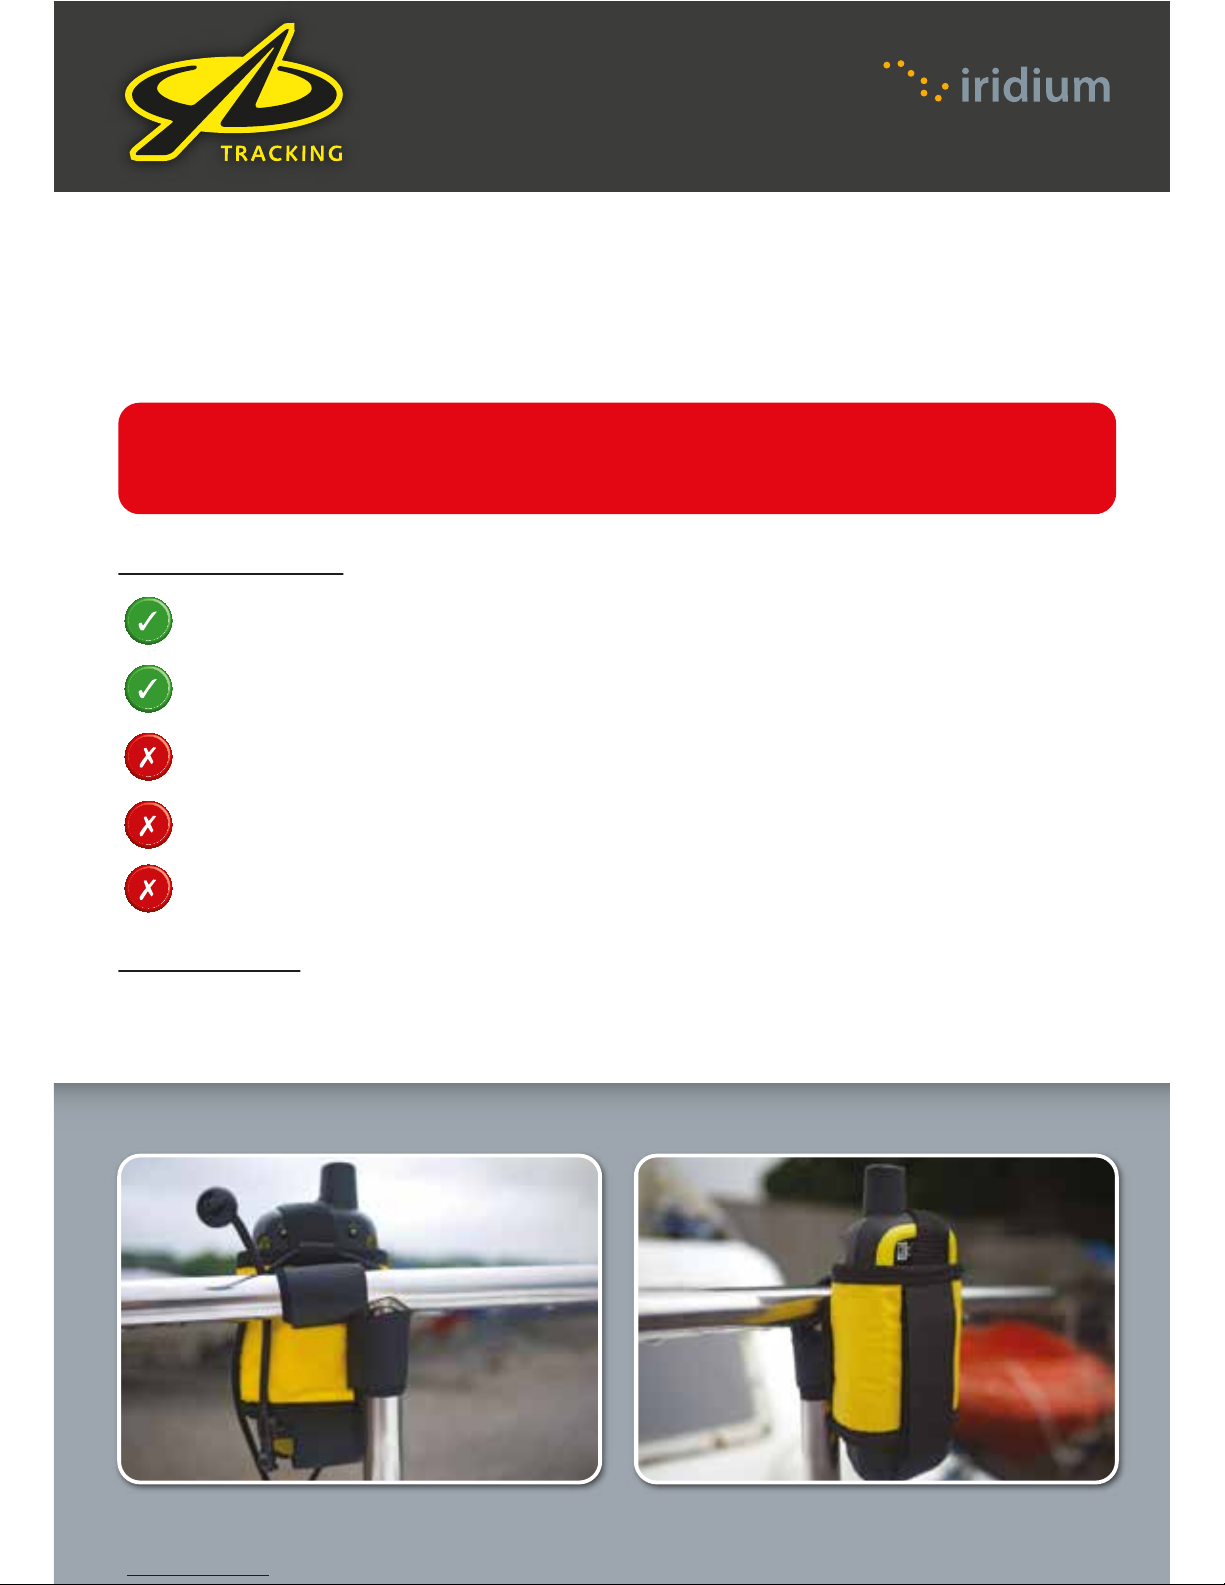
1. Wrap the velcro straps around a horizontal rail and a vertical rail
2. Put a cable tie around the rail, through an eyelet on the pouch, and secure
For more information please visit www.ybtracking.com
Examples of Good Mounting Positions
Page 2
Page 3

YB Connect Quick Start Guide
Downloading the app on Android or iOS
⁃ Open Google Play Store or the App Store and search for “YB Connect”
Registering for an account (You will need an internet connection for this)
⁃ Open the app you will see with a page that asks if this is your tracker or not. If you are
using a rental device provided by the ARC then please select “No…”.
⁃ Select your boat from a list. (make sure Bluetooth is on)
⁃ Once connected then select “Enable Messaging”
⁃ Select “Create a new account” from the bottom of the page.
⁃ Please follow the on screen instructions and enter your details. Once you have done this
then you can select “Enable Messaging” again and sign in.
Registering for Facebook and Twitter
⁃ Click on “My Account” and then “Link Facebook and Twitter”.
⁃ Select either Facebook or Twitter and then follow the on screen instructions.
Sending a message
⁃ Click on “Send Message”.
⁃ Select a recipient using the plus icon in the top right or type an address or phone number.
⁃ If you have registered your Facebook and twitter accounts then you can also select to
send it there using the buttons.
⁃ Click into the main body of the screen and you can start typing your message.
⁃ Click send in the top right.
⁃ The message will briefly appear in your Outbox while the app connects to the tracker and
then it will be sent.
Receiving a message
⁃ The tracker is set to send a position every 4 hours and every time it does this it will
retrieve any waiting messages. However, if you do not want to wait you can do a
mailbox check which will cost 1 credit.
Buying Credits
⁃ Click on “My Account” and then “Manage Credits”. This will take you to a screen where
you can select the number of credits you would like and enter your billing details.
⁃ It will also give you the option to automatically top up if you run out at sea with the ability
to put in place a maximum monthly spend. This is a good idea as you will not be able
to top up manually without an internet connection.
Offline Race viewer
⁃ Click “tools” and then “Race viewer”.
⁃ Select your event and your class.
⁃ The request will be sent and the reply will appear in your inbox in a couple of minutes.
⁃ This costs 4 credits per request.
⁃ If you would like to use this feature then before you leave on Saturday it is very important
to press the refresh icon in the top right hand corner of the Offline Race Viewer
screen so that you have the correct boat allocations pre-loaded.
 Loading...