

iRespond Lite Installation And Setup
Installation and Setup
Installation and Set Up Procedure
Installation and setup is quick and easy. Follow the procedures as described and illustrated on the following
pages.
Setup Procedure
Unpack the iRespond Lite System
Install the iRespond Software
Perform Session Setup
Battery Installation
• iRespond Lite remote units arrive with two AA Energizer batteries already installed. Under normal
use, a remote will run for approximately 130 hours before battery replacement is required.
• To replace the batteries, remove casing on back of unit by sliding downwards. Replace batteries.
Attach casing back to remote by sliding upwards.
iRespond System Setup
Follow the instructions below for setting up the Base and Remote Units.
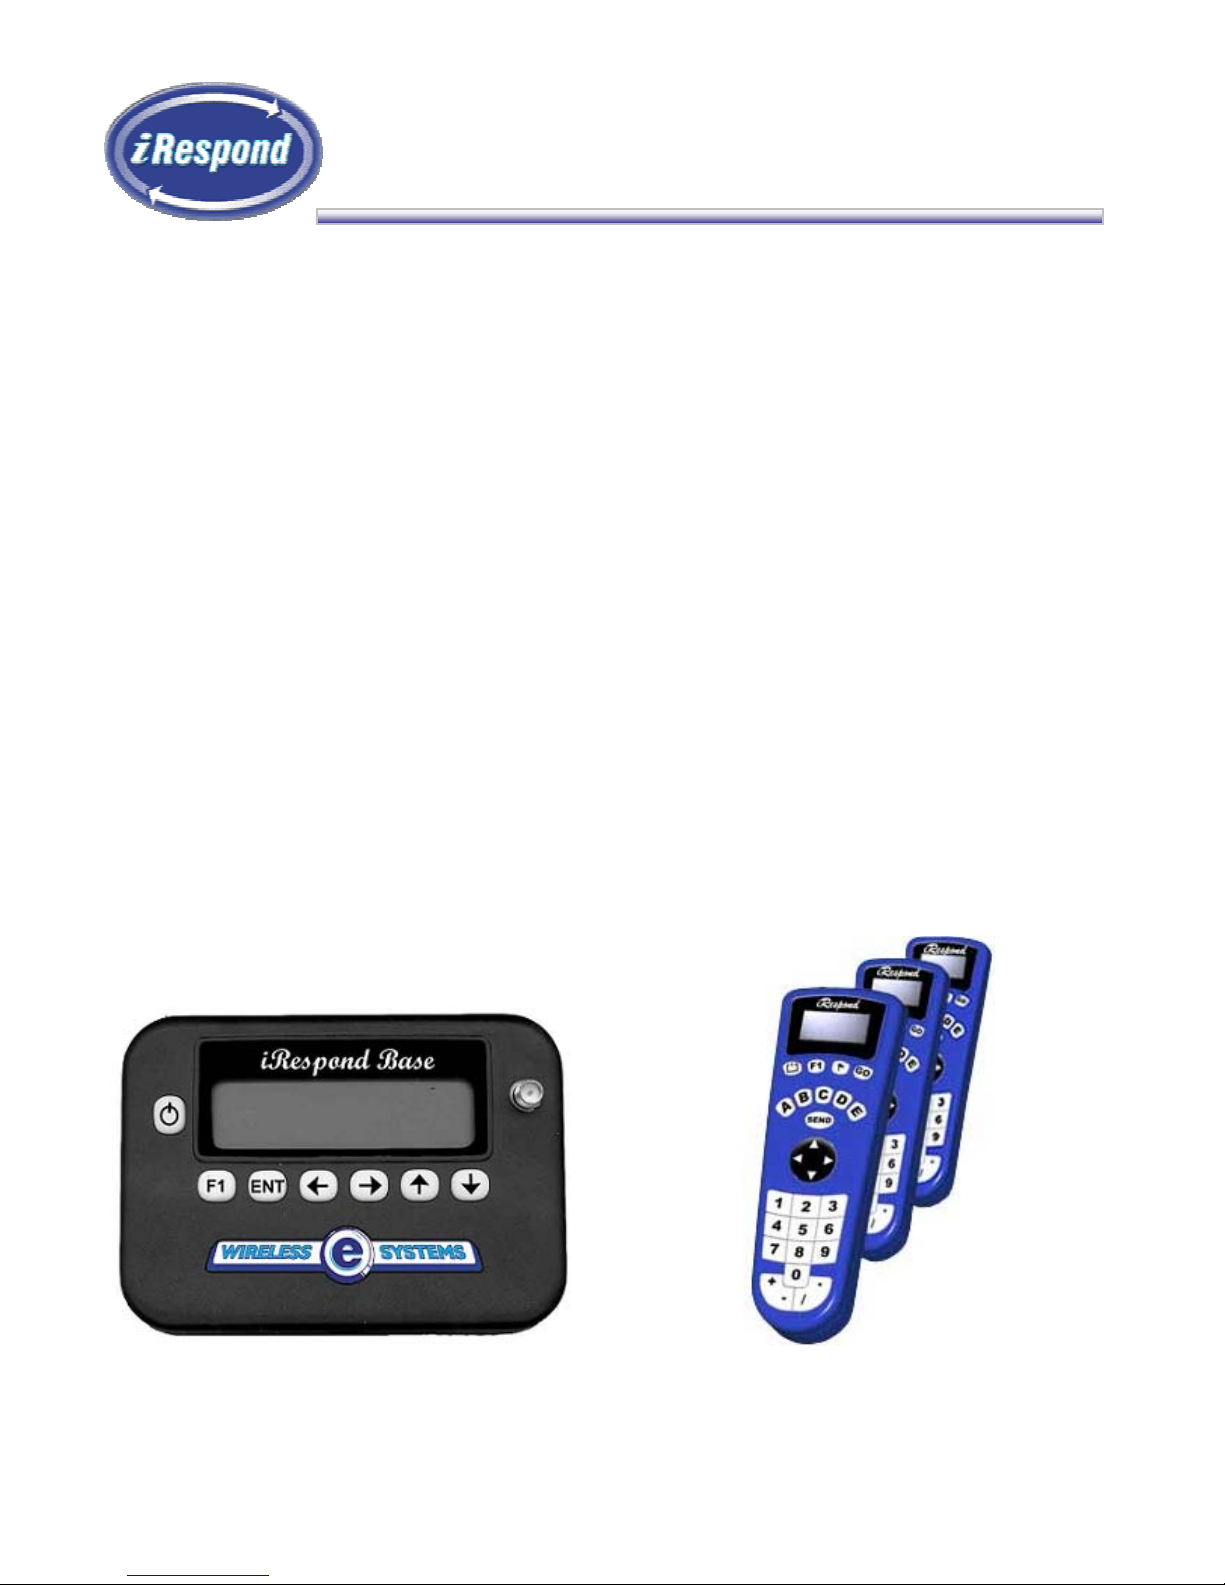
iRespond Base Unit iRespond Lite Remote Units
1

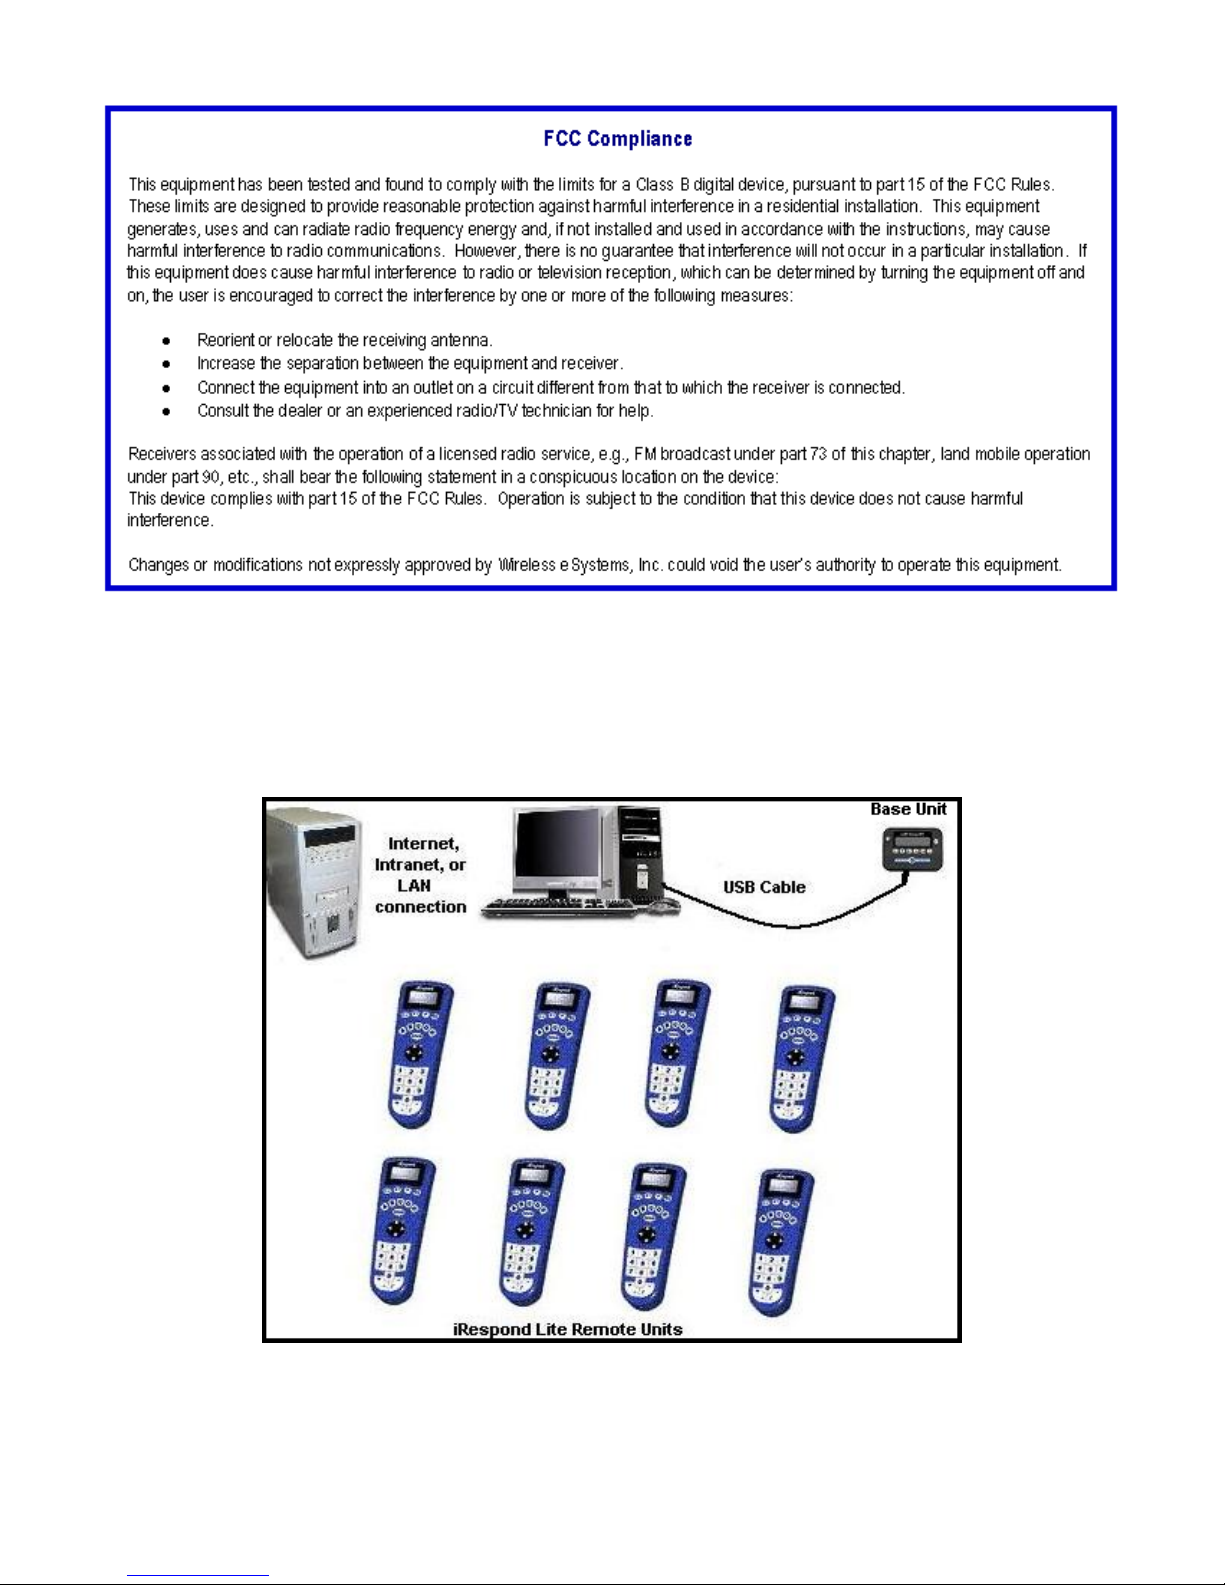
Linksys USB Hub Setup
• Attach USB cable to hub. Locate an available USB port on the computer and attach the other end of the
USB cable to this port. Attach the power adapter into the hub. Plug the adapter into a standard
electrical outlet. The hub will be automatically detected by the computer and is now ready for use.
Base Unit Setup
• Screw in the base unit antenna on the top of the unit. To maximize transmission, orient the antenna so
that it sticks straight up from the unit.
• Using the USB cable provided with the system, connect the end with the mini USB connector to the base
unit. Locate an available USB port on the Linksys hub. Connect the other end of the USB cable to the
port.
• Apply power to the base unit by pressing the Power On/Off button in the upper-left of the unit.
• Setup for the base unit is now complete.
Remote Unit Setup
• Apply power to the remote units by pressing the Power On/Off button in the upper-left of each unit.
Take note of the UID number that appears on the back of the remote unit below the FCC Label.
• The hardware setup is now complete.
Key
Power
On/Off
Go
F1
Flag
Arrow Keys
Send
Letter Keys
A - E
Number Keys
0 - 9
Using the Base and Remote Units
Function
This key, located top-left, turns power on and off the unit. Once a session is established pressing this key prompts
the user to confirm unit shutoff to prevent accidental powering off.
This multipurpose key is used in combination with other keys, such as powering up the unit in programming mode
and selecting a question number in Homework mode.
The F1 key may be used to access Homework mode.
This key allows the user to mark items for later review in a session.
These keys are used to navigate through items on the display. Used to toggle between Logout no / Logout yes and
Shutoff no / Shutoff yes.
This key submits the user's input to the base unit for recording or scoring.
Used to select responses to multiple choice and multiple response questions in a session.
Used to enter a PIN number or responses to fill-in type questions.
Special Char
+ - / .
These keys are used with fill-in responses to enter decimals, fractions, change a positive number to negative, or
change a negative number back to positive.
2
3

Software Installation and Setup
System Requirements
The iRespond System runs on customer supplied Windows
compliance before proceeding.
The Windows
• 400 MHz or higher Pentium II processor
• Windows
• CD ROM drive
• 1 free USB port
• 10 MB available disk space
• 128 MB RAM
TM
-based system requirements:
TM
95/98/ME/2000/NT/XP
Installation and Set Up Procedure
Software installation and setup is quick and easy. Locate the iRespond installation CD shipped with the
system, and then follow the procedures as described.
Procedure:
Install the software
Set up the software to run sessions
♦ Log In and Account Administration
♦ Set Up your Class Rosters
♦ Set Up your Test Banks
♦ Set Up your Remote Units
TM
-based desktop PCs and laptops. Please verify system
Installation
To ensure compatibility, please review the system requirements before installing the software, and then
follow the steps below.
• Insert the iRespond software installation disc in your CD-ROM drive.
• The iRespond Software will automatically launch the installation program. During this process, be sure to
answer the items that appear on the screen.
• If your computer is not configured to auto-start, select Run from the Start Menu and browse the
installation CD for "Setup.exe." Select that file and click OK to start the installation procedure.
Sun's Java
your computer, setup will automatically load the requisite files.
TM
JRE file system is required to run the iRespond software. If the JRE files are not already installed on
4
Introduction
After installing the software, it is necessary for you to set up user accounts, enter your class rosters, enter your
test banks, and set up the remote units before a session can be started. This guide is a step-by-step procedure
through those set up dialogs. Toolbar menu selection names and dialog names described in this guide are shown in
green. Text entries and toolbar button clicks required by you are shown in bright blue.
NOTE: All standard Windows™ conventions apply to iRespond.
Log In and Account Administration
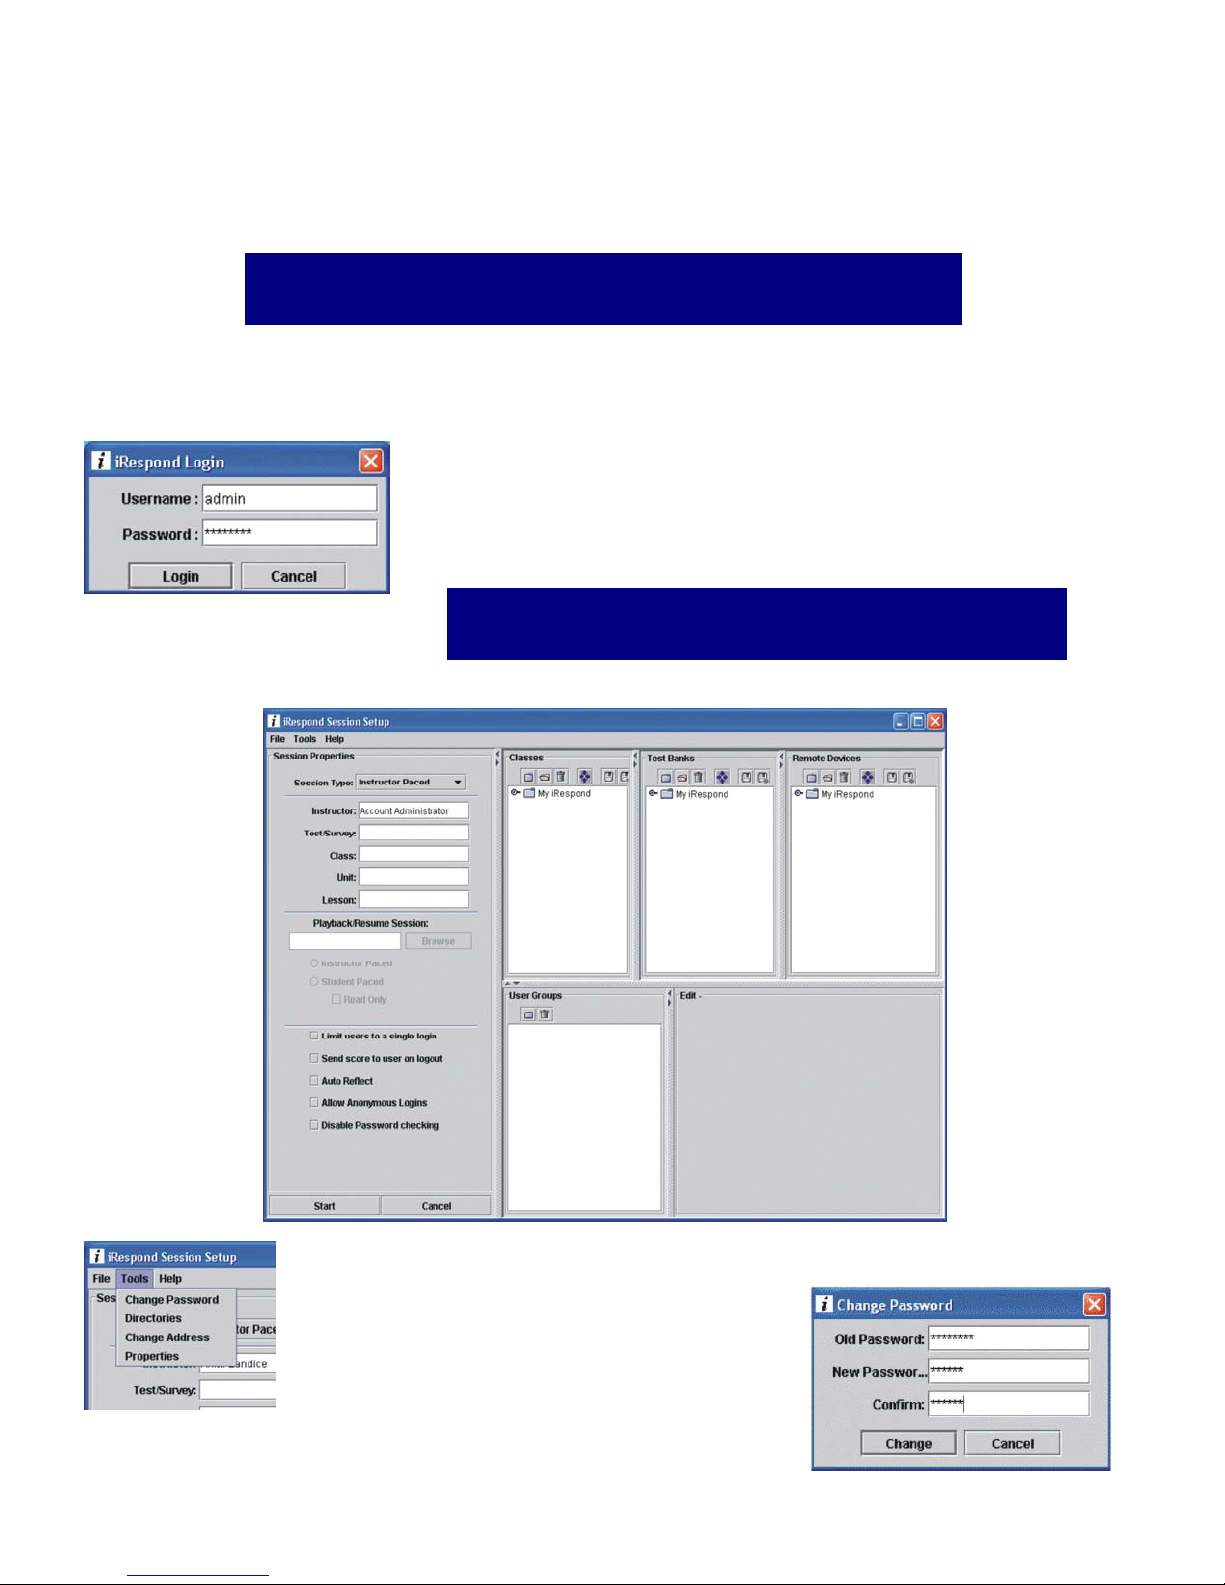
Launch the iRespond software and the iRespond Login dialog appears.
This dialog prompts you for your user name and password. First-time log in is
done as administrator. Enter the default user name admin, and the default
password changeme, and click the Login button.
Successful login opens the iRespond Session Setup window.
NOTE: Username and Password are case sensitive.
From the iRespond Session Setup screen, change the administrator password by selecting
Tools/Change Password from the toolbar.
The Change Password dialog will appear. Enter the
old and new passwords, confirm the new password,
and click Change.
5
 Loading...