

Page 1
USING ADVANCED
G2 TECHNOLOGY
QUICK START GUIDE
Page 2

2
EN
www.my-io.com
INTRODUCTION 4
Key Features - iO TALK2 4
Key Features - iO PLAY2 5
GETTING STARTED 6
Pairing and Connecting a Phone 6
Pairing and Connecting a Second Phone 7
Connecting an iPod or iPhone 8
Connecting an Auxiliary Device 8
Connecting an Audio Device via Bluetooth 9
OPERATION 10
Hands Free (HFP) Functions 10
Music Streaming (A2DP & iPod) Functions 10
Your Home Screen 11
Making and Receiving a Call 12
Transferring a Call Between Your iO G2 Device and a Handset 15
Swapping Between Held or Incoming Calls 16
Call Privacy 17
Ending a Call 17
Streaming Music from an A2DP Compatible Phone 17
Swapping Between the Stereo and
your iO G2 device. 18
LEGALS 20
Warranty 20
Trademark 20
Copyright 21
Modifications 21
Declaration of Conformity 22
FCC Compliance Statement 22
Bluetooth 22
Correct Disposal of this Product (WEEE) 23
E-Mark 23
iPod/iPhone 23
C-Tick 23
Page No.
Page 3

3
EN
www.my-io.com
Page No.
iO ACCESSORIES 24
Bluetooth Dongles 24
iO Charging Kits 24
Replacement Screen 24
Steering Wheel Control Interface 24
Vehicle Specific Harnesses (SOT Leads) 25
PRODUCT REGISTRATION 26
Benefits 26
MORE INFORMATION 27
User Manual 27
Contact Us 27
Page 4
4
EN
www.my-io.com
Thank you for purchasing an iO G2 handsfree music streaming device.
iO G2 is the next generation of iO product which introduces
significant improvements in functionality to enhance sound
quality, driver safety and ease of use. This technology
enables you to play music stored from most portable mobile
devices as well as make and receive mobile calls safely from
within your vehicle.
Key Features
Multipoint Pro™ - Connect up to
2 devices at any one time
Removable OLED screen
Automatic Phonebook
synchronisation of up to 9,000
contacts
Multi-lingual support
PBAP (Phonebook Access
Prole)
80 watts Class-D amplier
technology
Make and receive handsfree
mobile phone calls wirelessly
Enjoy auto-connect when you
enter your vehicle by storing
up to 5 devices in iO TALK2’s
memory
Excellent sound quality,
streamed through your
vehicles speakers
A2DP (Advanced Audio
Distribution Prole) with AVRCP
(Audio Video Remote Control
Prole)
Easy to use illuminated iO
TALK2 controller
Innovative design that will
integrate with your existing
vehicle audio system*
PBAP
AMP
CLASS D
A2DP
ISO
5
Text to Speech - Phonebook,
Menu, Text Messages
* may require additional parts
ABC
ABC
Page 5
5
EN
www.my-io.com
Multipoint Pro™ - Connect up to
2 devices at any one time
Removable OLED screen
Text to Speech - Phonebook,
Menu, Text Messages and iPod
album/track
iPod & iPhone compatible
iO ZooM advanced music
search function
Audio-sensing 3.5mm AUX IN
Automatic Phonebook
synchronisation of up to 9,000
contacts
Line-level RCA output for
amplied connection
Multi-lingual support
Reversing Aid compatible
Specially designed technology
for your portable Satellite
Navigation voice instructions
Make and receive handsfree
mobile phone calls wirelessly
Easy to use illuminated iO
PLAY2 controller
Enjoy auto-connect when you
enter your vehicle by storing
up to 5 devices in iO PLAY2’s
memory
Excellent sound quality,
streamed through your
vehicles speakers
High quality audio performance
using 180 watts Class-D
amplier technology
AMP
CLASS D
AUX IN
RCA
5
Key Features
Innovative design that will
integrate with your existing
vehicle audio system*
ISO
* may require additional parts
ABC
ABC
Page 6
6
EN
www.my-io.com
Pairing and Connecting a Phone
(when Bluetooth visibility is turned on in your iO G2 device menu):
Your iO G2 device has the ability to have 5 devices paired to it at any one time.
If you wish to pair an additional device you will need to manually delete a device
from the paired devices list rst. There is also the ability to use Multipoint Pro
TM
technology to connect up to 2 devices to the kit simultaneously.
To pair a phone to your iO G2 device, if Bluetooth visibility is NOT enabled on
your iO G2 device you will need to refer to the
‘Pair New Device’ menu.
>> Turn on the vehicle’s ignition or start the engine
>> Enable Bluetooth on your phone and initiate a search for new
devices
>> On your phone locate and select your iO G2 device from the list of
discovered devices
>> Pair to your iO G2 device using the pin code 0000. If Simple
Secure Pairing is used, the Authentication Code will be displayed
on screen
>> When prompted connect to your iO G2 device
>> You should also enable the auto connect feature on your handset
to allow automatic re-connection each time.
>> A message will be displayed on the screen reading ‘Pairing
Successful’.
>>
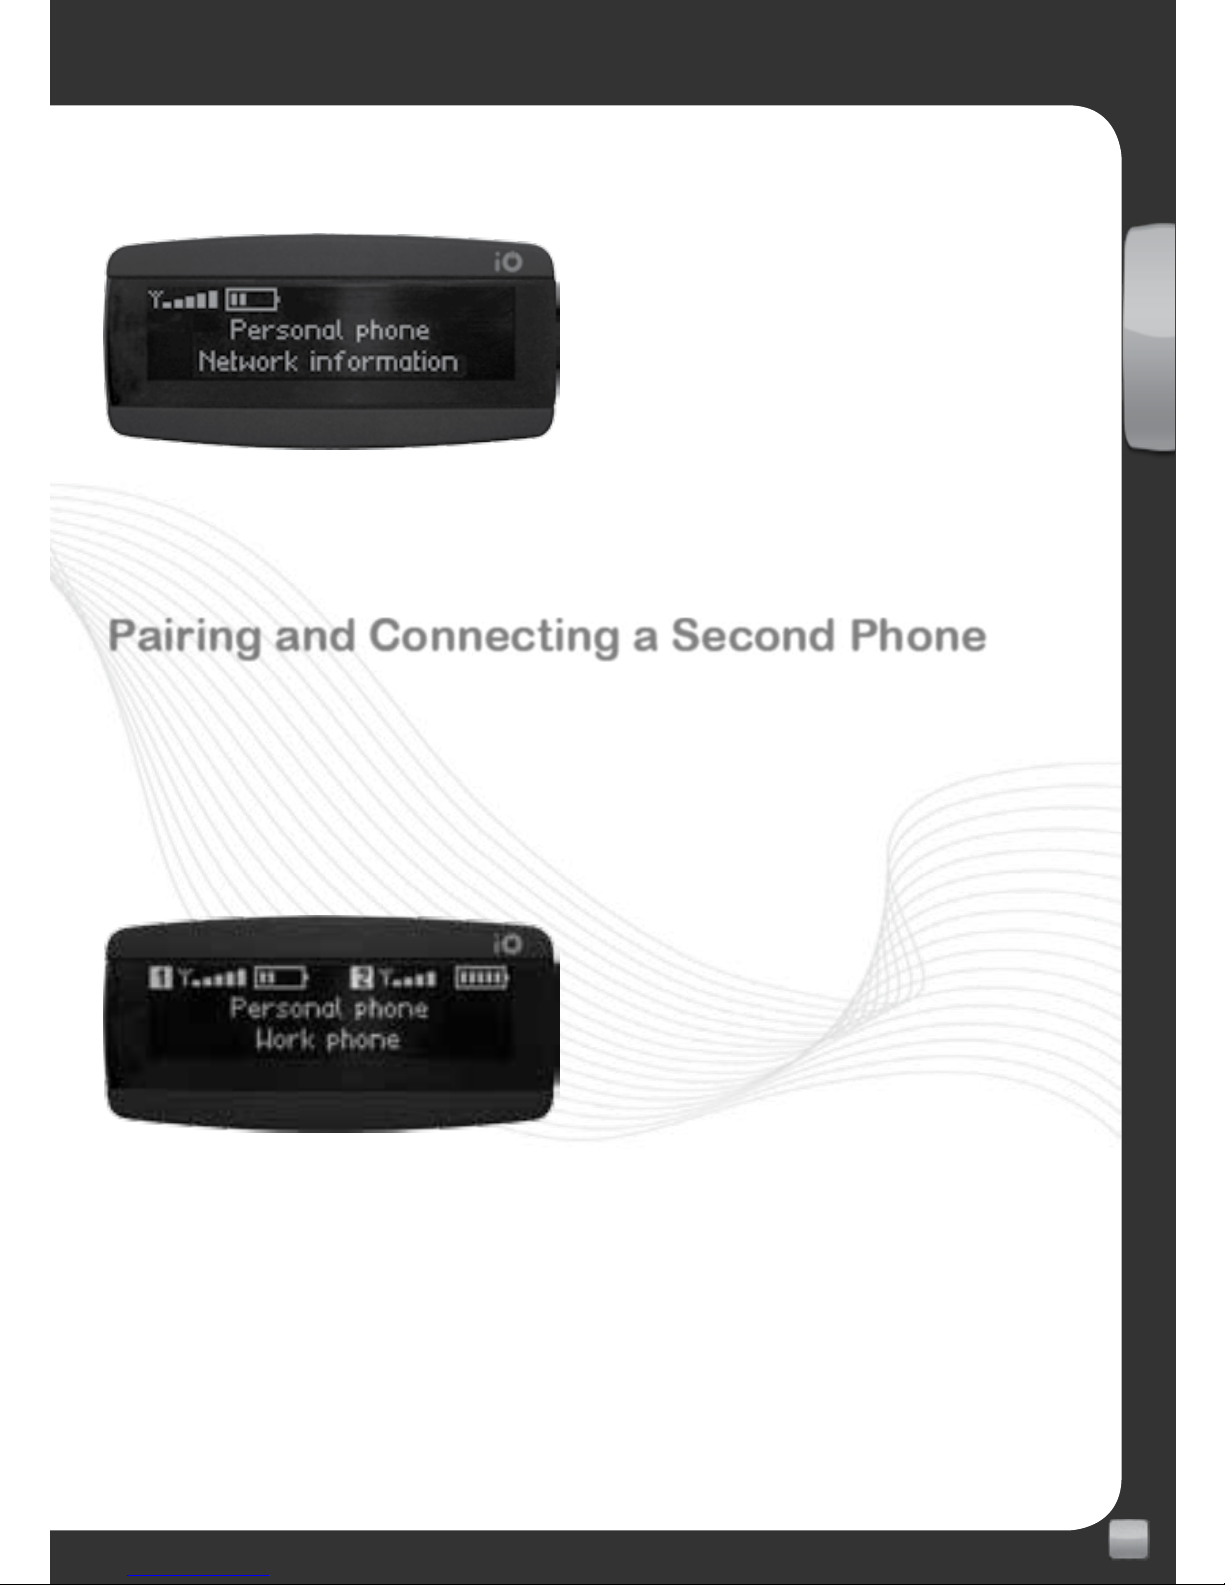
You will then return to the ‘Home Screen’ displaying the connected
handset’s information. (Fig.1)
>> If autosync is enabled, your iO G2 device will automatically start
importing your phonebook contacts.
Menu Settings Bluetooth Pair New Device
For more information please refer to the full user manual at www.my-io.com
Pairing and connection procedures may differ from phone to phone,
please
Page 7
7
EN
www.my-io.com
check your phone’s user manual for further information.
Fig.1 – One phone connected
Pairing and Connecting a Second Phone
Your iO G2 device has the ability to connect two phones simultaneously. To
accomplish this follow the same procedure as previously mentioned to pair the
rst phone.
Once complete, both phones’ details are displayed on the home screen. (Fig.2)
Phone 1 is the rst phone listed in the display, and Phone 2 is the second.
Fig.2 – Two phones connected
simultaneously
Page 8
8
EN
www.my-io.com
Connecting an iPod or iPhone
(PLAY2 ONLY)
via the iPod connection cable.
Your iPod/iPhone will plug in directly to your iO PLAY2 system via the supplied
iPod accessory cable. Once connected you will be able to play and control
your device by accessing the
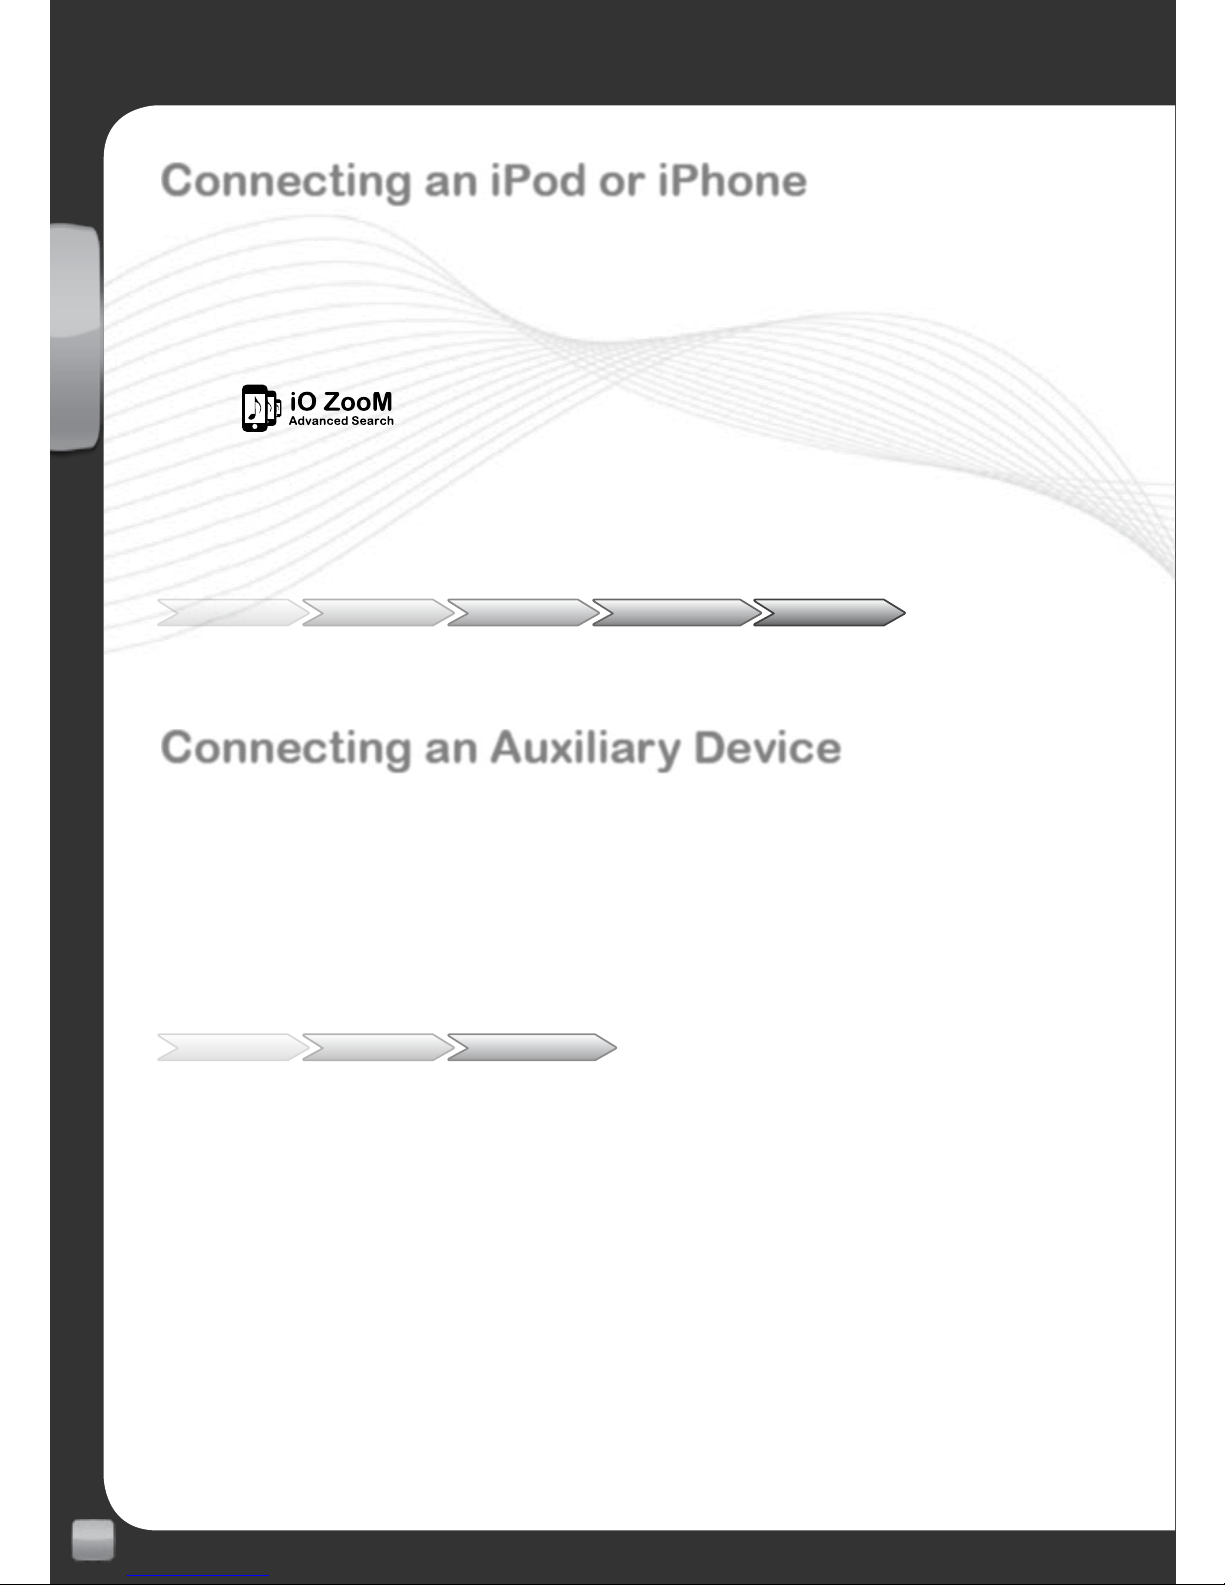
‘iPod’ menu.
Using
you are able to search your iPod in the same manner as
you would on the device itself i.e. by artist or album etc. The search will be
split into alphabetical segments until you have less than 50 entries left, at
which point you will be able to scroll through all entries individually.
Menu iPod Playlist Choose Song Play
Connecting an Auxiliary Device (PLAY2 ONLY)
via the 3.5mm stereo jack.
You are able to connect a variety of audio devices to the 3.5mm jack with a
suitable lead (not supplied). Once connected you will be able to listen to this
device’s audio playback through your vehicles speakers. To listen to audio
from this device you will need to go to the
‘Line In’ menu and select “Play”
Menu Line In Play / Stop
Page 9
9
EN
www.my-io.com
Connecting an Audio Device via Bluetooth
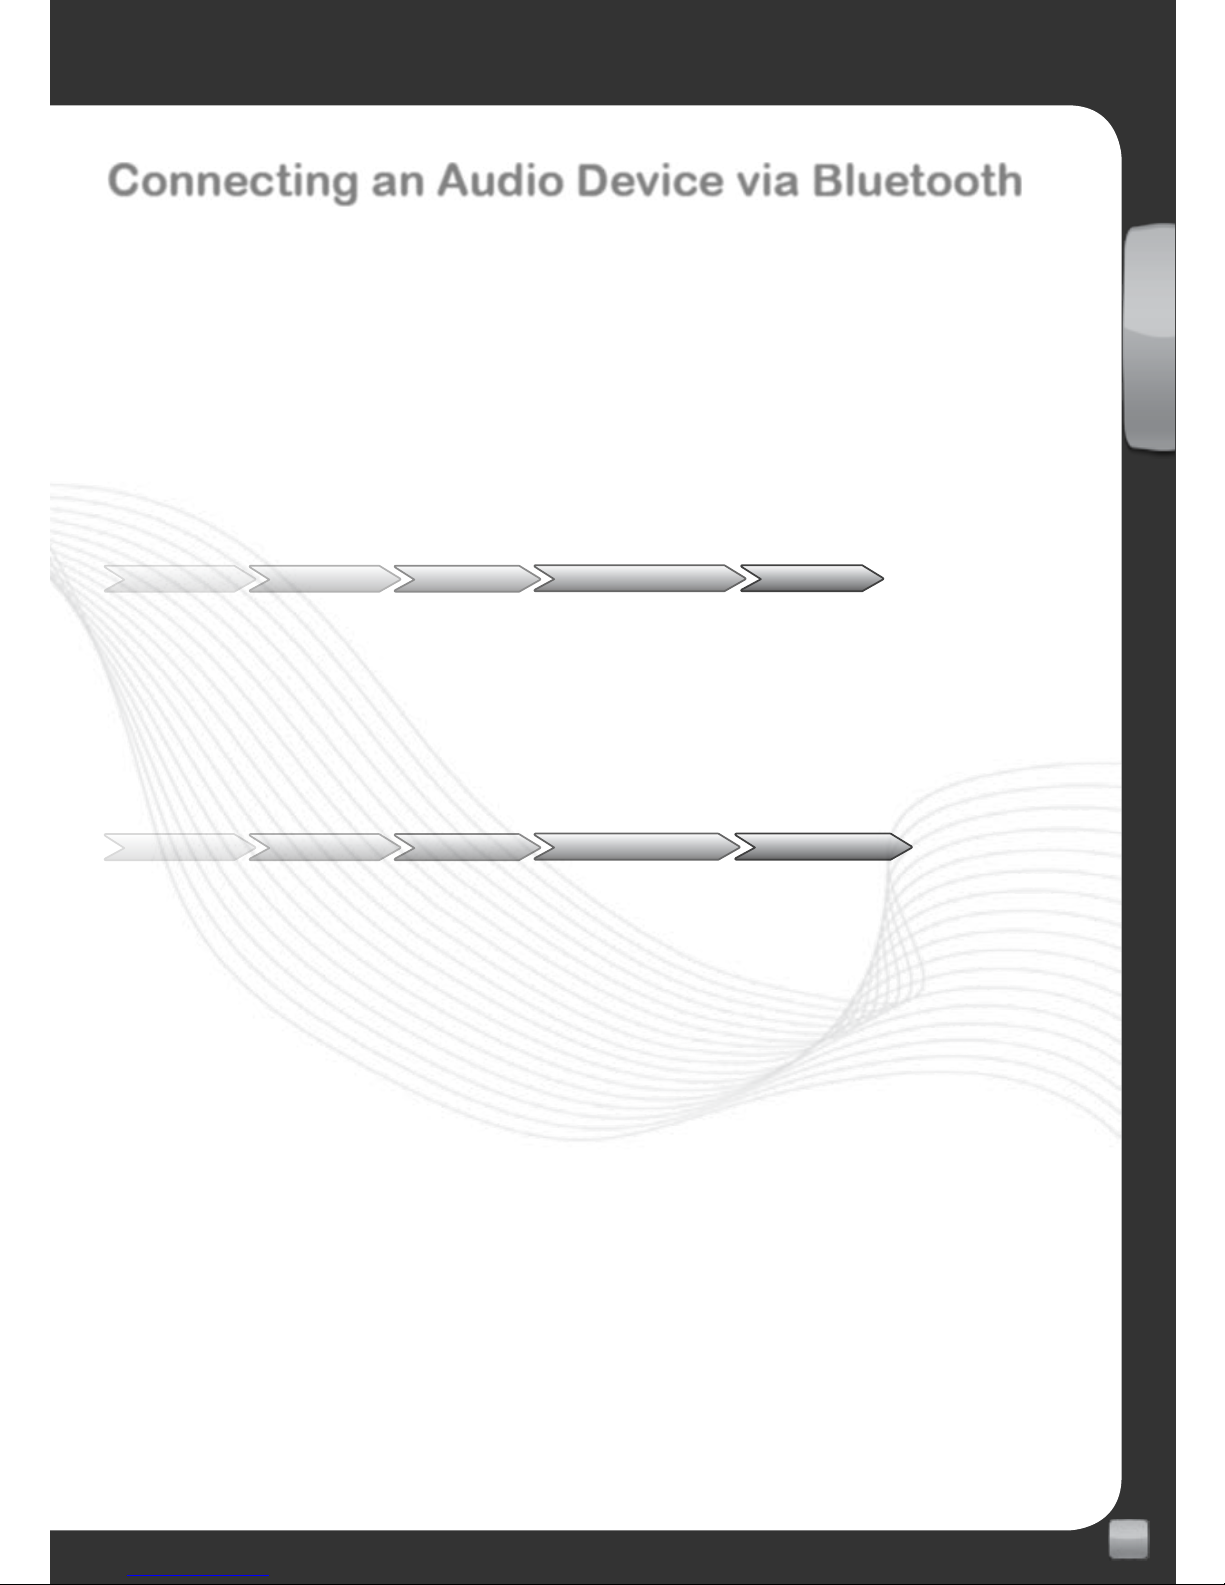
For pairing a device such as the optional IO-BTA3-5 3.5mm dongle via
Bluetooth please refer to the accessory’s user manual.
Once the devices are paired they will connect automatically each time your iO
G2 device is powered up.
Note: To enable pairing, your iO G2 device must have Bluetooth visibility turned
on.
Menu Settings Bluetooth
Bluetooth Visibility On / Off
If the device you are trying to pair does not use one of the standard
‘handshake’ sequences and ‘PIN codes’ you may need to enter the device’s
specic PIN code to allow pairing, which should be in the device’s instruction
manual.
Menu Settings Bluetooth
Pair with User PIN
Enter PIN Code
Please refer to the complete User Manual for more details, available for
download at www.my-io.com
Page 10
10
EN
www.my-io.com
Hands Free (HFP) Functions
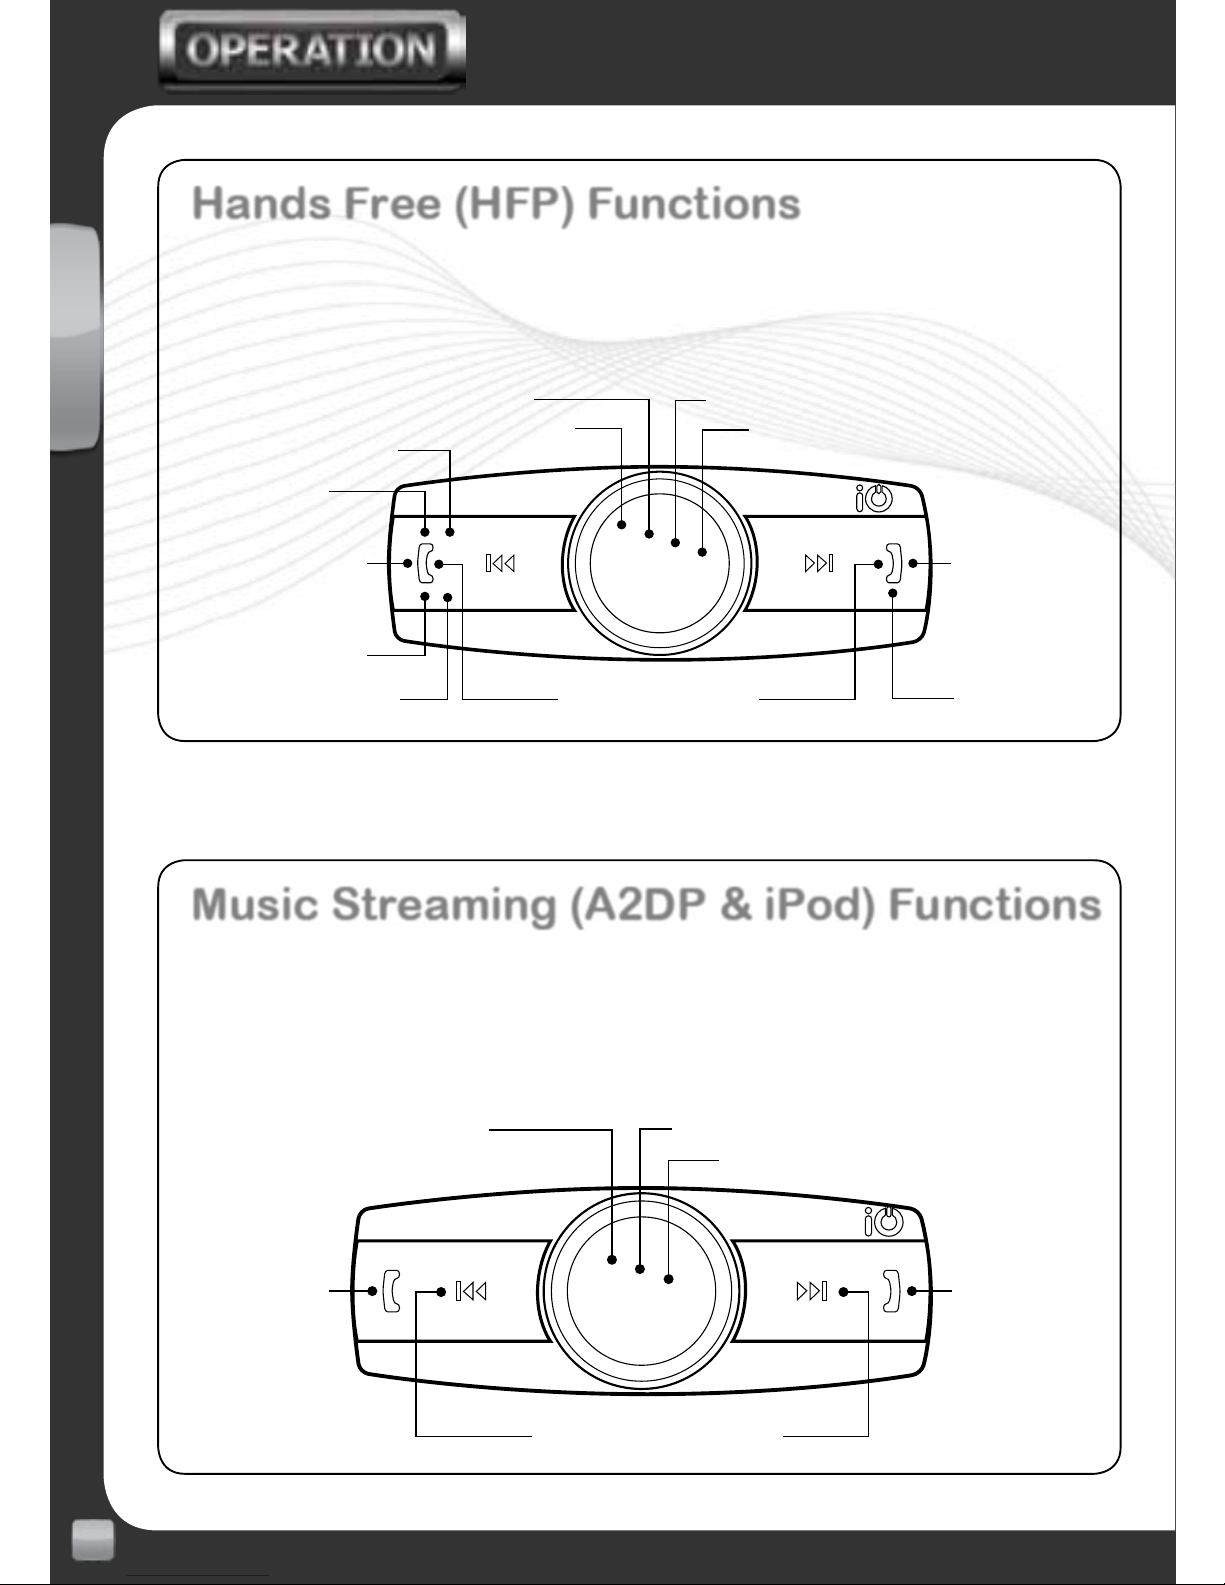
The diagram below illustrates the controller functions when connected
with your mobile phone on the HFP (Hands Free Prole).
Show Menu
Enter Manual Dial Screen
(hold for 3 secs)
Volume Up / Down (rotate)
Transfer Call to Handset (hold for 3 secs during call)
Swap Call (when 2 calls active)
Call Privacy (during call)
Reject Call / End Call
Initiate Voice Dialling
(hold for 3 secs)
HFP Active Status (illumination)
Answer Call
Last Number Redial (hold for 3 secs)
DTMF (hold during call)
Music Streaming (A2DP & iPod) Functions
The diagram below illustrates the controller functions when connected
with your mobile phone or Bluetooth enabled device on the Music
Streaming prole A2DP or playing iPod.
Show Menu (hold for 3 secs)
Play / Pause Music
Skip / Scan Forward
A2DP/iPod Active Status (illumination)
Skip / Scan Backwards
Volume Up / Down (rotate)
Page 11
11
EN
www.my-io.com
Your Home Screen
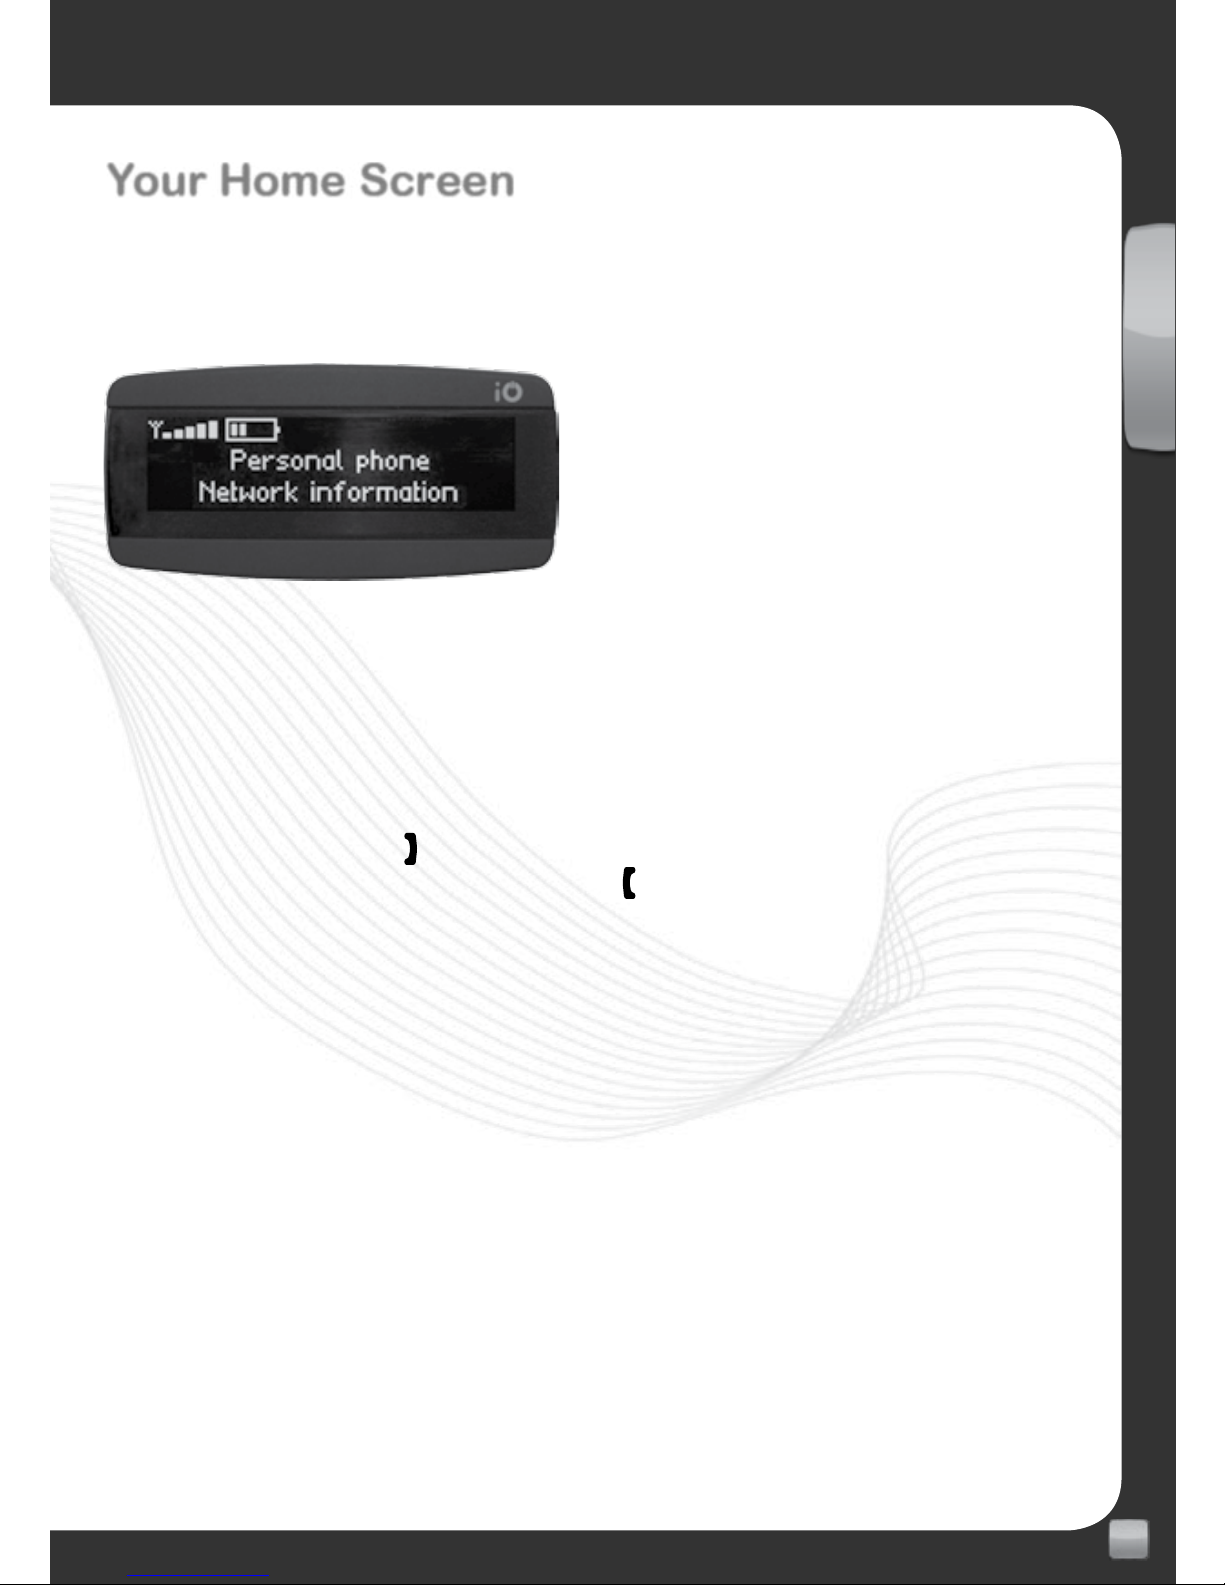
This is the screen that is displayed when your iO G2 device is in idle state with
a phone connected. (Fig.3)
Fig.3 – Home Screen
The Home Screen shows the information about each phone that is connected
to your iO G2 device including charge level, signal strength and network
information (if only one handset is connected).
From this screen you are able to activate your phones voice dialling option
by holding down the red
button for 3 seconds. You can also call your last
dialled number by holding down the green
button for 3 seconds (these two
operations will always activate the feature on phone 1).
To manually dial a number hold down the centre rotary button.
If you are playing music whilst in the home screen from a device which
supports AVRCP (Audio Video Remote Control Prole) the display will look
slightly different and the buttons will perform different functions. These
functions are listed on the previous page.
Page 12
12
EN
www.my-io.com
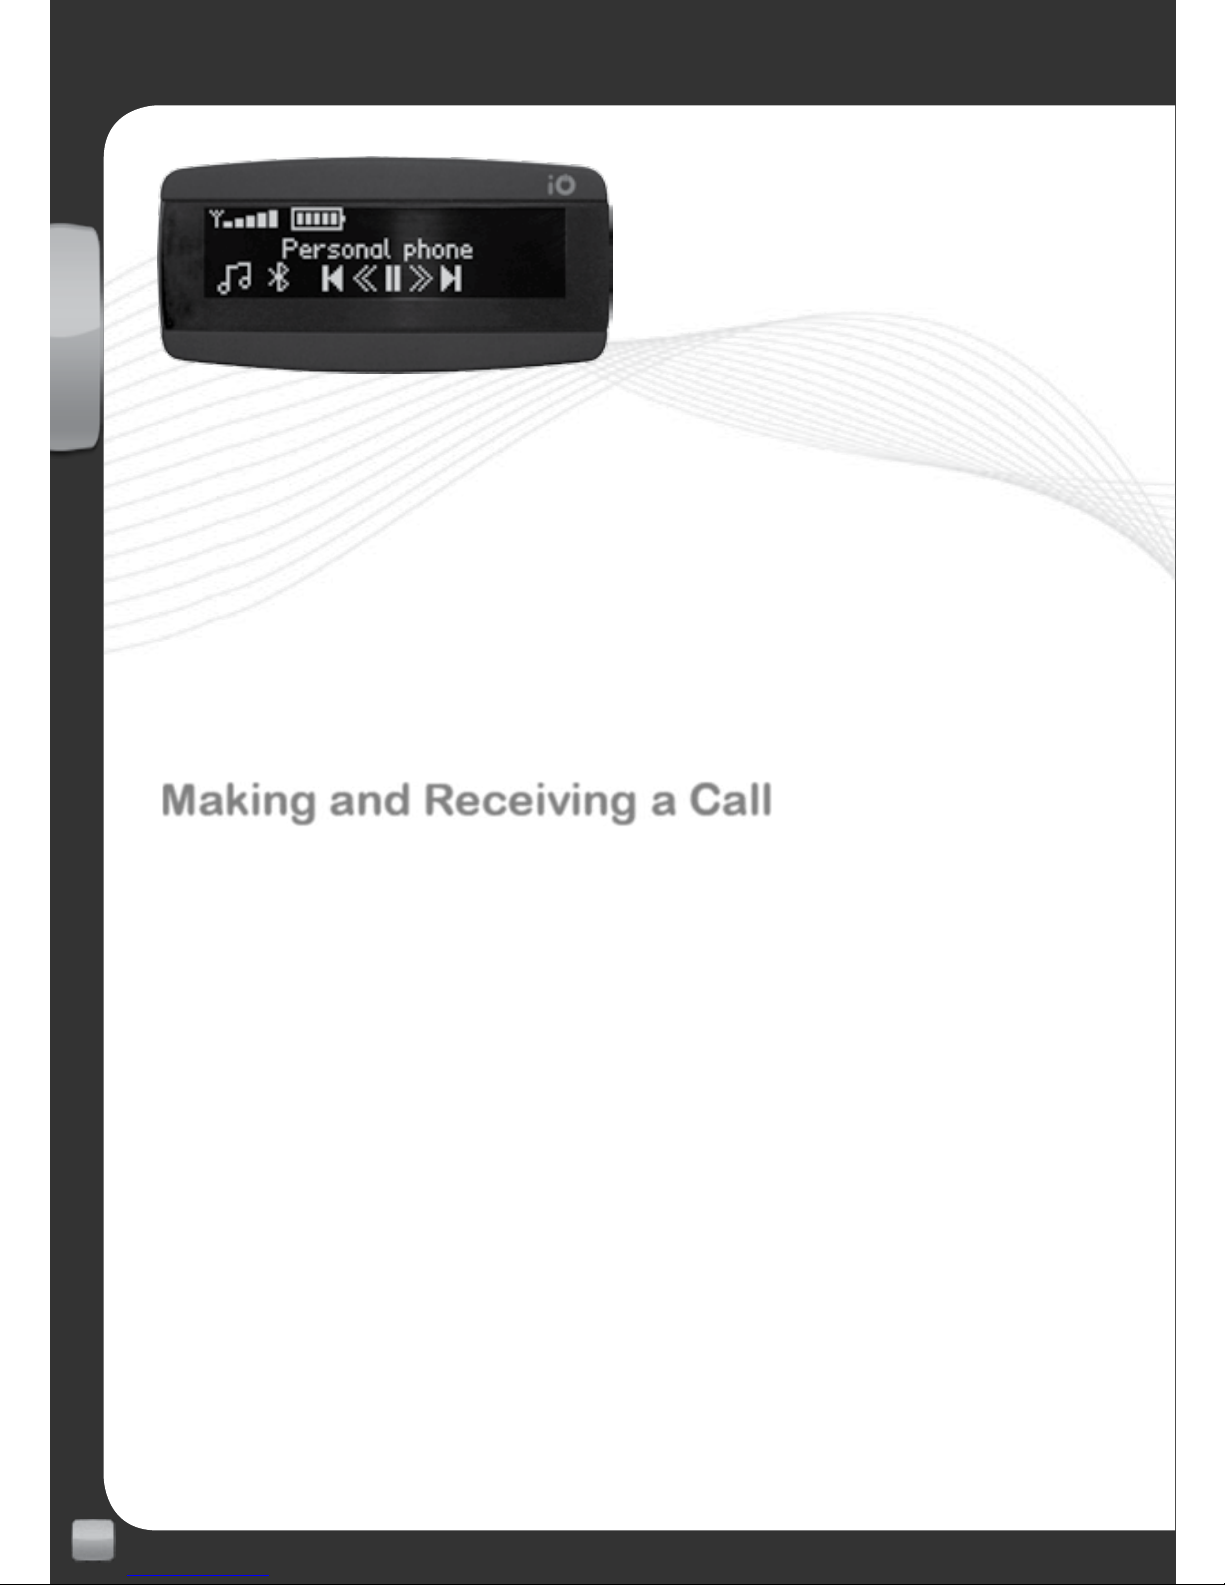
Fig.4 – Playing music whilst in the
Home Screen
In addition to the standard information you will also have ve icons to mimic the
button functions of the music playing device (Fig.4).
To access the menu when a music device is playing just press and hold the
centre button which will take you to the main menu screen (
‘Car Stereo’)
Making and Receiving a Call
An outgoing call can be made in one of ve ways:
>> Via the phonebook on your iO G2 device
>> Via the call history on your iO G2 device
>> Using your iO G2 device’s manual dialling feature
>> Via voice recognition (dependant on handset)
>> Using the phone keypad as normal
Phonebook Dialling
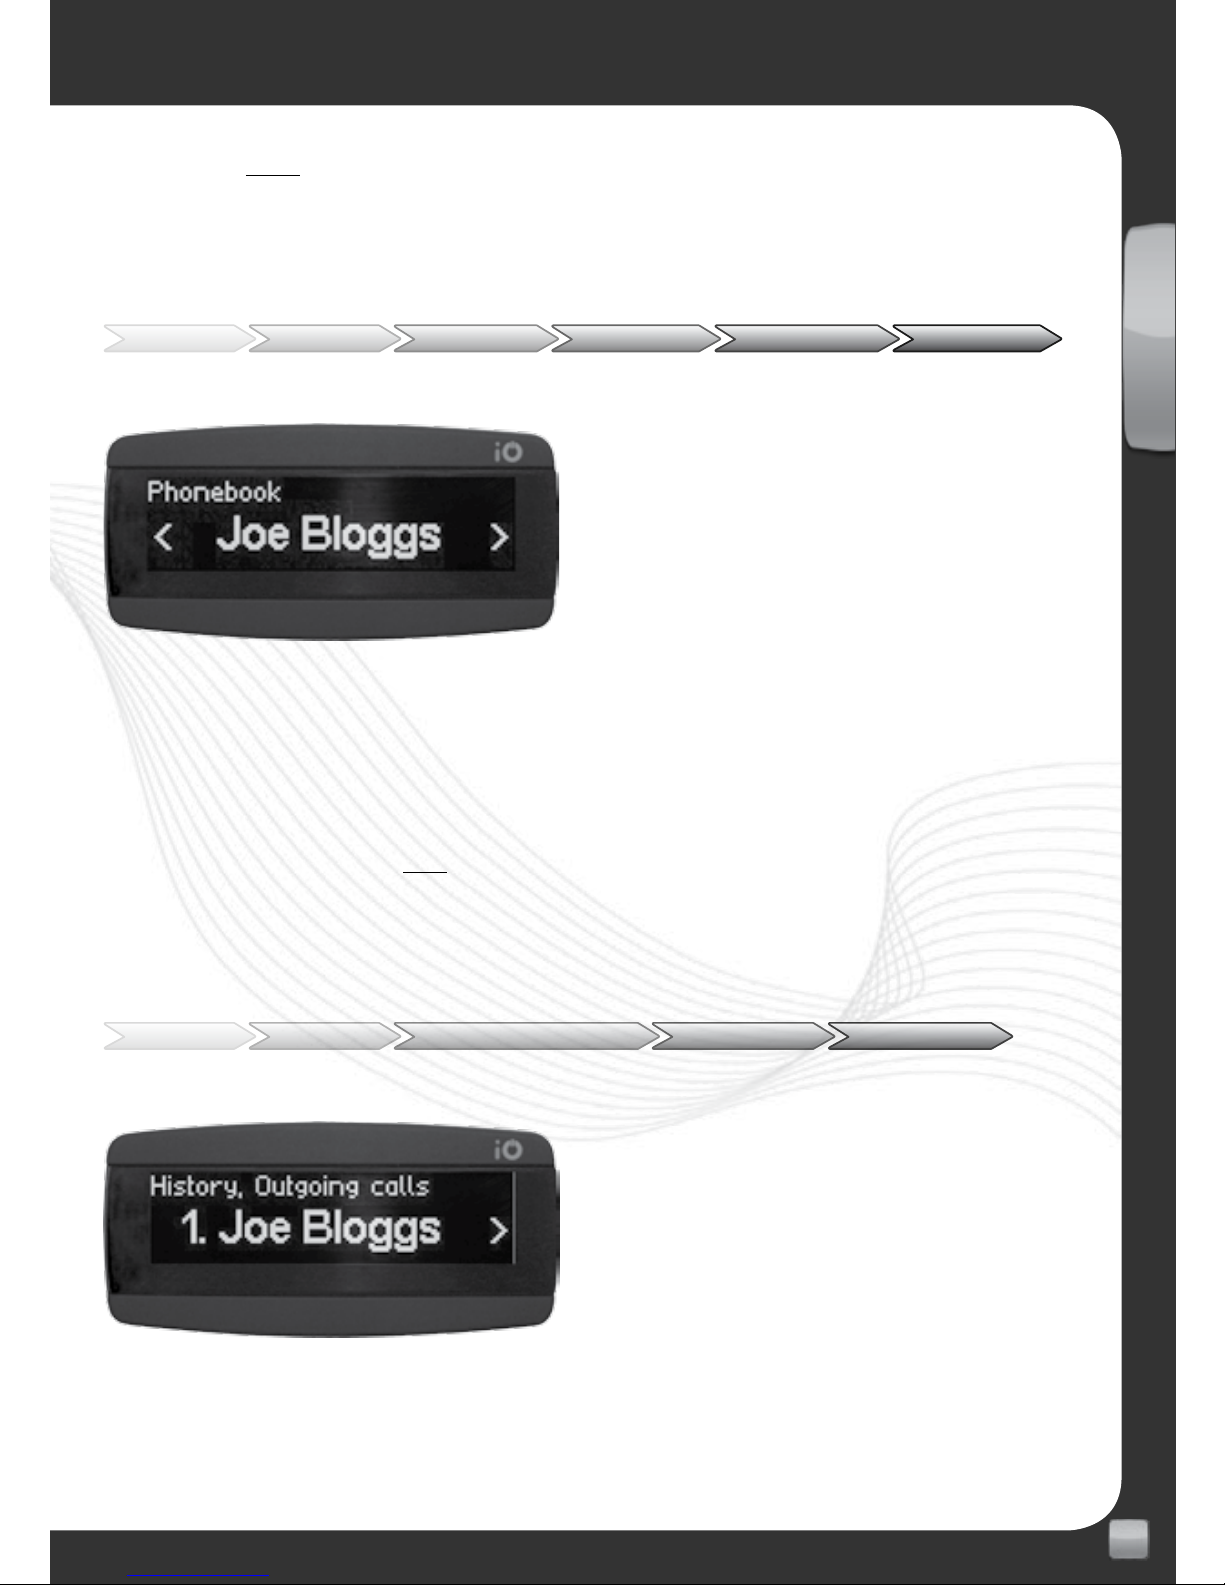
To dial using contacts from the phonebook enter the ‘Phonebook’ menu
and select your chosen name and then push the rotary button. If there is more
than one phone number stored for that particular contact then you will be
given the option of which number you wish to use. Once the correct number is
Page 13
13
EN
www.my-io.com
highlighted then push the rotary button to dial (Fig.5). If you have two phones
connected you will need to select which handset’s phonebook you wish to
access.
Menu Phonebook Choose Letter Choose Name Choose Number Push to Dial
Fig.5 – Phonebook
Call History Dialling
To dial using call history just enter the ‘Call History’ menu and then select
the desired number from your recent calls missed, received or dialled and then
press the rotary button on the controller (Fig.6).
Menu Call History Missed, Received, Dialled Choose Number Push to Dial
Fig.6 – Call History
Page 14
14
EN
www.my-io.com
Manual Dialling
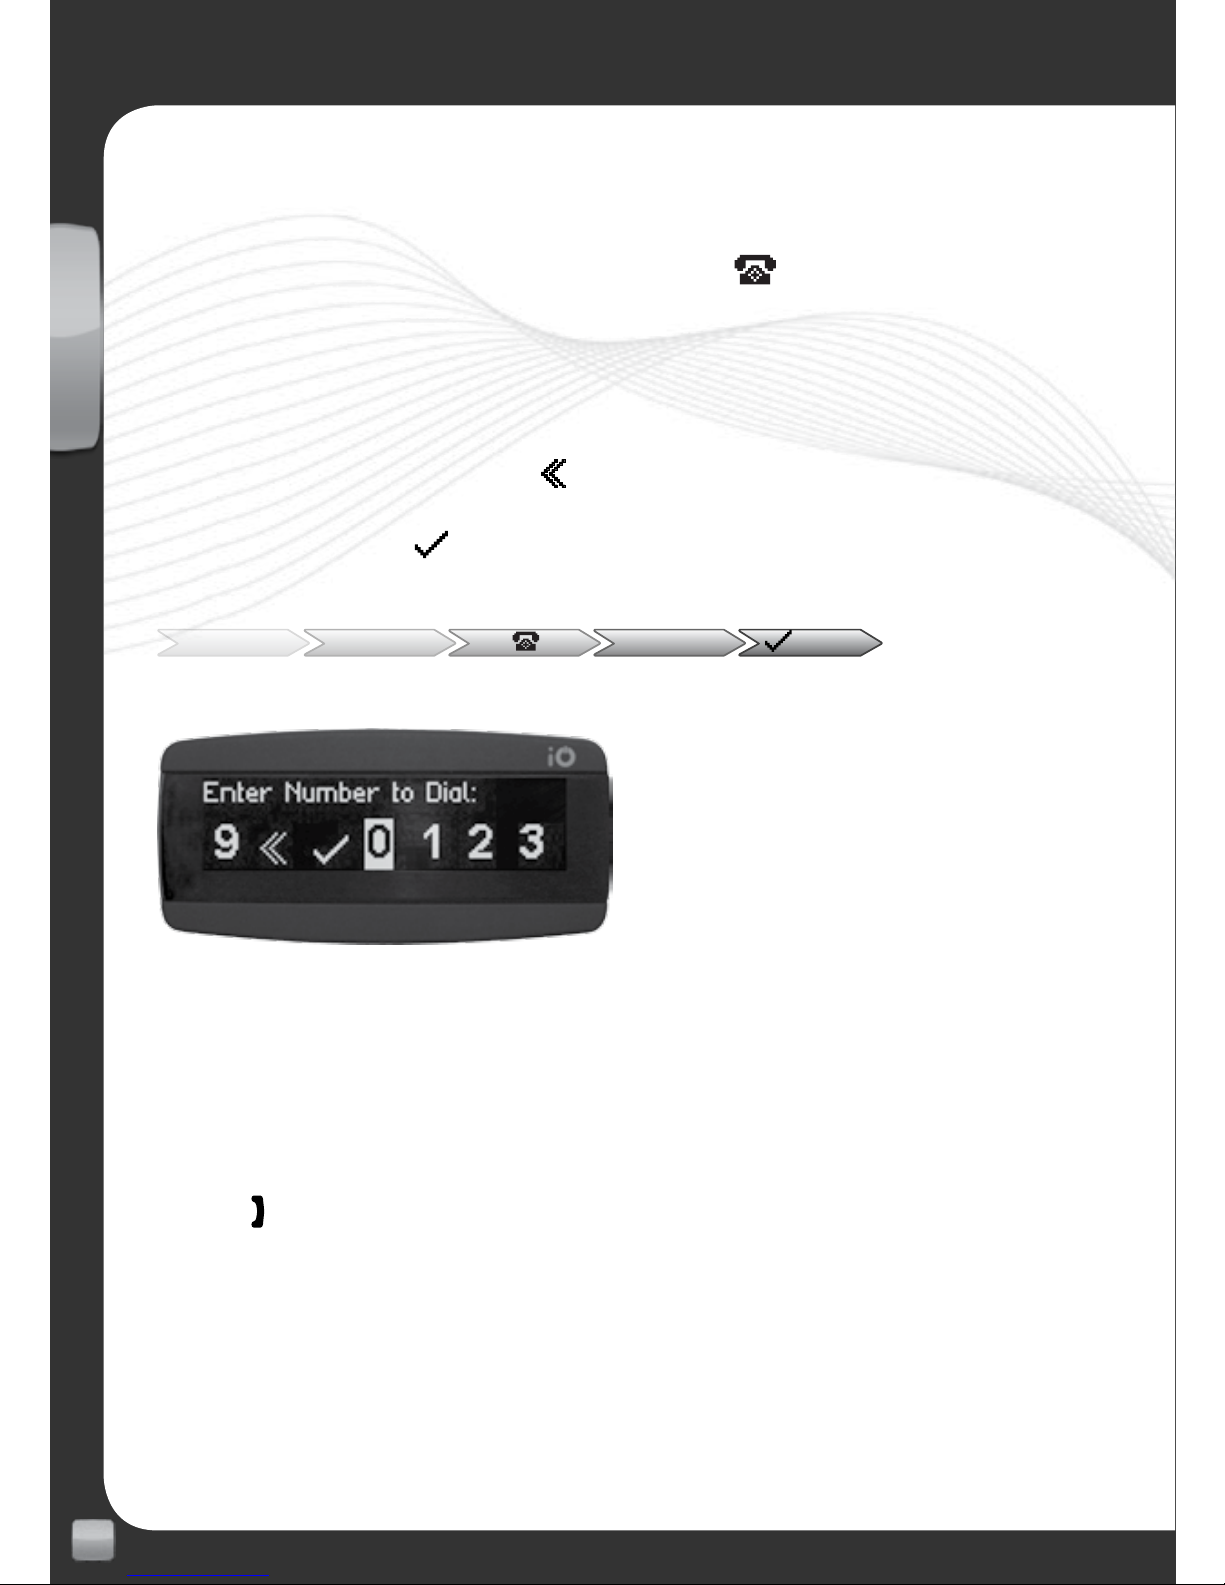
To manually dial from your iO G2 device, enter the ‘Phonebook’ menu and
use the number entry screen located under the
icon. If two phones are
connected you will be given the option to select which phonebook to access
or which phone to manually dial from. Alternatively you can manually dial by
holding down the rotary button whilst in the Home Screen (this will always dial
using phone 1). Once in the
‘Manual Dial’ screen turn the rotary button to
select the number. Conrm the selection by pressing the rotary button. If
you make an error then use the
button to delete the last digit. As you select
each number it will be displayed at the top of the screen. Once the number is
selected click on the
to dial (Fig.7).
Menu Phonebook Dial Number
to Dial
Fig.7 – Manual Dialling
Voice Dialling
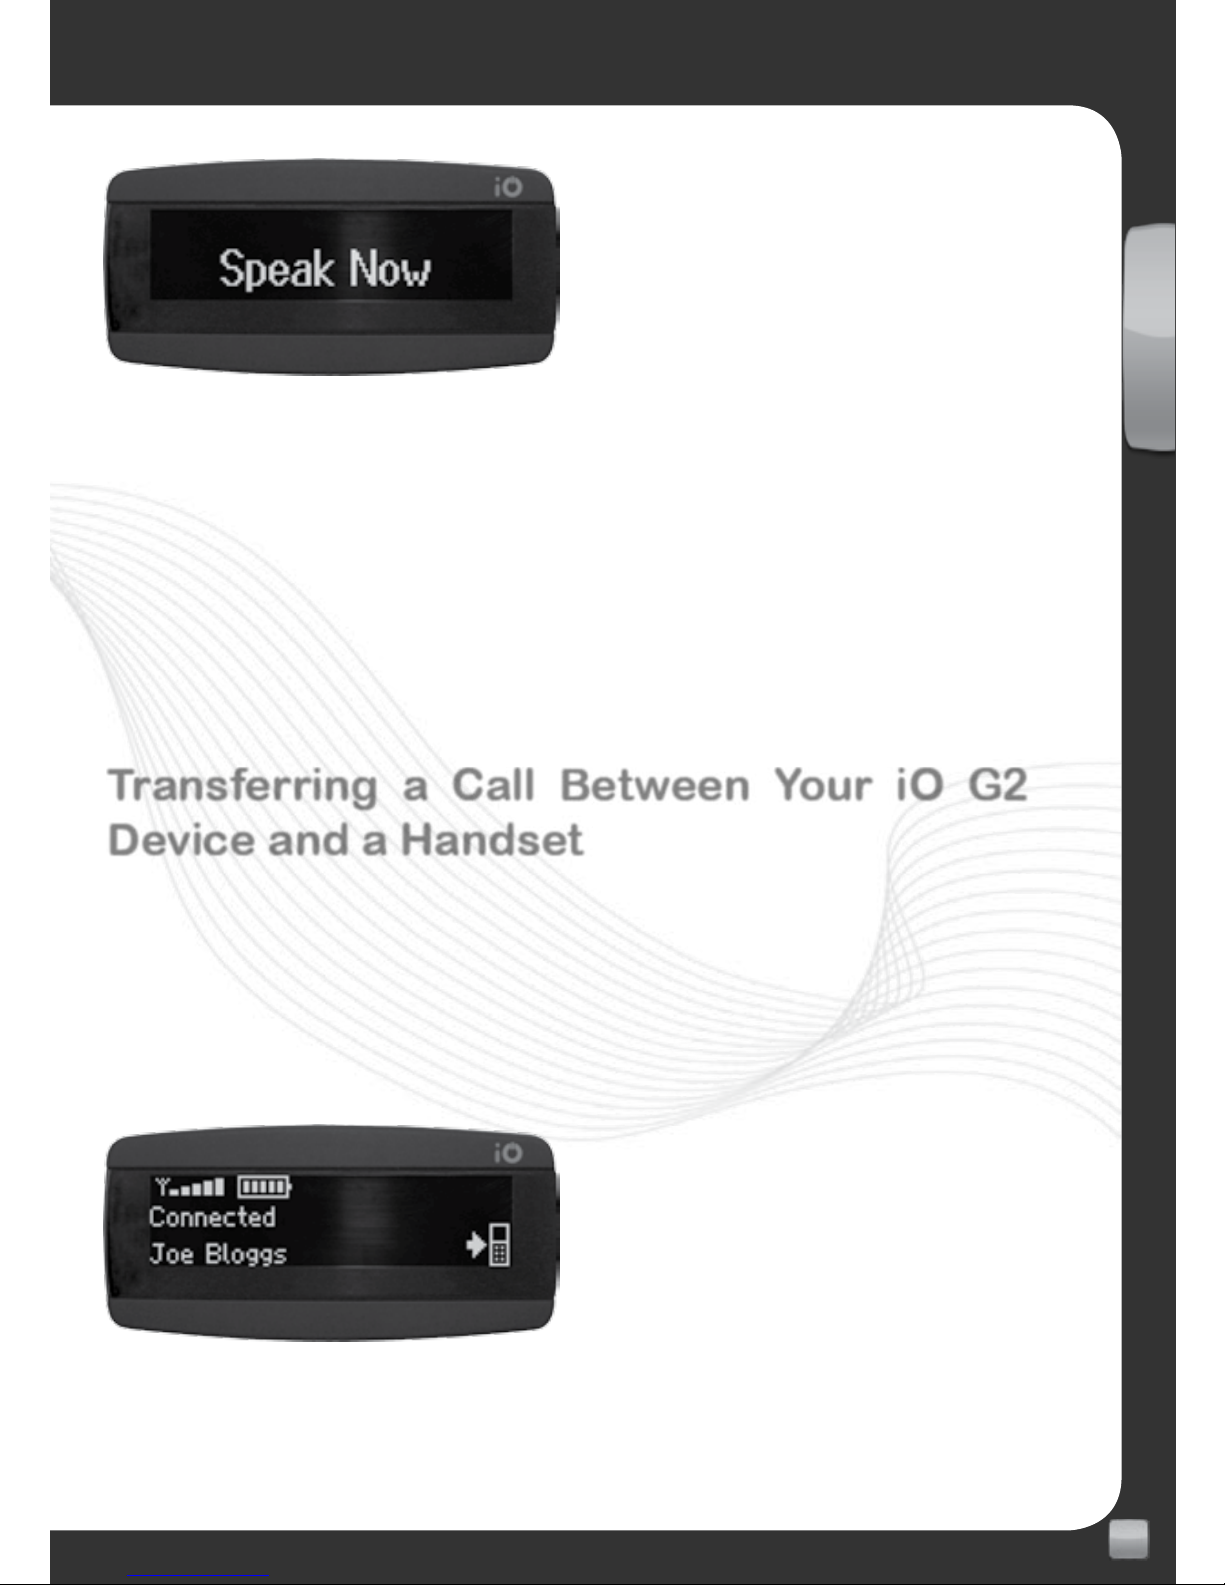
To use the voice dialling feature on compatible phones you need to hold down
the red
button for 3 seconds whilst in the home screen. Please note that this
will always activate the voice dialling feature of ‘Phone 1’ (Fig.8).
Page 15
15
EN
www.my-io.com
Fig.8 – Voice Dialling active
When prompted you should clearly state the name of the contact that you wish
to call. This will then start the dialling process for your chosen contact.
The voice dialling process will be activated in the same way as your handset so
if conrmation of the desired contact is required on your handset then this will
be the case when using your iO G2 device.
Transferring a Call Between Your iO G2
Device and a Handset
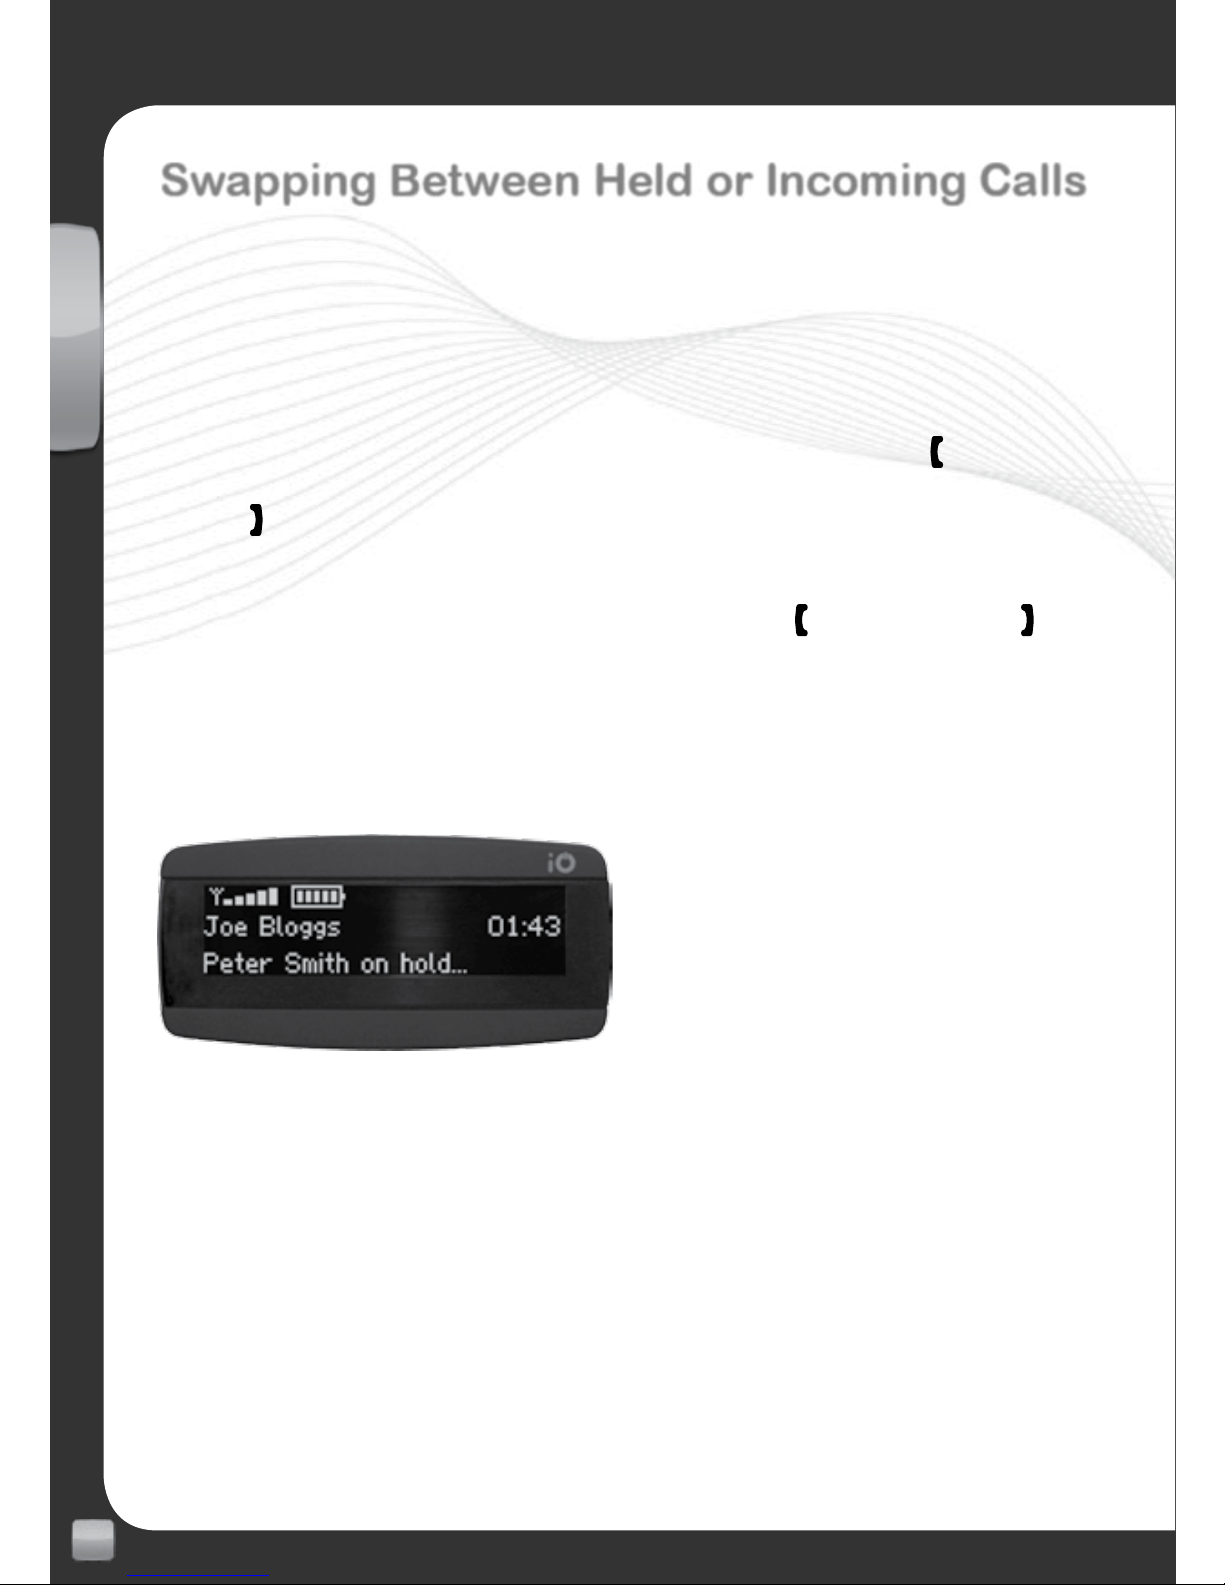
To transfer a call between your iO G2 device and a handset, just hold down the
rotary control during a call for 3 seconds. Each 3 second press will alternate
between the handset and your iO G2 device. You will be notied of this by the
“Handset Transfer” icon (Fig.9). If multiple calls are active then all calls will be
transferred to the handset.
Fig.9 – Handset transfer icon
Page 16
16
EN
www.my-io.com
Swapping Between Held or Incoming Calls
iO G2 devices have the ability to handle multiple calls simultaneously but this
feature is only available on one handset at a time.
If you have a current active call on either connected handset and a second call
is received on the same handset you will be notied by a low “beep” tone and
also the display will announce the incoming caller. You are then able to accept
the new call and put the rst call on hold by pressing the green
button, or you
can end the current call and automatically answer the second call by pressing
the red
button.
If you have chosen to accept the second call and place the rst call on hold you
can then swap between calls by pressing the green
button. The red button
will always end the currently active call.
You will be shown which call is active and which one is on hold on the display
(F ig .10).
Fig.10 – Multiple active calls
If you are on a call from one handset and the other handset receives an incoming
call you will again be notied by a low “beep” tone. You then have the option
to end all current calls to enable you to answer the second handsets call. Calls
cannot be handled simultaneously from two different handsets.
You are able to answer the call from the second handset by pressing the answer
button on the second phone. This will route the call through the phone without
interrupting the current call on your iO G2 device.
Page 17
17
EN
www.my-io.com
Call Privacy
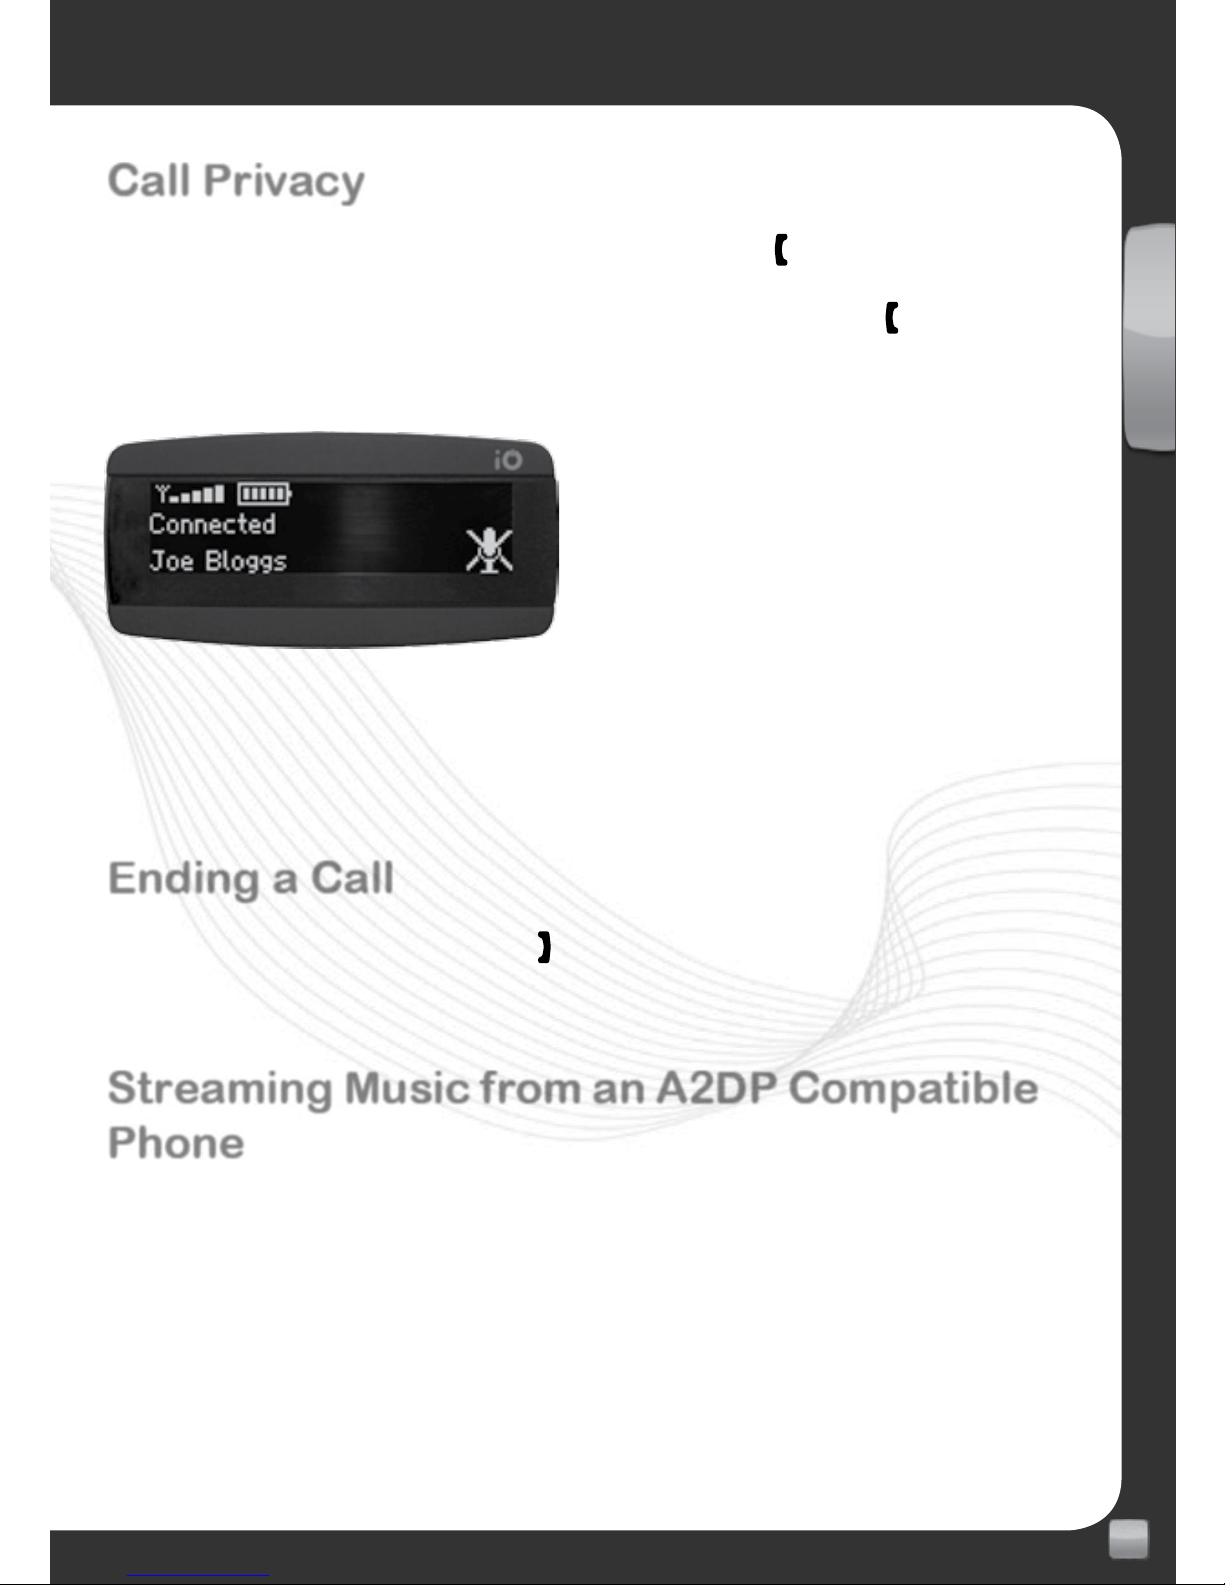
To mute the microphone during a call click the green button. This will then
mean that the other party will not be able to hear you although you will still be
able to hear them. To un-mute the microphone, click the green
button again.
When Call Privacy is active you will see the microphone muted symbol (Fig.11).
Fig.11 – Microphone muted icon
Note: If two calls are active this function is not available.
Ending a Call
To end the current call click the red button during the call.
Streaming Music from an A2DP Compatible
Phone
Your iO G2 device has the ability to stream music that you have stored in your
A2DP enabled phone through the car speakers.
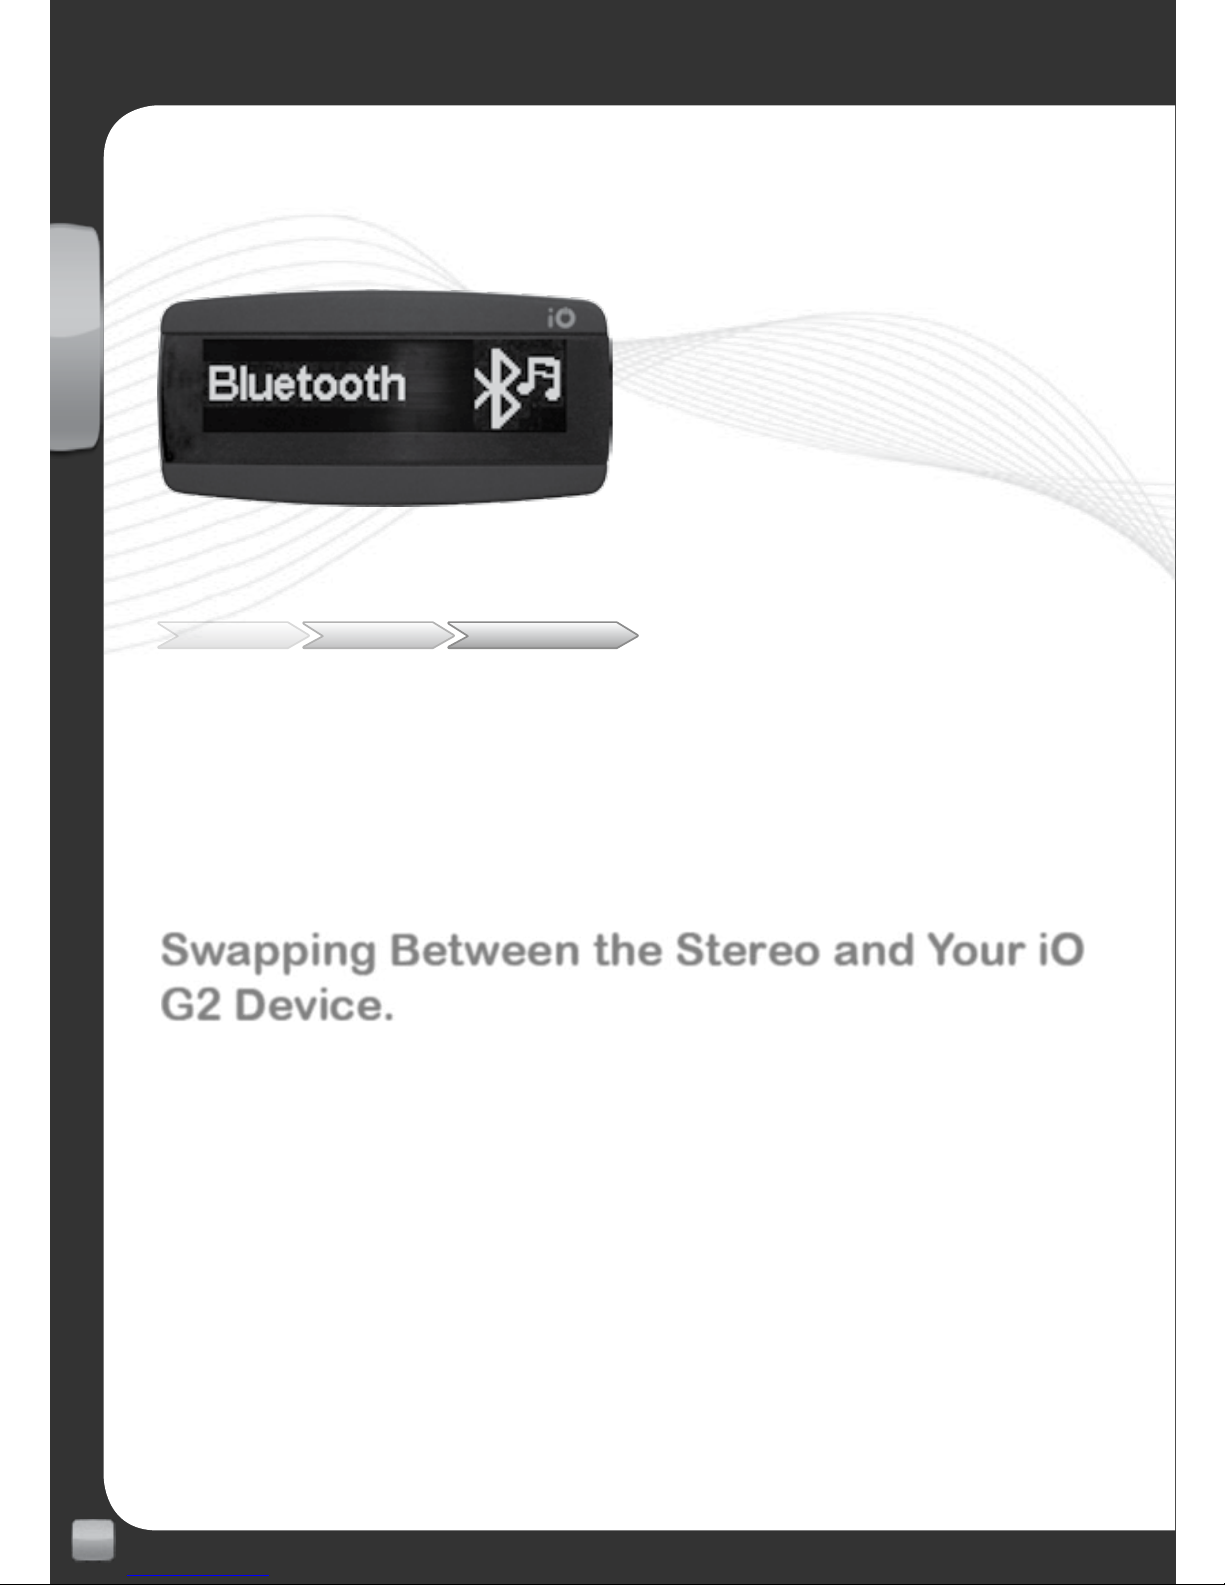
To listen to music stored on your phone enter the
‘A2DP Music’ source menu
and select the desired handset from which you wish to stream music. (Fig.12)
You will then be reverted to the music playing home screen. Dependant on
your handset, music may start playing automatically or you may be required to
start playback manually from your phone. Some phones may not require you to
Page 18
18
EN
www.my-io.com
enter the ‘A2DP Music’ menu to start playback. In this case you can initiate
playback by just pressing play on the phone.
Fig.12 – Bluetooth source
Menu Bluetooth
Select Phone
If your handset supports the AVRCP (Audio Video Remote Control Prole)
function then you will also be able to control the play/pause and track up/down
functions from your iO G2 device. (Check with your phone manufacturer)
Swapping Between the Stereo and Your iO
G2 Device.
To start listening to music from your iO G2 device when using your vehicles
stereo, just enter the menu and select your chosen source. To revert back to
the vehicle radio when listening to music from your iO G2 device, then enter the
menu by pressing and holding the rotary button for 2 seconds and then select
‘Car Stereo’.
Page 19

19
EN
www.my-io.com
Page 20
20
EN
www.my-io.com
Warranty
Armour Automotive Ltd. warrants this product to be free from defects in
material and workmanship under normal use for a period of 12 months from
the date of original purchase. Should service be necessary under this warranty
for any reason due to manufacturing defect or malfunction during the warranty
period, Armour Automotive will repair or replace (at its discretion) the defective
product with an equivalent products
. The warranty excludes damage or abuse
caused by customer misuse. All warranties are to be handled by the original
retailer where the goods were purchased.
This warranty is valid only for the original purchaser and is not extended to
owners of the product subsequent to the original purchaser. Any applicable
implied warranties are limited in duration to a period of the express warranty
as provided herein beginning with the date of the original purchase at retail,
and no warranties, whether express or implied, shall apply to this product
thereafter.
Armour Automotive Ltd. does not warrant failure of an iO product caused by
incorrect installation by a non approved installation centre.
Trademark
All rights reserved. The iO trademarks are the sole and exclusive property
of Armour Automotive Ltd. Any other trademarks or names used in iO
documentation are copyright protected and are the sole and exclusive property
of their respective owners.
Page 21
21
EN
www.my-io.com
Copyright
Copyright 2011; Armour Automotive Ltd. All rights reserved. The total or even
partial reproduction, transmission or storage of this guide in any form or by
any process whatsoever (electronic, mechanical, photocopy, recording or
otherwise) is strictly prohibited without prior consent from Armour Automotive
Ltd.
Modifications
The explanations and specications in this guide are given for information
purposes only and may be modied without prior notice. They are deemed
to be correct at the time of going to press. The utmost care has been taken
when writing this guide, as part of the aim to provide you with accurate
information. However, Armour Automotive Ltd. shall not be held responsible for
any consequences arising from any errors or omissions in the guide. Armour
Automotive Ltd. reserves the right to amend or improve the product design or
user guide without any restrictions and without any obligation to notify users.
As part of our ongoing product development, the product that you have
purchased may differ slightly from the model described in this guide. The latest
version of this guide is available in electronic format at www.my-io.com.
Page 22
22
EN
www.my-io.com
Declaration of Conformity
Armour Automotive Ltd. of Bordon, Hampshire, UK hereby declare
that the device described in this guide is in compliance with the
essential requirements and other relevant provisions of the European
Directive 1999/5/EC (R&TTE). The declaration of conformity (DoC)
concerned has been signed. Please contact the Company if you
require a copy of the original or refer to www.my-io.com/conformity.
FCC Compliance Statement
This device complies with Part 15 of the FCC Rules. Operation is subject to the
following two conditions: (1) this device may not cause harmful interference,
and (2) this device must accept any interference received, including
interference that may cause undesired operation.
Changes or modications not expressly approved by the party responsible
for compliance could void the user’s authority to operate the equipment. The
manufacturers are not responsible for any radio or TV interference caused by
unauthorised modication or incorrect installation to this equipment.
Bluetooth
The Bluetooth word mark and logos are owned by the
Bluetooth® SIG, Inc. and any use of such marks by
Armour Automotive Ltd. and Armour Automotive Ltd’s
brand iO is under licence. Other trademarks and trade
names are those of their respective owners.
FCC ID: VUHIOPLY2
FCC ID: VUHIOTLK2
B017581
Page 23
23
EN
www.my-io.com
Correct Disposal of this Product (WEEE)
(Waste Electrical Electronic Equipment – WEEE)
This marking shown on the product or its literature, indicates that it
should not be disposed with other household wastes at the end of its
working life. To prevent possible harm to the environment or human
health from uncontrolled waste disposal, please separate this from
other types of wastes and recycle it responsibly to promote the sustainable
reuse of material resources. Household users should contact either the retailer
where they purchased this product, or their local government ofce. Business
users should contact their supplier and refer to the terms and conditions of the
purchase contract. This product should not be mixed with other commercial
wastes for disposals.
iPod/iPhone
C-Tick
This device complies with the C-Tick EMC Regulatory Arrangement.
Supplier Identication: N15013
Page 24
24
EN
www.my-io.com
The iO brand also encompasses a range of accessories to enhance the use of
your iO G2 device e.g. aiding installations, increase functionality, replacement
parts and device charging). These accessories are avaialble from any
authorised iO retailer.
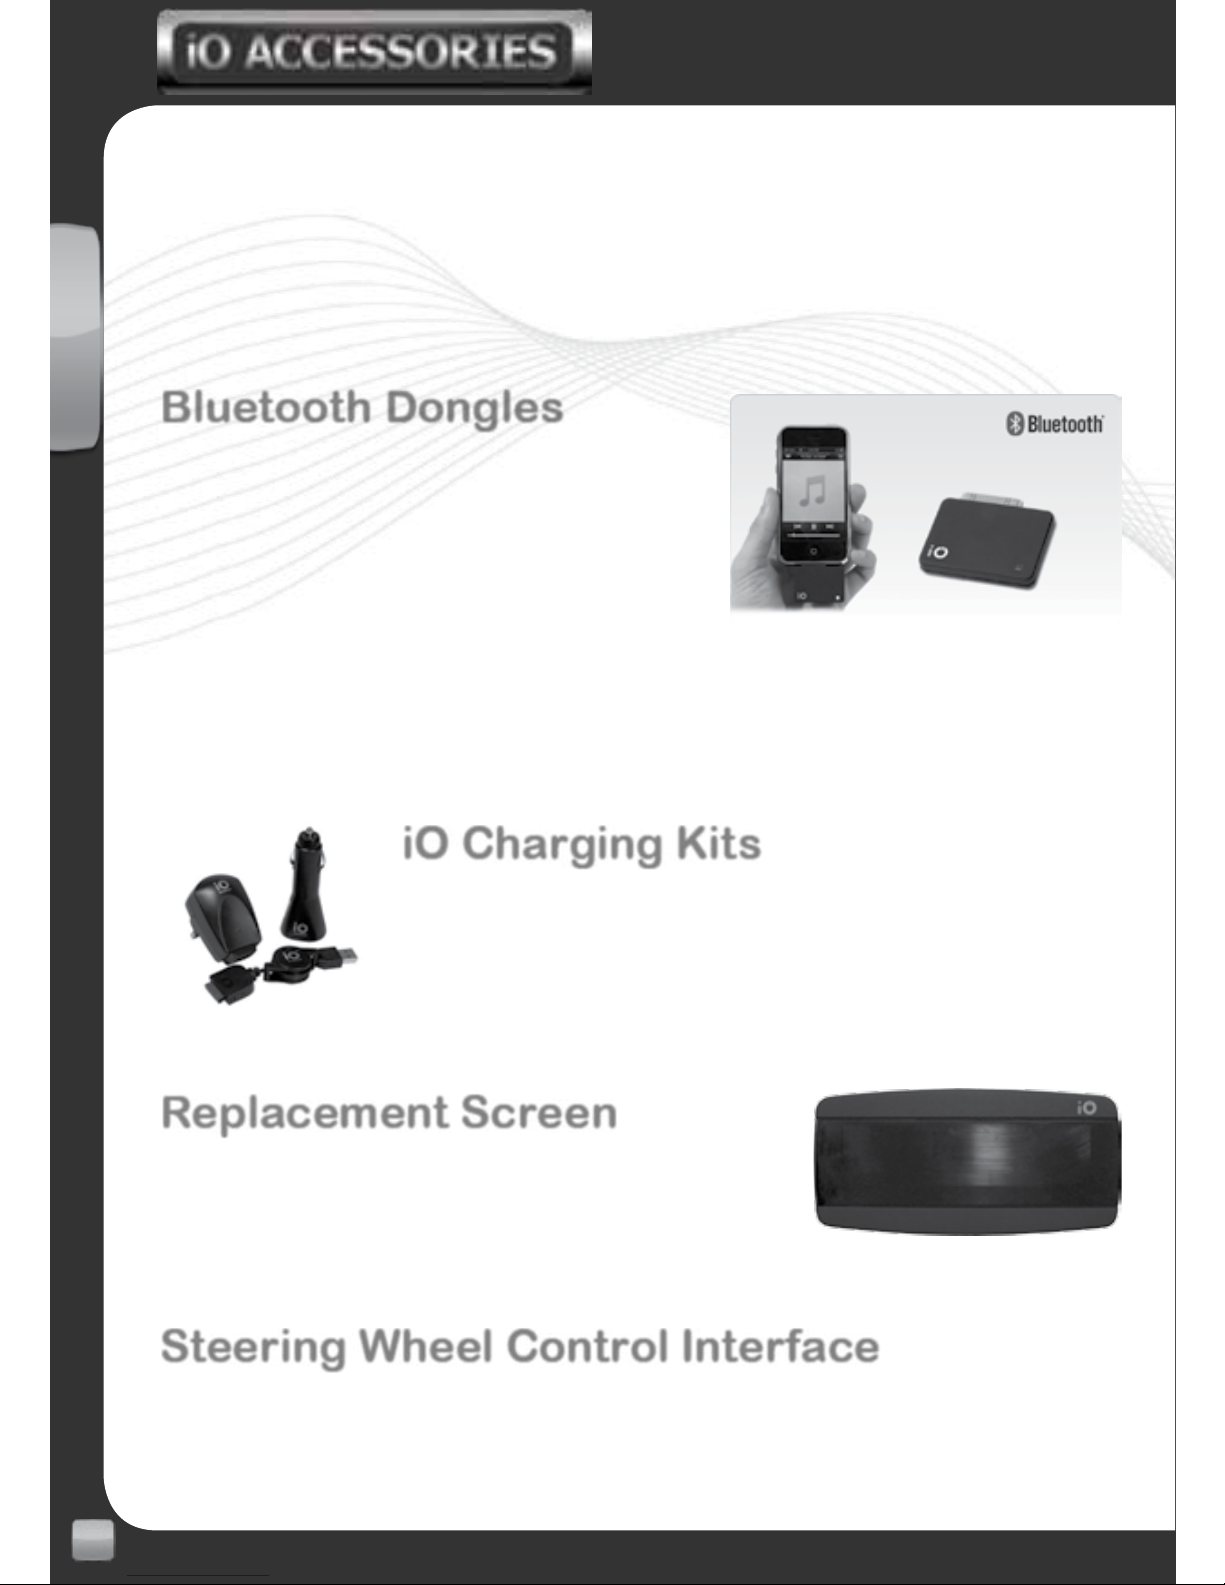
Bluetooth Dongles
These are Bluetooth stereo (A2DP) Music
Streaming Adaptors for wirelessly streaming
your music tracks or Sat Nav voice
instructions through your iO G2 device,
from any non-Bluetooth portable devices.
Available for 3.5mm jack plugs and 30 pin
Apple connectors.
iO Charging Kits
We offer a series of device charging kits to allow you to
charge your iPod/iPhone and any USB powered devices
while in the car or from mains either at home/ofce or
whilst abroad.
Replacement Screen
Replacement OLED screens for your iO G2 device
are available to replace lost or damaged items (Part
Number: iO-OLED1).
Steering Wheel Control Interface
Optional steering wheel control interfaces are available for most makes/models
of vehicles which will allow control of your iO PLAY2 directly from your factory
steering wheel controls.
Page 25
25
EN
www.my-io.com
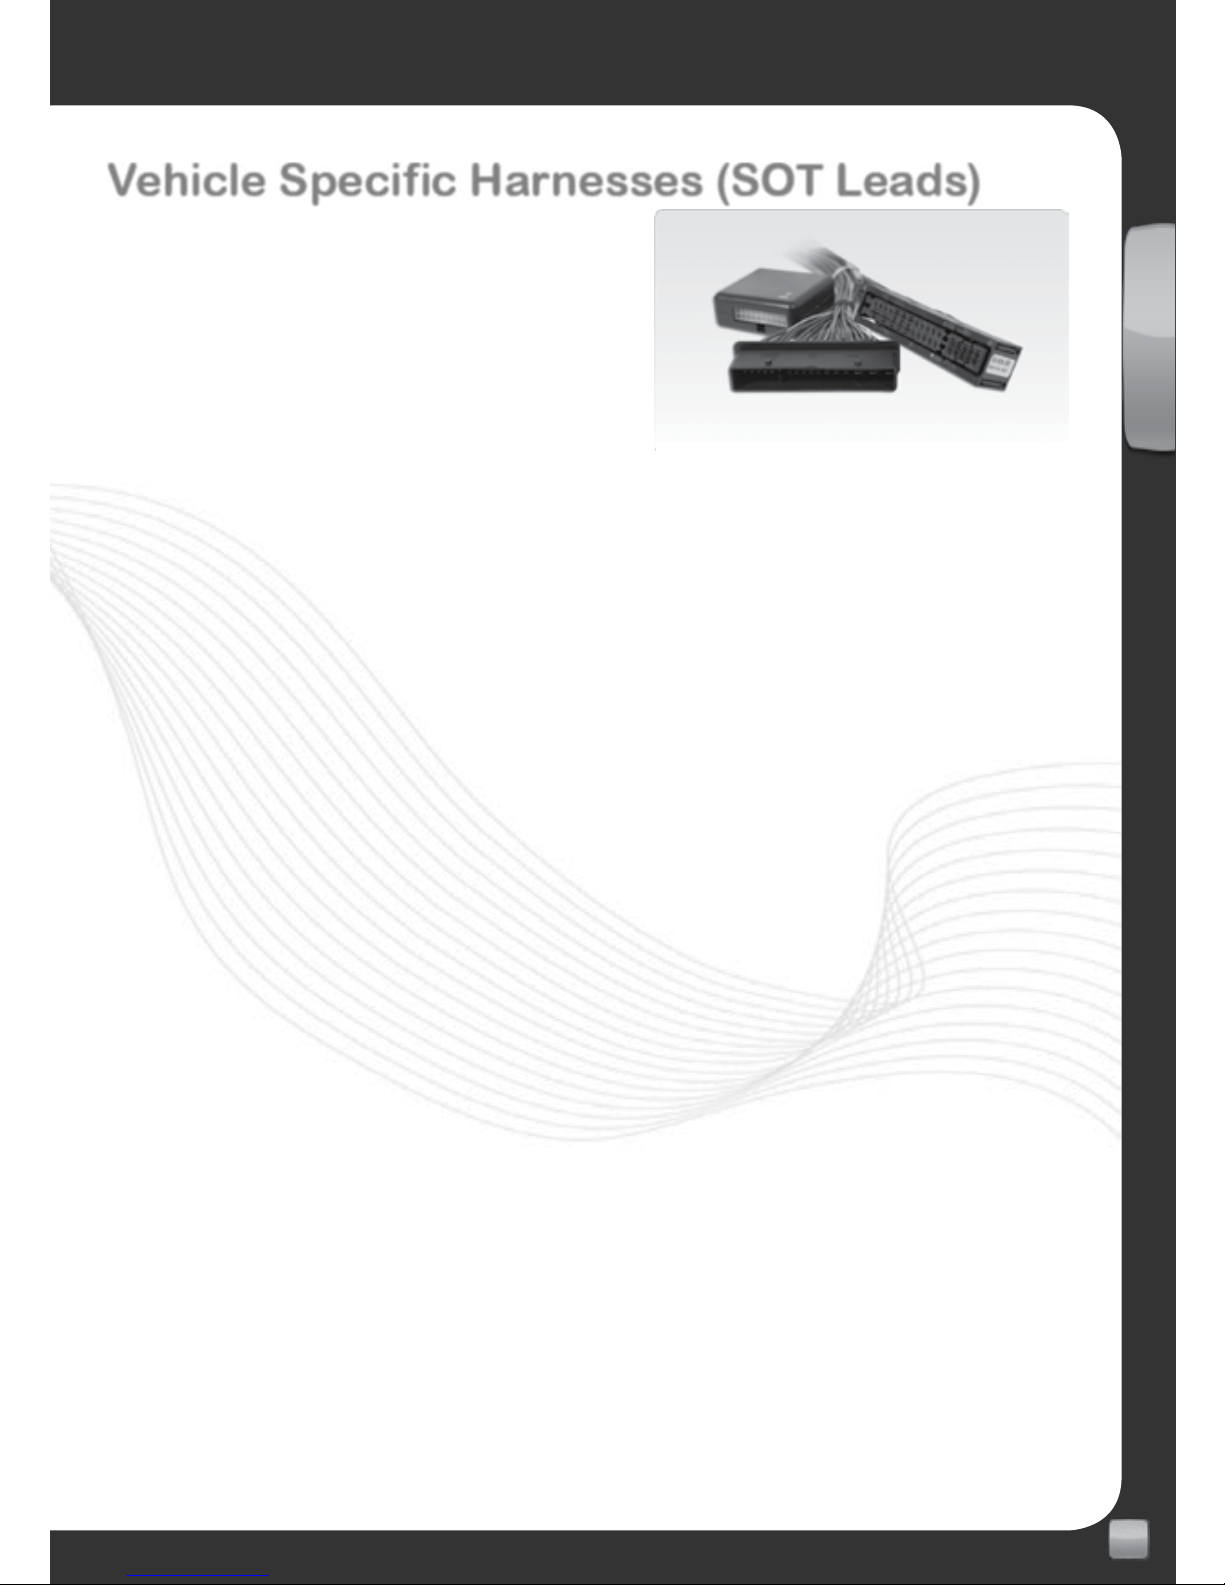
Vehicle Specific Harnesses (SOT Leads)
A SOT Interface Lead (supplied by
Autoleads) allows iO Products to be
installed into vehicles with different types
of Plug & Play connectors. We have a
comprehensive range of interface leads
for all types of different automotive
original equipment audio systems and
applications.
For the full range of vehicle specic harnesses (SOT’s) please refer to the
Autoleads Product Finder at www.autoleads.co.uk/productnder
Page 26
26
EN
www.my-io.com
Receive greater benets by registering your iO product in 3 easy steps.
Benefits
>> Instant Access to online product support.
>> Provides Warranty and after sales service.
>> Exclusive online login to www.my-io.com.
Step 1
Visit www.my-io.com/register
Step 2
Log-in or register for an account.
Step 3
Enter the serial number and product details found on the box and follow the
registration steps.
Registration is now complete.
Enjoy your iO experience with total peace of mind.
Page 27
27
EN
www.my-io.com
User Manual
For more information on installation, features and usage of your iO G2 device,
please view or download the Full User Manual which can be found at www.
my-io.com
Contact Us
Web:
www.my-io.com
Technical Email:
Technical Help Line:
0900 1020 119*
Opening hours:9:00am - 5:00pm Mon-Thu, 9:00am - 4.30pm Fri
*Calls cost 60p per minute. Mobile phone costs vary, maximum call charge of
£5.00. Please ask permission of the bill payer before calling.
Page 28

 Loading...