

Page 1

Version A1
IPS Installation Wizard
Page 2

IPS Installation Wizard
This information is solely for use of Personnel and Authorized Dealers. No part of this publication may be copied, reproduced or
distributed in any form without express written permission from. 2011.
- 1 -
Contents
Home Screen ................................................................................................................................................................................ 1
Regional Settings .......................................................................................................................................................................... 2
Supplies and Support .................................................................................................................................................................. 5
Network .......................................................................................................................................................................................... 7
Keycode ........................................................................................................................................................................................ 9
Toner Setup ................................................................................................................................................................................. 11
Page 3
IPS Installation Wizard
This information is solely for use of Personnel and Authorized Dealers. No part of this publication may be copied, reproduced or
distributed in any form without express written permission from. 2011.
- 1 -
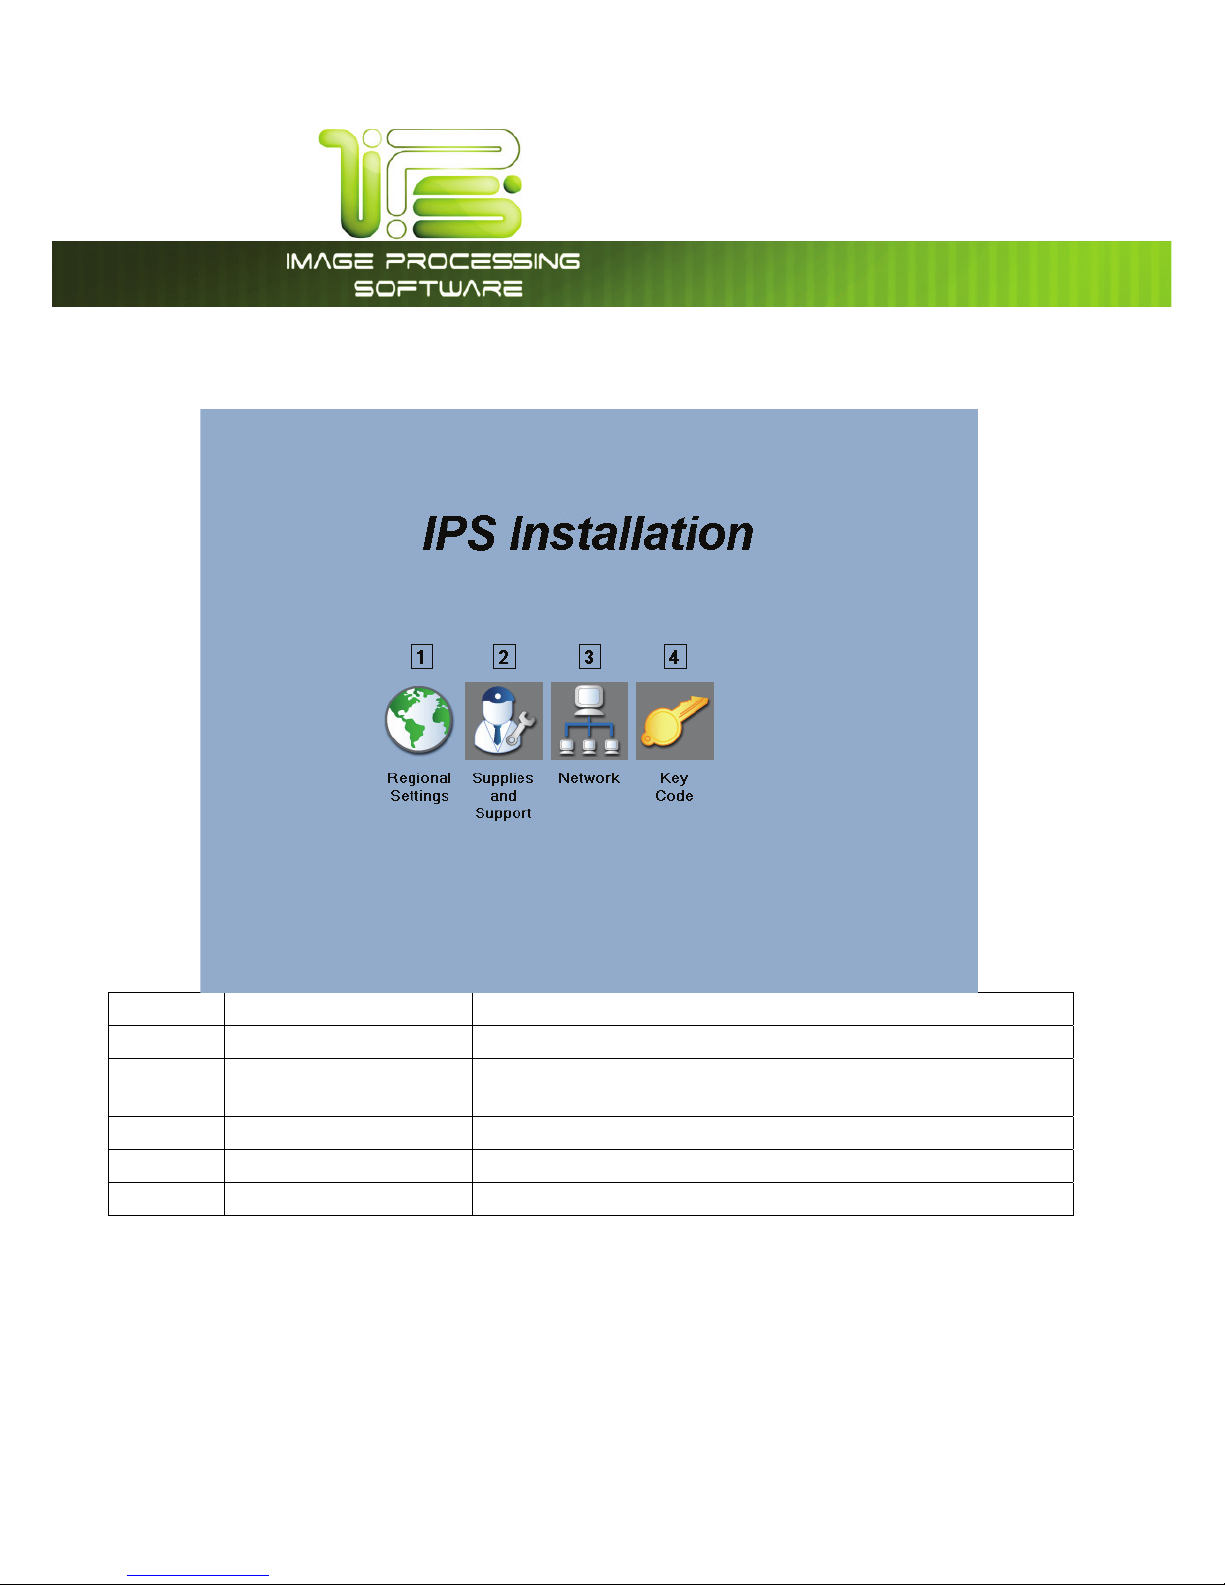
Home Screen
No. Name Function
1 Regional Settings This will allow the selection and setup of Regional settings
2 Suplies and
Support
Initial setup of Dealer information
3 Network Initial setup of the network configuration.
4 KeyCodes Allows the entry of the keycodes for purchased options
5 Toner Setup Initial toner installation in the Units only
Page 4
IPS Installation Wizard
This information is solely for use of Personnel and Authorized Dealers. No part of this publication may be copied, reproduced or
distributed in any form without express written permission from. 2011.
- 2 -
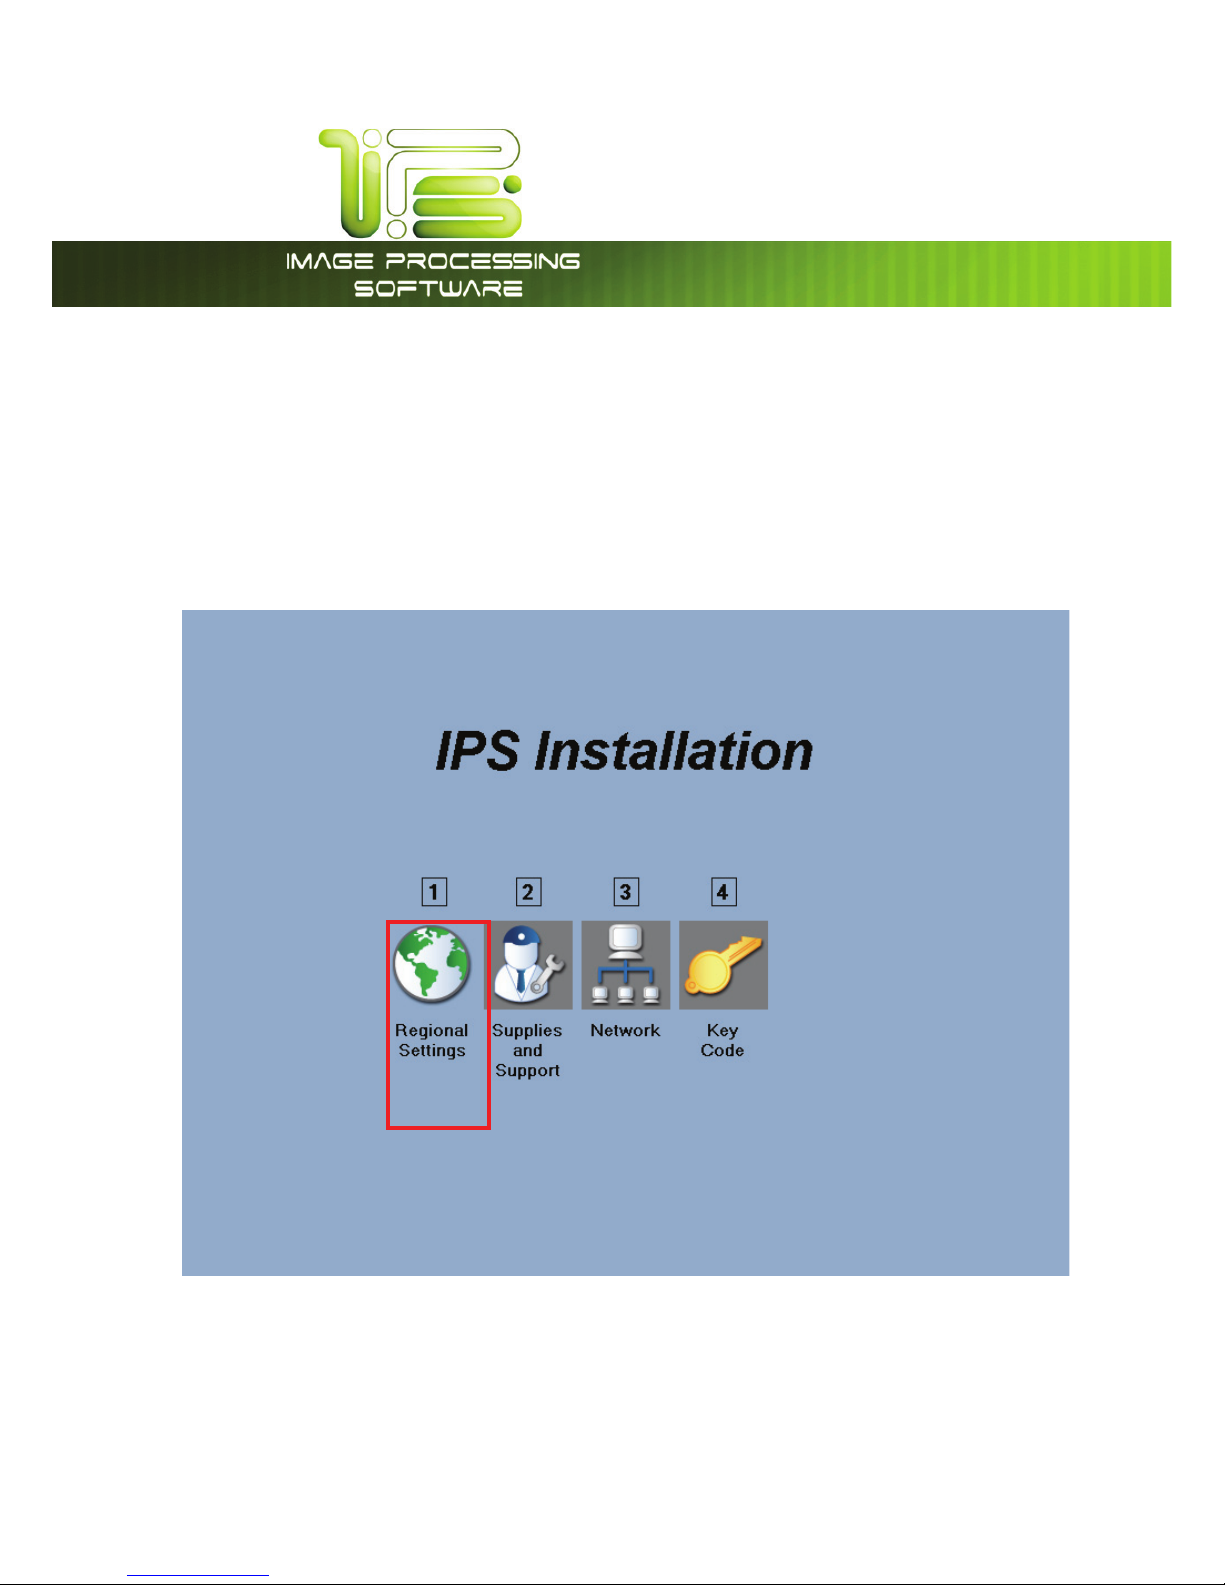
Regional Settings
The Administrar or Technician doing the initial setup of the Printer will need to go through the Installation
Wizard upon first boot of the system. This will walk them through the proper setup procedures of the IPS
to ensure that this unit is installed correctly and make it ready to print.
The First Step is to set the Regional settings.
Select the Regional Setting Icon to begin.
Note: Step 2 etc. cannot be done until Step one is completed.
Page 5

IPS Installation Wizard
This information is solely for use of Personnel and Authorized Dealers. No part of this publication may be copied, reproduced or
distributed in any form without express written permission from. 2011.
- 3 -
The First screen to open up will be the language settings screen. Please choose the desired Language
that the Printer will be set up to use.
Page 6

IPS Installation Wizard
This information is solely for use of Personnel and Authorized Dealers. No part of this publication may be copied, reproduced or
distributed in any form without express written permission from. 2011.
- 4 -
Once the language has been select the folowing window will open. This window will show the selected
language in the upper left corner and allow the correct setting of the Time, Date and Time Zone. Please
set up correctly acording to your locataion before continuing.
Note: the Printer default is the Eastern Time Zone.
Page 7

IPS Installation Wizard
This information is solely for use of Personnel and Authorized Dealers. No part of this publication may be copied, reproduced or
distributed in any form without express written permission from. 2011.
- 5 -
Supplies and Support
Step Two is setting up the Supplies and Support section. This allows for the entry of Dealer information
making it easier for users to contact their Dealer if necessary.
Selecting the Supplies and Support Icon will advance to the next screen where the information can be
entered.
Page 8

IPS Installation Wizard
This information is solely for use of Personnel and Authorized Dealers. No part of this publication may be copied, reproduced or
distributed in any form without express written permission from. 2011.
- 6 -
Dealer information can be entered for the following:
x Dealer Name
x Supplies #
x Service #
x Website Name
x Website URL
Selecting any of the white boxes will bring up the on screen
Keyboard and allow for the entry of the information.
Once all of the information has been entered select the
Right arrow to continue.
Note: If this information is not available or will be entered at
a later time select the Configure Later check box to
continue.
Page 9

IPS Installation Wizard
This information is solely for use of Personnel and Authorized Dealers. No part of this publication may be copied, reproduced or
distributed in any form without express written permission from. 2011.
- 7 -
Network
Selecting the Network Icon will allow the installing Technician or Administrator to easily connect the
Printer to the available network.
Page 10

IPS Installation Wizard
This information is solely for use of Personnel and Authorized Dealers. No part of this publication may be copied, reproduced or
distributed in any form without express written permission from. 2011.
- 8 -
Selecting the “Obtain IP Address Automatically (Use
DHCP) will bring up the following window. DHCP is the
Default setting and just selecting the Right Arrow will
continue through the set up steps.
Selecting the Manual Entry button will allow the installing
tech or Admin to enter specific (static) network settings.
Page 11

IPS Installation Wizard
This information is solely for use of Personnel and Authorized Dealers. No part of this publication may be copied, reproduced or
distributed in any form without express written permission from. 2011.
- 9 -
Keycode
Keycode Entry allows the installing technician or Administrator to enter the keycodes for the purchased
options. Once entered all of the purchased options will be availbe for use on the Printer.
Page 12

IPS Installation Wizard
This information is solely for use of Personnel and Authorized Dealers. No part of this publication may be copied, reproduced or
distributed in any form without express written permission from. 2011.
- 10 -
The Key Code Options Screen will display all of the
options available to the Printer. All of the purchased
options will display a green check mark next to the
option once the keycodes hav been entered.
Selecting the “Enter the New Keycode will open the on
screen keyboard for easy entery.
Once all of the code has been enetered the Enter
button will turn green. The code entered will be
validated against the IPS
Image Processing System and
i
f valid will check all available options.
Note: When entering the keycodes there will be more than one code provided depending on what
options were purchased. All of the codes do not need to be enterd in order to get the options, just
enter the last code before the code that begins with a $ (Color). This will activate all of the codes
avaialble. Once this is done enter the $ codes to activate the color options.
Page 13

IPS Installation Wizard
This information is solely for use of Personnel and Authorized Dealers. No part of this publication may be copied, reproduced or
distributed in any form without express written permission from. 2011.
- 11 -
Toner Setup
Toner setup is availabl on the printers only. Selecting the the Toner Icon will open the screen to start this
process.
Page 14

IPS Installation Wizard
This information is solely for use of Personnel and Authorized Dealers. No part of this publication may be copied, reproduced or
distributed in any form without express written permission from. 2011.
- 12 -
Selecting the start button, will top off, and level the toner
within the developer unit. This process will take
approximately 20 minutes.
System will Reboot when this process is complete.
 Loading...