

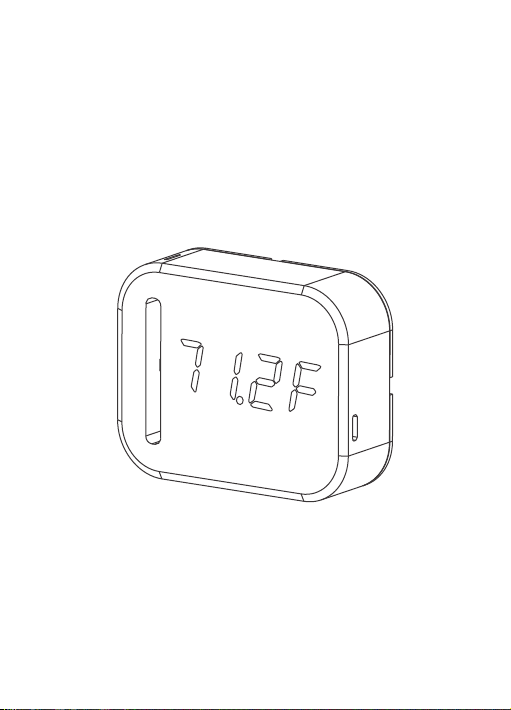
Wireless Remote Temperature
& Humidity Sensor
iSmart56
Installation and User Guide
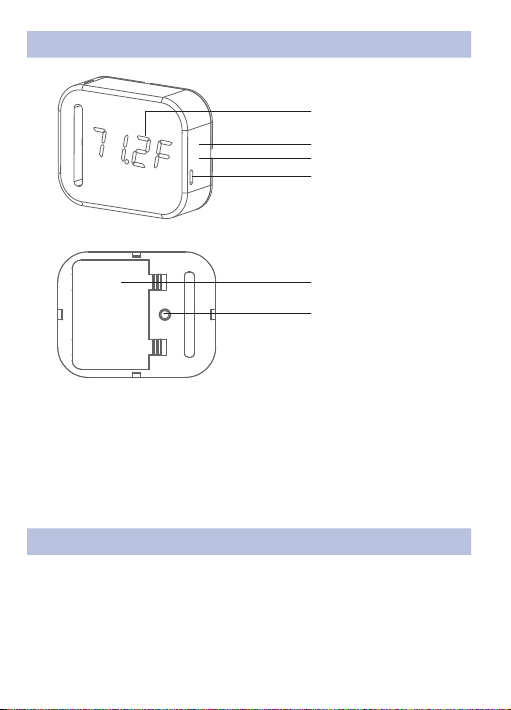
1. Get To Know iSmart56 Sensor
0.56”LED Temperature
and Humidity Display
WiFi Connect Status
Battery Charge Status
Micro USB Socket (DC In)
Battery Cover
Setup Button
Specifications
Power Source:
Temperature Range: -20°F to 125°F
Humidity Range: 0% to 100% (relative humidity)
Dimensions: 3.1" x 2.5" x 1.0"
Wi-Fi Frequency: 2.4GHz (802.11 b/g/n)
Power Adapter (5V/1000mA), 3xAAA 1000mAH NI-MH Batteries
2.Getting Started
a. Power up your iSmart56 Sensor using included power adapter or batteries.
Sensor will show current temperature (F) and humidity immediately.
b. iSmart56 Sensor Setup
(1) Power off the iSmart56 Sensor, Then hold on Setup button on the back
of the sensor, plug in power adapter and release the “Setup” button, The
Sensor display “AP—“.
-1-

(2) Go to the Wi-Fi settings of your smart phone or computer and connect
to the WiFi network named Ismart –xxx.
(3) Open your web browser and in the Url address bar enter 192.168.4.1
and press Enter or Go, Ismart56 Sensor Setup menu will be loaded,
Follow the menu to complete the setup process.
3.Using Batteries
Note: Power adapter is recommended as the power source of this product.
a. Install the batteries included package into your iSmart56 sensor, Plug in
the power adaptor to charge the batteries, and the red indicator light flashes
when charging.
b. The red indicator light is on when charging is complete. Note: Do not install
other batteries into the iSmart56 Sensor to charge.
-2-

c. Press and hold the setup button (up to 10 seconds) to turn off or turn on the
display. Turn off the display to extend battery life when no display is required.
4.Use Web Brower to Check or Download Your Sensor Data
Open your web browser and in the url address bar enter http://data.iosmart.net
and press Enter or Go, Select My Sensor data menu. In Sensor MAC: please
type in your Sensor’s MAC Address that you can find it on the box of iSmart56
Sensor or on the battery cover. Then click on Apply.
On the lower left bottom of loaded screen, click on “CSV” to download sensor
data as you request or view data online.
5.Download and Use APP
Download the free IOS App at the Apple Store, You can find them by searching
for iSmart56.
Go to http://data.iosmart.net/downloads to download the android APP.
a. On the Sensors page, Press to scan the QR code on the box to add
sensor to your app and rename it
-3-

b. On the Dash page, Select your sensor and click on it to get the sensor data
c. On the Alert page, You Can view historical alert records
6.Bracket Installation
1.45inch
-4-

7. Customer Support
Should you have any questions, please contact our friendly support team at
support@iosmart.net.
-5-

Wireless Remote Temperature
& Humidity Sensor
 Loading...