

Ione RFSCORPIUSP20U Users Manual

ENGLISH
Scorpius-P20
2.4GHz Wireless Joystick Keyboard
User Guide
Introduction
Thank you for purchasing Scorpius-P20 2.4GHz Wireless Joystick Keyboard.
For an ideal performance, please follow the instructions of this user guide. If you
have any question, please contact us at www.ione.com.tw or www.itron-europe.com
Scorpius-P20 combines mouse and keyboard functions in one device with
advanced technology to work with your media center system. This is a plug and
play device under Win ME/2000/XP.
Features
• Built-in 360 ゚ joystick and buttons for mouse function
• 2.4GHz RF with 8 channels / 8 ID per channel
• Up 10 meter operation range
• Low power consumption
• Compatible with Microsoft WIN 95/98/ME/2000/XP
• Compatible with Macintosh OS system.
I. Package Content:
1. SC-P20 Wireless Joystick Keyboard
2. Mini USB RF Receiver
3. 2 AA Batteries
4. User Guide
II. System Requirements:
1. IBM or compatible system
2. WIN 98SE/2000/ME/XP
3. Mac OS system
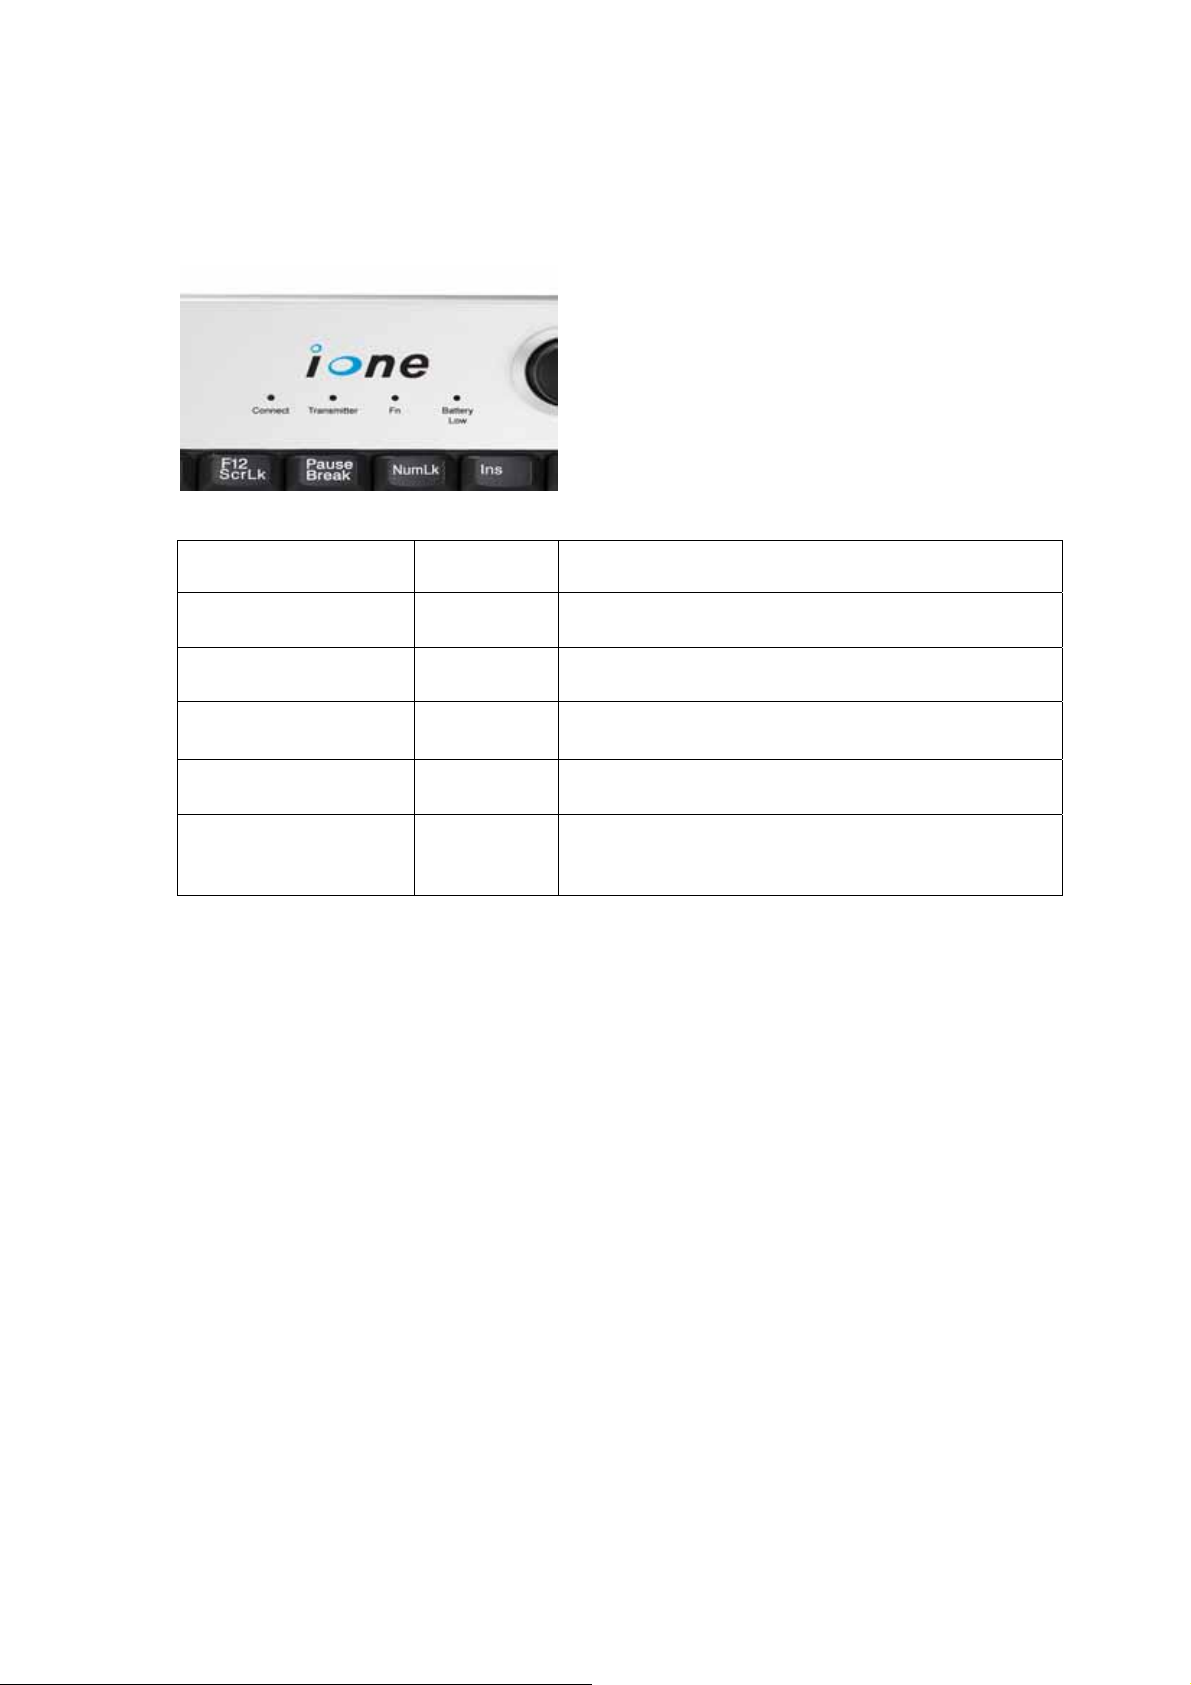
III. Definition of panel information:
Signal Indicator Description
Connect Button Reset button for new ID or bad connection
Transmitter Orange Indication of RF transmitting status
FN Green Activation of “numerical keypad” function button
Battery Low Red Indication of “Battery Low” status
LED on RF receiver Orange
Red
IV. Hardware Setup Notice:
1. When you connect the receiver with your computer, please do not touch the
joystick until the new device installation process is finish.
2. Battery Installation---When you install batteries on the back of the keyboard,
please do not touch the joystick.
3. If you are using Win 98 OS, the system may require original Win 98 system CD to
complete the installation. Please follow the steps to search the driver of USB
device and complete the setup.
V. Connect ID Setting:
Indication of RF receiving status.
Indication of “Battery Low” status.
This product’s connection ID has been set and paired with the receiver during the
assembling. If there is interference or the loss of connection, please reset the
connection again. Please follow the procedure below for new ID setting.
Step 1: Plug the RF receiver into the USB port of your computer.
Step 2: Press the connect button on the RF Receiver. The LED on the RF
 Loading...