

Page 1
Page 2

IOGEAR
16560 Aston Street
Irvine, CA 92606
Phone: (949) 250-1260
Toll Free: (888) 999-2836
Fax: (949) 250-1262
www.iogear.com
info@iogear.com
Page 3

©1999 ATEN Technology, Inc. All Rights Reserved.
Microsoft and Windows 98 are registered trademarks of
Microsoft Corporation.
IBM is a registered trademark of International Business
Machines, Inc.
Macintosh, G3/G4 and iMac are registered trademarks of
Apple Computer, Inc.
ATEN is a registered trademark of ATEN Technology,
Inc.
IOGEAR is a registered trademark of ATEN Technology,
Inc.
ATEN Technology makes no warranty of any kind with
regards to the information presented in this document.
All information furnished here is for informational
purposes only and is subject to change without notice.
ATEN Technology assumes no responsibility for any
inaccuracies or errors that may appear in this document.
Page 4

Package ContentsPackage Contents
This IOGEAR package contains:
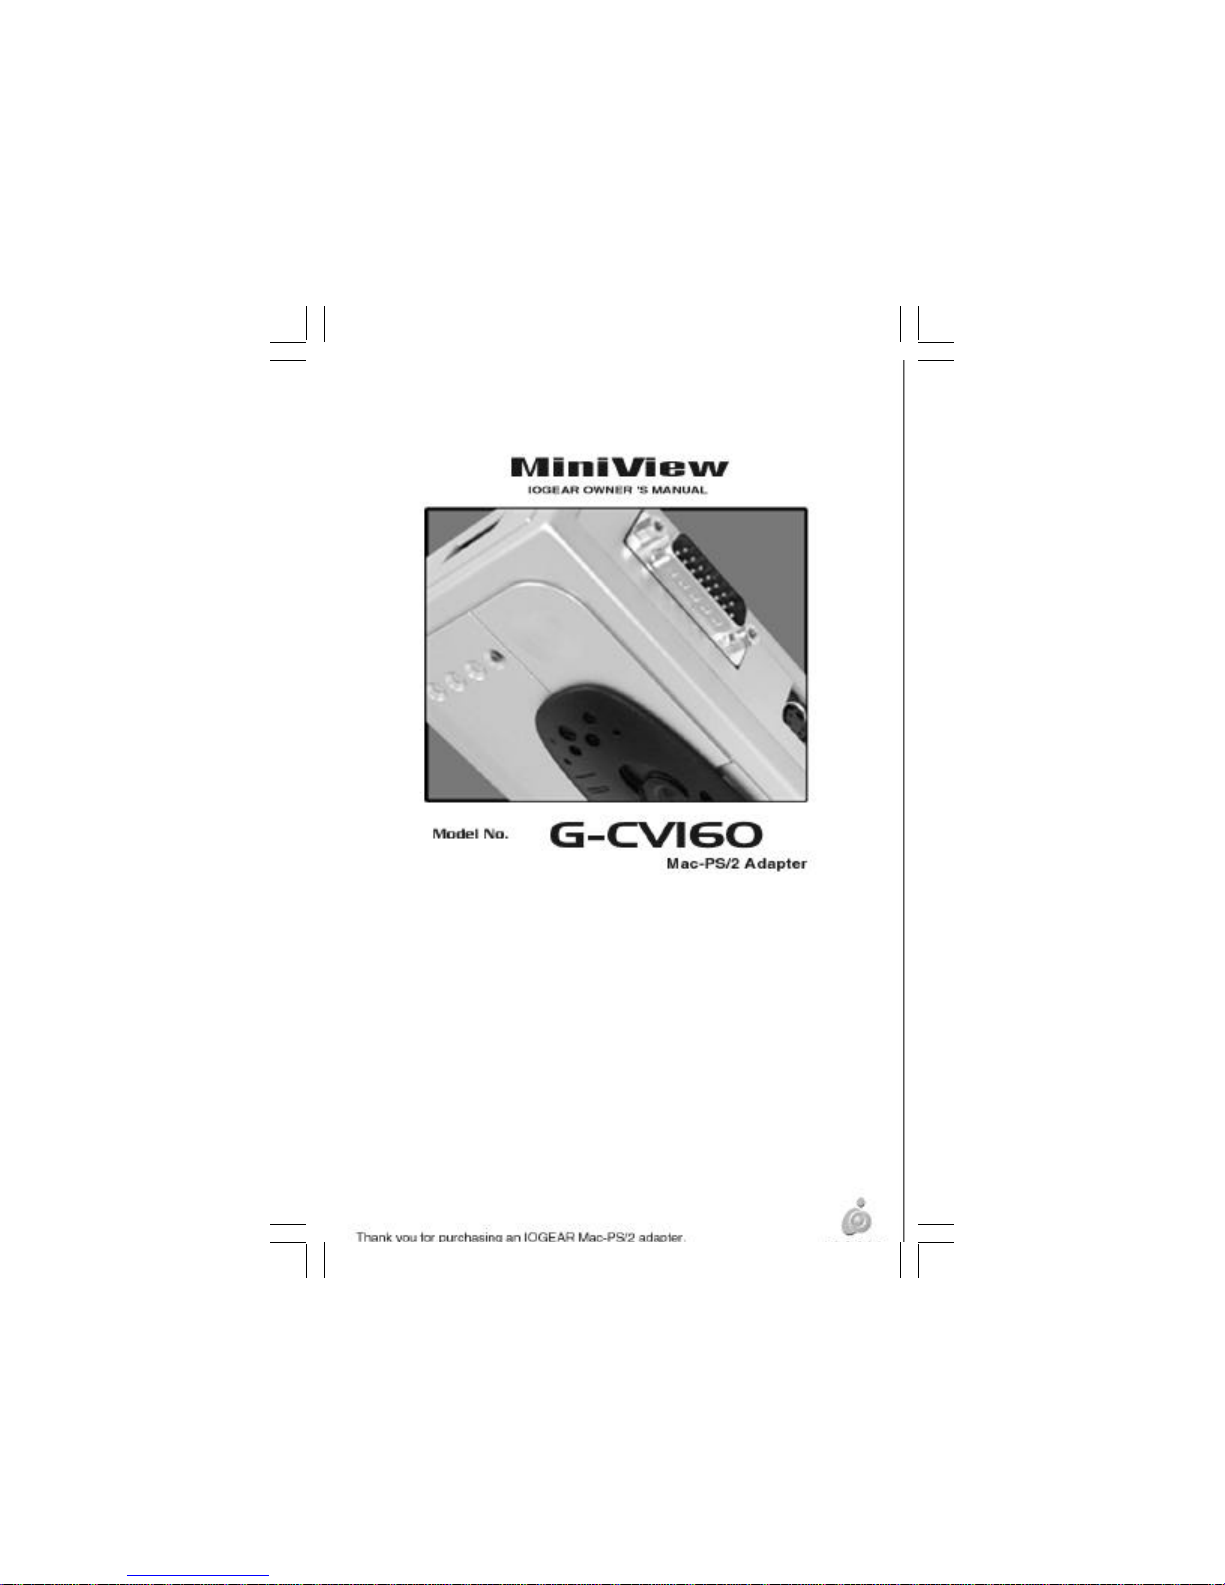
G-CV160 Mac – PS/2 Adapter
ADB Patch Cable
Mac Video Patch Cable
User Manual & Setup Guide
Product Registration / Warranty Card
Please check to make sure that all components are
included and nothing is damaged. If you discover a
problem, please contact your dealer. Before
connecting your MiniViewTM, read the manual
thoroughly and follow the installation and operation
procedures carefully in order to prevent any
damage to the unit and/or any devices it connects
to.
Page 5

ContentsContents
Introduction ……...…………...……... 0101
Features / Sys. Requirements …… 0202
Installation ……………………..……… 0303
KVM Setup …………………………………..
Non-KVM Setup ………...………….……….
Connection Diagrams ……………………....
Dip Switches ….………………………… 0606
Video
Keyboard & Mouse
Mac Key Assignments …………….… 0808
Specifications …………………….….… 0909
Radio Interference / Warranty ...… 1010
Contacting IOGEAR ..…………………. 1111
0404
0505
0707
Page 6

IntroductionIntroduction
Thank you for purchasing IOGEAR’s MiniViewTM
Mac Adapter, a Macintosh-PS/2 converter that
allows seamless integration of a Macintosh
computer into your existing KVM configuration.
Our Mac Adapter is fully compatible with older
Macintosh systems, the new iMac, G3 and G4.
Full Macintosh keyboard functionality is supported
on any PS/2 keyboard, while a second ADB port
allows your existing ADB devices to be used with
the Mac. Although this unit is fully compatible with
our PS/2 KVM switches, it can also be used as a
stand-alone Mac-PS/2 converter. We hope you
enjoy using your new Macintosh Adapter – yet
another first-rate connectivity solution from
IOGEAR.
1
Page 7

FeaturesFeatures / System Requirements / System Requirements
Features
Converts from ADB and DB-15 to PS/2 and HDB-15
Allows a Macintosh system to be incorporated into
your KVM setup.
Secondary ADB port provides support for additional
Macintosh accessories.
Full Mac functionality supported on a PS/2 keyboard
No software required.
Patented VSE technology supports ultra high quality
video at resolutions up to 1920 x 1440.
Save time, space and money.
3 Year Limited Warranty.
System Requirements
1) Macintosh computer with:
ADB connectors for the mouse & keyboard
DB-15 connectors for the video (standard Mac
Video)
2) A PS/2 mouse
3) A PS/2 or AT keyboard
4) A VGA, SVGA or MultiSync monitor
2
Page 8

InstallationInstallation
Installation in a KVM setup:
Before installing your G-CV160, please make sure
your Macintosh is powered OFF.
1) Connect the PC keyboard and mouse ports
on the G-CV160 to one of the PC ports on
your KVM switch. Be sure the keyboard port
on the KVM switch is connected to the keyboard port on the G-CV160, and the same is
true for the mouse ports.
2) If you have an older Macintosh with DB-15
(Mac video) connectors, connect the PC
video port on the G-CV160 to the corresponding video port on your KVM switch. If you're
connecting the G-CV160 to a new G3, G4 or
other Macintosh with HDB-15 video connectors, you can bypass the video portion of the
G-CV160 and connect the video port on your
KVM switch directly to the Mac.
3) Connect the Mac ports on the G-CV160 to
your Macintosh computer.
4) If you have any extra ADB devices (beside
the typical mouse and keyboard), connect
them to the 2nd ADB port on the side of the
G-CV160.
3
Page 9

InstallationInstallation
Before installing your G-CV160, please make sure your
Macintosh is powered OFF.
Installation without a KVM switch:
1. Connect your PS/2 keyboard and mouse to
the PC ports on the G-CV160.
2. If you have an older Macintosh with DB-15
(Mac video) connectors, connect your
monitor to the PC video port on the GCV160. If you’re connecting the G-CV160
to a new G3, G4 or other Macintosh with
HDB-15 video connectors, you can bypass
the video portion of the G-CV160 and
connect the monitor switch directly to your
Mac.
3. Connect the Mac ports on the G-CV160 to
your Macintosh computer.
4. If you have any extra ADB devices (besides
the typical mouse and keyboard),
connect them to the 2nd ADB port on the
side of the G-CV160.
4
Page 10

InstallationInstallation
5
Page 11

Dip SwitchesDip Switches
Note: Do not modify the DIP Switches when your
Macintosh is powered-ON.
Switches 1-6 are used to set the appropriate video
properties for your configuration.
*1 – When SW5 and SW6 are both ON, the VGA and
SVGA resolution settings are selected in the monitor
portion of the control panel.
*2 – When SW1, SW5 and SW6 are all ON, VGA and
6
Page 12

Dip SwitchesDip Switches
Switch 7 is used to toggle between a standard 101 and
104 key keyboard.
Switch 8 toggles the mouse between high and normal
speed settings.
7
Page 13

Mac Key AssignmentsMac Key Assignments
8
Page 14

SpecificationsSpecifications
9
Page 15

Radio Interference / Limited WarrantyRadio Interference / Limited Warranty
Radio & TV Interference Statement
This equipment has been tested and found to comply
within the limits for a Class B digital device, pursuant to
Part 15 of the FCC Rules. These limits are designed to
provide reasonable protection against harmful
interference in a residential installation. This equipment
generates, uses and can radiate radio frequency energy
and if not installed and used in accordance with the
instructions, may cause harmful interference to radio
communications. There is no guarantee, however, that
interference will not occur in a particular installation.
Limited Warranty
IN NO EVENT SHALL THE DIRECT VENDOR’S
LIABILITY FOR DIRECT, INDIRECT, SPECIAL,
INCIDENTAL OR CONSEQUENTIAL DAMAGES
RESULTING FROM THE USE OF THE PRODUCT, DISK
OR IT’S DOCUMENTATION EXCEED THE PRICE PAID
FOR THE PRODUCT.
The direct vendor makes no warranty or representation,
expressed, implied, or statutory with respect to the
contents or use of this documentation, and especially
disclaims it’s quality, performance, merchantability, or
fitness for any particular purpose.
The direct vendor also reserves the right to revise or
update the device or documentation without obligation to
10
Page 16

Contacting IOGEAR Contacting IOGEAR
In the event that your MiniViewTM fails to function
properly, or you wish to contact us for any other
reason, here are a few ways to contact us.
IOGEAR
16560 Aston Street
Irvine, CA 92606
Phone: (949) 250-1260
Toll Free: (888) 999-2836
Fax: (949) 250-1262
www.iogear.com
info@iogear.com
11
 Loading...