

IOGear GBU522 Quick Start Manual

www.iogear.com
Quick Start Guide
Bluetooth 4.0 USB Mini Adapter
Guide de démarrage rapide
Mini adaptateur USB Bluetooth 4.0
Guía de inicio rápido
Mini Adaptador Bluetooth® 4.0 USB
GBU522
PART NO. Q1241

2
Package Contents
1 x GBU522
1 x Driver Mini DVD
1 x Warranty Card
• USB Port (USB 1.1, 2.0, 3.0 Type-A)
• Windows
®
7, Windows® 8.1, and Windows® 10
System Requirements
3
Connections & Ports
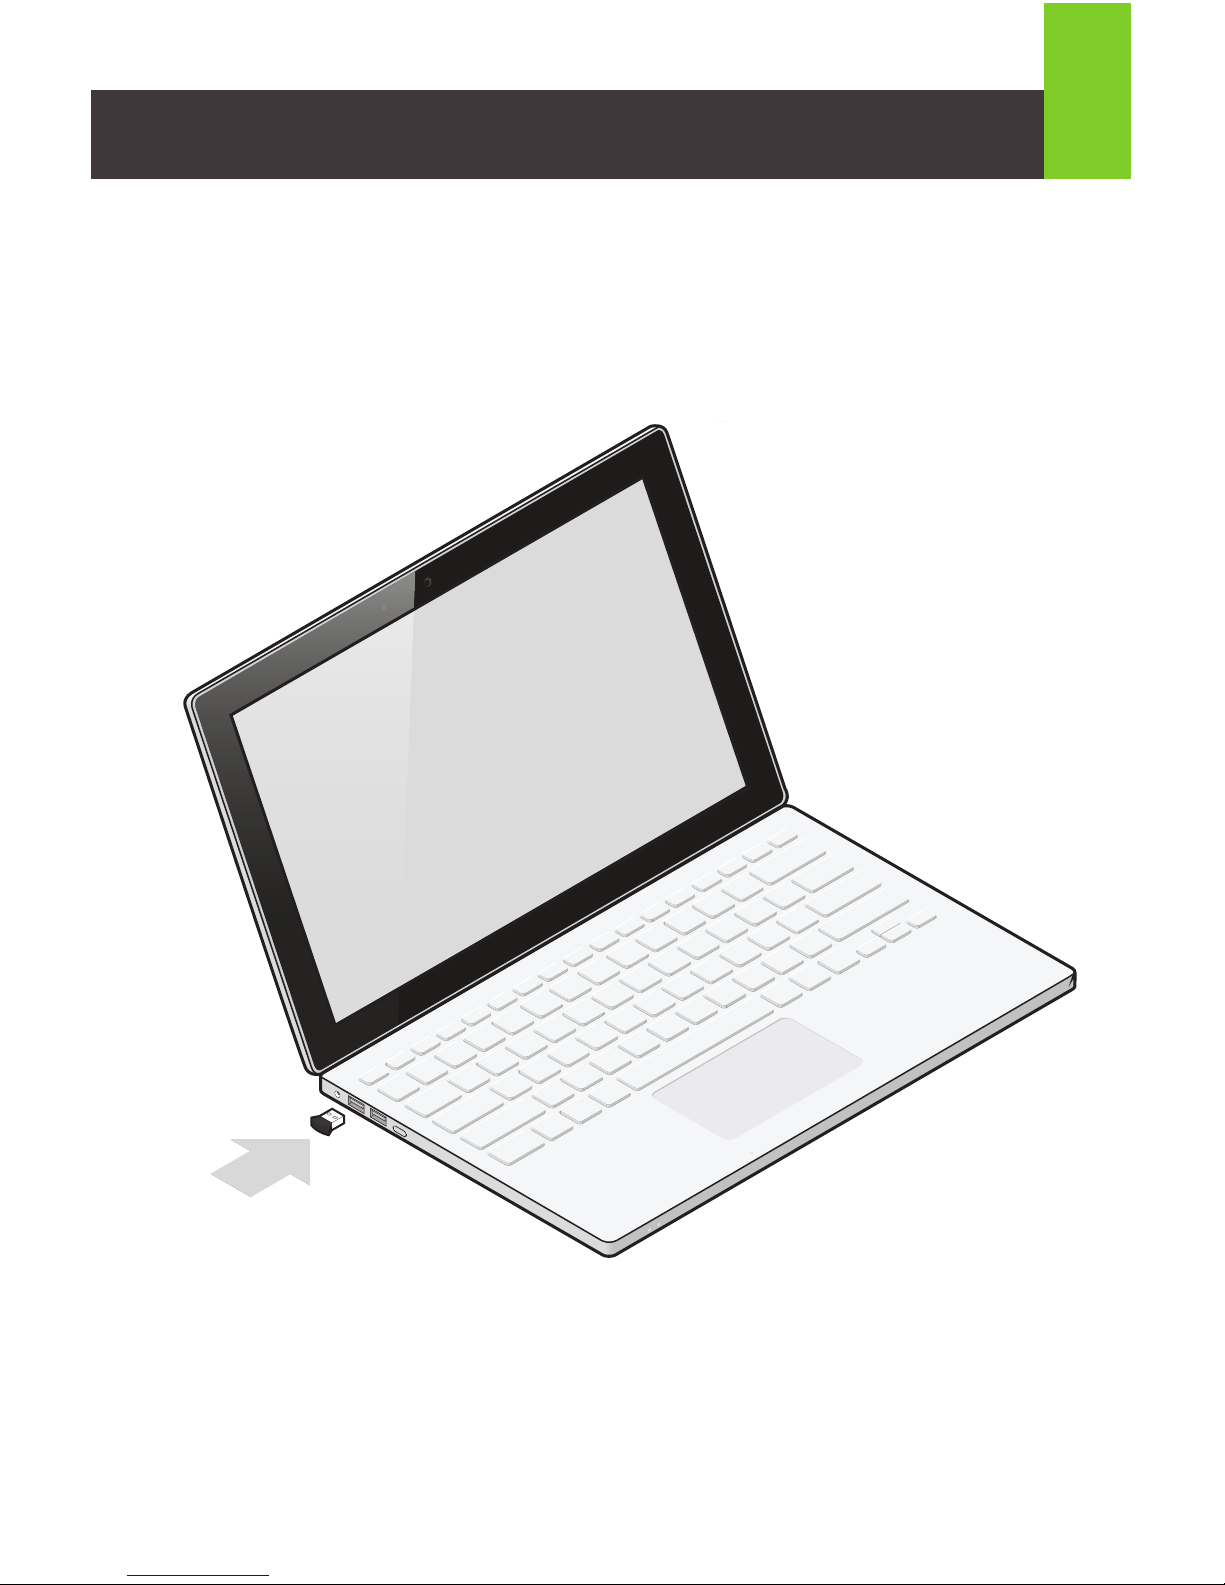
Install the IOGEAR Mini Bluetooth USB Adapter to the USB
Type-A port of the computer

4
Software Installation
1. Insert the IOGEAR Bluetooth v4.0 adapter into any
available USB port on your computer.
2. Insert the Mini-DVD into your computer’s DVD Drive
(* Not all DVD drive supports Mini-DVD disc, please check
your computer DVD drive specication for Mini-DVD
compatibility before inserting the disc)
3. If your Windows operating system is 64 bit based, browse
the contents of the CD to the X64 Folder.
4. Run Setup.exe from within the X64 folder (For 32bit
Windows system, run setup.exe instead)
5. The installation process will start; select and click OK
6. Install the CSR harmony Software and click Next
7. Follow the instruction on the screen and select “I accept
the terms in the license agreement” and click next. It is
recommended that you keep the default installation path.
5
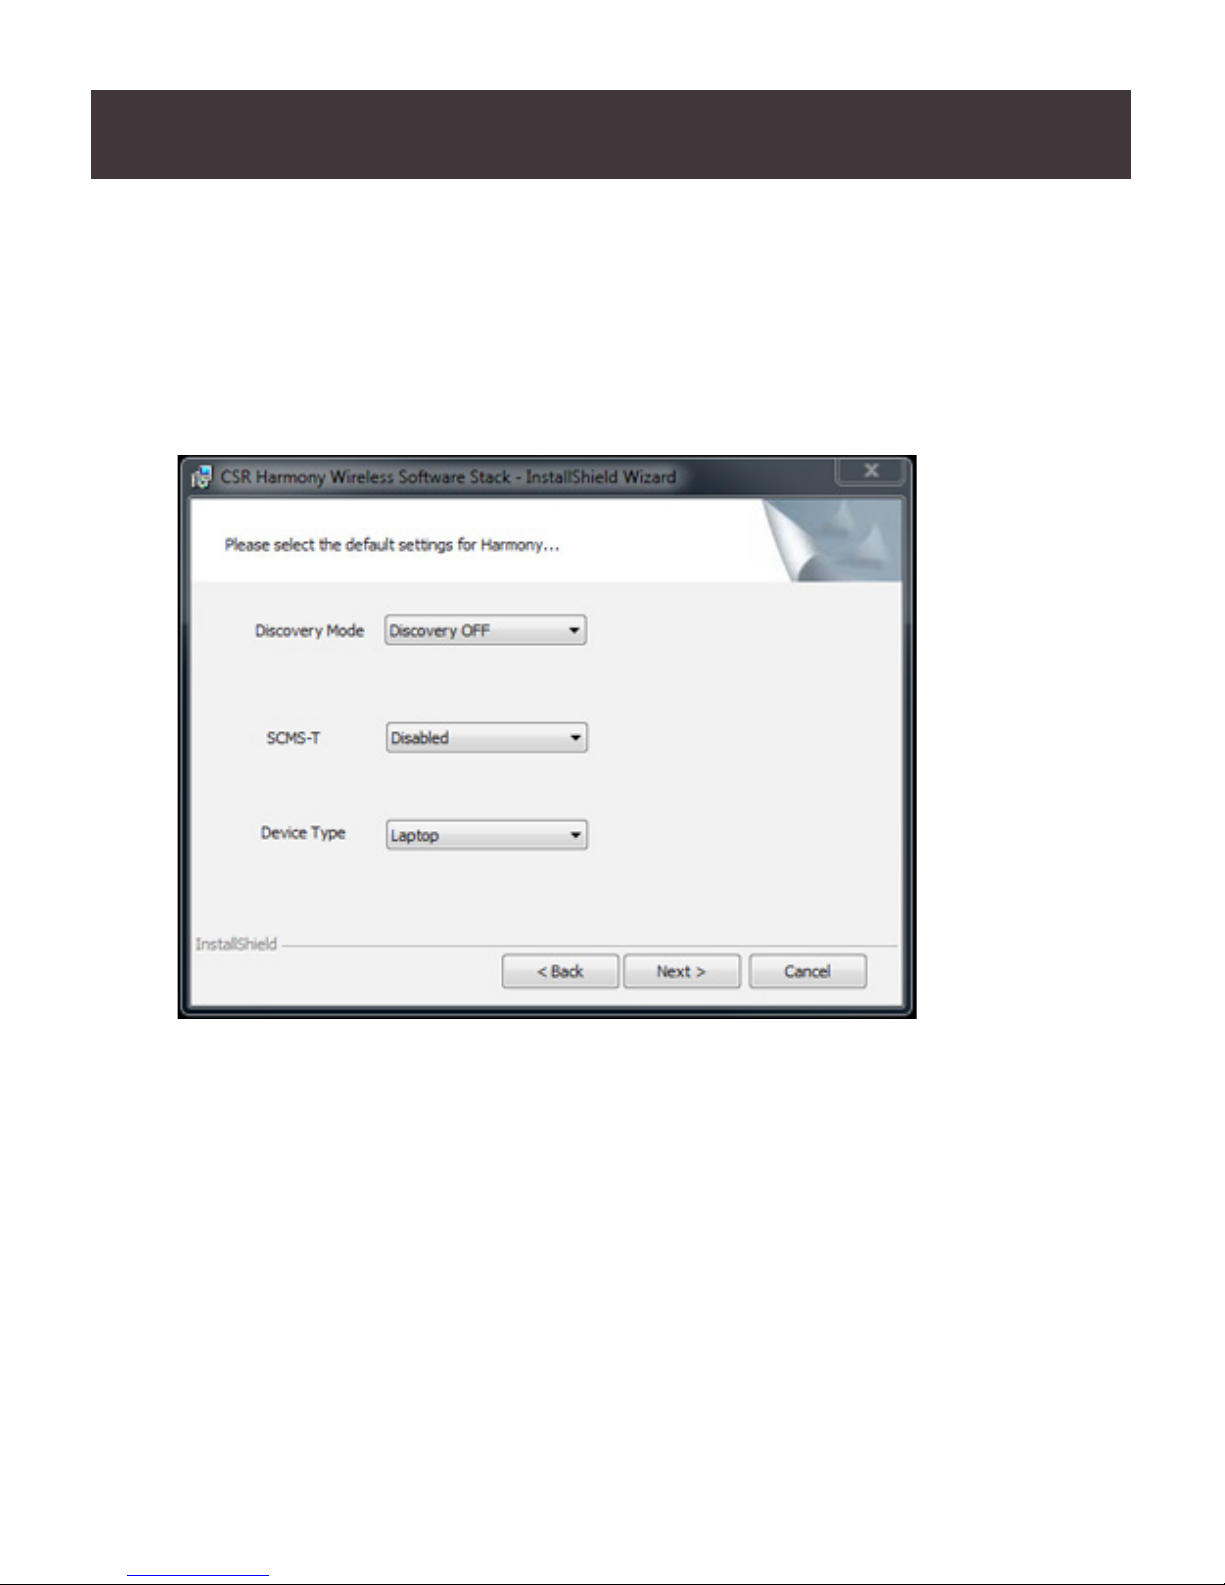
8. Click Next, you will now be prompted to setup the Bluetooth
stack. The recommended settings are: Discovery Mode:
select “Discovery On” to allow other Bluetooth hosts to nd
your computer. SCMS-T: select “Enabled” to support music in
SCMS-T format.
6
CONNECTING BLUETOOTH DEVICES
1. Your computer is now Bluetooth 4.0 enabled and you are
ready to connect your Bluetooth devices. Before you are
able to use a Bluetooth device for the rst time you must
connect your device through a standard procedure of
discovery and pairing. Run the CSR Harmony Bluetooth
Stack by double clicking the Bluetooth icon on your system
tray or desktop.
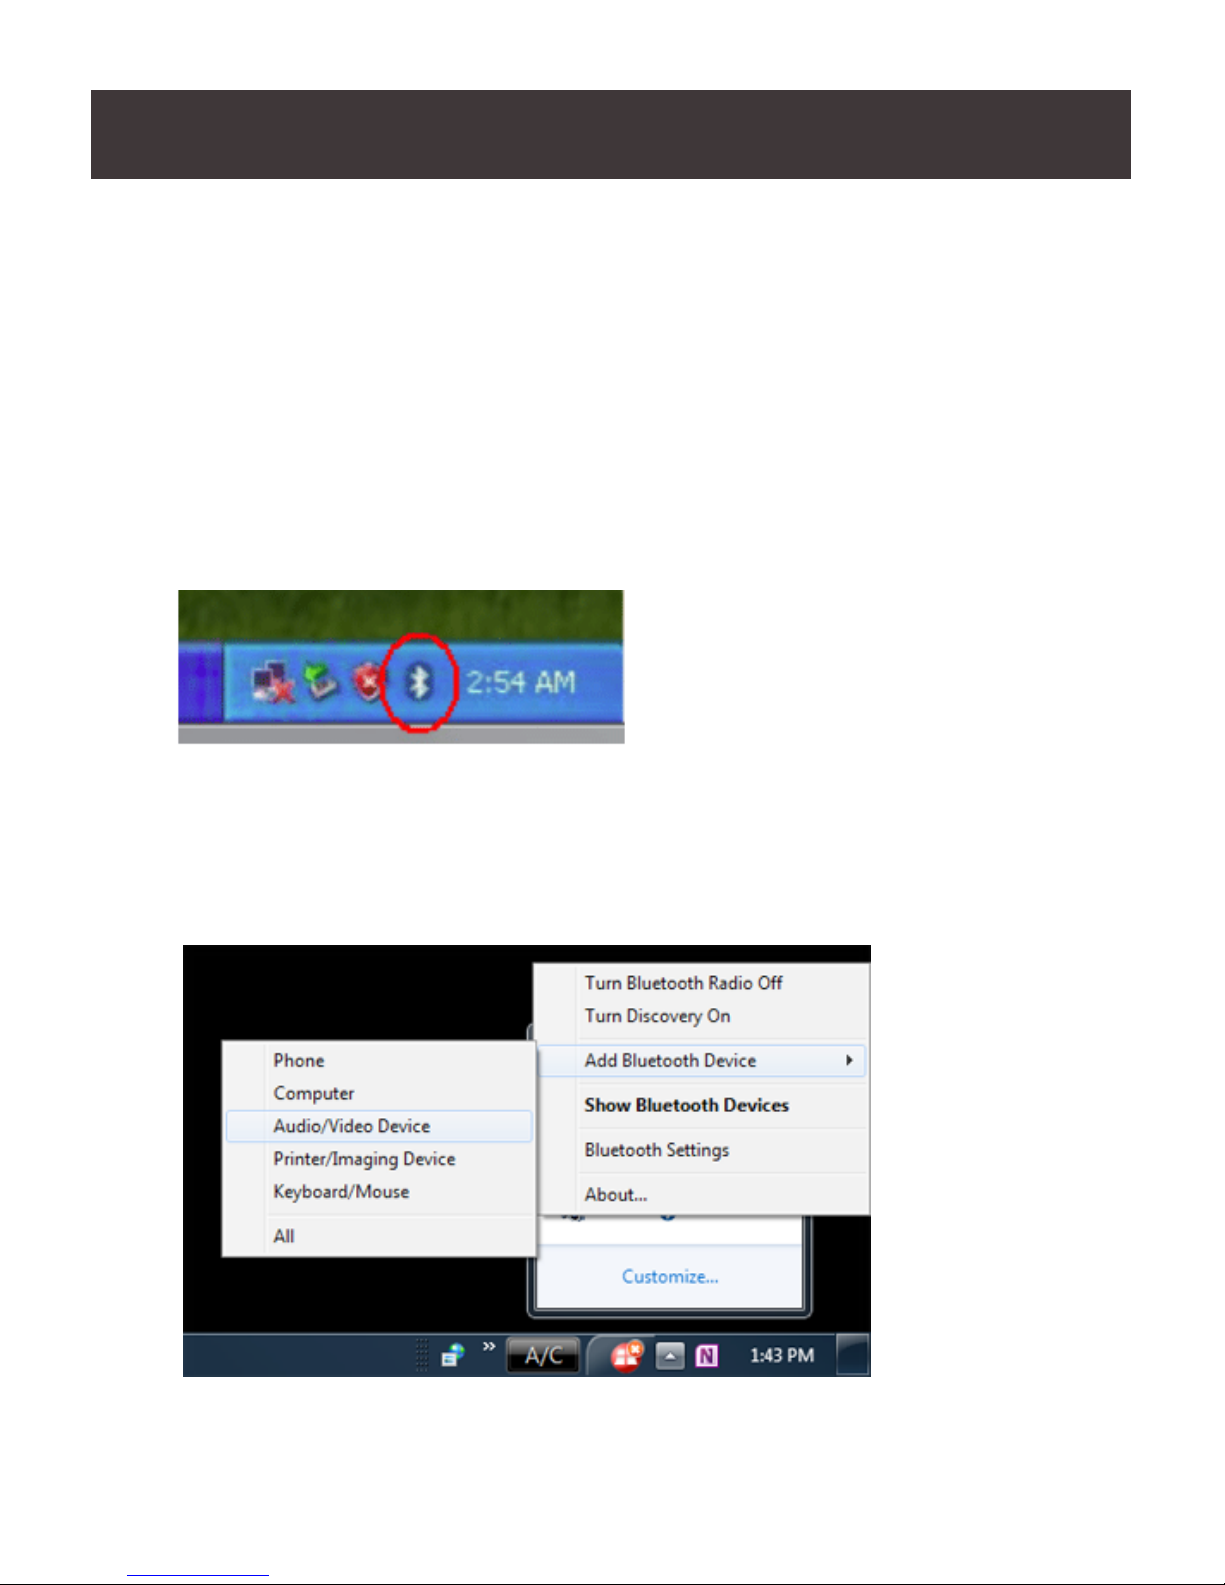
2. Make sure your Bluetooth device is in pairing mode. Just go
to the blue Bluetooth icon on the notication area and right
click. Select ‘Add Bluetooth Device”.

7
3. When your Bluetooth device is found, double click the device
name to make the connection.
4. When the device is successfully connected to your host
system, a green check mark is shown next to the device.
Click Fish to exit and the device will now be working.

8
CONNECTING A KEYBOARD
1. When connecting a keyboard, the Add Bluetooth Device
Wizard will ask for a pairing code. Enter the code on
the Bluetooth keyboard you are pairing (not the built-in
notebook computer keyboard) and press “Enter” on the
keyboard to send the code.
2. To check the Bluetooth device status, click on the Bluetooth
icon on your system tray.

9
REMOVING BLUETOOTH DEVICES
To remove devices from your Bluetooth connection, select “File”
and from the pull down menu select “Remove Device”. Select
the device from the list to remove it.
OPERATING TIPS & TROUBLESHOOTING
Before connecting a new Bluetooth device, make sure the
device is turned on, has Bluetooth enabled and is discoverable.
 Loading...