

Page 1
User Manual
Version 1.0
Page 2

Product Story
Adventures in PC Land!
Gathering inspiration from the classic tale
of Alice in Wonderland, we’re taking PC
builders on a journey where imagination
reigns supreme! Alice reps any adventure!
Alice’s light weight frame is paired with a
unique cover. A variety of cover options are
available to best pair with your setup.
Page 3

Specifications
Model
Part Number
Color ( Chassis / Top Cover )
Case Type
Alice
IW-ALICE-GRY
IW-ALICE-ORG
Cool Grey / Dark Grey
Cool Grey / Orange
Mid Tower
Material
Standard Cover
M/B Compatibility
Expansion Slots
Maximum Compatibility
ABS, SECC
Color : Grey
Material : 100% Polyester
12” x 9.6” ATX, Micro-ATX, Mini-ITX
PCI-E x 8
VGA Card Length: 300mm
Internal Drive Bays
Thermal Solution
Compatibility
Power Supply Compatibility
CPU Heatsink Height: 195mm
3 x 2.5”
1 x 3.5”
1 x 120 Top Fan / 120mm Radiator
3 x 120 Bottom Fan / 360mm Radiator
PSII : ATX12V - Length up to 220mm
Product Dimensions
( H x W x D )
Package Dimensions
( H x W x D )
Net Weight
Gross Weight
584 x 282 x 433 mm
22.99“ x 11.1” x 17.05“
628 x 294 x 445mm
24.7” x 11.6” x 17.5”
3.7 kg / 8.16 lbs
5 kg / 11.02 lbs
* Our products comply with RoHS regulations
* Specifications may vary based on different regions
Page 4
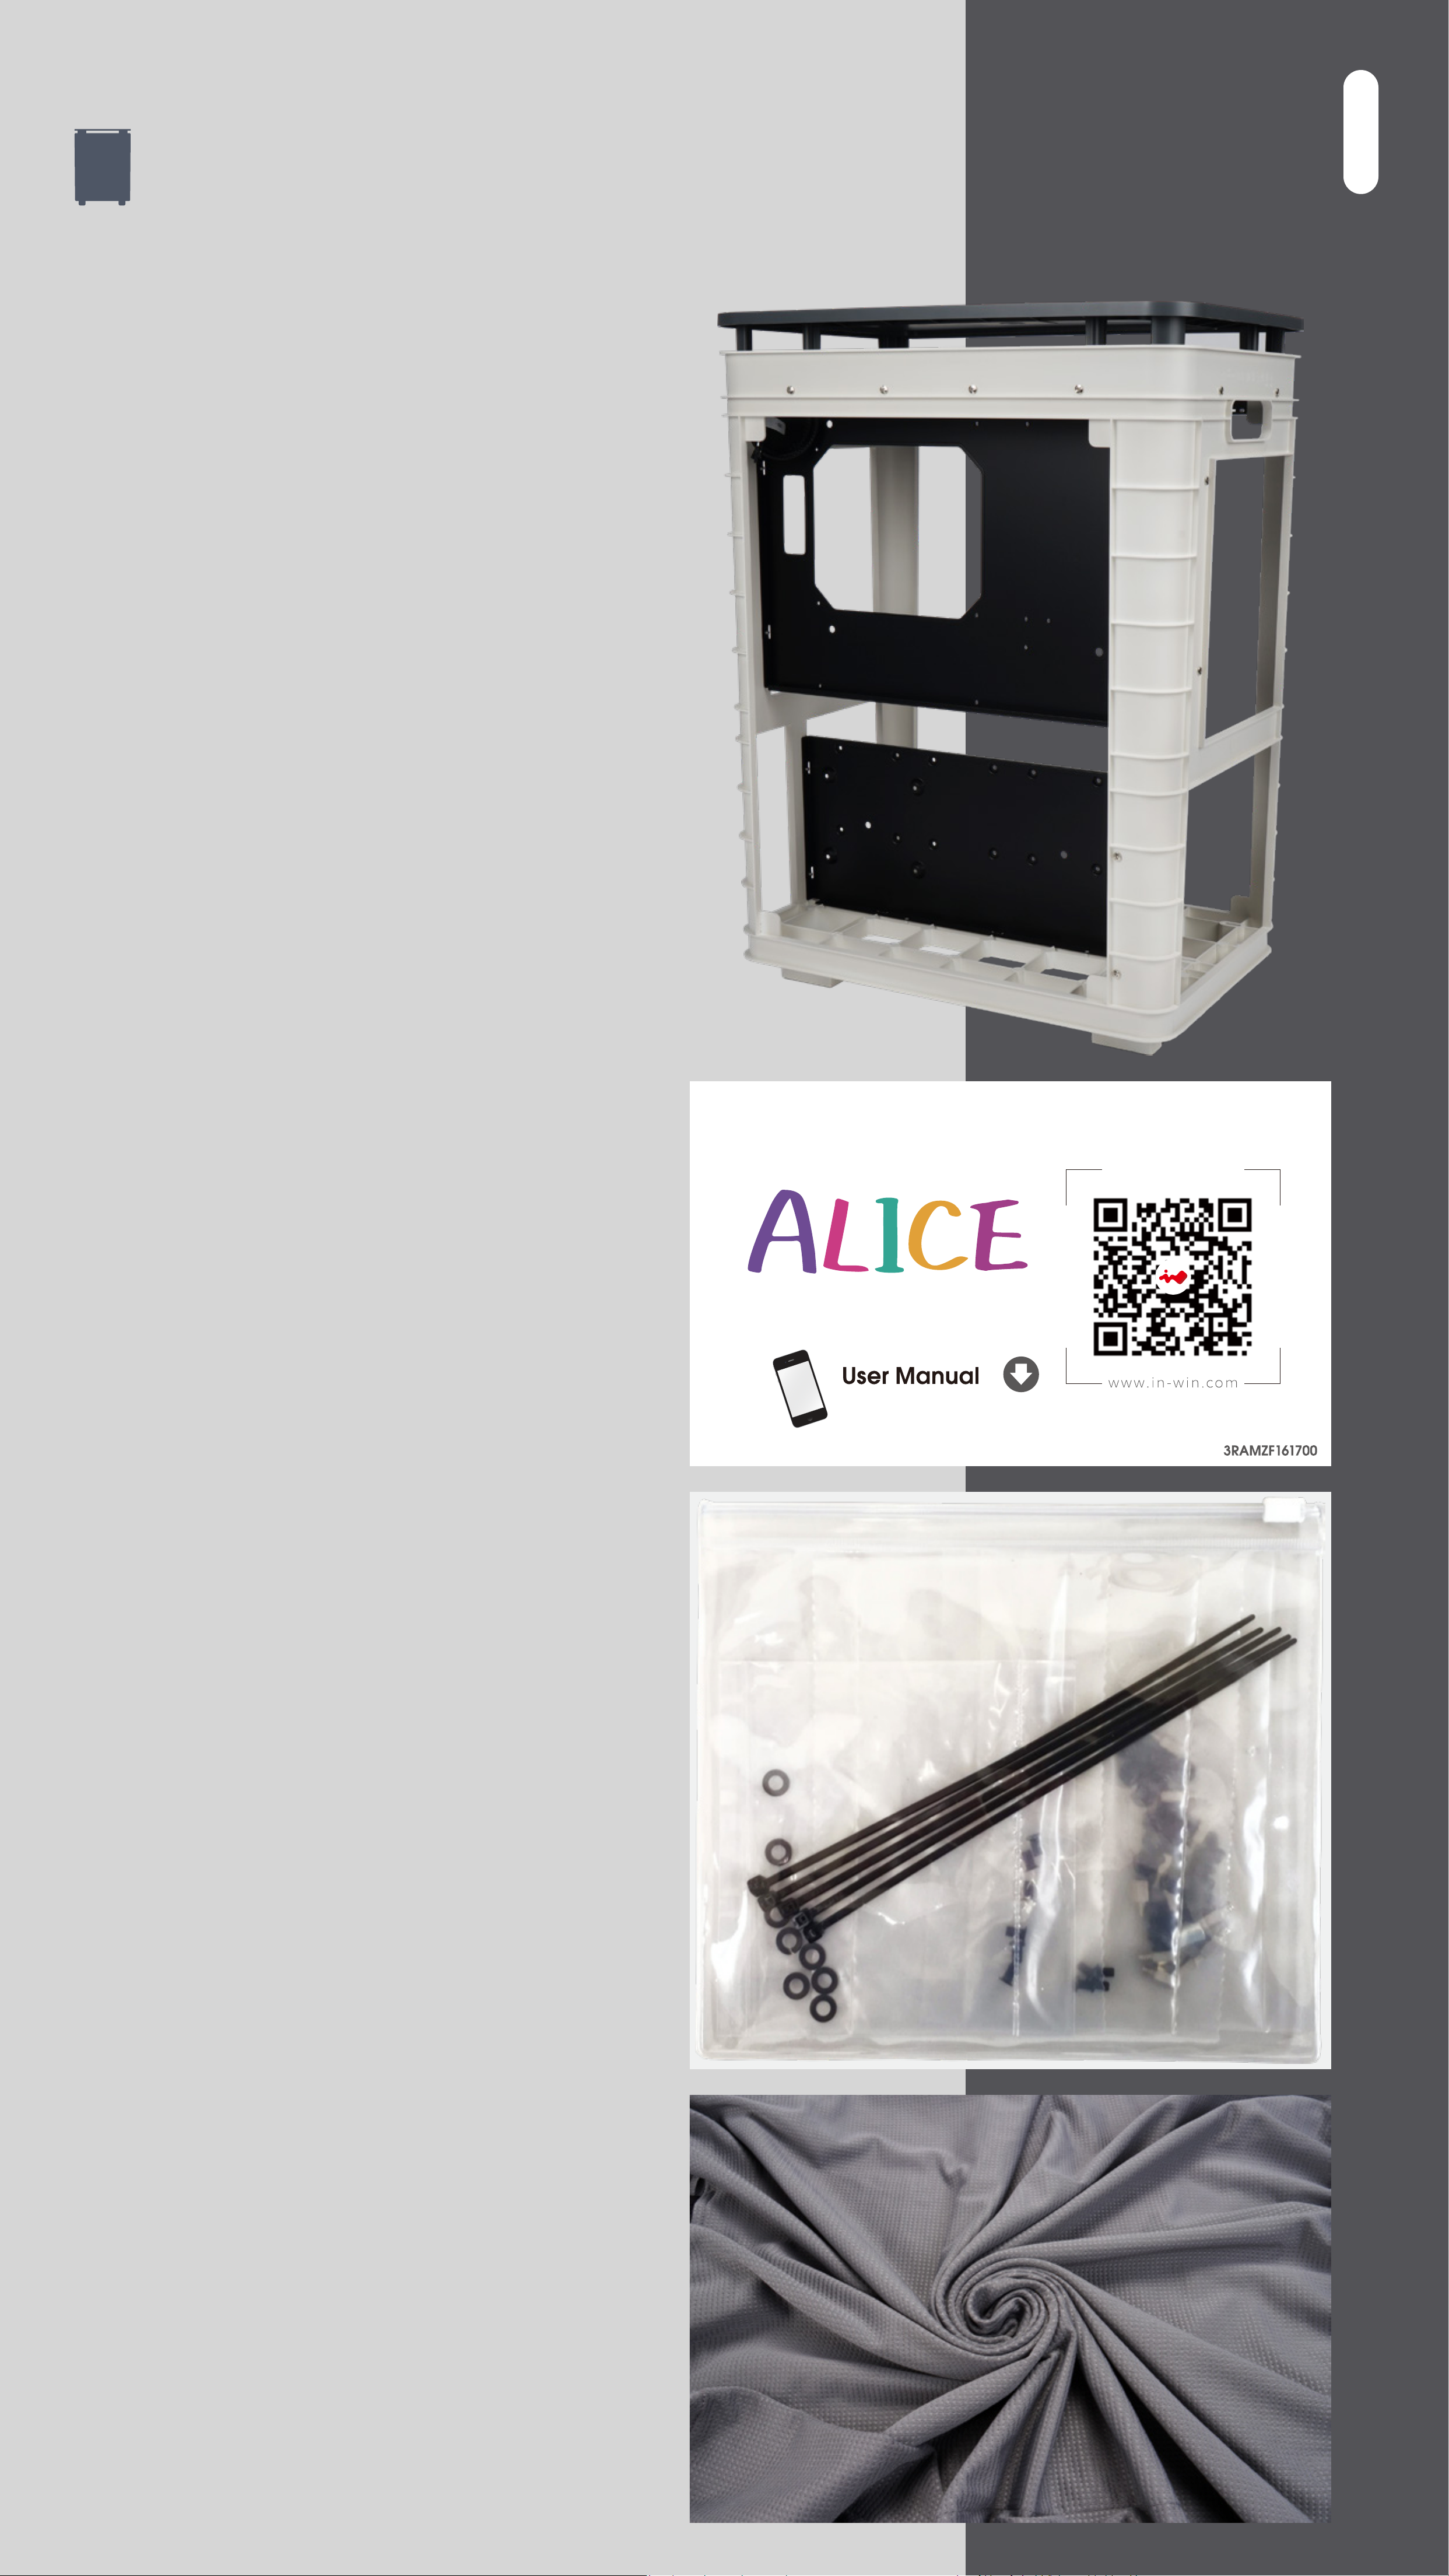
Package Contents
1. Alice Chassis
2. QR Code Card
3. Accessories
Bag
4. Alice Cover
Standard Color : Grey
Note :
Color may vary subject
to different regions.
Page 5

Accessories Bag
1. Motherboard Stand-offs X 11
2. Motherboard Stand-off Socket 1
3. Hexagon Head Screws X 20
4. 2.5” HDD Screws X 12
5. 3.5” HDD Screws X 4
6. Water-cooling System Washers x 8
7. Cable Ties X 5
Page 6

Case Structure
1. Top Cover
2. Logo (Top Cover)
3. Power Button
4. Handles
Page 7

Case Structure
5. 2.5 Drive Bay
6. 3.5 Drive Bay
7. Top Fan/ Radiator Mounting Area
8. Bottom Fans/ Radiator Mounting Area
9. Motherboard Mounting Area
10. CPU Cooler Installation Cut-Out Hole
11. PCI-E Expansion Slots
12. Power Supply Mounting Area
13. Shock-Proof Stands
14. Grounding Wire
Page 8

Installation Guide
(Please follow the related chapters to assemble)
1. Opening the Chassis
Please remove the top cover by lifting it upwards.
2. Motherboard Installation
Parts Required: Motherboard Stand-Offs, Motherboard
Stand-Off Socket, Hexagon Head Screws
3. Expansion Card Installation
Parts Required: Hexagon Head Screws.
Page 9

Installation Guide
(Please follow the related chapters to assemble)
4. Power Button Installation
5. Fan Radiator Installation
Parts Required: Water-cooling System Washers
6. 2.5”/ 3.5” Drive Bays Installation
6.1 Parts Required: 2.5” HDD Screws
6.2 Parts Required: 3.5” HDD Screws
Page 10

Installation Guide
(Please follow the related chapters to assemble)
7. Power Supply Installation
Parts Required: Hexagon Head Screws
Power supply must be mounted on the bottom right
mounting area.
* Please remove the rubber foot stands, install the
power supply power chord and then put back the
rubber foot stands.
8. Alice Cover Installation
Parts Require: Alice Cover
With the base of the case facing up, put the cover on by
aligning the four holes on the bottom of the cover with the
pads on the four corners of the case.
Page 11

Installation Guide
(Please follow the related chapters to assemble)
9. Completing Installation
Fully put on the cover and gently install the top cover.
* For more assembly instructions, please scan the QR
Code below or watch the video in the website link:
https://youtu.be/m7YW21VoLXE
Page 12

Notices and Warranty
Notices
1. Please follow the user manual for installation guidelines.
2. When installing the computer components, please use
antistatic precautions to prevent ESD (electrostatic
discharge) damage. Failure to take the necessary
precautions may result in injury to the installer and/or
damage to the machine. Incorrect installation may
burnout the motherboard and other system components.
3. To avoid any damages, please do not use this product
for any other purpose than its intended use.
4. Any modifications may damage the product.
5. Please remove all internal devices before shipping or
moving. (Including power supply, hard drives,
motherboard, CPU, etc.)
6. When storing the case, please keep this product away
from high temperatures. Keep away from machines
such as heaters that might cause high temperatures.
7. In order to keep the cover clean, please avoid anything
that will cause the cover to be stained.
8. To avoid any damages, do not stack anything on the top
cover and please handle with care.
9. We have made every effort to display as accurately as
possible the colors and styles of our products that
appear on our websites. With that said, we cannot
guarantee that your computer’s monitor display of any
color or style will be accurate.
Warranty
* For more detailed warranty information, please visit the
InWin retail website at www.in-win.com.
* The actual product is subject to change without prior
notice. In Win Development Inc. reserves the right to
make final modifications.
Page 13

Copyright © 2019 InWin Development Inc. All Rights Reserved.
 Loading...