

Page 1

INVOLIGHT BATBAR600W
USER MANUAL
Page 2
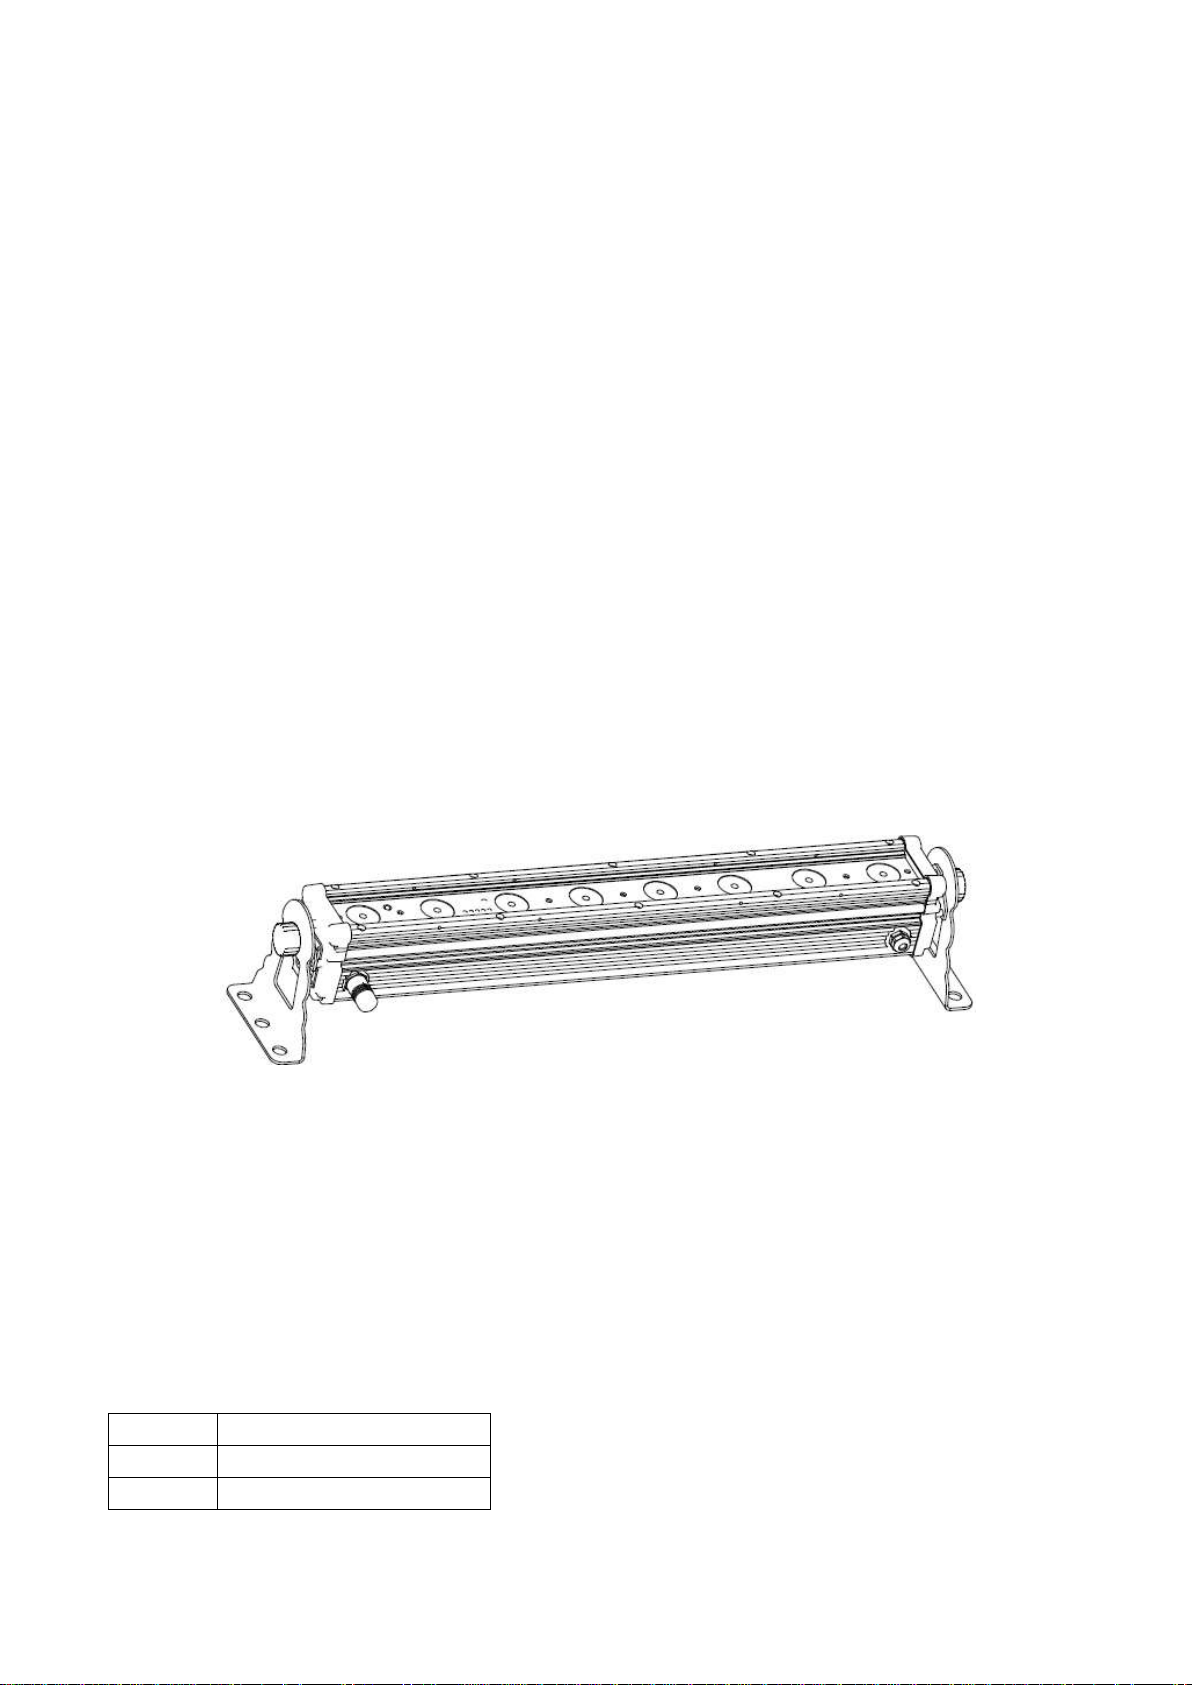
Battery & Wireless DMX Outdoor Bar, 8*Tri-3W
Pr.1
Static color program
Pr.2
Three colors fading
Pr.3
Seven colors fading
User Manual
Our Battery & Wireless DMX Outdoor Bar offers very nice and bright effect as an architectural wall wash or for
performance stages where traditional stage lighting emits a lot of heat onto performers. Very smooth field with rich
palettes of color created by mixing the Red, Green and Blue LEDs. Please read the manual before operation.
A. SPECIFICATION
1. Voltage: AC 100V-240V, 60Hz/50Hz
2. Power Consumption: 40W
3. LED: 8*Tri-3W
4. Beam Angle: 40°C
5. Operation mode: LED display
6. Control Feature: Built-in programs, Auto running, DMX 512, Master/slave mode, Static color and Charge mode
7. DMX channels: 3, 5, 7 CH
8. IP Rate: IP 66
9. N.W: 4.46kgs
10. Dimension: 700*120*130 MM
11. Stand by time: 5.5 hours(RGB)
12. Charging time: 6.5 hours(LED blackout when the device is being charged)
B. OPERATION
This fixture is with rich effect programs, LED dislay for easier operation, there are six working modes:
Built-in programs mode
Auto running mode
Master/slave mode
DMX mode
Static color mode
Charge mode
Press the “MODE” button can switch the 6 working modes.
1. Built-in Programs Mode
Page 3

Pr.4
Three colors illusion
Pr.5
Three colors hopping
Pr.6
Seven colors hopping
Pr.7
Red color fading
Pr.8
Green color fading
Pr.9
Blue color fading
CH1
CH2
CH3
R(0~255)
G(0~255)
B(0~255)
CH1
CH2
CH3
CH4
CH5
R(0~255)
G(0~255)
B(0~255)
Dimmer(0~255)
Strobe(0~255)
CH1
CH2
CH3
CH4
CH5
CH6
CH7
Dimmer
R G B
Program
Speed
Strobe
0~255
0~255
0~255
CH2-4
(R,G,B)
0-27(OFF)
28-55(R)
56-83(RG)
84-111(RG)
112-139(G)
This mode is built-in programs mode, it is static color program when the display board shows , then press
SETUP button to set the static colors via UP or DOWN buttons. Press “MODE” button again for more than 2s to
set the static color strobe value of the static colors via UP or DOWN buttons - .
Press “MODE” button for more than 2s could set the speed - and strobe value -
when the display board shows -
2. Auto Running Mode
This mode is Auto Running mode, the fixture will automatically run the programs according to the preset programs
- .
3. Master/slave Mode
This mode is M/S Mode; the salve fixtures will follow the programs after they were linked to the master fixture via
DMX cables.
4. DMX Mode
1) It is DMX mode when the display board shows , the address could be set via UP and DOWN buttons,
the maximum value is 512.
2) Press the “MODE” button for more than 2s then release, enter into DMX working mode menu X-ch.
3) Press the “UP” or “DOWN” button, set the DMX working modes: , , .
DMX mode 1:
DMX mode 2:
DMX mode 3:
Page 4

0~255
Pr.01
1~30
140-167(GB)
0~255
168-195(B)
196-223(RB)
224-251(RB)
252-255(RGB)
Pr.02
31-61
0~255
Pr.03
62-92
Pr.04
93-123
Pr.05
124-154
Pr.06
155-185
Pr.07
186-216
Pr.08
217-247
Pr.09
248-255
5. Static Color Mode
This mode is dimming mode, press “MODE” button for more than 2s to dim the static color, press UP and DOWN
buttons could set r.000~r.255, g.000~255, b.000~b.255, u.000~u.255.
6. Power Charge Mode
This mode is available when battery is charging.
Press the “MODE” button for more than 2s to see the power percentage 0~100.
C. Lithium Battery & Wireless use Instruction
Our product is equipped with Wireless receptor. If you use this fixture to be a master, you need to use a transmitter
to replace the receptor. Our product has Power and memory function, it will keep in touch with last transmitter. So,
you need to stop the transmitter operation when you use a new transmitter. Please see below operation instruction.
1. The battery is 14.8V, 7800mAh which is brand of 18650 Lithium Battery. It will take 6.5 hours to be fully
charged and it can be use for 5.5 hours. Please operate this product in the right way and discharge it. Please
don’t let the fixture spare for long time, should use and charge time by time.
2. The battery capacity display will show the product is on, fully charge or low battery. While you are using it and
charging it, the fixture will be turned off and it is fully charge. The five LED instruct lights respect the battery is
100%~80%, 60%, 40%, 20%, 20%~0%. Please charge the fixture timely when the red LED instruct light flash
because it means the battery is less than 20%.
3. The wireless band of this product is 2.4G Hz, and the address can be searched auto. The green LED instruct
light is wireless single instruct light, it will stay in below status:
1) If the light bright for 900 millisecond and dark for 900 millisecond, it means the fixture is connected with
transmitter but without wireless single.
2) If the light keep brighten, it means the fixture is connected with the transmitter and has wireless single.
3) If the light bright for 100 millisecond and dark for 100 millisecond, it means the fixture is trying to connect with
transmitter or losing the single.
4) If the light keep darken, it means the fixture isn’t connected with any transmitter.
4. When you need to stop the fixture to connect with transmitter and the display is bright, please press “MODE”
and “DOWN” button more than 2 seconds. Then, the fixture will not connect with the transmitter and the green
light will be turned off.
Page 5

D. IR Remote Description
0 1 2 3 4 5 6 7 8
9
Cyan
Purple
Purplish
Red
Orange
White
Bright
Pink
Light
Green
Water
Blue
Yellow
Warm
White
Reminder: when using a remote control, please aim at the fixture to make sure the operation is flexible. But when it
is on M/S or DMX mode, the IR remote is not available.
1. ON / OFF
This is the ON / OFF function button.
2. AUTO
This is the auto running mode button.
3. PRG
This is the built-in programs mode button. Press “+”/ “-” to select “ ~ ”.
4. SOUND
This button is not available to this product.
5. SPEED
When it is on built-in programs, press this button enter into the speed value setting. Set the speed value
“ ~ ” by “+”/ “-”.
6. STROBE
When it is on built-in programs, press this button enter into the strobe value setting. If it is on strobe already,
then press STROBE to be off and vice versa. Set the strobe value “ ~ ” by “+”/ “-”.
7. Dimming
Press this button enter into the Color dimming mode. Press “R”“G”“B”“W” to set brightness value “0~255” of
each static color by “+”/ “-”. (This product LEDs are RGBW, so the “A” button is not available)
8. 0~9
On any mode, press number button to select a static color. The corresponding colors are as below:
When it is not on the Color dimming mode, “R”“G”“B”“A”“W” refer to red, green, blue, amber and white static
colors respectively.
NOTE
1. Press “MODE” and “SETUP” buttons in the same time to restore the factory setting function and the data will
be initialized.
2. The fixture has temperature testing function, when there are problem with this function. In avoid to the fixture
have others problem, the fixture will enter into the protected status and will be turned off. When the display
flash “-rt” characters to prompt there is a temperature control fault and you need to repair it before operation.
3. Please operate the fixture base on the specification to avoid security incidents,
4. If ambient temperature is beyond the permitted range when you operate the fixture, such as, the temperature is
too high, the fixture will be damaged. Please reduce the using time of it.
5. If the fixture is used for a long time, you will find the battery will be not durable. It means the battery is over
use. Please take apart the back cover and use a new battery which is with the specifications with the old to
replace it.
Page 6

ООО «ИНВАСК»
Адрес: 143406, Московская область, Красногорск, ул. Ленина, дом 3-Б
Тел. (495) 565-0161 (многоканальный)
Факс (495) 565-0161, доб. 105
http://www.invask.ru e-mail: invask@invask.ru
Сервис-центр «ИНВАСК»
Адрес: 143400, Московская область, Красногорск, Коммунальный квартал,
дом. 20
Тел. (495) 563-8420, (495) 564-5228
e-mail: service@invask.ru
 Loading...