

INVENTOR V3MFI-24, V3MFO-24 Installation Manual
Thank you for choosing INVENTOR air
conditioning system. For correct use of
this unit, please read this manual
carefully and keep it for future
reference.
V3MFI-24 / V3MFO-24
English
Installation Manual
Floor Standing Unit
CONTENTS
Inside you will find many helpful hints on how to install and test the air conditioner properly.
All the illustrations and specifications in the manual are subject to change without prior notice for product
improvement. The actual shape should prevail.
Contact an authorised service technician for repair or maintenance of this unit.
Contact an authorised installer for installation of this unit.
The air conditioner is not intended for use by young children or infirmed persons
without supervision.
Young children should be supervised to ensure that they do not play with the air
conditioner.
If the power cord is to be replaced, replacement work shall be performed by
authorised personnel only.
Installation work must be performed in accordance with the national wiring Standards
by authorised personnel only.
!
CAUTION
Read This Manual
SAFETY PRECAUTIONS........................................................... 1
ITEMS PACKED WITH THE UNIT ................................................2
SELECTING INSTALLATION PLACE ..........................................3
INSTALLATION INSTRUCTIONS ................................................5
CONNECTING THE ELECTRIC SYSTEM ....................................10
TEST RUNNING ........................................................................12
!
WARNING
Read the follow SAFETY PRECAUTIONS carefully before installation.
Electrical work must be installed by a licensed electrician. Be sure to use the correct rating and
main circuit for the model to be installed.
Incorrect installation due to ignoring of the instruction will cause harm or damage, and the seri ousness is classified by the following indications.
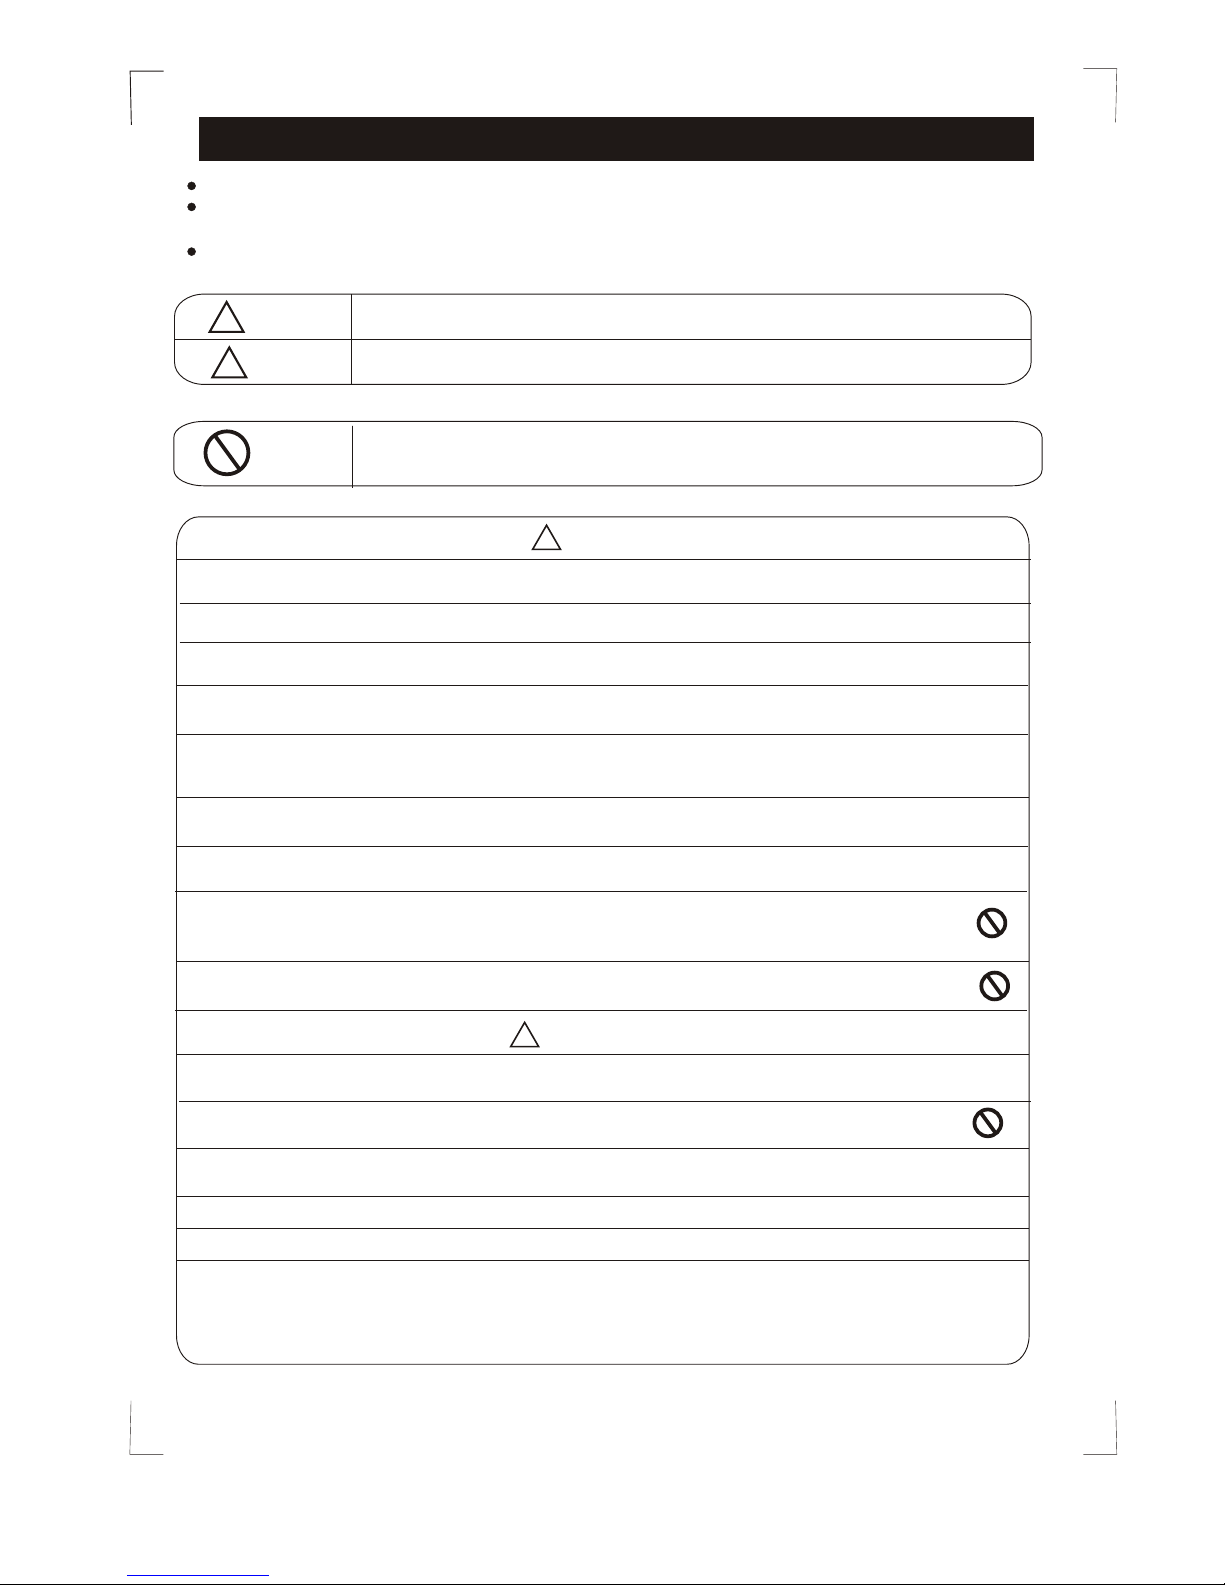
SAFETY PRECAUTIONS
This symbol indicates the possibility of death or serious injury.
The items to be followed are classified by the symbols:
Symbol will background white denotes item that is PROHIBITED from doing.
!
CAUTION
This symbol indicates the possibility of injury or damage to property.
WARNING
!
1) Engage dealer or specialist for installation. If installation done by the user is defective, it will cause water
leakage, electrical shock, or fire.
2) Install according to this installation instructions strictly. If installation is defective, it will cause water
leakage, electrical shock, or fire.
3) Use the attached accessories parts and specified parts for installation. otherwise, it will cause the set to fall,
water leakage, electrical shock, or fire.
4) Install at a strong and firm location which is able to withstand the set s weight. If the strength is not enough
or installation is not properly done, the set will drop and cause injury.
,
5) For electrical work, follow the local national wiring standard, regulation and this installation instructions. An
independent circuit and single outlet must be used. If electrical circuit capacity is not enough or defect found
in electrical work, it will cause fire or electrical shock.
6) Use the specified cable and connect tightly and clamp the cable so that no external force will be acted on
the terminal. If connection or fixing is not perfect, it will cause heat-up or fire at the connection.
7) Wiring routing must be properly arranged so that control board cover is fixed properly. If control board cover
is not fixed perfectly, it will cause heat-up at connection point of terminal, fire or electrical shock.
8) When carrying out piping connection, take care not to let air substances other than the specified
refrigerant go into refrigeration cycle. Otherwise, it will cause lower capacity, abnormal high pressure
in the refrigeration cycle, explosion and injury.
9) Do not modify the length of the power supply cord or use of extension cord, and do not share the
single outlet with other electrical appliances. Otherwise, it will cause fire or electrical shock.
!
CAUTION
1) This equipment must be earthed and installed with earth leakage current breaker. It may cause electrical
shock if grounding is not perfect.
2) Do not install the unit at place where leakage of flammable gas may occur. In case gas leaks and
accumulates at surrounding of the unit, it may cause fire.
3) Carry out drainage piping as mentioned in installation instructions. If drainage is not perfect, water
may enter the room and damage the furniture.
4) The appliance shall be installed in accordance with national wiring regulations.
5) Do not operate your air conditioner in a wet room such as a bathroom or laundry room.
6) An all-pole disconnection device which has at least 3mm clearances in all poles , and have a
leakage current that may exceed 10mA, the residual current device (RCD) having a rated residual
operating current not exceeding 30mA, and disconnection must be incorporated in the fixed wiring
in accordance with the wiring rules.
1

4
5
6
9
10
21
22
1
2
2
Band
Refrigerant Pipe (optional)
Name
capacity(Btu/h)
18000
21000~36000
36000~55000
NO.
Liquid Side Size
Gas Side Size
Diam.: 6.35mm
Diam.: 12.7mm
Diam.: 9.52mm
Diam.: 15.8mm
Diam.: 12.7mm
Diam.: 19.0mm
Bushing-Sleeve Cover
Sound/Heat Insulation Sleeves
Seal ring
Drain joint
8
7
1
1
NO.
3
2
1
2
2
1
Part Name
Safety Lock
Self-tapping Screw 3.9 25
Flat Washers
Quantity Illustrations
11
Drain Hose
1
Remote Battery
Remote Control
12
15
16
17
18
19
20
13
14
Connection Cables
Installation manual
User's manual
Remote controller manual
Remote controller holder
Self-tapping Screw B ST2.9 10
Self-tapping Screw ST3.9 12
Putty
Ratproof board
2
1
1
1
1
1
1
Optional
parts
on some
models
on some
models
2
1
1
1
Before installing, please check the available accessories according to the list given below.
Please carefully keep the temporarily useless parts.
If there is any difference between the above table and the Packing List, the Packing List shall prevail.
.
2
ITEMS PACKED WITH THE UNIT
¡£
(
C)
ADJUST
AUTO
COO
L
DR
Y
HEAT
HEAL
TH
HI
G
H
LOW
M
O
DE
FA
N
SP
EE
D
SWING
TIM
ER ON
SL
EE
P
O
N/
OFF
TIM
ER
O
FF
AI
R
D
IREC
TI
ON
RE
SE
T
LOCK
SET TE
M
PERATURE
CLEA
N
AIR
LED
DI
SPLAY

1-1 Indoor Unit
1-2 Outdoor Unit
Ensure the spaces indicated by arrows from the wall, ceiling, fence or other obstacles.
There should not be any heat source or steam near the unit.
There should not be any obstacles blocking the air circulation.
A place where air circulation in the room is good.
A place where drainage can be easily done.
Do not install the unit near the door way.
There should not be any direct sunlight. Otherwise, the sun will fade the plastic
cabinet and affect its appearance. If unavoidable, sunlight prevention should be
taken into consideration.
( wall or obstacle )
4cm
(min)
>30(cm)
(min)
50cm(min)
50cm(min)
Front
>200cm
Rear
5cm
(min)
(1) Please stand the unit in hard and flat ground;
Please reserve space for installation and maintenance.
(1) Before installing the outdoor unit, you should:
If an awning is built over the unit to prevent direct sunlight
or rain, be careful that heat radiation from the condenser is
not obstructed.
Select a place that is easy to connect indoor unit's pipe and electric wires.
Avoid a place where combustible gas may leak or stay.
Keep it in mind that water may drain out of the outdoor unit while in "Heat" mode.
Ensure the space around the back and sides and the front of the unit.
Take the air conditioner weight into account and select a place where noise and vibration
are minimum.
SELECTING INSTALLATION PLACE
3
( Ceiling)
The outdoor unit should be put in a position that guarantees the minimum space for sufficient
air circulation and to allow maintenance work and the connections of electrical and refrigerant
circuit lines. It may be installed on a floor or flat roof or wall-mounted, provided its weight is
properly supported and there is no transmission of vibration to the adjacent rooms.
(2) Please check the elevation difference between the indoor unit and the outdoor unit, the length
of the refrigerant pipe, and the curved places (bend) of the pipe are no more than the following
numbers:
Elevation difference: no more than 10 M (if the elevation difference between indoor and outdoor
unit is more than 10 meters, it is recommended that the outdoor unit be
located lower than the indoor unit.)
Pipe length: no more than 20 M
Bends: no more than 5 places
NOTE:
All the pictures in this manual are for explanation purpose only. They may be slightly
different from the air conditioner you purchased(depend on model). The actual shape
shall prevail.
 Loading...