

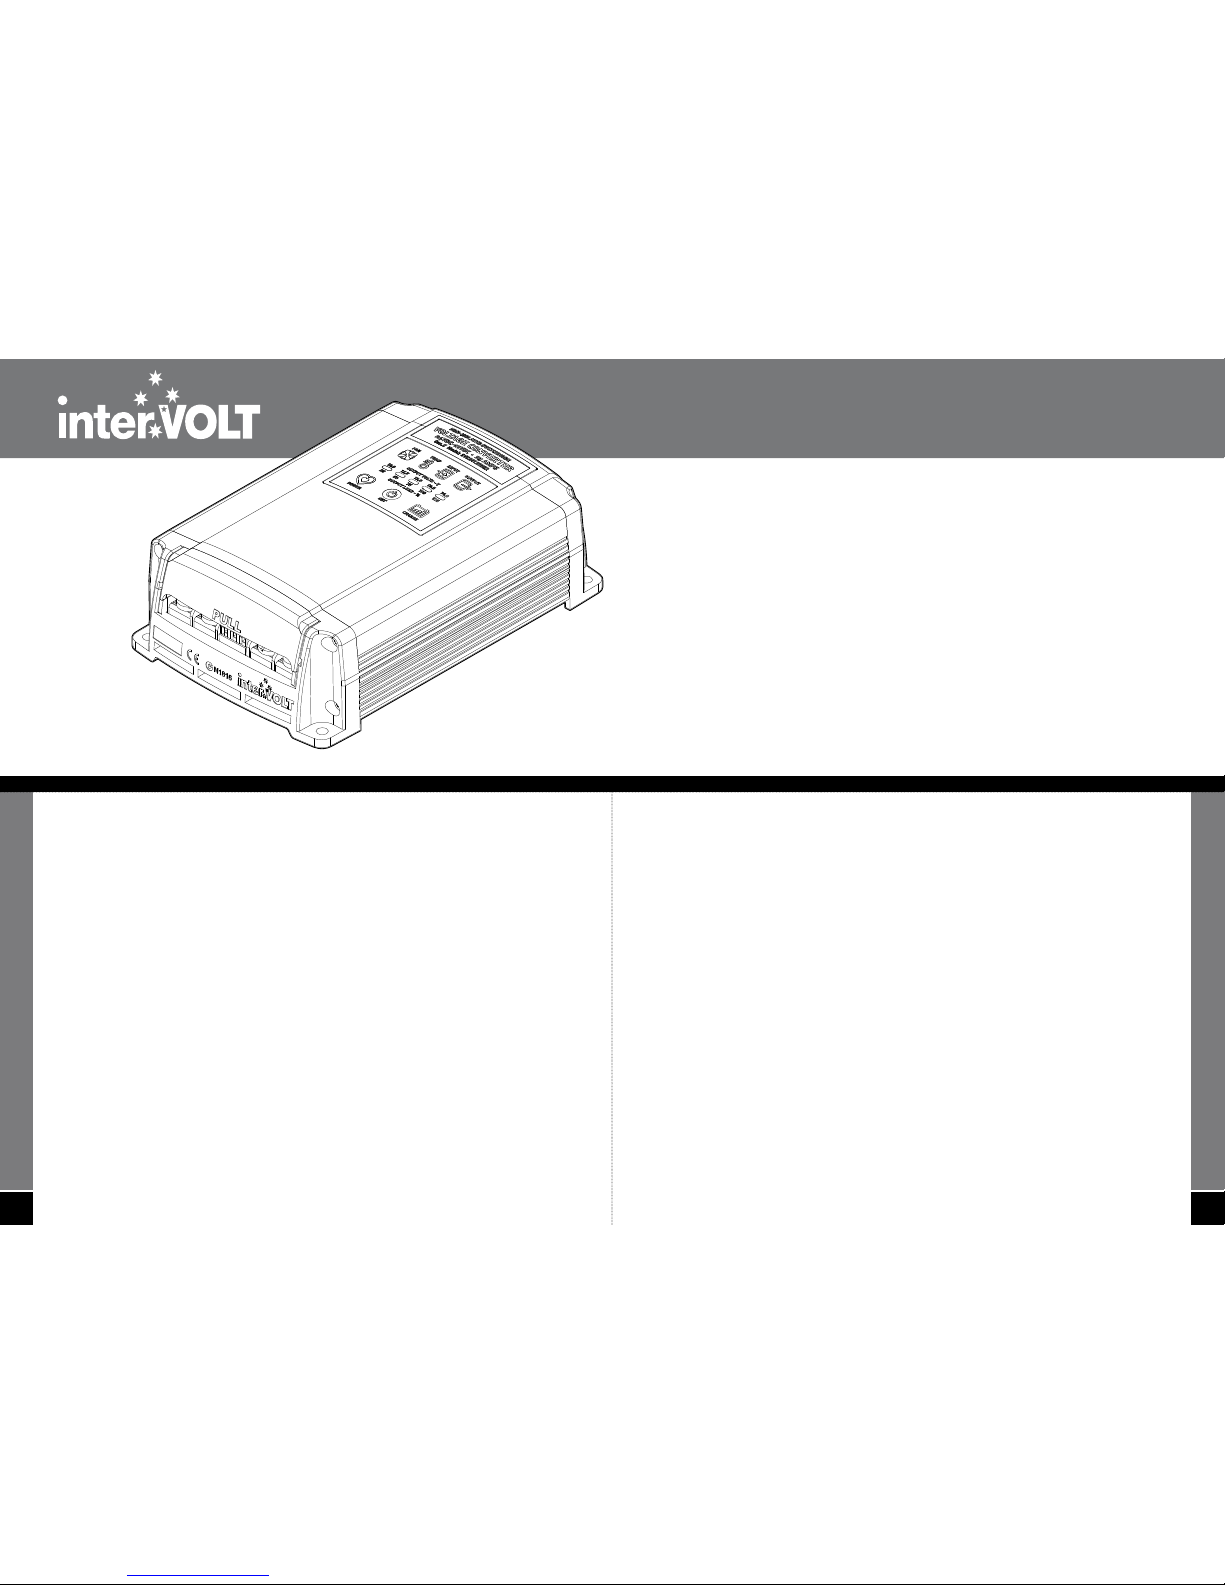
intervolt Gen II Maxi Series, SVC241225G2, SVC241235G2 Installation & Operation Manual
WELCOME
Thank you for choosing an interVOLT voltage converter ...
A 24VDC to 12VDC voltage converter is used primarily for connecting auxiliary 12VDC equipment in
a 24VDC wired application. The voltage converter must be sized according to the load connected in
order to ensure good performance, safety and longevity. Listed below are just a few of the features and
benefi ts you have gained in selecting an interVOLT voltage converter.
Intervolt SVC Series Switchmode voltage converters are designed for high demand power requirements
in transport, telemetry, alternative energy applications and the like. They are suitable for powering
a large range of auxiliary 12 VDC equipment including communications, navigation, monitoring,
instrumentation, lighting, refrigeration and much more.
Intervolt SVC’s incorporate a range of innovative features including an industry fi rst, micro-processor
controlled operator interface for the control and monitoring of the many SVC functions. This feature is
designed to help trouble-shoot general installation errors and assist in fault fi nding common problems.
Intervolt SVC’s are fully protected from typical connection and installation faults by a range of built-in
safety devices. These devices protect the units from reverse connection, short-circuiting, overloading,
high output voltages and high temperatures.
Intervolt SVC’s are designed to cope with the demands of the harshest applications and will operate in
high temperature, high humidity environments. They are constructed of quality marine grade materials
and when applied and installed correctly are designed to provide many years of continuous ser vice.
Intervolt SVC’s are designed and assembled in Australia and comply with relevant Australian and
international standards for electro-magnetic compatibility (EMC). They are supported by a 100% factory
backed 24 month warranty against faulty components and/or workmanship.
1
CONTENTS
OVERVIEW ............................................ 2
SVC MAXI SERIES GEN II ............................ 2
INS TALL ATION ....................................... 3
NOTICE! .............................................. 3
WIRING ............................................... 4
INITIAL SET-UP ..................................... 7
OPERATION ........................................... 7
EXTENDED FEATURES ............................. 9
SCHEMATICS ........................................ 12
Voltage Converter
Standard Installation – Common Ground .......... 12
Standard Installation – Isolated Ground ............ 13
Parallel Installation – Common Ground ............ 14
Parallel Installation – Isolated Ground ............. 15
Battery Charger
Standard Installation – Common Ground .......... 16
Standard Installation – Isolated Ground ............ 17
Auxiliary
Exter nal Alarm Output .............................. 18
Remote Switching – minor output connec ted ...... 18
Remote Switching – manual or automatic control . 19
Remote Switching – with ignition switch control ... 19
OPERATOR IN TERFACE ............................20
INTRODUCTION ..................................... 20
POWER ICON ........................................ 21
FAN ICON ........................................... 21
TEMP ICON ......................................... 22
INPUT ICON ........................................23
OUTPU T ICON .......................................24
CHARGE ICON ....................................... 26
OUTPU T LOAD INDICATOR .........................27
OUTPU T VOLTS INDICATOR ........................ 27
TROUBLESHOOTING ............................... 28
SPECIFICATIONS .................................... 30
WARRA NTY POLICY ................................ 33
GEN II
MAXI SERIES
Voltage
Converter
INSTALLATION & OPERATION
MANUAL
interV OLT is a regis tered tradem ark of Amelec Aus tralia Pty Lt d in Australia and var ious other count ries
includ ing the UK and USA and as such is protec ted by the relevant l aws of the country of reg istration .
© 2010. All righ ts reserv ed. The entire conte nts of this instruc tion manual shal l remain the proper ty of
Amele c Australia Pt y Ltd and should not be repr oduced witho ut written per mission.
Manual No. MA XISV CG2 R1-0
Manufactured by Amelec Australia Pty Ltd
16 Parkinson Lane, O’Connor, WA 6163, Australia
www.intervolt.com
2
OVERVIEW
SVC MAXI SERIES GEN II
The second generation interVOLT SVC Maxi series voltage converters are the evolution of the
original and renowned SVC models fi rst released in 2001. The GEN II Series is not just a cosmetic
‘makeover’ but rather a complete new product from the ground up. The all new design features
complete digital control with a specifi cation second-to-none. Here are just a few of the new
features and benefi ts exclusive to the new range:
– Unique operator inter face for control and monitoring
– Handy charge mode for charging a 12V auxiliary battery (2 stage)
– High resolution voltage output of less than 0.5% under any load
– Peak effi ciency of 94% (better than 90% under most load conditions)
– Remote operator control to turn unit on/off with signal current only
– Separate 250mA 13.5V (nominal) output for use when remote is off
– Multifunction alarm output for fault and pre-emptive warnings
– Temperature and speed controlled internal cooling fan (hydro bearing)
– Compact design and can be mounted vertically or horizontally
– Heavy duty termination with separate, removable terminal cover
– 24 months warranty (subject to specifi c terms and conditions)
– High quality assembly featuring marine grade hardware
– Conformally coated printed circuit board assembly (tropicalisation)
This manual contains comprehensive information on the installation, set-up and use of the all
new SVC voltage conver ters and is applicable to GEN II models only. Whilst every care has been
taken in the preparation of this manual, Amelec Australia Pty Ltd offers no guarantee, express
or implied, and accepts no liability for any inaccuracies, errors or omissions in its content.
Specifi cations are subject to change without notice.
4
INSTALLATION
WIRING
IMPORTANT! Ensure adequately rated cables are used for the maximum load of the SVC model
installed. If uncertain, consult your cable supplier quoting the continuous rating of the SVC and the
length of cable on both input and output. The input current draw is approximately 50% of the output load
(subject to V in and V out references). Undersizing the cable will result in poor performance, over heating,
a reduction in longevit y and may jeopardise your warranty in the event of a failure.
Disconnect the 24VDC supply at the source before attempting any connection to the input terminals of the
SVC or equipment to the output.
Install an appropriately rated circuit breaker or fuse (see chart below) as the input protection for the
24VDC supply cable to the SVC.
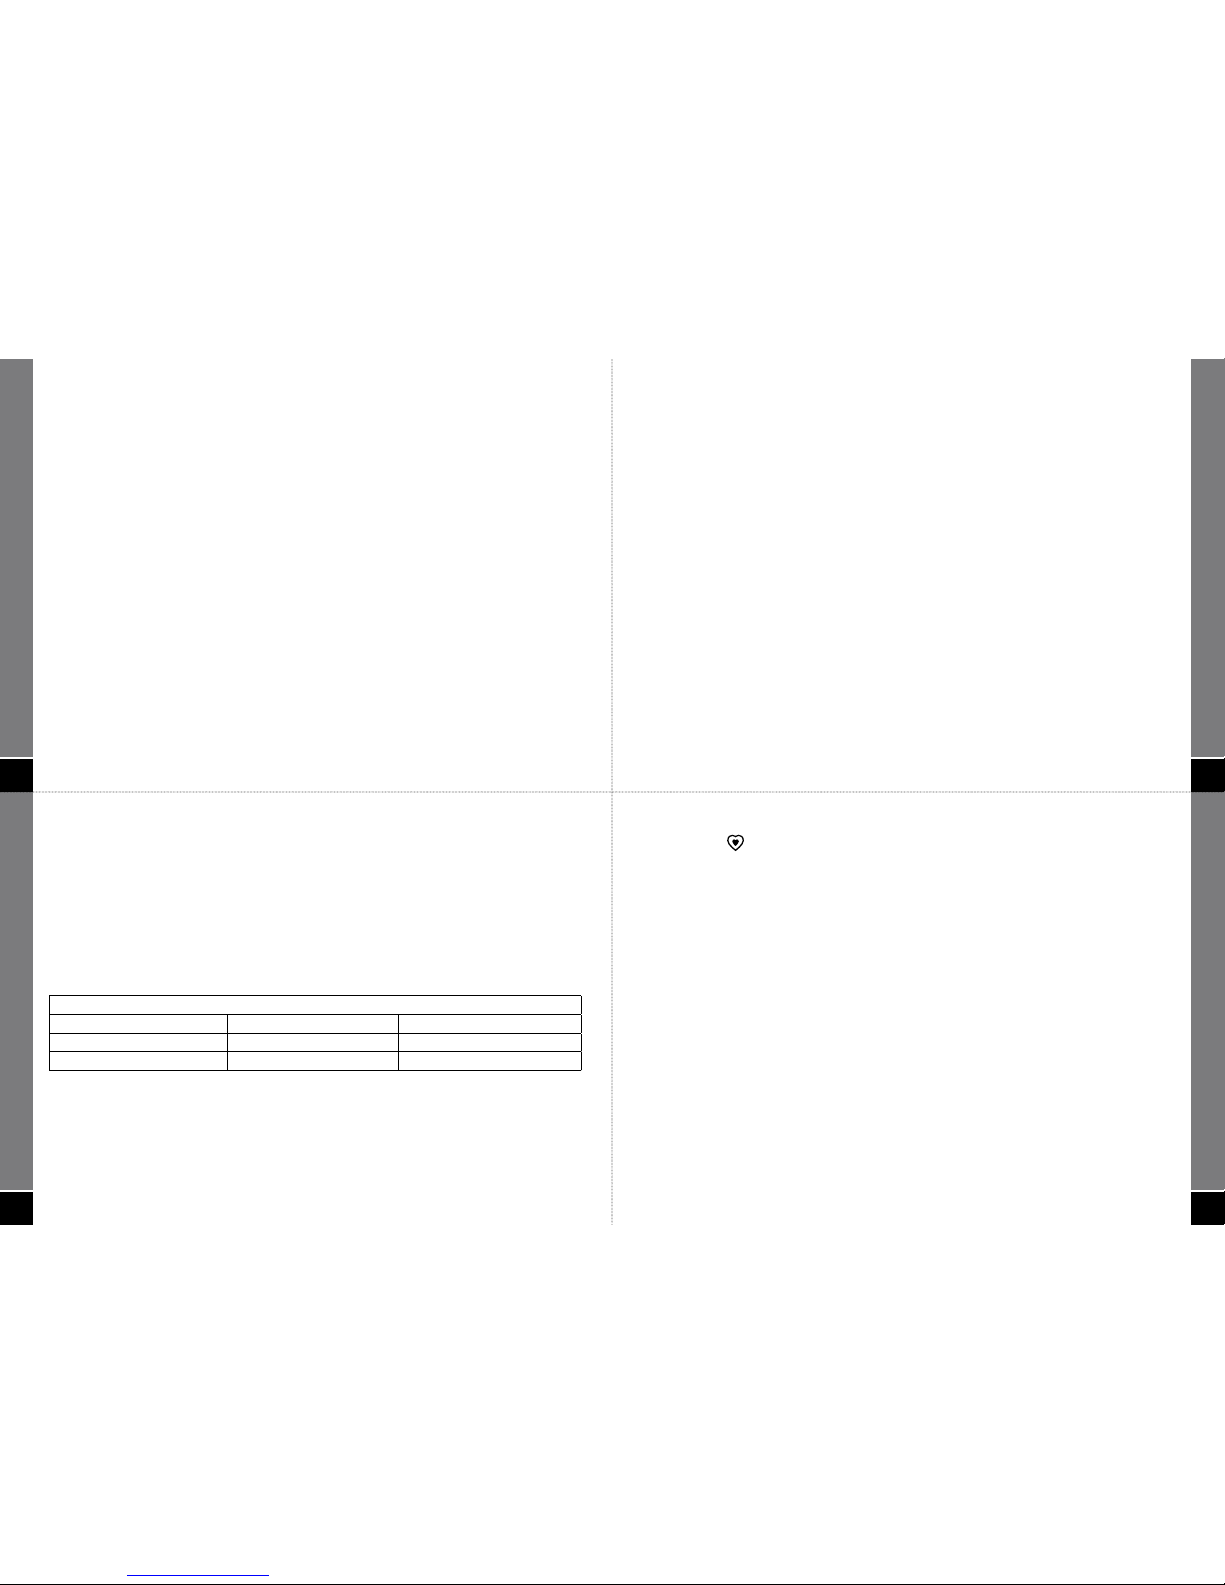
EXTERNAL INPUT FUSE REQUIREMENT CHART
SVC Model No. SVC Rating Input Fuse
SVC 241225G2 25 Amps cont. 25 Amps
SVC 241235G2 35 Amps cont. 35 Amps
Connect all input wiring to the SVC ensuring correct polarity. Failure to observe correct polarity will
result in the internal protection circuit blowing the fuse. This circuit protect s the SVC from catastrophic
damage. The internal fuse is not user serviceable. In the event the SVC is incorrectly rever se polarit y
connected, the unit must be returned to vendor for servicing.
The power terminals utilise M5 combination head screws for excellent conductivity. It is recommended
that proper tinned drawn -copper cable lugs are used for termination. An example of this item is
depicted on page 6.
3
NOTICE!
The SVC must be properly installed in order to comply with environmental operating considerations and
the manufacturer’s warranty terms and conditions.
The SVC is constructed from marine grade materials and the printed circuit board has been conformally
coated (tropicalised) to protect the SVC from condensation and humidity. It is NOT however, waterproof.
LOCATION
Select a suitable location where the SVC can be mounted. Ensure there is adequate ventilation and that
the location is free from excessive moisture, dust, vibration and heat. The SVC is designed for installation
in a protected environment.
ORIEN TATION
The SVC can be mounted vertically or horizontally. The SVC should be installed on a hard fl at surface
– do not install on an upholstered or insulated surface. Ensure at least 50mm of clearance all around
from other equipment. There should be no restrictions in the way of the ventilated end cap.
MOUNTING
The SVC unit should be installed with appropriate fasteners ensuring all anchor holes are utilised.
The mounting hole diameter is 5mm and it is recommended that a fastener with a diameter (major
thread) of no less than 3.5mm be used. Do not overtighten.
WIRING
In order to ensure safety, good performance and long life the SVC should be wired according to
the method detailed overleaf. Please refer pages 12-19 for schematics of the various wiring circuits
available.
INSTALLATION
INSTALLATION
5
INSTALLATION
Once the input supply is terminated the SVC can be powered up. Upon reconnecting the 24VDC supply the
POWER indicator
is illuminated intermittently (pulsing green) indicating the SVC is operational.
If any other icon is illuminated or the POWER indicator is not illuminated, refer to the troubleshooting
guide on pages 28-29.
The SVC is now in standby and operating at the factory default output of 13.0VDC. The output can now be
adjusted in one of two ways depending upon the application:
i. For use as a voltage converter – output voltage is selectable between 12.0V and 14.0V in 0.5V
increments. Please refer to the set-up instructions on pages 7-8 before connecting the output wiring
to the 12V equipment.
ii. For use as a battery charger – output voltage is set to battery charging mode (standard lead acid
batter y only). Please refer to the set-up instructions on pages 7-8 before connecting the output wiring
to the 12V battery.
Before connecting the output wiring ensure the input supply is isolated. Once the output is connected the
SVC can again be powered up and is now ready for operation.
In addition to the main power terminals there is an auxiliary terminal block located between the input
and output terminals. See over for further information on wiring the auxiliary terminal block.
NOTE: It is also possible to wire the SVC’s in parallel to increase the output current rating. For example,
two 25A rated units can be paralleled for a combined total of 50 Amps continuous, three for 75 Amps, etc.
The wiring must be appropriately rated to carry the total load and the output voltage setting of each unit
MUST be the same i.e. 13.0V. The SVC’s can ONLY be paralleled when used as voltage converters and
NOT when used in battery charging mode. Please refer to pages 14 and 15 for schematics.

6
INSTALLATION
Auxiliary Terminal Block: The auxiliar y terminals are optional and
not required for operation of the SVC, however they do provide some
very useful functions. Please refer to pages 9-11 for details of the
specifi c control and monitoring functions of the auxiliary circuits.
When connecting any of the optional auxiliar y circuits (terminal
block) the wiring used is for low power circuits and should be wired
according to the schematic on pages 18-19. For reference purposes
the maximum current for each of the three connections is as follows:
• Terminal A: This is the external alarm output connection and is
limited to 250mA @ 13.5VDC (nominal).
• Terminal M: This is the memory (or bypass) output connection
and is limited to 250mA @ 13.5VDC (nominal).
• Terminal R: This is the remote control input and is signal
current only. Supply is 8-32VDC via a control switch.
When wiring to the auxiliary terminal block it is recommended that
proper boot-lace or ferrule type crimp connectors are used (see below).
The terminating tunnel s in the auxiliary terminal blocks are a cage
type and do not need excessive force to make good contact.
Do not over-tighten the terminal screw.
12mm
MAX
5.0-6.0mm
COPPER LUG BOOT-LACE FERRULE
4.0mm
diameter
MAX
2.0mm
diameter
MAX
INPUT AUX.
+24V –0V
M RA
+12-0V
OUTPUT
INPUT AUX.
+24V –0V
M RA
+12-0V
OUTPUT
8
Step 2 – Changing Output Setting
Press the SET button
again to scroll through the display incrementally to select the desired
setting for your specifi c application as follows:
• For use as a voltage converter the output setting can be adjusted between 12.0V and 14.0V
in 0.5V increments on the OUTPUT VOLTS bar
display. It is important to
ensure the equipment connected to the output of the SVC is correctly rated for the voltage you
have selected.
• For use as a batter y charger the CHARGE icon
must be selected which changes the output
from a continuous DC regulated supply to a special two stage charging protocol (sample curve
data available upon request). The two stages consist of a boost cycle of 14.4V and a fl oat cycle of
13.6V. These voltages are not adjustable.
Step 3 – Saving Output Setting
Simply release the SET button
at the desired point and the output will adjust automatically to
the new setting after a few moments. The OUTPUT icon will pulse rapidly and then disappear
indicating the setting has been successfully saved.
The new setting will be displayed for a further 10 seconds as confi rmation of the new setting. The
selected setting will now be permanently memorised but can be changed at any time if necessary.
NOTE: The factory default settings can be reset at any time. Press and hold the SET button
for 30 seconds until all icons on the operator interface display are illuminated (pulsing).
Release the SET button and the factory default settings will be restored at which point the
illuminated icons will disappear.
OPERATION
7
OPERATION
INITIAL SET-UP
One of the major features of the Gen II SVC is the ability to adjust
the output voltage when used as a converter or alternatively,
select a two stage voltage curve when used as a battery charger
(lead acid only).
As detailed in the wiring section, the output voltage of the SVC
should ideally be selected before connecting the output supply
to the 12V equipment or battery. The SVC output can however,
be adjusted at any time providing there is power on the input and
NO load on the output.
The output voltage cannot be adjusted in batter y charging mode.
IM POR TAN T: A batter y should only be connected to the SVC in
batter y charging mode and NOT in voltage converter mode.
Step 1 – Enter Output Set-Up Mode
To adjust the output voltage press and hold the SET button
for 5 seconds until the 5 bars of the OUTPUT VOLTS indicator
and the CHARGE icon are illuminated
intermittently (fl ashing).
At this point release the SET button
. The OUTPUT icon
and the factory default voltage setting of 13.0V is displayed on the
OUTPUT VOLTS indicator .
INPUT AUX.
+24V –0V
M RA
+12-0V
OUTPUT
9
OPERATION
EXTENDED FEATURES
The GEN II SVC has a range of optional features which can be
utilised for control and monitoring purposes.
These functions are enabled through the use of the auxiliar y
terminal connec tions. This is a Euro style terminal block located
between the input and output terminal s of the SVC.
The Euro style terminal block is a high quality three pole connector
used to terminate various control and monitoring devices or
auxiliar y functions. There are no ferrous components in the
terminal block so there is much less risk of corrosion and therefore
poor contact.
Please refer pages 18-19 for schematics of the various wiring
circuits available.
Exter nal Alarm Output
This output (terminal A) is used for remote monitoring of the preemptive and shutdown alarms of the SVC. Subsequently any alarm
condition displayed on the operator interface display of the SVC can
also be remotely monitored i.e. cooling fan fault, unit overheating,
low input voltage, output overload or short circuit.
Generally the output would be connected to a remote sounder/indicator but can also be used to activate a
relay coil to switch a larger warning device. It is important to note that the maximum power of the Alarm
output is limited to 250mA @ 13.5VDC.
INPUT AUX.
+24V –0V
M RA
+12-0V
OUTPUT
M RA
+12-0V
OUTPUT
 Loading...