

RECORD THIS INFORMATION FOR
FUTURE REFERENCES
MODEL NUMBER _______________________
DATE OF PURCHASE ___________________
PLACE OF PURCHASE__________________
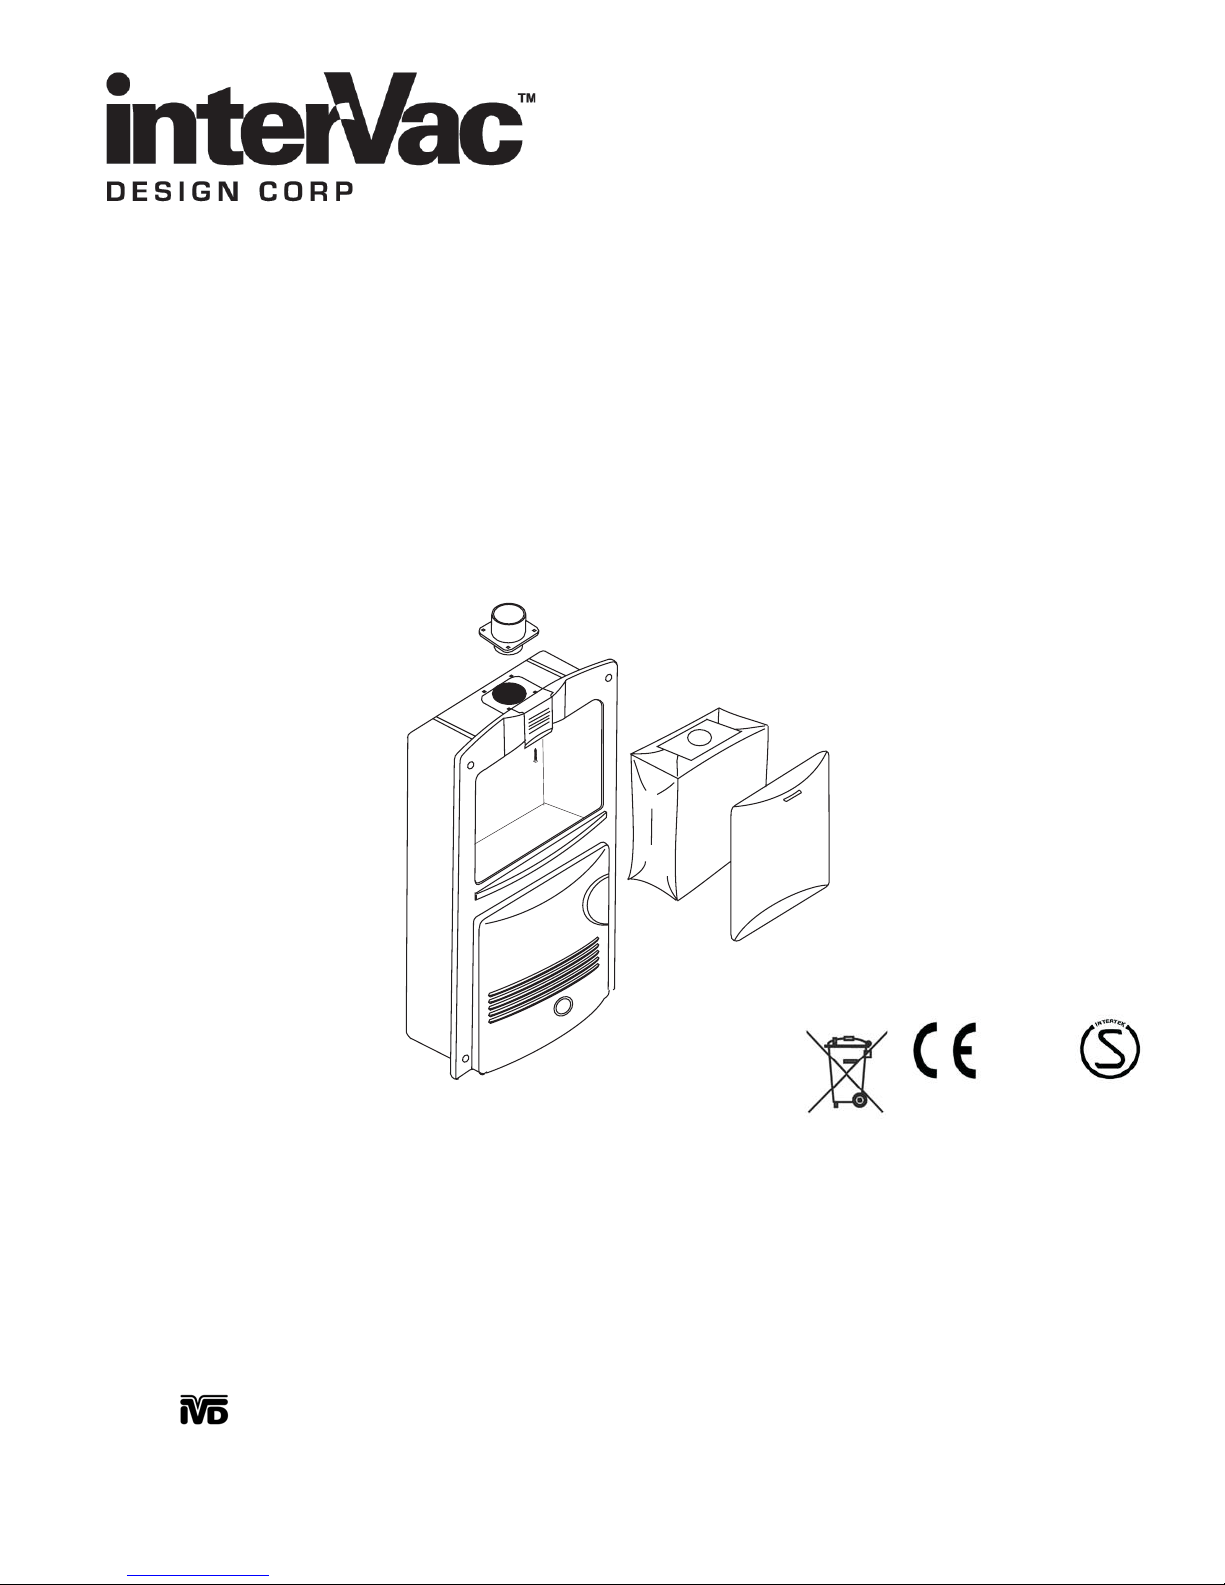
THE BUILT-IN VACUUM SYSTEM
Manual # RM CE-e
Rev.: 9/09/11
Part # W511
INSTALLATION AND OPERATING MANUAL
TYPE: VAC-220 MODEL: RMF-220
MODEL: RMH-220
flush mounted
surface mounted
Important: Instructions must stay with Unit. Owner read carefully.
This manual must be read and understood before installation, adjustment, service or
maintenance is performed. This unit must be installed by a qualified technician.
Modification of this product can be extremely hazardous and could result in
personal injury or property damage.
InterVac Design Corp., Palm City, FL 34990,USA
www.intervacdesign.com • e-mail: sales@intervacdesign. com
RoHS
AS/NZS: CS8830N
WARNING:
Phone 772-463-1400
1

IMPORTANT SAFETY INSTRUCTIONS
When using an electrical vacuum cleaner, basic precautions should always be followed including the following:
Read all instructions carefullybefore using this vacuum cleaner
WARNING: TO REDUCE THE RISK OF FIRE,
ELECTRIC SHOCK, OR INJURY:
1.
Do not leave appliancewhen plugged in. Unplug
from outlet when notin use and before servicing.
2.
Do not use outdoorsor on wet surfaces.
3.
Never operate this vacuumcleaner without a
paper bag and filters inplace.
4.
Close attention is necessarywhen used by or
near children. Do not allowunit to be used asa toy.
5.
Use only for intendeduse as described in this
manual. Use only themanufacturer's
recommended attachments and paperbag.
6.
Do not use withdamaged cord or plug.
If appliance is notworking as it should, has
been dropped, damaged, leftoutdoors, or
dropped into water, return the vacuumcleaner
to InterVac or an authorized service dealerfor
examination and repair.
7.
Do not put anyobject into openings. Do notuse
with any openings blocked;keep free of dust,
lint, hair and any othermaterial that may reduce
air flow. When the secondary filter becomes
dirty, rinse in warmwater or replace with a new
filter. Filtersshall be completely dry beforeusing.
8.
Never drop or insertany object into any opening.
9.
Turn off all controls before unplugging.
10.
Do not pull orcarry by cord, do notuse cord as
a handle, do notclose a door on cord,or pull
cord around sharp edgesor corners. Do not
run appliance over cord.Keep cord away from
heated surfaces.
.
11.
Do not unplug by pulling on cord. To unplug,
grasp the plug, not the cord.
12.
Keep hair, loose clothing, fingers, and all parts of
body away from any openings and all moving
parts.
13.
Do not pick up anything that is burning or smoking,
such as cigarettes, matches, or hot ashes. Do not
use without dust bag and / or filters in place.
14.
Use extra caution when cleaning on stairs.
15.
Do not handle plug or appliance with wet hands.
16.
Do not pick up flammable or combustible liquids
such as gasoline, or use in areas where they may
be present.
17.
Do not place objects against the vacuum cleaner.
Keep area clear.
18.
Do not step on the hose or pull the hose forcibly.
19.
Do not pick up large objects such as waste paper
or cloth, which may clog the hose.
20.
Do not install this vacuum cleaner in an area
exposed to high temperatures.
21.
Install this vacuum cleaner in a dry place.
22.
Do not attempt to service the vacuum cleaner. Unit
is sealed and can not be opened without damage
to the unit. For service, call your local authorized
service dealer, or InterVac Design's Customer
Care Center.
This appliance is not intended for use by persons (including children) with
reduced physical, sensory or mental capabilities, or lack of experiences and
knowledge, unless they have been given supervision or instruction concerning
use of the appliance by a person responsible for their safety.
SAVE THESE INSTRUCTIONS
WARNING:
2
LIMITED WARRANTY
InterVac Design Corp. will repair the power unit with new or rebuilt parts, free of charge for three (3) years from the date of
original purchase in the event of a defect in materials or workmanship. No cash refunds. Excluded are the following items that
require normal replacement:
Disposable dust bag, filters,vacuum cleaner tools and vacuumhoses.
This warranty is extended only to the original purchaser. A purchase receipt or other proof of date of original purchase will be
required before warranty performanceis rendered.
You must returnyour warranty card in order to be coveredunder these provisions
This warranty only covers failures due to defects in materials or workmanship which occur during normal use and does not
cover damage which occurs in shipment or failures which are caused by products not supplied by InterVac Design, or failures
which result from accident, misuse, abuse, neglect, mishandling, misapplication, alteration, modification, or commercial use
such as hotel, office, restaurant or rental use of the product, or service by anyone other than an authorized service center, or
damage that is attributableto acts of God.
.
LIMITS AND EXCLUSIONS
There are no expressedwarranties except as listed above.
INTERVAC DESIGN SHALL NOT BE LIABLE FOR INCIDENTAL OR CONSEQUENTIAL DAMAGES RESULTING FROM
THE USE OF THIS PRODUCT, OR ARISING OUT OF ANY BREACH OF THIS WARRANTY. ALL EXPRESSED AND
IMPLIED WARRANTIES, INCLUDING THE WARRANTIES OF MERCHANTABILITY AND FITNESS FOR A PARTICULAR
PURPOSE,ARE LIMITED TO THEAPPLICABLE WARRANTYPERIOD SET FORTHABOVE.
Some states do not allow the exclusion or limitation of incidental or consequential damages or limitations on how long an
implied warranty last, so the above exclusions or limitations may not apply to you. This warranty gives you specific legal rights
that vary from state to state. If a problem with this product develops during or after the warranty period, you may contact your
dealer or our service center. If the problem is not handled to you satisfaction, than write to the Customer Service Center at the
company address.
:
RETURN POLICY
We will not accept shipments without a Return Authorization number. Please call InterVac Design or
your dealer for your RA number. Carefully pack and send the unit prepaid, adequately insured and,
preferably in the original carton. Enclose a letter describing the nature of the problem or complaint
and InterVac Design will repair or replace your unit.
However our policy is, no cash refunds after the 30 days trial period.
InterVac Model: RM-220/240 volt
CAUTION: To avoid possible electrical shock, be sure that electricity is turned off at the main switch or circuit breaker. All
wiring must be inaccordance with the National ElectricCode.
Note: Electrical connections should only be made by a qualified electrician.
SERVICING OF DOUBLE-INSULATED APPLIANCES
A double-insulated appliance is marked with one or more of the following: The words DOUBLE INSULATION or DOUBLE
INSULATED or thedouble insulation symbol (square withina square).
In a double-insulated appliance, two systems of insulation are provided instead of grounding. No grounding means is
provided on a double-insulated appliance, nor should a means for grounding be added to the appliance. Servicing a
double-insulated appliance requires extreme care and knowledge of the system, and should be done only by qualified
service personnel. Replacement partsfor a double-insulated appliance mustbe identical to the partsthey replace.
To reduce the risk of electric shock, this appliance has a polarized plug (one blade is wider than the other). This plug will fit
in a polarized outlet only one way. If the plug does not fit fully in the outlet, reverse the plug. If it still does not fit, contact a
qualified electrician to installthe proper outlet. Do notchange the plug in anyway.
INSTALLATION
3

Parts List:
InterVac Model #RMH220or RMF220 4 screws with screw caps
Paper template: 2 vacuum bags, Part
#W600 or W601 # Y08
CE Terminal block various pipe fittings
1 wood strip for RMFmodel
With the InterVacmodel RM220 you have2 mounting options:
st
1 : Recessed mounted in a wall.
nd
2 : Surface mounted against a wall.
MODEL RMF220, to be hard wired, FLUSH MOUNTED into a WOOD SURFACE
Paper Template W601
NOTE: The
four mounting holes in the outer corners of the flange of the RMF220 have to be opened up from the
back with a 5mm” drill bit.
The requires 100mm depth, measured fromthe front of thewall.
vacuum cleaner power unit
To reachwith the vacuum hoseas far as possible, install the (s) in a central location.
remote valve
The vacuum unit should bemounted as close as possible to theremote valve(s). The shorter the
distance the better the airflow.
Make sure there are noobstruction behind the wall before you startcutting.
Look for a electrical outletor a 5.5 ampcircuit breaker for your power supply line.
WARNING
Disconnect all electrical power to the wall area before drilling and cutting! Do not drill near studs
:
where electrical cable may be secured to studs adjacent to receptacles.
Step 1.
Attach the paper template to wall or surface a minimum of 100mm above the floor, so that the
exhausting air is not restricted.
Step 2.
Step 3.
Read instructions on paper template.
Place the vacuum cleaner inthe cut-out, lower endfirst, and secure with the four painted
screws.
Step 4.
Install the remote vacuum valve(s).Please note that thestandard inlet valve fits a max. 5/8
thick wall. Extensions are available.
Step 5.
Now install the flanged fittingto the vacuum cleanerfrom the back of the wall withthe four #6 X 12mm
screws.
Step 6.
Attach the 50mm flex-hose .Route
the flex-hose the shortest wayto the inlet valve.
Step 7.
From the remote vacuum valve route two wires .75mm CE approved (H05V2 rated) minimum 300V,
60 C, (24-volt line) along the flex-hose to the bottom of the vacuum cleaner housings and connect it to
.
Step 8.
the two Secure the wires with “ty-wraps”or electric tape tothe flex-hose.
I
nstall 1.5mm H05V2, 300V ,220/240 volt power supplycable (use wires rated for at least95 C.)
yellow wires
though the 20mm hole. Connectto the terminal blockinside housing. Wrap strain relief around
power cable and with apair of plier insert into the housinghole.
The ground conductor of the is not used and should be cut and insulated.
If an electric cord issupplied, plug into areceptacle.
NOTE: A means of disconnecting thewires must be incorporatedin accordance with local wiring
rules and regulations.
Replace the access cover .
power supply cable
4

MODEL RMH220, with electric cord, Surface Mounted Installation
Paper Template W600
remote valveTo reachwith the vacuum hoseas far as possible, install the (s) in a central location.
The vacuum unit should bemounted as close as possible to theremote valve(s). The shorter the
distance the better the airflow.
Look for a electrical outletor a 5.5 ampcircuit breaker for your power supply lineif you hard wire.
NOTE: I
f unit is to be installed in a small closet or tight area, adequate ventilation should be installed for the exhausting
air.Keeppipesor flex-hose as short as necessary,usingas few elbows as possible. Every radius in the piping
system is a restriction and deteriorates the power of the unit.
Step 1.
Step 2.
Step 3.
NOTE
Step 4.
Step 5.
Step 6.
Step 7.
Step 8.
Tape thepaper template to thewall or surface at a minimum of100mm away from any obstruction
which might block the exhaustingair.
Attach the four screws (#8)through the paper templateinto the wall. Keep the screw heads
about 1/8 from the wallsurface.
Attach vacuum cleaner to the four screw heads into the four keyholes in the back of then slide
unit down into locked position.If vacuum cleaner isloose on en screw heads.
:
If the Vacuum unit is mounted on it’s back or in an angle it may slide off the screws heads. To prevent this, attach a
small block with a screw against the top as a stop.
Attach the flanged fitting tothe top of thehousing with the four #6 X 12mm screws .
Route the 50mm flex-hose theshortest way to theinlet valve.
Install the remote vacuum valve(s)in a central location.
Attach the flex-hose to theends of the fittings,either with hose clamps or with PVCglue.
From the remote vacuum valve install two wires, .75mm rated H05V2, 300V, 60 C, cable (24-volt line)
along the flex-hose to the bottom of the housing, and connect to the two Secure the wires
with “ty-wraps” or electric tapeto the pipe system.
If an electric cord is notsupplied, install a 1.5mm H05V2, 220/240volt power cable (use wires rated for
at least 95 C) through the 20mm hole in the bottom of the housing and connect to the terminal block
inside the unit. Wrap the strain relief around the power cable and with a pair of pliers insert into the
hole.
The green ground conductor of the is not used and should be cut and insulated.power supply cable
Model RMH-220
the screws re-tight
Model RMF-220
yellow wires
the unit,
.
about 6” from floor
Paper Template:
# W600
Tape template to wall
Paper Template:
#W601 recessed mounted
5

HOW TO OPERATE YOUR VACUUM CLEANER
InterVac Design Corp. Palm City, Florida, 34990 USA
e-mail: sales@intervacdesign. com • Website: www.intervacdesign.com
FOR MODELS RM REMOTE VALVE UNITS
NOTE: THE LOWER PART OF THE VACUUM CLEANER CAN BE QUITE WARM.
IF THE VACUUM STOPS RUNNING:
THE THERMAL PROTECTOR ON THE MOTOR WILL RESET
AUTOMATICALLY AFTER ABOUT 1-1/2 HOUR.
PLEASE SEE TROUBLE SHOOTING GUIDE.
A. Connecting and disconnecting the hose
1. Lift inlet valve cover on the wall.
2. Insert hose cuff with a slight twist. The vacuum cleaner will start automatically.
3. To remove, turn hose in either direction while pulling hose towards you.
The vacuum cleaner will stop running.
.
START AND STOP.
B. How to change the dust bag, Replacement Part # Y08
1. Open the door on the vacuum cleaner by pushing the latch upward and remove door completely.
2. Remove full bag and discard.
3. Locate the pipe inside the vacuum chamber. Holding the new bags cardboard collar at approximately
a 45 degree angle, insert the cardboard part of the bag against upper back corner of the vacuum cleaner
chamber behind the pipe. Lift the front of the collar over the pipe as far as possible.
4. When closing door, tuck-in the left and right corners of the bag, so the door is properly sealed and the
latch clicks into place.
NEVER OPERATE THE VACUUM CLEANER WITHOUT THE DUST BAG
AND THE MOTOR FILTER
.
C: To change motor filter, Replacement Part # Y21 (see Fig.: E)
1. Remove door and dust bag.
2. Reach into the cavity towards the bottom of the vacuum cleaner and remove the motor filter.
3. Replace the filter with a new filter and tuck-in the corners so that the filter lays centered
and flat
4. If you need to; clean the dirty filter by vacuuming or washing in mild soap by hand. The filter
might separate, replace both pieces. .
Let filter dry completely and reuse as needed.
Do not clean in washing machine
6

D: Replacing Exhaust Filter, Part #Y41:
Pinch exhaust filter in the middle and pull out.
To replace, pinch in the middle and slide in
one side first. tuck in the corners and sides
TROUBLE SHOOTING:
TIP :
If you use our very convenient stretch hose, but require more suction power, we recommend you try
our crush-proof central vacuum hose.
NOTE: IF MOTOR SUDDENLY STOPS:
1. The most
TIP:
2.
3.
4.
5.
6.
7.
Disconnect vacuum hose from cleaner, hold one end high up in the air and drop a quarter into the hose.
If the quarter gets stuck the hose is clogged. Try to unclog the hose with a long stick.
The bag is overfilled or fine dust has clogged the bag.
The vacuum cleaning tools are clogged.
Vacuuming large amounts of dust other than household dirt, such as dry-wall or fine wood dust can block the
bags
pores fast,
The motor filter is dirty and should be cleaned or replaced.
Vacuum unit is installed in a tight compartment and air cannot exhaust, the motor will overheat and shut off until
cooled down.
The exhaust filter should be checked and washed.
common cause is a clogged hose. See cleaning instructions.
even if the bag is new.
UP
SIDE
THIS SIDE UPTHIS
E: Replacing Motor Filter
Part # Y21
carefully under the ribs
CLEANING THE STRETCH HOSE:
The stretch hose, besides all its' conveniences, has a tendency to get clogged, especially if you have pets.
lift the hose up on both ends and dispense some liquid detergent into both ends.
a)
with a garden hose, holding both ends still up, fill ¾ with water.
b)
shake hose up and down, let detergent loosen the dirt.
c)
stretch the hose as far as you can ( 2 people required ) and wash the dirt out with the full pressure of the
d)
garden hose. Repeat if necessary.
Hang hose up on one end. Let hose drain and dry
e)
DO NOT PICK UP LIQUIDS, LIT CIGARETTES, HOT ASHES,
RAZOR BLADES, NEEDLES, PINS OR OTHER SHARP OBJECTS!
completely, it may take 24 hours.
CAUTION:
7

ACCESSORIES
2 Part Upholstery
Tool PART # X300
40’ Stretch Hose As’bly with
Cuff.plain PART# A002
40’ Stretch Hose As’bly with
Cuff.Banded PART# A002B
Complete Tool Kit
(Includes all item on the right)
for Models RMPART # 705B
Floor/Rug Tool
PART # X403
REPACEMENT DUST BAGS:
PART # Y08-5 (5 pack) HEPA Type 5 layer fiber filtration
bags with exhaust filter for all InterVac Models
Crevice Tool
PART # X200
Dust Brush
PART # X250
Mesh Storage Bag
PART # X501
Telescoping Wand, PART # X154
NOTE: All Power Units come with 2 Dust Bags
30 Foot Traditional
Central Vacuum Hose
PART #A006
PART # A006B
for Models H, F, CM
for Models RM
for Homes
OPTIONAL VACUUM TOOLS
Air Turbo Nozzle
PART # X452
INTERVAC reserves the right to make improvements and modifications without notice.
8
Special Inlet Valve
"VAC-PAN"
PART # 505 Black

9

10
 Loading...