

Interest Systems 4-in-1 Remote, INT413 Control User Manual
4-in-1 Backlit IR Remote Control
for
Xbox & Windows Media Center
User Manual

Inteset Systems INT413 Xbox 4-in-1 IR Remote and Receiver User Manual
1
Welcome
Congratulations on your purchase of the Inteset Systems 4-in-1 IR learning remote
control for Xbox and Windows Media Center. This infrared (IR) remote lets you
conveniently control your Xbox, Windows Media Center PC, and up to 3 other A/V
devices.
If you did not purchase an IR receiver from Inteset Systems or an R6 protocol
receiver is already installed, skip the sections in this manual that describe
installing the receiver.
INSERT THE BATTERIES
The remote control uses two AAA batteries that have been provided. Whenever
replacing batteries always make sure both are new.
To insert the batteries
Remove the battery compartment cover by
pushing on its release and lifting up.
Insert the batteries, making sure to properly
orient the positive (+) and negative (-) ends
as specified by the battery compartment
labels.
Replace the battery compartment cover.
POSITION THE RECEIVER
For optimum performance, make sure that the distance between the remote control
and the receiver doesn’t exceed 30 feet or about 60 degrees from the centerline of
the receiver. Keep a direct, unobstructed line
of sight between the receiver and the remote
control, and don’t let any natural or artificial
light shine directly on the receiver’s IR
sensor. If you already have an IR receiver,
and did not purchase the receiver from Inteset,
see Using the Remote Control later in this
User Manual.
Inteset Systems INT413 Xbox 4-in-1 IR Remote and Receiver User Manual
2
CONNECT THE RECEIVER (PC Only)
The Xbox has a built-in IR receiver skip this section for Xbox setups. This section
applies to PC setups only. The receiver relays input from your remote control to
your computer via the receiver purchased with the remote. The receiver can be
either internal or external to the computer case.
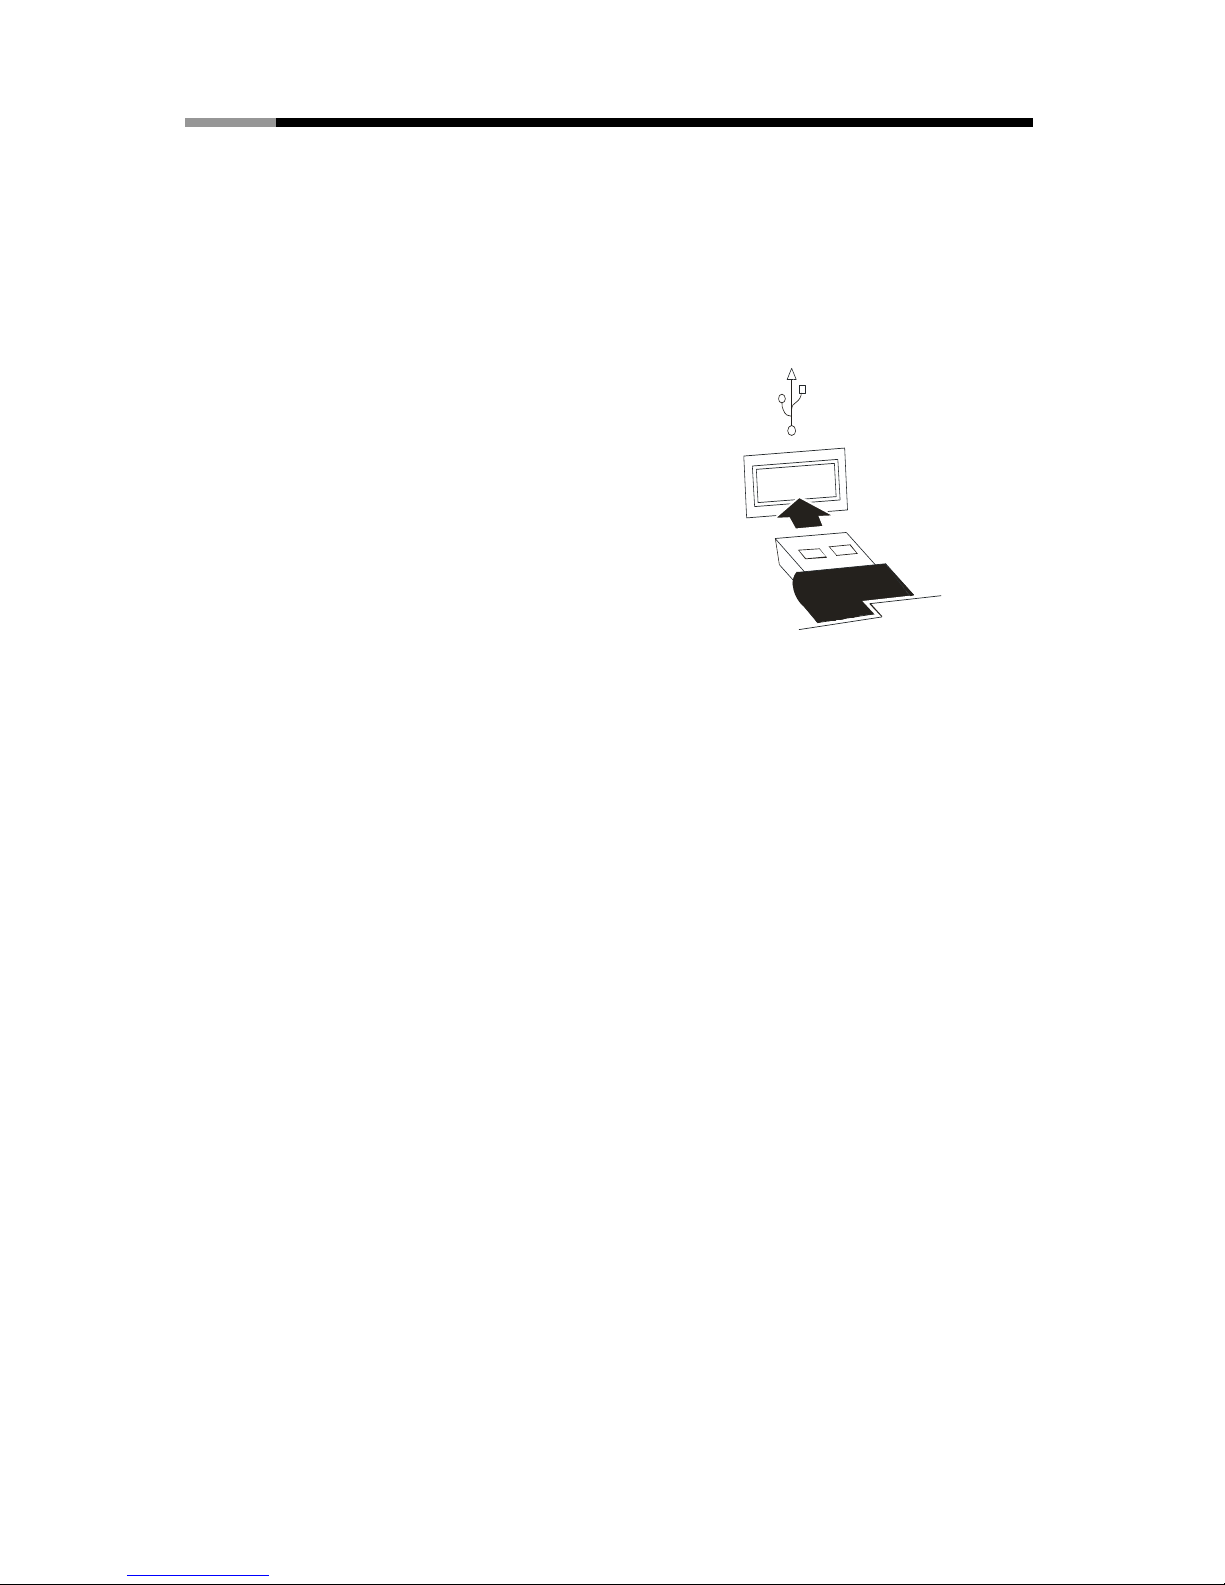
To connect an External IR receiver
With your computer turned on, plug the
rectangular universal serial bus (USB) connector
into your computer’s USB port.
To connect an Internal IR Receiver
With your computer off and unplugged, plug your
internal receiver cable onto a USB header on your
motherboard. The ground wire must face the end
of the header with one pin missing. Install the black receiver component on the IR
board (the Eye) in a 1/8”hole in the front of your case using the bracket provided.
To connect a CIR receiver on your motherboard with a CIR header
Follow the instructions that come with the CIR for your motherboard
Install the CIR on the bracket as above.
USING THE REMOTE CONTROL
You use the remote control to interact with most of the features in Media Center. No
software or setup procedure is required unless you are using an Inteset CIR receiver.
Just point the remote control at the receiver, and then enter your commands.
Your remote control has six types of buttons:
Navigation buttons, to move between items on the screen. (for example, up
arrow or enter)
Playback buttons, to control your media (for example, pause or stop).
Audio-visual (AV) and power buttons, to change channels and adjust
volume. (for example, channel up or mute)
Shortcut buttons, to provide a quick way for users to access key media
experiences in Windows Media Center.
Numeric keypad buttons, to enter alphanumeric characters or TV channels.
Xbox or Teletext buttons to access Xbox or Teletext functionality. For more
information, see Xbox or Teletext Buttons later in this user manual.
 Loading...