

Page 1
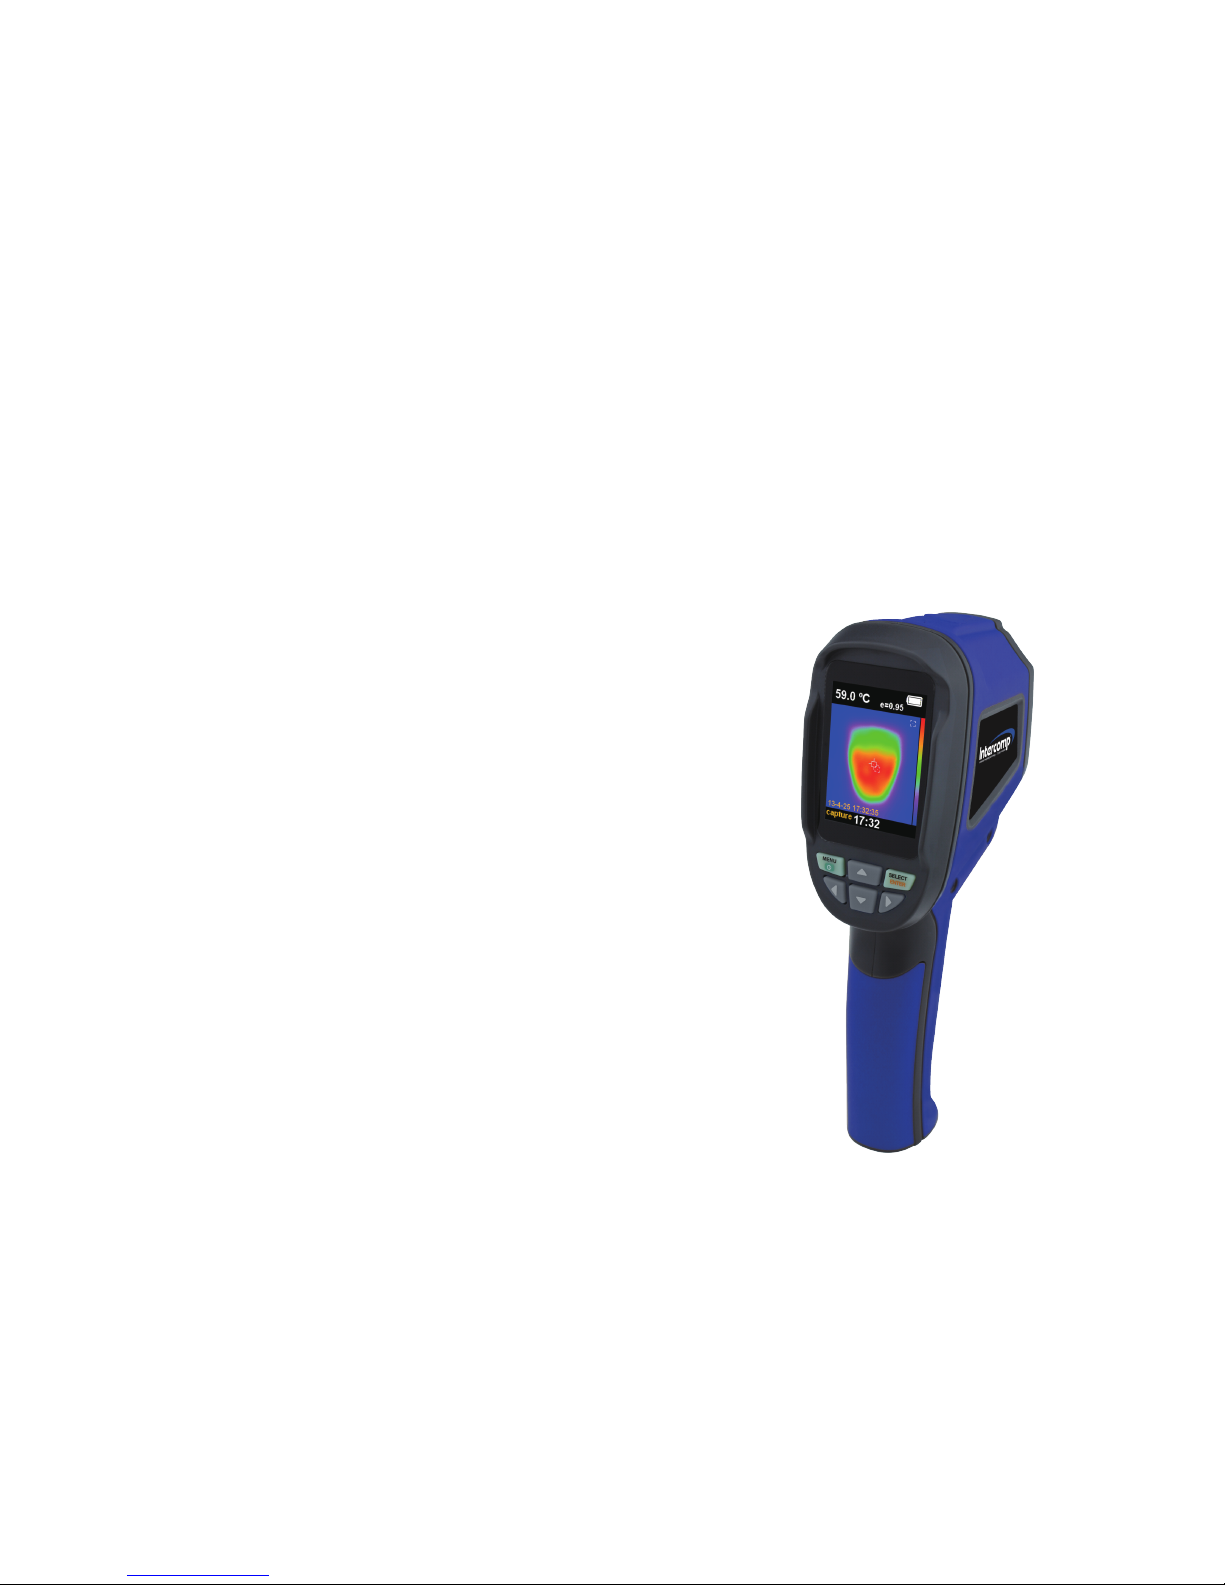
Thermal Imaging Camera
Manual
Page 2

Contents
Introduction 1
Safety 1
Performance indexes 2
Product Description 3
Structure 4
Menu Description 5
Battery cover installation method 6
Measurement 7
Focal distance 7
Elimination of noise 7
LED light 7
Color palette 8
Temperature of reflective background 8
Marking of spot temperature 8
Unit of temperature 8
Image mixing 9
Time Setting 9
Image Capture and Storage 10
Check internal storage 10
Notes 10
Emissivity 11
Emissivity of normal materials 11
Maintenance 11
1. Introduction
HT-02 is a thermal Imaging Camera which combines the functions
of surface temperature measurement and real-time thermal imaging.
The traditional thermal Imaging Camera shall measure each
component one by one but this instrument does not need to.
Therefore, it helps to save our customers’ time. Even the potential
problems can be clearly displayed on the color screen which helps
customers quickly locate the central point to measure cursor and
temperature.
To improve recognition, this product is equipped with a vision
camera. Based on practical requirements, it can turn thermal image
into visional image. Thermal image and visional image can be
stored in the dismountable memory card. Adjust the images and
store them in PC which are used to generate report or for printing.
HT-02 is easy to operate. After seconds it can be tested. This
product is the optimum product for electrician and maintainer. It can
quickly find out the problem area.
The following functions help to improve the accuracy and usability
of product:
● Adjustable radiation coefficient and reflection background
compensation help to improve the accuracy of the
measurement of semi-reflective surface.
● The marking of hot spot and cold spot can help user to locate
the hottest and coldest area of thermal imaging temperature.
● Options of color palette
2. Safety
To ensure the accuracy of measured results, please carefully read
this manual before operation.
Please strictly follow this manual to operate our product. In case of
any problems due to operational errors, the maintenance cost will
be charged.
Do not use our product under the explosive or damp or corrosive
atmosphere.
If our product is damaged, broken or has just been repaired, the
measurement results might be inaccurate.
1
Page 3

Please refer to radiation coefficient to get the actual temperature.
The measured temperature might be lower than the actual
temperature because of reflective surface. These surfaces might be
the potential burning hazard for user.
4. Product description
Press “tart-up” key for 5 seconds and the instrument starts up.
Press “menu” key for 1 second to enter into the mode of the setting
of basic functions. There are only five options on the display screen.
Press “up” or “down” key to scan the menu and select the yellow
option box.
Press “select” key and select “menu” option and edit the value.
Press “up” or “down” key to edit the value. After adjustment, confirm
the new value and press “menu” key to exit the edit mode.
Display screen 2.4” full-angle high resolution
color screen
Resolution of infrared image 60*60 (3600 pixels)
Resolution of visible image 0.3 mega pixels
Field angle/shortest focal distance 20*20/0.5m
Thermal sensitivity 0.15°C
Range of temperature measurement -20°C to +300°C
Accuracy of temperature measurement ±2% or ±2°C (±2% or ±4 )
Emissivity Adjustable 0.1-1.0
Image capturing frequency 6Hz
Range of wave length 8-14um
Focal distance Fixed focal distance
Color palette Iron red, rainbow, rainbow
high contrast, gray scale
(white glow) and gray scale
(black glow)
Vision option 25% step infrared to visional
to infrared and visional image
Memory card Mini SD card
File format bmp
Power supply AA battery * 4
Battery life 6 hours
Auto power-off time 12 minutes
Authentication CE (EN61326-1:2006)
Dimension of product (L*W*H) 212mm*95mm*62mm
Weight 320g
Operating temperature -5°C to ±40°C
Storage temperature -20°C to ±50°C
Relative humidity 10% RH to 80% RH
3. Performance indexes
Start-up/enter menu
Yellow option
box
Select/input
Navigation key
(up/down/left/right)
Figure 1- Basic Functions
2 3
Page 4

Item Description
1 TFT high definition
color screen
2 Start-up/menu key
3 Battery cover
4 Select/enter key
5 Small SD card
Item Description
6 Infrared imaging sensor
7 Visible light camera
8 LED
9 Image capturing key
Interface for the installation
of tripod
10
5. Structure
1
5
2
4
6
7
8
9
10
3
Figure 2 – Structure of Product
Description
Time setting
Save image
Background light setting
Temperature unit setting
Background temperature setting
Capacity of memory card
Color palette setting
Emissivity setting
6. Menu Description
12:12
5000
50%
ºC
25ºC
11088MB
0.95
Icon
Figure 3 –Menu’s Icons and Description
4 5
Page 5

7.Battery cover installation method
1. Push down and away from the device to
remove battery cover.
2. Install 4 AA batteries as shown in the battery
compartment.
3. Slide the battery cover to the accurate position.
Figure 4 – Replace Battery
1
2
8. Measurement
The measured temperature of the center of pixel is displayed in the
upper left corner of display screen. The setting of radiation
coefficient is also displayed in the upper right corner of display
screen. Move the product until hot spot or cold spot coincides with
the center of pixel. Direct the product to the object whose
temperature is higher or lower than the surrounding temperature to
get the optimum measured results.
9. Focal distance
This product is the fixed-focal thermal Imaging Camera. The
applicable distance is 50cm (20min).
Image storage
10. Elimination of noise
Start up the instrument and then put the head of sensor close to the
worktop. Press “up” key for 5 seconds to eliminate the noise.
11.LED light
Press “image capturing” key for 5 seconds to turn on LED light to
cooperate with the working of visible camera.
Center spot
Hot spot
Center spot
6 7
Page 6

12. Color palette
“Color palette” menu can change the fake color of the infrared
image displayed on the screen or captured. A series of color palette
is available for usage. Some color palettes are more applicable to
the special areas, so they are set as required options. Gray-scale
color palette provides balanced linear color, so it can help to fully
reveal details. High-contrast color palette can emphasize the
displayed color. This color palette is applicable to the hot-cold
contrast situation. It is used to improve the color contrast of
high-temperature and low-temperature. Iron red and rainbow color
palettes provide a mixed high-contrast gray-scale color palette.
13. Temperature of reflective background
The background temperature can be set between 0°C and +36°C.
Set the temperature compensation for reflective background in the
option of background. Over-hot or over-cold object may influence
the object or the surface temperature and measurement accuracy
of measured object. When the radiation coefficient of the surface of
the measured object is low, this phenomenon is obvious. Under
many situations, adjust the temperature of reflective background to
get the optimum measured result.
14.Marking of spot temperature
Turn on or off the marking of spot temperature. If turning on, the
marking of spot temperature indicates that the hot spot or cold spot
in the screen needs additional appraisal. If turning off, it indicates
that user can focus on the measured pixel per time.
15.Unit of temperature
The product displays the temperature in unit of °C or °F.
16. Image mixing
Use the aligned visible image and infrared image. The mixed image
makes the understanding of infrared image become easier. The
product can capture the visible image of each infrared image to
accurately display the temperature distribution of target area. It
helps to share with others. If this mixing function is used, press “left”
or “right” key to adjust the mixed image from 0% to 100%.
17. Time setting
In clock menu, use can set time and date. Press “menu” key to
enter into “menu” mode. Press “up” or “down” key to select “clock”
menu. Press “select” key to enter into the mode of clock calibration.
Press “left” or “right” key to select the aimed time parameter. Press
“up” or “down” key to add or subtract the value. After setting, press
“menu” key to exit.
High contrast
Iron red
Rainbow
0%
30% 60% 80% 100%
14 4
11 12
26
Year Month Day
Hour Second
8 9
Page 7

23.Maintenance
Use wet cloth or liquid soap to clean the shell. Do not use abrasive
compound or isopropyl alcohol or solvent to clean the shell or lens
or window.
21. Emissivity
For the emissivity within the step length of 0.01, it can be adjusted
from 0.10 to 1.00. Set the default value to 0.95. The accurate value
of emissivity is very important to the accurate measurement of
temperature. The surface emissivity has great impact on the
measured temperature of our product. To know the emissivity of the
measured surface helps to get more accurate result of temperature
but this is not always true.
18.Image Capture and Storage
This product can be stored for up to 25,000 images on the micro SD
card. Press image capturing button and the symbol of “store photos
yes no” will display on the screen. Press “MENU” key to store
image.Press “SELECT” key to delete the captured image. If “NO
SD”displayed at the lower left corner of screen, it indicates SD card
is not installed. If “FULL” is displayed at the lower left corner of
screen, it indicates that SD card is full.
19. Check internal storage
1. Press “menu” key to enter into the mode of “menu”.
2. Select the image storage module using the arrow keys.
3. Press the “SELECT“ button to select the picture you want to view.
4. Press the arrow keys to view other pictures.
5. Press the SELECT button to view pictures.
6. Press the above key on the screen will display "Delet photo yes
no", then press the MENU key to delete the picture,Press
"SELECT" to cancel.
7.Press the MENU button to exit Review.
20. Notes
All the objects have the radiated infrared energy. The radiated
quantity of infrared energy is based on the actual temperature and
radiation coefficient of surface. Our instrument can sense the
infrared energy on the surface of object and estimate the
temperature based on the sensed value of infrared energy. Many
objects (e.g. coated metal, wood, water, skin and texture) can
radiate energy, so it is easy to get the accurate measured value. As
to the surface which is easy to radiate energy (high radiation
coefficient), the radiation coefficient is greater than 90% (0.90).
This simple method is not applicable to the glossy surface or coated
metal because their radiation coefficient is less than 6% (0.06).
These materials are not easy to radiate energy so they are
classified as the low radiation coefficient materials. To accurately
measure the low radiation coefficient materials, calibrate the
radiation coefficient. Adjustment of radiation coefficient is to make
the product more accurately calculate the estimated value of actual
temperature.
22.Emissivity of normal materials
Materials Thermal radiation Materials
Thermal radiation
Asphalt 0.90~0.98 Black cloth 0.98
Concrete
0.94
Human skin
0.98
Cement
0.96 Bubble 0.75~0.80
Sand 0.90 Charcoal dust 0.96
Soil 0.92~0.96 Paint 0.80~0.95
Water 0.92~0.96 Matt paint 0.97
Ice 0.96~0.98 Black rubber 0.94
Snow 0.83 Plastic 0.85~0.95
Glass 0.90~0.95 Wood 0.90
Ceramic 0.90~0.94 Paper 0.70~0.94
Marble 0.94 Chromic oxide 0.81
Gypsum 0.80~0.90 Copper oxide 0.78
Mortar 0.89~0.91 Ferric oxide 0.78~0.82
Brick 0.93~0.96 Texture 0.90
10 11
Aluminum 0.30 Iron Oxides 0.78~0.82
Carbon 0.85 Lead 0.50
 Loading...