

Stealth & Stingray R.T.F. Airplanes
Congratulations on the purchase of your Air-Tech aircraft. This
manual is written for both the Stealth and the Stingray since these
aircraft are identical in terms of design and differ only in their
graphics scheme. Your new aircraft is designed to be easy to fly and
to survive the learning curve associated with new R/C pilots. But, as
with any sophisticated device, you must learn how to operate it and
care for it. Please read this manual thoroughly and take the time to
watch the instructional CD.
Be sure to assemble and fly your aircraft only
under adult supervision.
•
Do not fly near cars, people, pets, overhead wires
bodies of water, buildings, trees, etc.
•
Use common sense when operating your aircraft!
•
Keep clear of the propeller blades.
Copyright © 2002 INTERACTIVE TOY CONCEPTS LTD. - Printed in China UM-13251-20717
• Radio-Controlled.
• Quiet, Safe Electric Flight.
• Includes NiMH Flight Battery
• Requires 8 (AA) Batteries
for Transmitter.
• Requires 6 (D) Batteries for
Portable Charger.
Items may differ from images depicted above
Glossary:
Motors: The Stealth and the Stingray have 2 motors - for main thrust and
steering.
Electronic Speed Control: Also referred to as an ESC, the speed control
sends electric current to the motors causing them to spin the propellers. It
also regulates the amount of current sent to the motors when you want to
turn the aircraft.
Battery Pack: The Stealth and the Stingray come with a 280 mAh NiMH
rechargeable battery that is used to power the electric motors and
receiver. Flight time is approximately 7 minutes on a full charge.
Transmitter: The radio control transmitter allows you to control the
aircraft's rate of climb, descent and flight direction. The left stick controls
throttle and rate of climb or glide, while the right stick causes the aircraft
to turn left or right.
Charger: The included portable charger uses 6 "D" size alkaline batteries
to charge the NiMH battery pack. Plug in the 280 mAh flight battery pack
and set the timer for 30 minutes. Do not allow the battery to get hot.
Your Stealth or Stingray package contains the following:
Transmitter & antenna
Fuselage/Wing assembly
Propellers & removal tool
Quick charger
NiMH battery pack
Instructional CD or coupon (or see videos on our website)
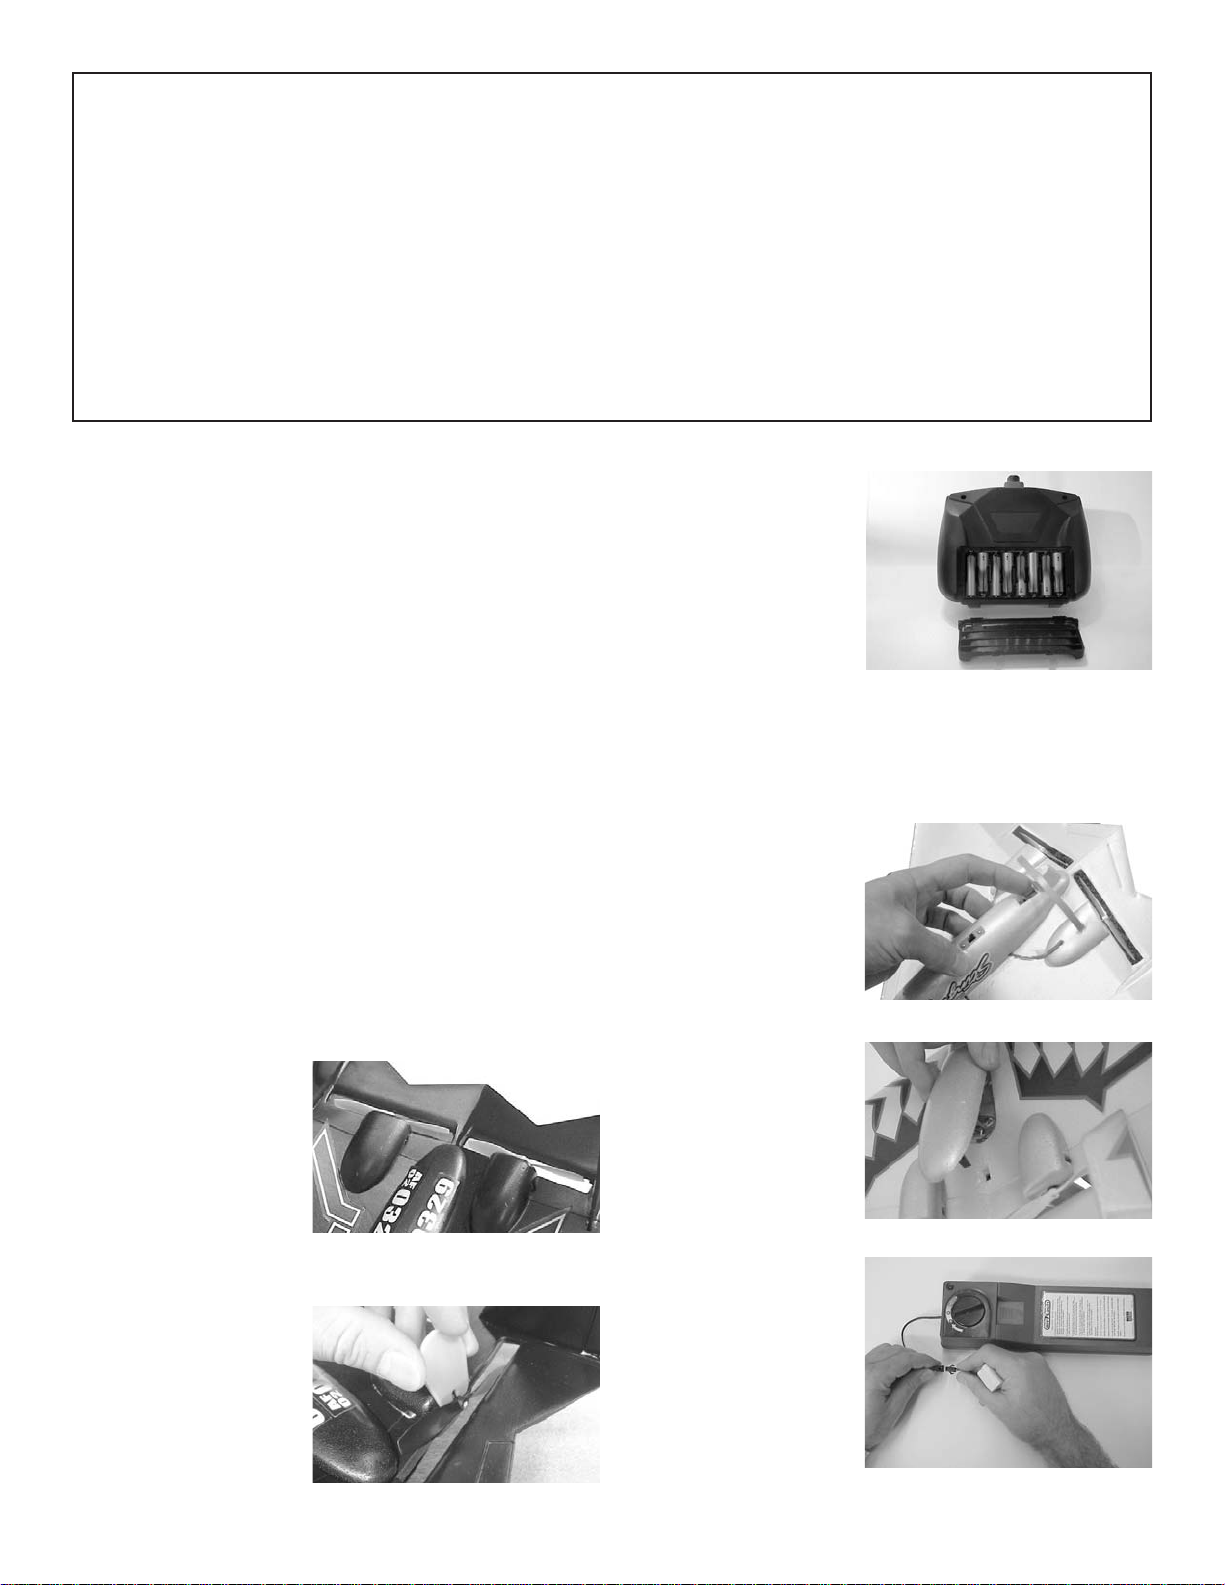
Install the Propellers
1) If the propellers are not
already installed on the
motors, locate them and pressfit them onto the motors.
2) Be sure to leave at least a
1/16" gap between the
propeller and the rear of the
motor covers to prevent
binding. The prop should not
come into contact with any part of the aircraft.
If you need to remove the
Propellers
1) If the propellers need to be
replaced in the future, use the
propeller removal tool to
carefully pry the propellers off
the motor’s shafts.
Prepare the Transmitter
1) Remove the battery cover
located at the rear of the
transmitter.
2) Install 8 AA alkaline
batteries, ensuring that the
polarities are correct.
3) Reinstall the battery cover.
4) Turn the transmitter on and
make sure that both the red
and green LEDs light up. If only the red one is lit, you must replace the
batteries with fresh ones prior to flying or your control range will be
dangerously limited.
5) Insert the transmitter antenna into the top of the transmitter and thread
it into place. Do not overtighten.
Remove the Battery Cover
1) Locate the small plastic
catch mounted underneath the
aircraft, at the rear of the body.
2) Gently push the catch
towards the nose of the aircraft
while at the same time gently
pushing it inwards.
3) Gently pull the rear of the
top-mounted cover upwards
and slide it towards the back
of the aircraft.
4) Installation is simply the
reverse of removal.
Charge the Onboard Battery
1) Remove the top cover from
the charger by sliding it
rearward.
2) Insert 6 "D" size alkaline
batteries into the charger. Be
careful to orient them in the
proper directions.
3) Remove the green NiMH
battery from the aircraft or the
packaging.
4) Connect the output plug of
the charger to the input plug of
the battery pack. Notice that
the plugs can only be
connected in one orientation do not force them.
1
Safety
The Stealth and the Stingray are sophisticated model aircraft and should be treated as
such. Improper use or assembly could cause damage to you, bystanders and
property. Please follow all safety and assembly instructions listed within this manual and
on the CD. Assemble and fly your aircraft only under adult supervision.
Learning to Fly
We strongly recommend that you seek the help of an experienced R/C pilot to help you
learn to fly your new plane. While the Stealth and the Stingray are designed as training
aircraft with docile flight characteristics, instruction by an experienced pilot will make
the learning experience much more enjoyable and lessen the risk of damage to your new
aircraft. We suggest that you join a local R/C club – your local hobby shop will be able
to help you to find one.
Basic Safety Precautions
1) Carefully follow all assembly instructions. Do not modify the aircraft; this will void
your warranty and may degrade performance.
2) Test your aircraft before every flight. All systems must function correctly and the
aircraft itself must be structurally sound. Ensure that all components are securely
attached to the aircraft.
3) The Stealth and the Stingray are designed to fly in low wind conditions only. Do not
attempt to fly them when wind speeds exceed 5 mph (8 km/h).
4) Always fly in large open areas only. Do not fly the model near people, cars, buildings,
trees, overhead wires or other obstructions. Use common sense!
5) Ensure that the transmitter has fresh batteries and that the onboard battery pack is fully
charged before attempting to fly.
6) Always range-check your transmitter prior to every flight.
7) Keep fingers clear of the propellers when the battery is installed in the aircraft.
8) Never turn the plane “On” while the transmitter is off. The receiver may pick up
stray radio signals causing the propellers to turn on sporadically.
UM-13251-20717

5) Rotate the timer dial on the
charger to approx. 30 minutes.
6) Ensure that the red LED on
the charger illuminates,
indicating that the battery pack
is being charged.
7) After each flight, remove
the battery pack from the
aircraft and allow it to cool
before recharging. Failure to do so will significantly shorten its lifespan.
! IMPORTANT Battery Care
1) Never allow the battery pack to become hot during charging - this
will cause permanent damage. Warm is okay - hot is not!
2) Never leave a battery unattended while it is being charged.
3) Charging times required for a full charge increase with number of
charge cycles due to draining of the charger’s “D” cells.
4) Never recharge a hot battery. Always allow it to cool
5) If you use an after-market charger, never charge the battery at a rate
greater than 500 mA.
6) If the flight battery is not completely discharged before recharging,
the charging time may be less than 15 minutes. Again, do not allow the
battery to get hot!
7) If a day or more passes without charging the battery or if you are
unsure whether or not it is fully charged, discharge the battery, then
fully recharge it.
Balance the Aircraft
Note: this step must be performed or your model may not fly properly.
1) Insert the charged battery
pack within the battery
compartment of the aircraft
(ensure that the on/off switch
is in the forward or ‘off’
position), then carefully close
the battery compartment.
2) Place your fingertips under
the wing, about 4 3/4” back
from the tip of the nose, and
try to balance the aircraft on
them. The plane should
remain in a level or slightly
nose-down attitude. If the
nose falls or rises too much,
move the battery pack
backward or forward to
correct this tendency.
How the Stealth and the Stingray work
Your aircraft uses 2 electric motors for both thrust and steering, thus there
are no moving control surfaces to damage or to need adjustment. The
aircraft is steered by differential thrust - a fancy way of saying that the
aircraft turns while in flight, when one side of it gets more thrust than the
other. In order to achieve this differential thrust, one of the motors speeds
up when you want the aircraft to turn. If you want to turn left for instance,
the right motor speeds up, leading to more thrust on the right side of the
wing and the plane turns to the left! The combined thrust of both motors
causes the aircraft to climb. Cut the thrust and the plane glides - to a
landing if you leave the motors 'off' long enough.
Flying Field Selection and Weather
The Stealth and the Stingray are very lightweight and thus you must be
very aware of wind conditions when you want to fly them. There should
be very little wind (no more than 5 mph / 8 km/h) otherwise loss of
aircraft control may result. Note that you must always launch and land
your model into the wind. Your flying site should be a large empty and
flat area. Avoid places that have many trees, buildings, people or other
obstructions. Avoid areas where other R/C models are in operation - your
radio transmitter may cause a frequency conflict with them. If this
happens, both models will go out of control and crash. Be very careful to
keep your model away from people. Though the Stealth and the Stingray
are lightweight, nevertheless they can cause injury if they hit someone.
Learning to Fly your Stealth or Stingray
We strongly suggest that you ask an experienced R/C pilot to help you
learn to fly your aircraft. All R/C clubs have flight instructors who will
be happy to teach you.
Preflight Preparation
1) Before turning on your transmitter, make sure that no one in the
vicinity is using a radio
control model on the same
frequency as yourself. The
frequency of your model is
shown on the tag located at the
front of your transmitter.
2) Open the battery hatch
located on the topside of the
fuselage and plug in a freshly
charged battery. Close the battery compartment hatch.
3) Switch the aircraft on by moving the switch located on the bottom of
the fuselage, to the rear.
4) Switch on the transmitter ensuring that both LEDs light up.
Preflight Check
1) While an assistant holds the aircraft, test the following::
Move the left transmitter stick forward - both motors should run.
Release the left transmitter stick - both motors should stop.
Move the right stick to the right - the left motor should run faster.
Move the right stick to the left - the right motor should run faster.
2) Range check your transmitter (with the transmitter antenna down).
Have a helper hold your aircraft then walk 20 feet (7m) away and test to
see if the motors respond to your stick movements. If they do not, ensure
that the NiMH flight battery is fully charged or put fresh batteries into the
transmitter.
Take-Off
1) Enlist the aid of a helper. Have the helper face into the wind and gently
hold the aircraft by the fuselage hump, under the wings at its balance
point (Center of Gravity), at
about eye level.
2) Move the left stick on the
transmitter forward, so that both
engines are turning at their
maximum rates.
3) Have your assistant firmly toss
the aircraft into the wind. The
throw should launch the aircraft
at a 20 to 30 degree angle
upwards
4) Keep the throttle stick
forward, allowing the airplane to climb at an angle of 20 to 30 degrees,
to gain altitude and airspeed.
Note that you can perform the launch yourself when you become
proficient in the operation of the aircraft, by holding the transmitter in
one hand and tossing the aircraft with the other. Be sure to hold (and
point) the antenna away from the model to minimize radio interference
issues. Low powered radio control units sometimes exhibit a loss of
signal when the antenna and receiver are in close proximity - this will
not affect normal flight performance
2
UM-13251-20717

Flight
Use the left (throttle)
transmitter stick to control the
aircraft’s altitude; push it
forward to climb, release it to
glide and descend.
The Stealth and Stingray have
excellent glide characteristics,
if you release the throttle
stick, your aircraft will glide for quite a distance. It is not necessary to
keep the throttle on at all times. Give the plane brief bursts of power to
climb then cut the power and let it glide for a few seconds.
To turn the Stealth and the
Stingray, move (and quickly
release) the steering stick in
whichever direction you wish
the model to turn (repeat as
many times as necessary to
turn in the desired direction).
DO NOT hold the stick in the
turn - it must be pulsed on and
off. If you hold the stick
without pulsing it, the aircraft will turn sharply and quickly lose altitude.
Use only brief bursts of steering control.
Get the aircraft to a safe altitude then let it glide. Play with the controls,
get a feel for it’s performance characteristics.
Keep the plane from getting too far away from you. As it gets farther
away, it becomes more and more difficult to determine the model's
orientation and its direction of flight.
Try to keep the aircraft at a height of several hundred feet so that you
have enough time and altitude to react in case you make a mistake. Start
learning to fly by flying oval circuits in front of yourself. Concentrate on
keeping the plane under constant control and try not to lose too much
altitude during the turns. Do not let the aircraft fly over your head - it is
very disorienting for beginner pilots to follow the aircraft as it passes
overhead and can easily lead to an accident. After you have become
proficient at racetrack-style ovals, learn to fly rectangles, then figure-8s.
Always keep the aircraft at a safe distance - not so close that it might hit
you if you make a piloting mistake, and not so far that it becomes difficult
to see.
! Control Reversal
Note that all remote controlled models exhibit control reversal when
approaching the ground-based pilot. When the model is moving away
from you and you push the steering stick to the left (for instance) the
model turns left. However when the model is coming towards you and
you push the steering stick to the left, the model appears to turn to the
right - this is very confusing for students! Though the model is
responding correctly, it appears to be turning in the "wrong" direction.
If you look at this from the model's perspective though (imagine
yourself in the pilot's seat), the model is in fact still turning left. You
must get used to this apparent reversal of controls so that your reactions
are instinctive regardless of the direction of the aircraft's flight. In the
beginning, it might help to turn your back to the aircraft and look over
your shoulder, when it is coming towards you.
Landing
Your Stealth or Stingray will fly for about 7 minutes on a fully charged
battery pack. We suggest that during your first few flights you land before
the battery runs out. This will give you some maneuvering ability in case
your approach is not quite right.
During your first few flights, try shutting off the motors by letting the
throttle control stick return to neutral momentarily. This will give you an
idea of how the aircraft reacts with no power.
When you are ready to land, approach the landing area from downwind
so that you are landing into the wind. When you are a couple hundred feet
from your landing zone, gently straighten the aircraft up and allow the
wings to level out. Turn off the motors - the aircraft will start to descend.
If it looks like you will land short of the landing area, give the aircraft a
couple short burst of power to extend the glide. As the aircraft descends,
use brief bursts of steering control (right stick) to control direction. The
aircraft will almost land itself.
After the Flight
Switch off your transmitter and then switch off your aircraft. Open the
aircraft’s battery compartment and remove the battery pack. Allow it to
cool to room temperature. This is very important! The battery will be
quite warm after it's rapid discharge during the flight and if you charge it
immediately, before allowing it to cool, you will damage the battery.
Check the plane thoroughly for any damage and be sure to repair
anything that might need to be repaired prior to flying again.
Repairs
The Stealth and the Stingray are very rugged but of course can be
damaged if overly abused. Crashes happen to even the best pilots. Don't
despair if something needs to be repaired - this is a necessary part of the
model aircraft experience and in most cases repairs are easy to
accomplish. If there are crack or breaks in the wing or fuselage, apply 5minute epoxy or white glue to the broken areas. Hold the parts together
with clear packaging tape and allow the glue to cure. You can leave the
tape in place for added strength. In some cases, strong tape alone, will be
enough to make the aircraft flight-capable again. Note that cyanoacrylate
(i.e. Krazy Glue™) will melt the foam of the aircraft - do not use this type
of glue! If you are unsure of the suitability of the glue, you should test the
glue on a hidden piece of the plane’s body prior to commencing repairs.
Replacement Parts
If you need to, you can order replacement parts directly from us via
telephone or email. Please call (416) 444-6873 or send email to
info@interactivetoy.com
Warranty
Interactive Toy Concepts guarantees your Stealth or Stingray to be free
from manufacturing defects for a period of 90 days from date of
purchase. This warranty does not cover any modifications or parts
damaged by the owner. In no case will Interactive Toy Concepts' liability
exceed the original cost of the kit. Interactive Toy Concepts reserves the
right to change this warranty without notice. Interactive Toy Concepts
assumes no liability over final assembly or for any damage resulting from
the use of this product. If the buyer is not prepared to accept the liability
associated with use of the Stealth or Stingray, he/she should return it in
unused condition to the place of purchase.
We reserve the right to make improvements to the design of the Air-Tech
Stealth and Stingray. Thus, your aircraft may vary slightly from that
depicted in the preceding photographs.
Battery Recycling & Disposal
It may be illegal to dispose of the NiMH battery in your municipal waste.
The battery pack contains a chemical known to the State of California to
cause birth defects or other reproductive problems. Do not try to open the
battery pack!
3
UM-13251-20717
FCC Note: USA only
This device complies with Part 15 of the FCC Rules. Operation is
subject to the following two conditions:
1) This device may not cause harmful interference
2) This device must accept any interference received, including
interference that may cause undesired operation.
4
Other Air-TechTMProducts Available From
NAVY BLIMP
Item # 14051
AIRSHIP AMERICA
2-channel: Item # 14061
3-channel: Item # 05032
TURBO BLIMP
2-channel: Item # 03020
3-channel: Item # 04020
Alien Wizard
Item # 02020
BATTLE BOTS
TM
Item # 06020
BLIMP BOMBER
Item # 14001
AIRSHIP EARTH
Item # 02420
STINGRAY
Item # 13261
STEALTH
Item # 13251
SkyFlyer
Item # 13201
Contact:
Interactive Toy Concepts Ltd.
1192 Martin Grove Road
Toronto, Ontario, Canada
M9W 5M9
info@interactivetoy .com
For more info, visit our website at
www .interactivetoy.com
UM-13251-20717
 Loading...