

Page 1
NSC10-WG
NETWORK
CAMERA
QUICK
START
GUIDE
MODEL
550918
INT-550918-QSG-0709-01
Page 2

Thank you for purchasing the INTELLINET NETWORK SOLUTIONS™
NSC10-WG Network Camera, Model 550918.
This is the ideal camera for home-network-based video streaming. You
can access the camera remotely over the Internet, and you can save
snapshots or record directly from your Web browser to the local hard
drive without installing any software or drivers. Plus, the included MultiViewer utility lets you monitor up to 16 cameras at the same time and
record the video to your local hard drive.
This quick start guide presents the basic steps required to set up and
operate this device. Follow these simple procedures and you’ll soon be
enjoying these additional features:
• Digital 24-bit color Motion-JPEG video
• 300k CMOS image sensor provides excellent image quality
• High-speed hardware-based image compression
• Supports 54 Mbps Wireless 802.11g with WEP, WPA & WPA2 encryption
• Auto-setup for foolproof installation
• Supports image resolutions up to 640 x 480 (VGA)
• Maximum image frame rate: 25 fps
• Integrated motion detection
• Event-triggered FTP and e-mail upload of still images
• Lifetime Warranty
For more detailed instructions and specications, refer to the user manual
1) on the CD enclosed with this product; 2) on the Web site listed below;
or 3) in some cases, printed and enclosed with this product. Contact your
INTELLINET NETWORK SOLUTIONS dealer with comments or questions,
or visit www.networkipcamera.com for information on the latest software
and rmware updates, related products and additional contact information.
Package Contents
• NSC10 Network Camera
• Quick start guide, plus CD with software & user manual
• Camera mounting bracket & stand
• Power adapter
• Network cable (1 m / 3 ft.)
2
Page 3

Safety Precautions
• The unauthorized conversion and/or modication of the product is not
allowed for safety and approval reasons (CE).
• This product is not a toy. Devices connected to the power supply
should be kept out of reach of children. Be especially careful when
children are around.
• Do not leave packaging material unattended: It can become a danger
to children.
• The product is intended for use in dry, indoor locations and must not
get damp or wet, as there is a risk of a fatal electric shock.
• Handle the product carefully and do not drop it. Knocks, blows or
even a fall from a low height can damage it.
• Never use the product immediately after moving it from a cold room into
a warm room, as condensation that forms could severely damage it.
Instead, allow the camera to reach room temperature. This can take
several hours.
• Do not attempt to open the camera’s outer case. Any maintenance or
repair work must be performed by authorized personnel only.
NOTE: The warranty becomes void if there is damage caused by
ignoring these safety precautions or the following operating instructions.
No liability is assumed for consequential damage, nor is any liability
assumed for damage to property or personal injury caused by improper
use or a failure to observe the safety instructions.
Disposal
Electric and electronic products do not belong in household waste.
When the product is no longer usable, dispose of it in accordance with
applicable statutory regulations.
3
Page 4

4
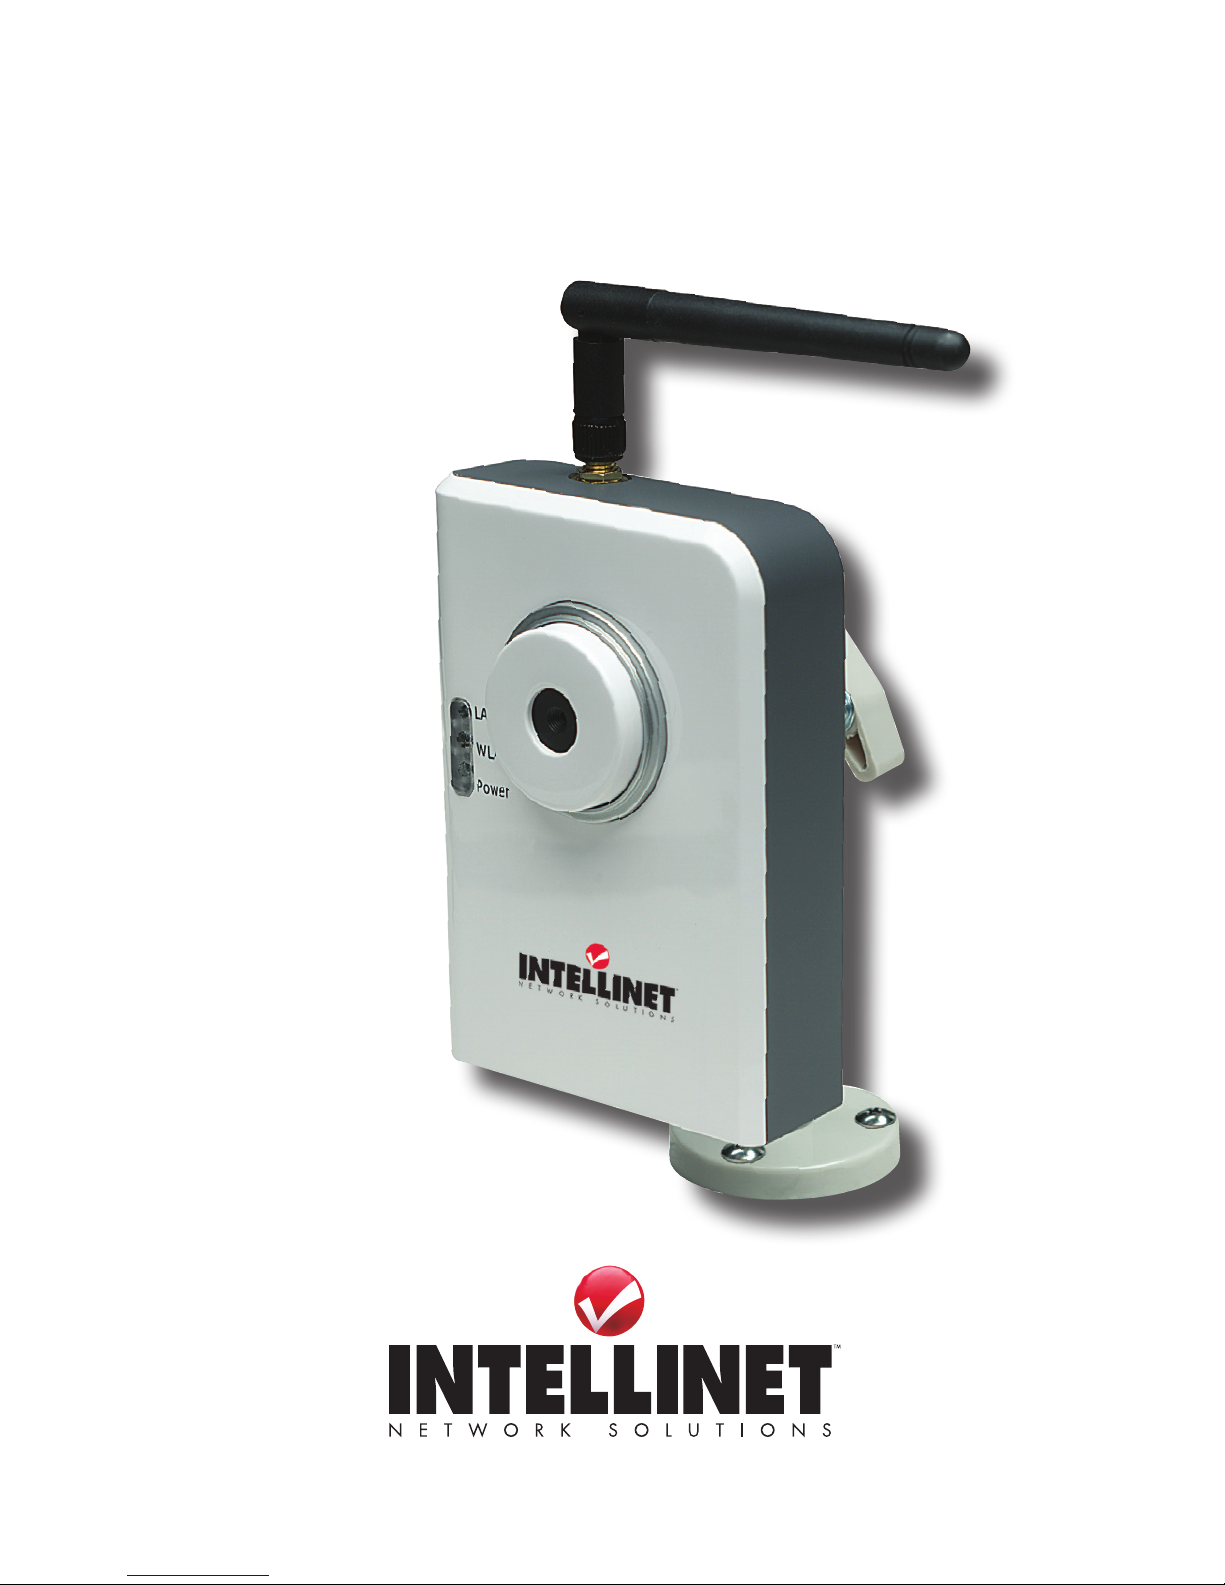
Focus ring
Antenna and
reverse SMA
connector
Power LED
WLAN LED
LAN LED
INSTALLATION
Hardware
Front/ Top:
Focus ring — Rotate to adjust the focus.
LAN — Lights a steady green when the
camera is linked to a wired network;
ashes green when video is
transmitted or received.
WLAN — Lights a steady amber
when the camera is linked to a
wireless network; ashes amber when video is
transmitted or received.
Power — Lights blue when the camera is on.
Reverse SMA connector — Attach the antenna.
Bottom:
Power jack — Connect the power adapter here.
LAN port — Connect the network cable here.
Reset button — Press to reset the camera to
factory default settings. Insert a paper clip
into the hole; press and hold for 5 seconds.
1. Using the included network cable, make your network connection from
the camera’s LAN port to your switch/router or other network device.
2. Connect the power adapter to the camera’s power jack and plug it in to
a power outlet. The camera is now powered on, and the Power LED
will light when the camera is operational.
3. Make sure that the correct VGA driver and DirectX 9.0 or above have
been installed.
NOTE: Use only the power adapter shipped with the camera.
Software
1. Run the Install Wizard by rst inserting the enclosed CD in the CD-ROM
drive. The Autorun.exe program should execute automatically. If not,
run Autorun.exe manually from the Autorun folder on the CD.
Page 5

5
2. The Install Wizard will
present four menu
options. Click “Install
Administrator Utility”
and follow the
subsequent on-screen
instructions.
IP Address Setup: Using the Admin Software —
The Administrator utility automatically runs after installation. On the rst
screen (below), the cameras found in the network are listed. To congure
one, highlight it and click the Congure icon (highlighted at the bottomleft of the screen) to proceed to the Login screen.
Enter the default
password “1234”
and click “OK” to
log in to the IP
setup page. (The
default username
is “admin.”)
As the NSC10-WG
Network Camera works through the network (TCP/IP protocol), the IP
address and subnet mask setting must be correct in order to access the
camera.
Page 6

6
The utility will automatically detect the IP address status of your network
and suggest a free IP address for the camera. You can either accept
the suggested value or enter the value manually (as shown below by
selecting “Manual IP”). If you enter the value manually, the subnet mask
must be the same for both the camera and the PC. Click “OK” to apply
the conguration settings.
IP Address Setup: Using the Web Browser (Advanced) —
1. Verify the network connection (see Hardware), making sure the camera
has an active link on the network device it’s connected to.
2. Set the computer IP address in the range 192.168.2.2 – 192.168.2.254.
3. Open your Web browser (MS Internet Explorer 6.x or 7.x) and enter
http://192.168.2.3.
4. Log in (username = “admin”; password = “1234”).
5. When the Internet Explorer Security Warning displays, select “Install.”
6. Click “LAN” to display the camera’s network conguration screen (below).
7. Make any necessary changes so that the camera can be used in your
existing network.
8. Change the IP setup of your computer back to its original settings.
Page 7

7
NOTE: For wireless settings and all additional instructions, refer to the
user manual on the included CD.
Page 8

INTELLINET NETWORK SOLUTIONS™ offers a complete line
of active and passive networking products.
Ask your local computer dealer for more information or visit
www.intellinet-netw ork. com.
Copyright © INTELLINET NETWORK
SOLUTIONS
All products mentioned are trademarks or registered trademarks of their respective owners.
 Loading...