

Intellinet 550260, 550277 User Manual
HIGH SPEED DOME
INDOOR/OUTDOOR
NETWORK CAMERA
USER MANUAL
MODEL 550260/550277
INT-550260/550277-UM-0207-01

CONTENTS
1. Introduction .......................................................................3
2. Web Browser Setup ..........................................................5
3. Configuration ....................................................................6
Live View Screen .....................................................................6
Administrator Tools ...................................................................9
Basic ..............................................................................9
User Accounts .................................................................15
Event Configuration ..........................................................17
Advanced ......................................................................22
Maintenance ..................................................................23
Support .........................................................................25
4. Firmware Upgrade .........................................................25
5. Troubleshooting ..............................................................27
6. Appendix .........................................................................30
Terminal Block/Pinout .............................................................30
Schematic Diagrams .............................................................. 31
Dynamic DNS ...................................................................... 31
7. Glossary ..........................................................................32
8. Specifications ..................................................................33
2
CONTENTS
section page

1. INTRODUCTION
Thank you for purchasing the INTELLINET NETWORK SOLUTIONS™ High
Speed Dome Indoor/Outdoor Network Camera, Model 550260 (NTSC) or
Model 550277 (PAL). The ideal solution for your demanding security surveillance
and remote monitoring applications, the High Speed Dome Indoor/Outdoor
Network Camera can be used for day or night viewing, and comes in a rugged
tamper-proof enclosure for protection against dust and heavy jets of water, complete
with a heater and blower to keep it within proper operating temperatures.
The camera uses a Sony Super HAD CCD image sensor, providing TV-like quality
in bright or low light conditions, capturing color video in light conditions down to
0.0007 lux. It supports both Motion JPEG and MPEG4 video compression, allowing
you to use the right one for your particular needs. Motion JPEG is required as
evidence in many countries, whereas MPEG4 is a lot more efficient in the use of
network bandwidth and disk storage space.
As rugged as it is, the camera provides a precision-engineered 360˚-per-second
pan operation that can be configured to patrol (continuous panning) using the preset
function. It includes integrated motion detection that automatically disengages to
prevent false alarms, and a “grid setup” function typically available only with video
recording software.
Follow the instructions and procedures in this user manual — including the safety and
legal guidelines that follow — and enjoy the benefits of these additional popular
features.
• Tamper-proof outdoor housing with integrated heater and blower
• IP66 rated: dust-tight and protection against heavy seas
• Powerful 30x optical zoom module with auto-focus and 10x digital zoom for
a total 300x zoom
• 20 programmable preset positions
• 20-step guard tour, programmable
• Engages black and white mode automatically below 0.7 lux
• Supports image resolutions up to 720 x 480 (D1)
• Up to 30 frames per second in all image resolutions
• Supports MPEG4 video streaming with CBR (constant bit rate) and VBR
(variable bit rate) modes
• Controllable frame rate
• Event-triggered FTP and email upload of videos
• Terminal block for external sensors or external alarm devices
• Video access through any standard Web browser
• Integrated HTTP Web server supporting 50 simultaneous user connections
• Integrated email, FTP, DDNS and DHCP client
• Includes Windows-based Camera Manager software (IP installation and upgrade)
• Lifetime Warranty
3
INTRODUCTION

Legal Considerations
Camera surveillance can be prohibited by laws that vary from country to country.
Check your local laws before using this product for surveillance purposes. This
product includes one MPEG-4 decoder license. To purchase further licenses,
contact your reseller.
Electromagnetic Compatibility (EMC)
This equipment generates, uses and can radiate radio frequency energy. If not
installed and used in accordance with the instructions, it may cause harmful
interference to radio communications. However, there is no guarantee that
interference will not occur in a particular installation. If this equipment does
cause harmful interference to radio or television reception, which can be
determined by turning the equipment off and on, the user is encouraged to try
to correct the interference by one or more of the following measures:
1. Re-orient or relocate the receiving antenna.
2. Increase the separation between the equipment and receiver.
3. Connect the equipment to an outlet on a different circuit than that of the
receiver.
4. Consult your dealer or an experienced radio/TV technician for help.
NOTE: Shielded (STP) network cables must be used with this unit to ensure
compliance with EMC standards.
FCC — This equipment has been tested and found to comply with the limits for a
Class A digital device pursuant to Part 15 of FCC rules. These limits are designed
to provide reasonable protection against harmful interference when the equipment
is operated in a commercial environment. Operation of this equipment in a
residential area is likely to cause interference, in which case the user will be
required to correct the interference at his own expense.
Europe — This digital equipment fulfills the requirement for radiated emission
according to Limit A of EN 61000-3.
Safety Guidelines
• Do not place the unit on an unstable surface.
• Never touch electrical connections with wet hands, as this could result in serious
electrical shock.
• Never use the unit if you notice an abnormality, such as a strange smell or
smoke.
• Always use the designated power supply to avoid the possibility of fire, electrical
shock, serious injury and/or damage to the unit.
• Never place or operate the unit in extreme temperatures (see the Specifications
section for acceptable temperature ranges).
• Never place the camera in close proximity to any strong magnetic field.
4

2. WEB BROWSER SETUP
This section explains how to monitor the High Speed Dome Network Camera
image.
Homepage Login
1. Activate the Web browser on the computer
and enter the IP address of the camera (the
default address is 192.168.1.221) to display the camera’s Login page.
2. Select a viewer (see Choosing a Viewer below for help in determining which
program may be appropriate).
3. Enter the username and password (the factory default for both is “admin”),
then click “Login.” To change the username or password, see the Administrator
Tools section.
NOTE: To allow Login settings, set the security level of the browser to Medium or
lower. Also, when using antivirus software on your PC, the camera performance
may be reduced (e.g., the frame rate for displaying the image may be lowered).
Choosing a Viewer
You can select one of two viewers: Java Applet or ActiveX.
Java Applet operates on Internet Explorer or Netscape, displaying the main
viewer page using Java. With this viewer, you can use all the functions provided
with this software.
NOTE: The frame rate is lower than for the other viewers. If the viewer does
not operate correctly, install or activate Java as follows.
5
WEB BROWSER SETUP

• If you are using Internet Explorer — From the Tools menu of Internet Explorer,
go to Internet Options, then Advanced. Check “JIT complier for virtual
machine enabled (required restart).” Then restart Internet Explorer.
• If you are going to install Netscape — Install Java during Netscape installation,
following the installation instructions. After installation, select Edit from the
menu bar of Netscape, go to Settings and Details, then check “Activate
Java.”
• If you are using Netscape without Java installed, but the viewer does not
operate correctly — Make sure that the version of your Java plug-in is one
of those indicated in the step below. If your Java plug-in is a different
version, uninstall it and then install the correct version.
To confirm the Java plug-in version: Click the “Start” button of Windows,
then go to Settings and Control Panel to display the Java plug-in version.
To install the Java plug-in: Download “Java 2 Runtime Environment, Standard
Edition (JRE)” from Netscape Net center or Sun Homepage, and install it
following the instructions of the installer. After installation, select Edit from
the menu bar of Netscape, then go to Settings and Details, then check
“Activate Java.”
ActiveX operates on Internet Explorer, displaying the main viewer page using
ActiveX. With this viewer, you can display images at a high frame rate and
use all the functions provided with this software.
• When you log in to the camera using Internet Explorer for the first time, the
Security Warning appears. Click “Yes” and “Install ActiveX control.”
NOTE: If “Automatic Configuration” is enabled in the local area network (LAN)
settings on Internet Explorer, the image may not be displayed. In this case,
disable “Automatic Configuration” and set the proxy server manually. For
instructions on setting the proxy server, consult your network administrator.
3. CONFIGURATION
This section 1) introduces the controls on the main Live View screen, which
displays after login; and 2) details the Administrator Tools, the settings and
functions that allow operation of the camera and its features.
NOTE: Procedures in the Administrator Tools section are intended for the
product/network administrator, who would have unrestricted access to all of
the setup tools.
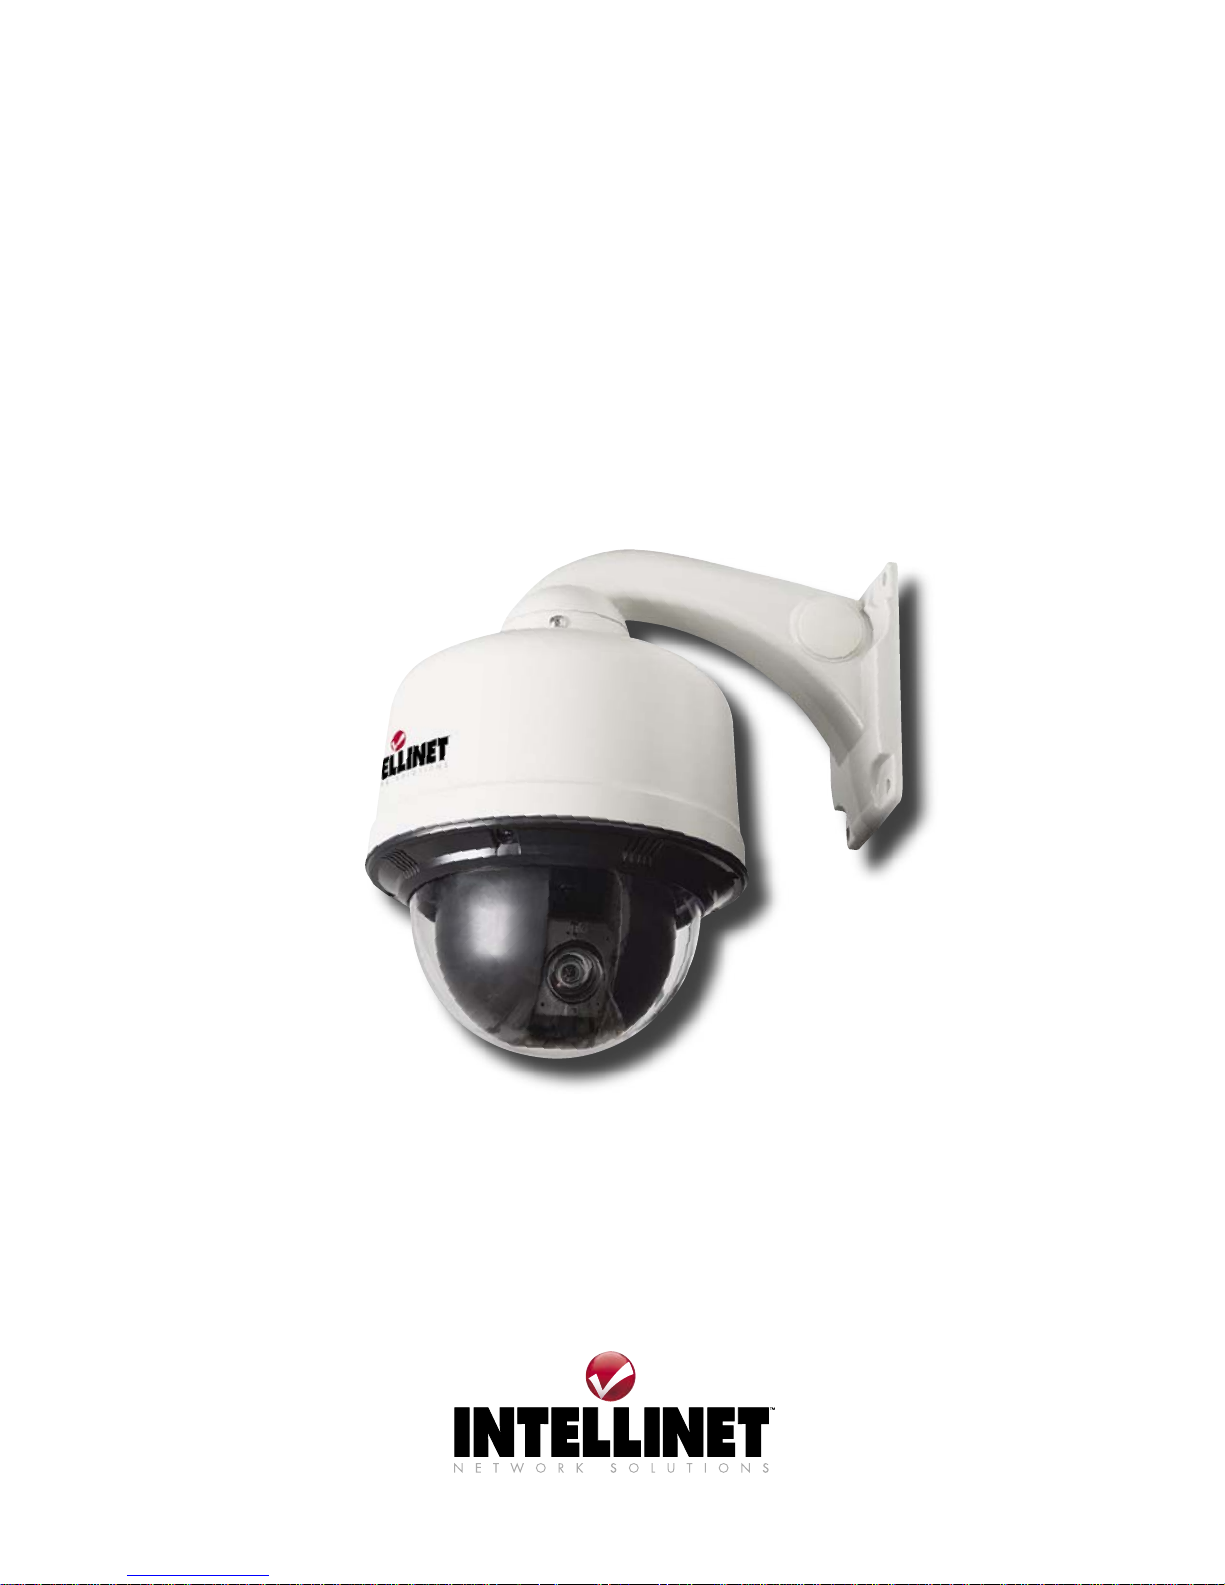
LIVE VIEW SCREEN
Brief descriptions of the controls are listed below, with detailed setup instructions
listed in the Administrator Tools section that follows.
6
CONFIGURATION
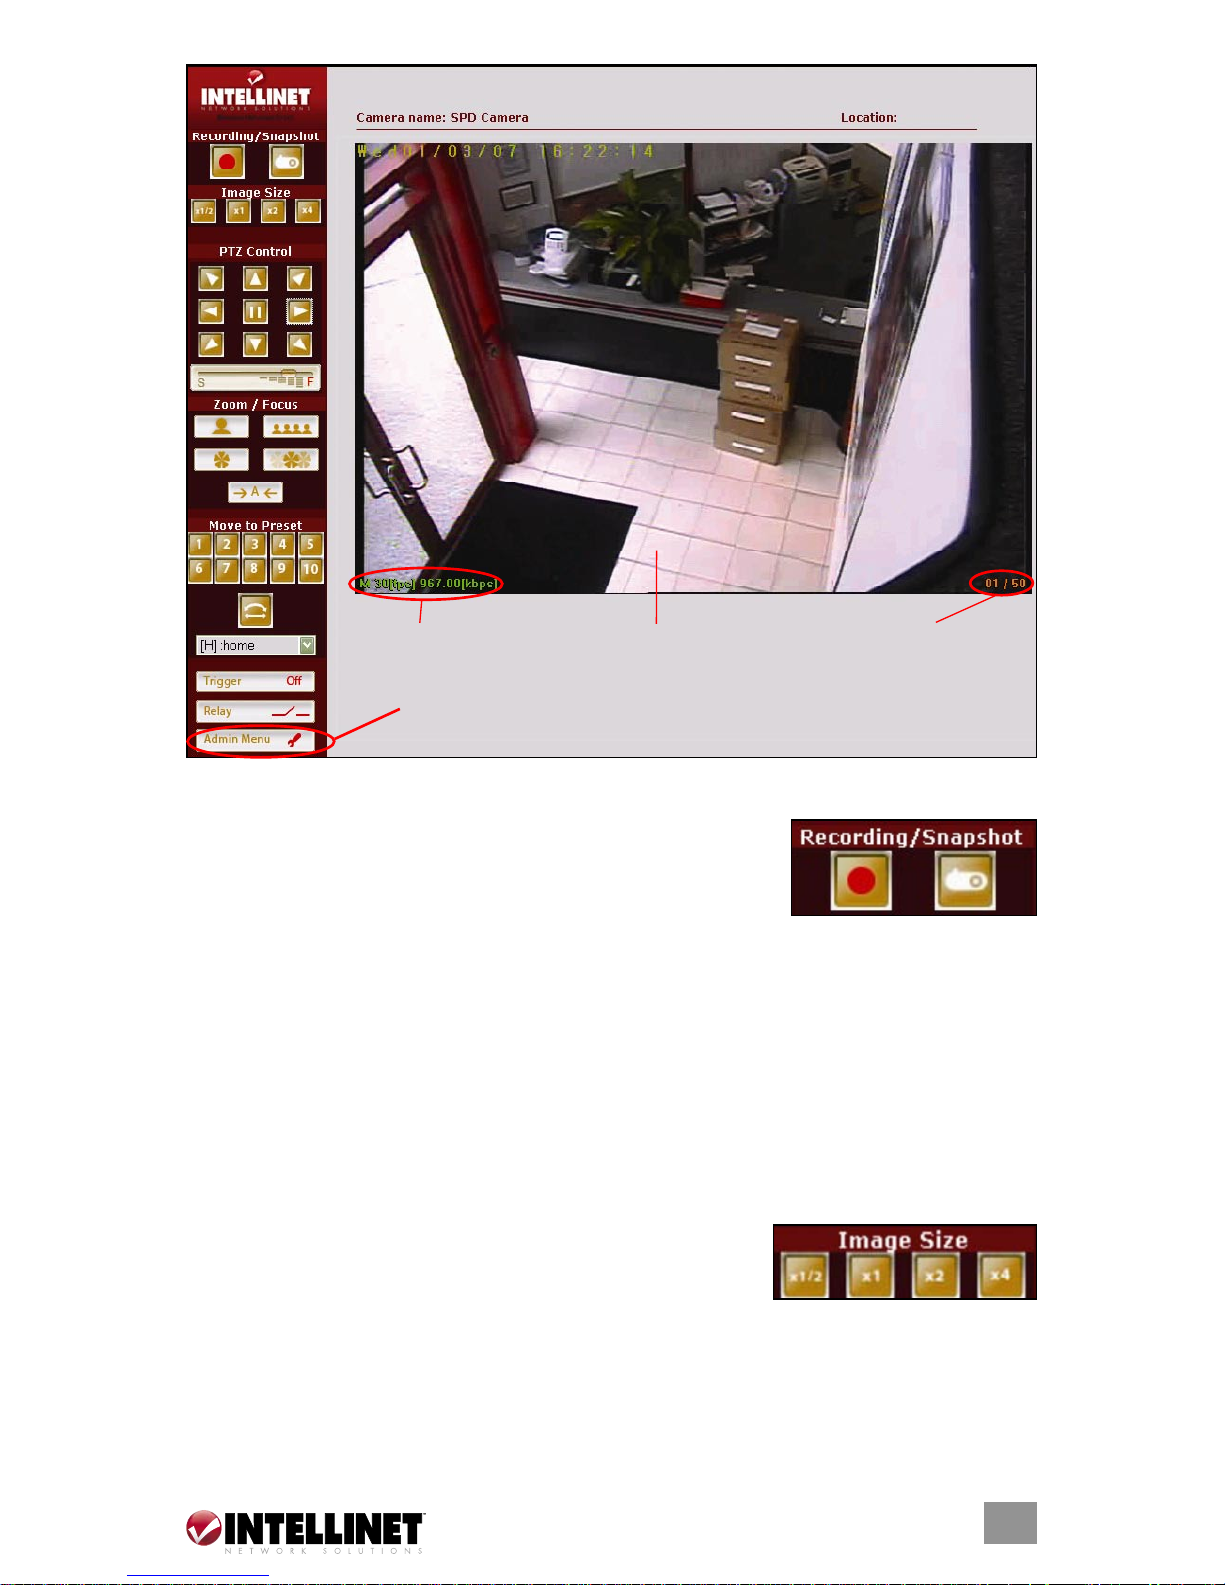
Recording/Snapshot
These buttons activate the recording of streaming video
(DivX) or still images (BMP)
.
AVI Recording
Click “Recording” to start recording. Enter the filename and specify the destination
of the video file. Click “Save” to begin recording to the file. The camera creates
a new file once every 10 minutes, until “Recording” is clicked again or until
your computer runs out of disk space.
Take Snapshot
Click on the camera icon (“Snapshot”) and specify the location and filename
of the snapshot. Click “Save” to save a BMP still image.
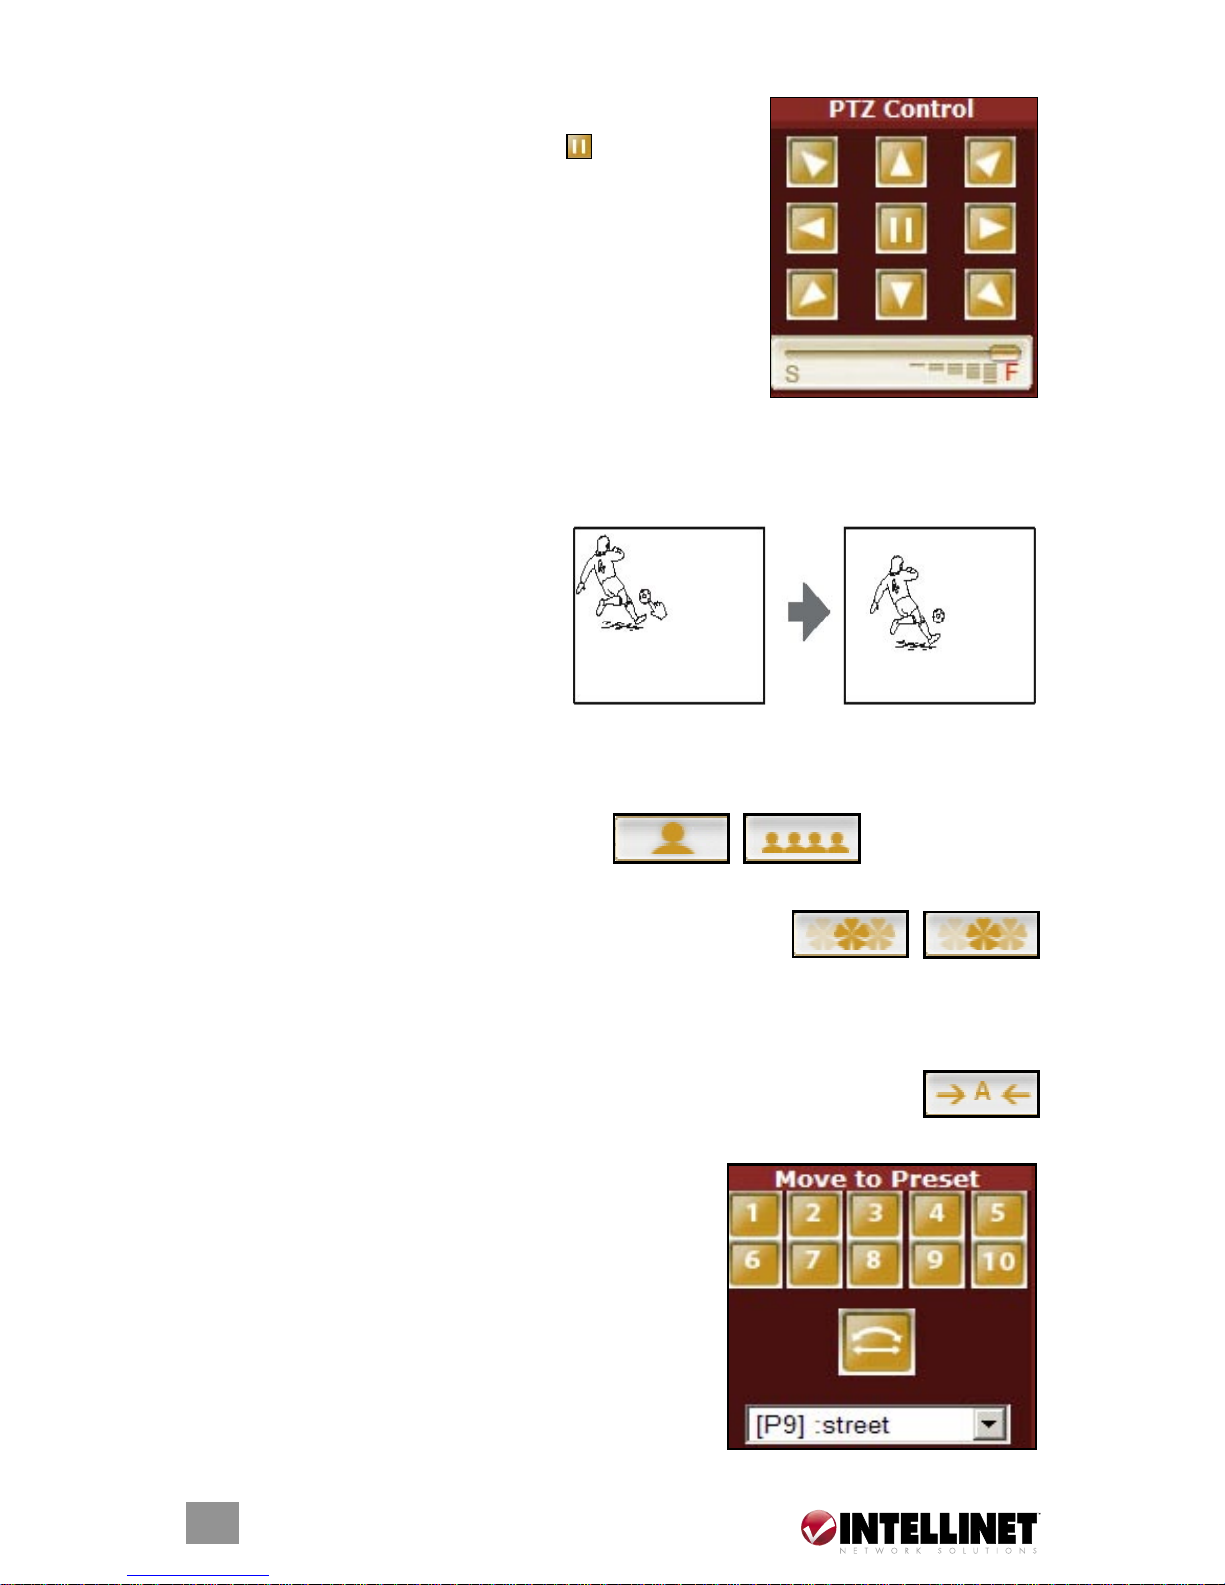
Expansion
The digital zoom function allows changing the image
size of the live image in the Web browser. You can
choose 0.5x, 1x, 2x or 4x magnification.
NOTE: This function does not change the physical resolution of the image. It
only provides a digital zoom that electronically resizes the image, which can
lead to decreased quality of the picture.
7
CONFIGURATION
Frame/data rate
Number of connected users
Live image area
Access to Administrator Tools
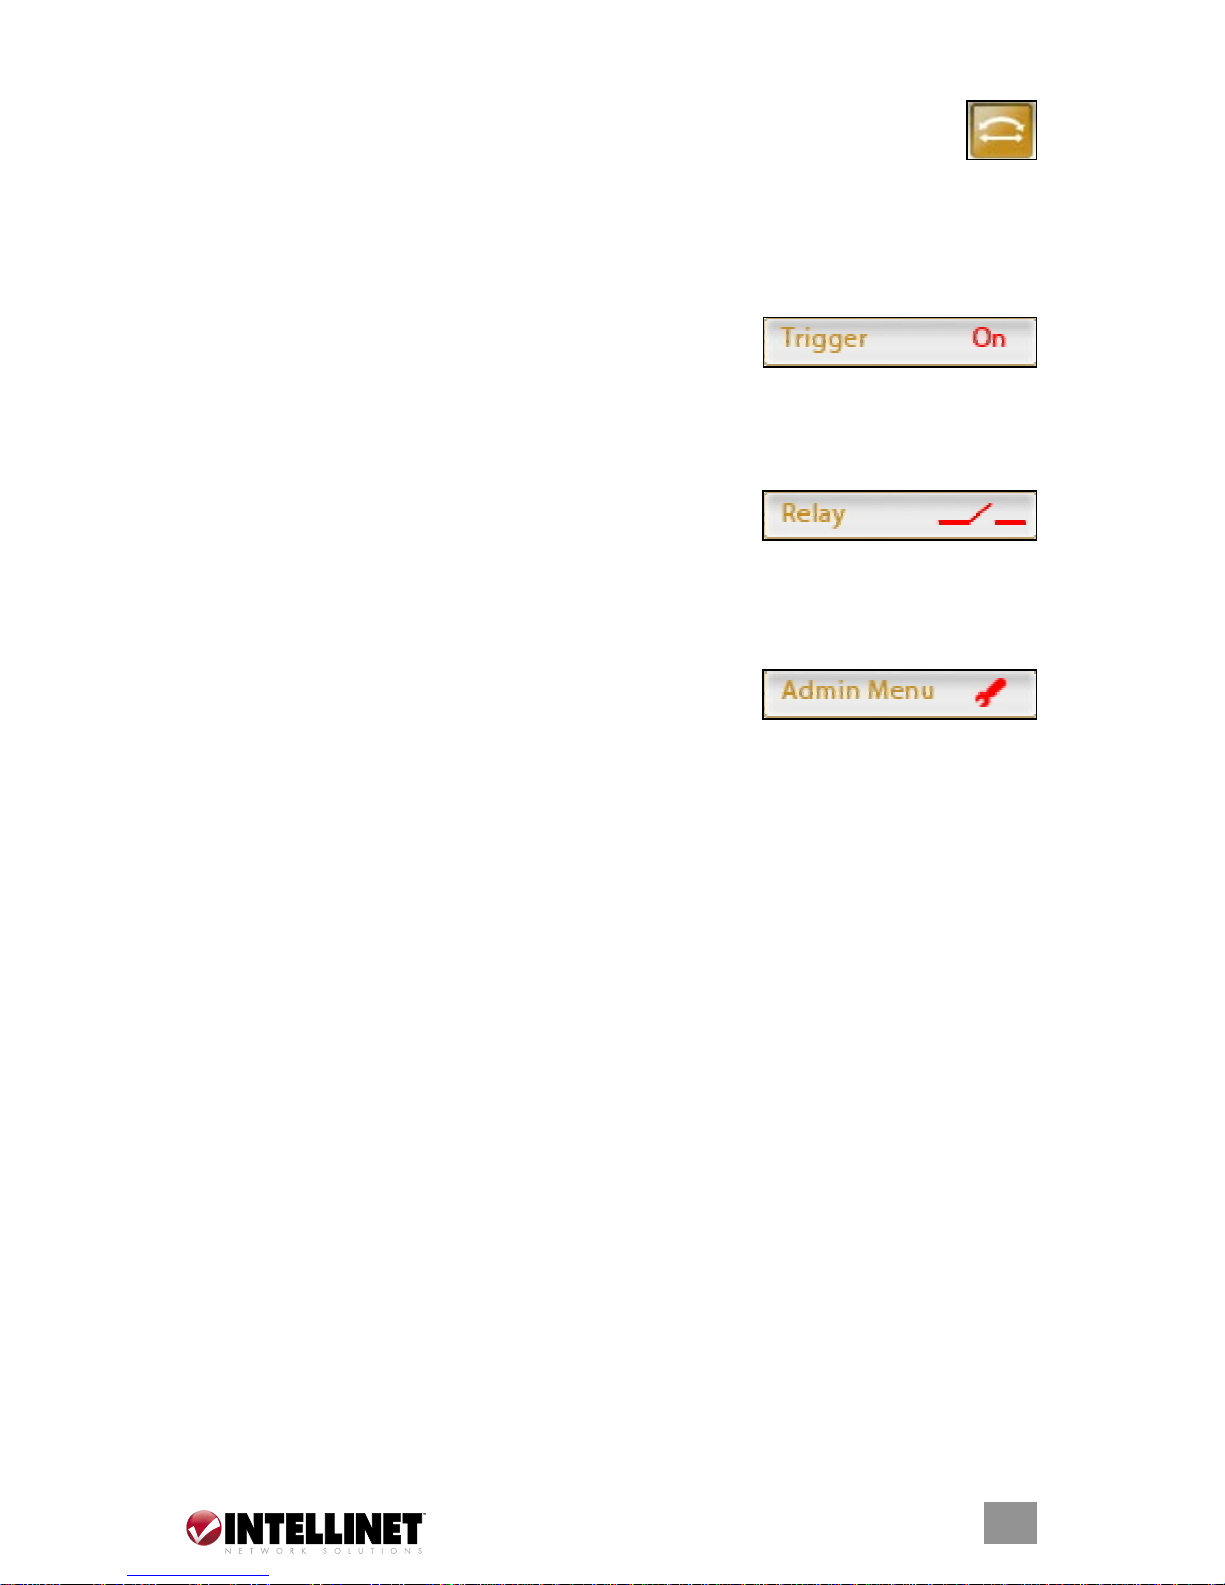
Panning and Tilting (PTZ)
You can pan and tilt the camera using the eight
directional arrow buttons. First, click to stop moving
the camera. Click whichever arrow button indicates
the direction you want to aim the camera. Hold down
the mouse button to move the direction of the camera
continuously.
Adjust the Movement Speed
When using a high zoom factor, it is difficult to control
the movement of the camera. Control the speed of the
movement with the slider below the arrows. Move toward position “S” to slow
the movement, and toward position “F” to speed up the movement.
Panning and Tilting by Clicking the Monitor Image with the Mouse
You can operate panning, tilting
and zooming of the camera by
clicking with the mouse on the
monitor image. Left-click the area
you want to center, then move the
mouse pointer to the center of the
image and release the mouse button. The camera will then move the area to the
center of the image.
Zoom In/Out
Control the zoom factor of the image.
Focus In/Out
Click to adjust the focus manually. By default, Auto Focus
is enabled, but you can manually take control of the
focus. When you move the camera to a different position with the arrow buttons,
Auto Focus is automatically re-engaged.
Auto Focus
The camera automatically adjusts the image focus (recommended use).
PTZ Control Field
With this function, you can move the camera to
pre-programmed positions. Access 10 presets
directly through the 1–10 buttons; access all 20
programmed presets by selecting P1–P20 from
the drop-down list. By default, this list is empty,
as no presets are programmed. For details on
setting up preset positions, see PTZ Control in
the Administrator Tools section that follows in this
manual.
8
CONFIGURATION
Tour
If you have programmed a sequence of PTZ presets, you can turn on the
“guard tour” by clicking on this button. When the Tour mode is active,
the camera will continuously move from one position to the next and loop
through the programmed presets. To stop the tour, click the stop button in the
center of PTZ control field.
Trigger
This button activates trigger settings of the camera
manually. When clicked to “On,” the configured
trigger condition and setting will be activated; e.g., an email will be sent or an
AVI file will be uploaded via FTP.
Relay
Click this button to manually start and stop a connected
device; e.g., a light switch. The device must be
connected to the internal terminal block of the camera. (See the Appendix,
Section 6.) NOTE: Only authorized users can activate this function.
Admin Menu
Clicking this button displays the Administrator Tools
menu (available only to the authorized administrator).
ADMINISTRATOR TOOLS
This section details the Administrator Tools, which allow you to configure the
camera and its features however you prefer. As stated earlier, procedures in
this section are intended for the product/network administrator, who would
have unrestricted access to all of the setup tools. To begin, follow the same
access path listed in the Homepage Login subsection of Web Browser Setup.
1. Activate the Web browser and enter the IP address of the camera (the
default address is 192.168.1.221) to display the camera’s Login page.
2. Enter the username and password (the factory default for both is “admin”),
then click “Login” to display the Live View screen.
3. Click on “Admin Menu” to display the Administrator Tools menu page. The
initial options are Basic, User Accounts, Event Config(uration), Advanced,
Maintenance, Support and Live View (covered earlier in this manual).
B
ASIC
Network
All network-related settings can be defined on this page.
9
CONFIGURATION

Device Name
Enter the device name for the camera. The camera shows up in your network
under this name. The name also shows up in your DHCP server log, should
you decide to set the network address to “Dynamic IP Address” (see below).
Network Address
The IP address of the camera can be set automatically via DHCP — in which the
camera receives its IP address information from a DHCP server in your network
(e.g., a router) — or it can be set manually. NOTE: Setting the IP address
manually requires familiarity with TCP/IP networks.
IP, Subnet Mask, Gateway Configuration
If using a fixed (“static”) IP address, you need to enter the correct subnet mask
and default gateway. If you have trouble configuring network system information,
contact your network administrator. NOTE: IP address assignment via DHCP
may lead to a situation in which the IP address changes and you lose contact.
Configure the options (see Service Configuration below) to receive notification
from the network camera when the IP address changes.
DNS Configuration
DNS (Domain Name Service) provides the translation of hostnames of IP
addresses on your network.
Primary DNS: Enter the IP address of the primary DNS server.
Secondary DNS: Enter the IP address of the secondary DNS server (optional).
10
CONFIGURATION
11
Web, Video, Upgrade and PTZ Server Port Configuration
Enter the port number for each server port within a limit. Normally, it is not
necessary to make any changes to the port settings.
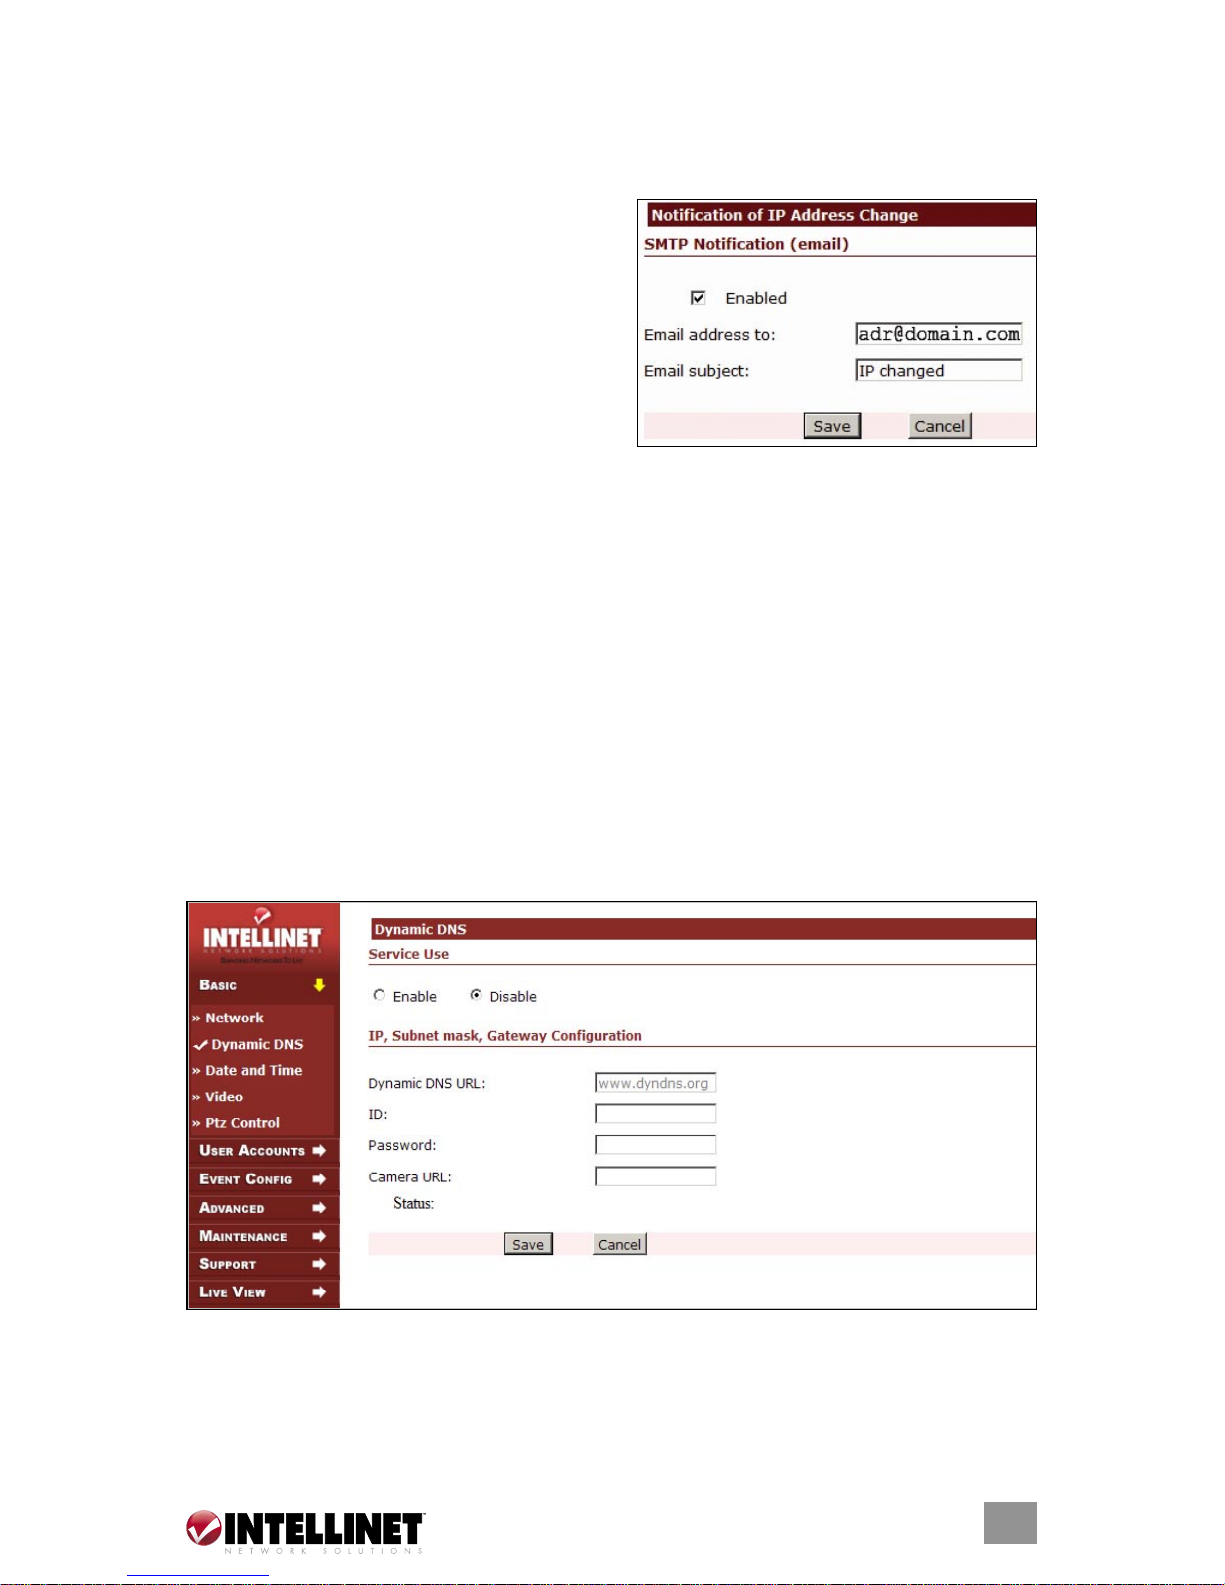
Service Configuration
The camera can send you an email
whenever the IP address of the camera
changes (e.g., when you have set up a
dynamic IP address for the camera).
Click on “Settings…” to open a window,
which lets you specify the email address.
NOTE: In order to use this function, the
SMTP server needs to be set up first (see
Event Config/Event Server). If you use a domain name as the SMTP server
(e.g., smtp.mydomain.com), you also need to set up correct DNS servers (see
above). If the server is entered with the IP address only, no DNS servers are required.
Click ”Save” to submit the Network settings to the camera.
Dynamic DNS
Your Internet service provider (ISP) provides you with at least one public IP
address. The address you get may be static, meaning it never changes, or
dynamic, meaning it’s likely to change periodically. Just how often it changes
depends on your ISP. If your IP address changes periodically, you want to use
the DDNS service (a free service offered at http://www.dyndns.org) to obtain
a static address for your dynamic IP address.
Use this page to configure Dynamic DNS settings.
Service Use
Check the “Enable” box when you use Dynamic DNS server.
IP, Subnet Mask, Gateway Configuration
Dynamic DNS URL: Enter the IP address or URL (leave as www.dyndns.org).
CONFIGURATION
 Loading...