


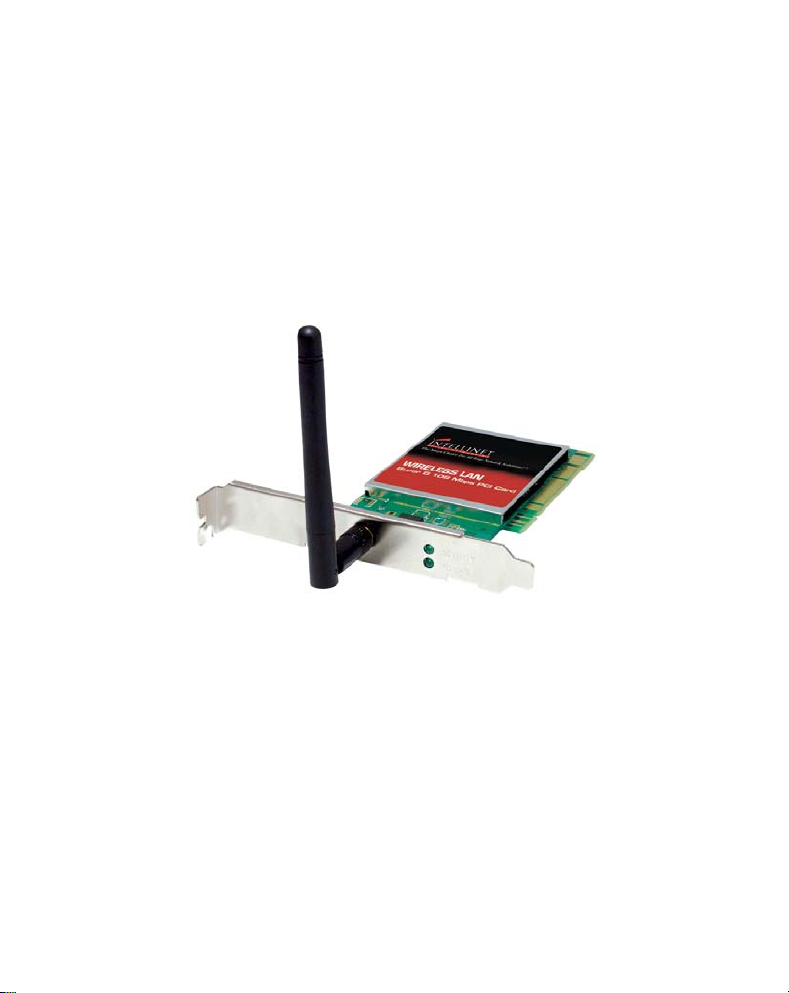
802.11g Super-G 108Mb Wireless PCI Card
Quick Installation Guide

The enclosed Hardware Installation Guide gives you a stepby-step explanation of how to install your 108Mb Super-G
PCI Adapter. Further technical assistance and all updated
drivers can be accessed at
www.intellinet-network.com
Here you have access to 24hour support and can contact our
support team to answer any questions you may have.
In order to provide the requested support we need the
following details from you:
• A clear description of the problem;
• Version number of the drivers you are using (always
check the website to see whether you are using the
latest version);
• Type of PC you are using;
• Operating system you are using
For more information about Intellinet products, please visit
the Intellinet Web Site: www.intellinet-network.com
ATTENTION!
The Software installation as described below, may be slightly
different from the installation on your computer. This
depends on the Windows version you are using.
BEFORE YOU GET STARTED…
Getting started:
Please insert the PCI Card into a free PCI slot before booting the computer.
Installing the software involves two steps. The first is to install the driver
and the second is to install the Configuration Utility.
Installing 802.11g Wireless PCI Card
When the 802.11g Wireless PCI Card has been inserted into a PCI slot, the
Found New Hardware screen appears.

Continue with the installation and the screen below should appear. Click on
Yes to proceed with the installation.
Note: This window may not appear.
Insert the Driver CD into the CD-ROM drive. If you have not inserted the

Driver CD into the CD-Rom a prompt such as the one below will appear.
Click OK.
Otherwise the installation will continue with the following screen and
come to completion.

Installing the Configuration Utility
Look for the file named “Setup.exe” on the installation CD-ROM. Doubleclick on it to start the installation for the configuration utility.
When this screen appears click Next.
To install to the folder C:\Program Files\WLAN Utility click Next.
Otherwise click on Browse to choose an alternate location.

Click Next to proceed with the utility installation.
The Select Program Folder will then appear. You may add a new folder
you wish to contain a start up icon or choose one from the list provided.
Click Next to proceed.

The Setup Status screen will appear to inform you that the installation is in
process, as seen below.
After WLAN Utility has been successfully installed, InstallShield Wizard
will prompt you to restart your computer. Select “Yes, I want to restart my
computer now,” and click on Finish.
 Loading...